Wstęp
This manual provides detailed instructions for the installation, operation, and maintenance of your Baldwin 5080260MR Fillmore Estate Door Knobs. Please read these instructions carefully before beginning installation to ensure proper function and longevity of your product. These door knobs are designed for various interior door applications including full dummy, half dummy, passage, and privacy functions, typically used with separately purchased or existing hardware.
Informacje dotyczące bezpieczeństwa
Always wear appropriate safety gear, such as gloves and eye protection, during installation. Keep small parts away from children. Ensure all components are securely fastened before use. Improper installation may lead to product malfunction or injury.
Zawartość opakowania
Verify that all components are present before starting installation. The exact components may vary slightly based on the specific function (dummy, passage, privacy) for which these knobs are intended to be used, as they are supplied without rosettes or internal mechanisms.
- Baldwin Fillmore Estate Door Knobs (2)
- Mounting Hardware (screws, as required for selected function)
- Installation Instructions / Template (if included)
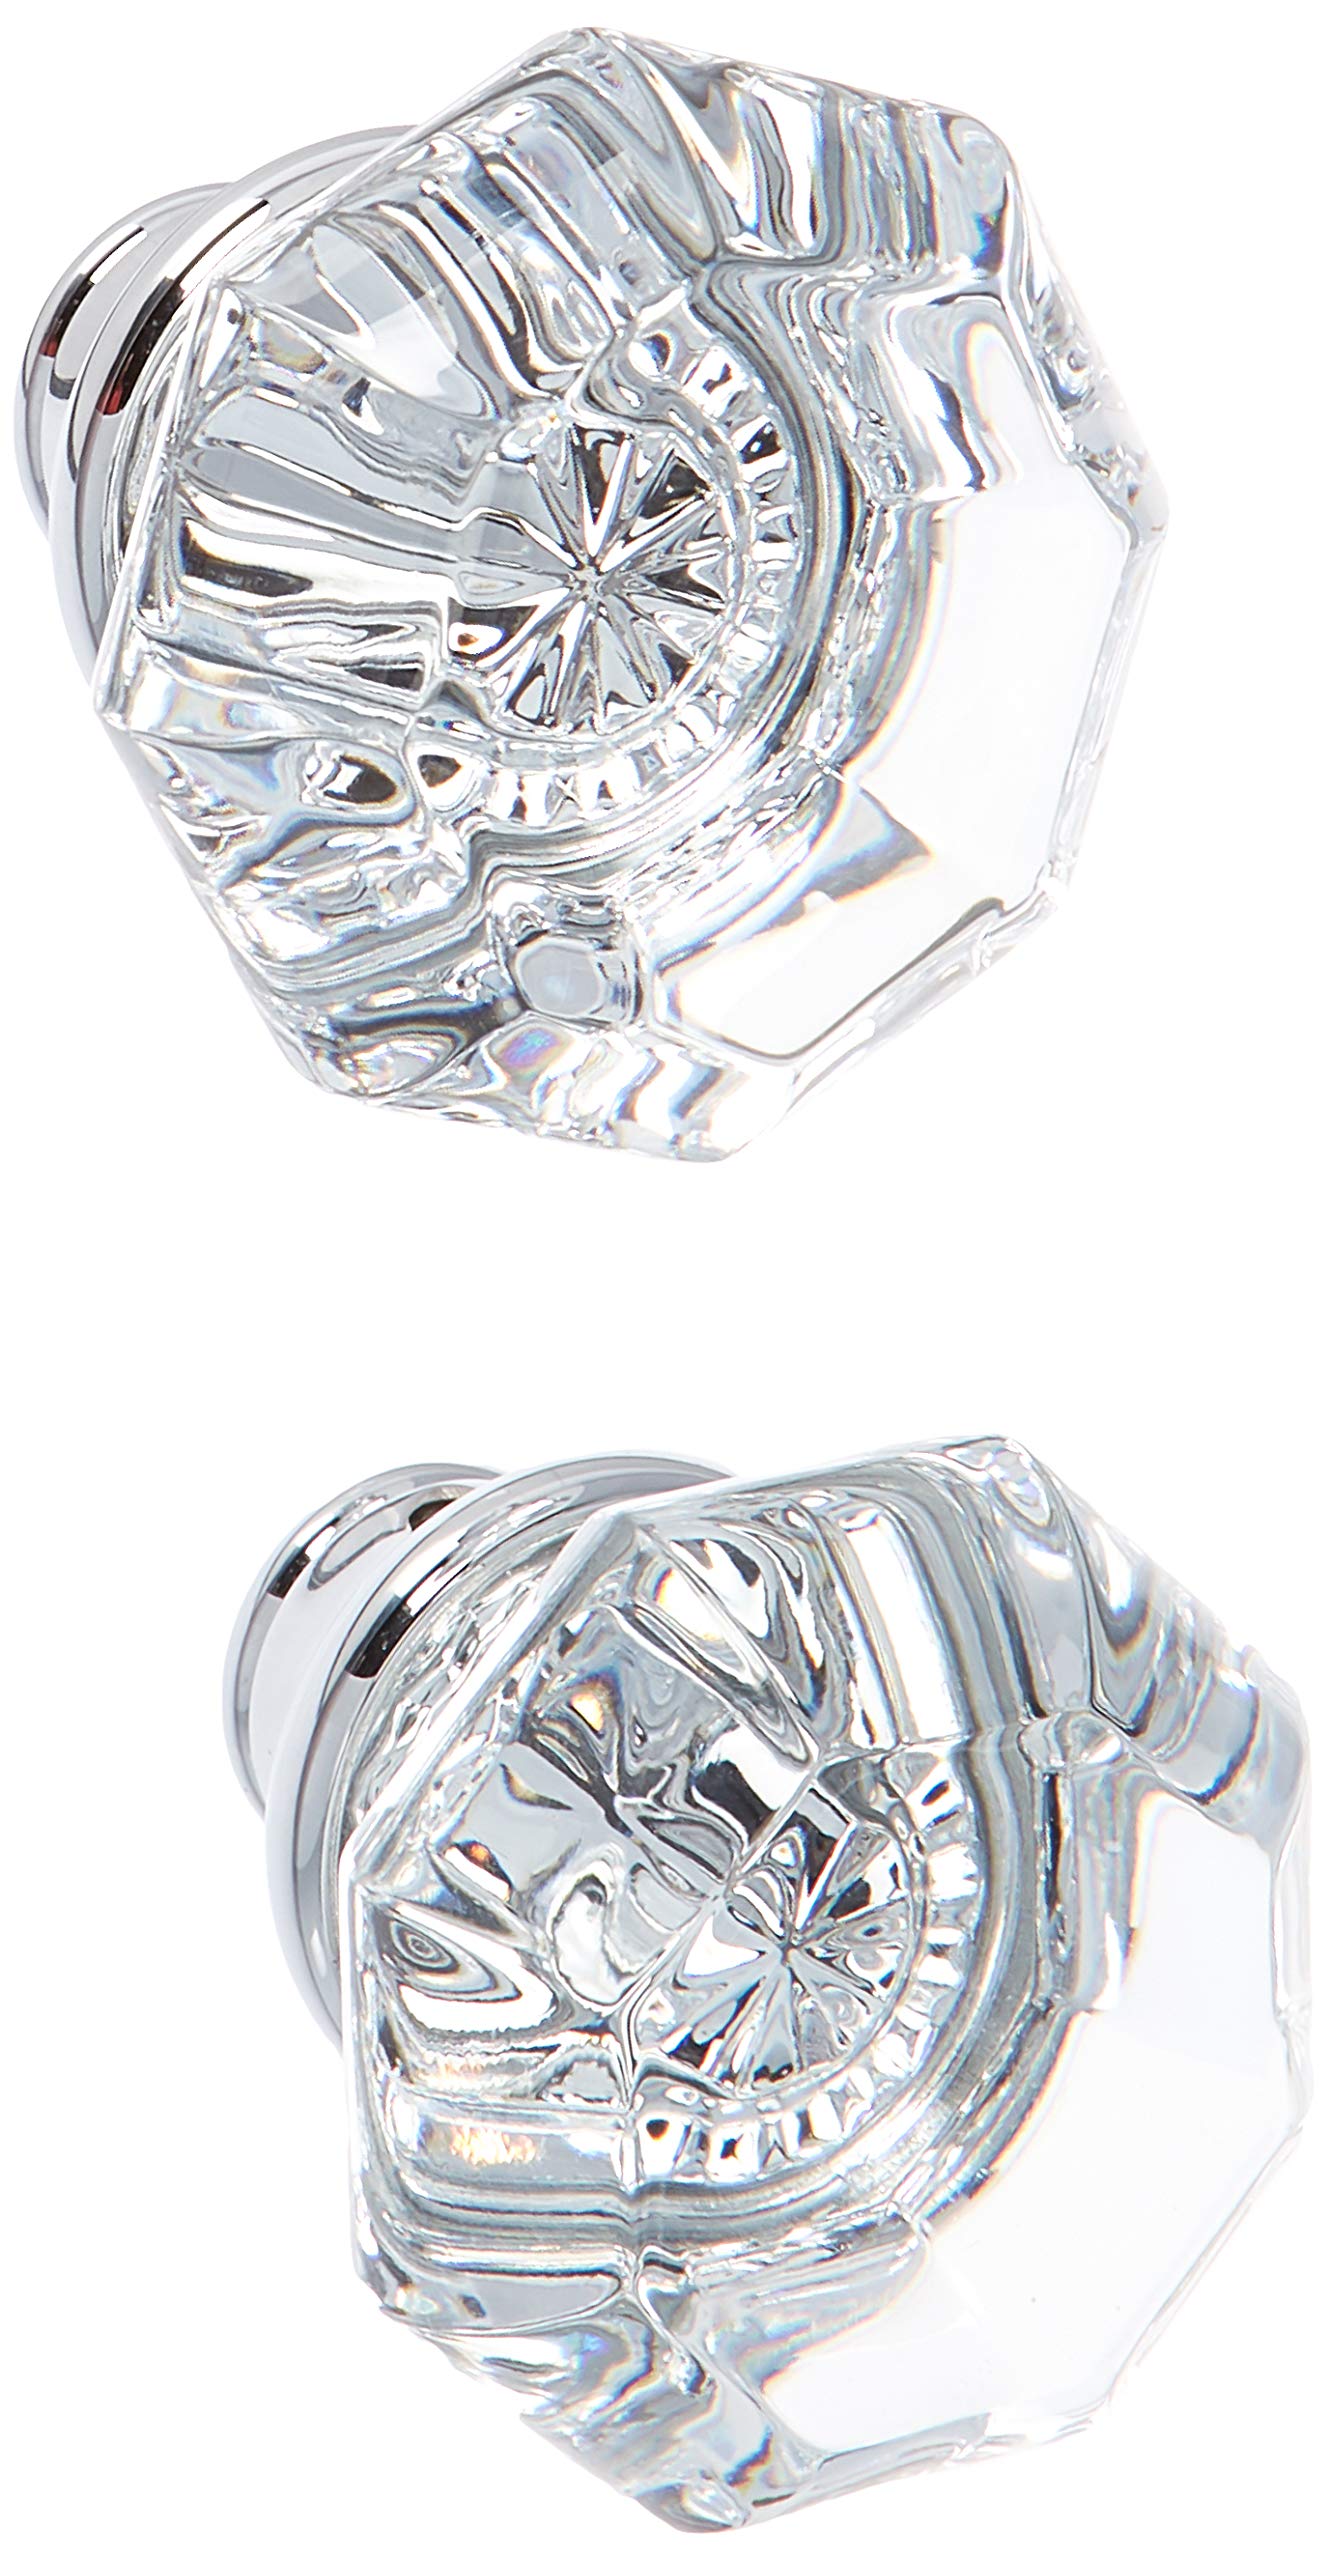
Image: A pair of Baldwin Fillmore Estate Door Knobs in polished chrome, showing the main knob components.
Konfiguracja i instalacja
These Baldwin Fillmore Estate Door Knobs are designed to be used with existing or separately purchased door hardware for various functions (dummy, passage, privacy). This manual focuses on the installation of the knobs themselves.
Wymagane narzędzia:
- Śrubokręt krzyżakowy
- Measuring Tape (optional, for precise placement)
- Ołówek (opcjonalnie, do zaznaczania)
Installation Steps for Dummy Function (Surface Mount):
- Position the Knob: Determine the desired location for the dummy knob on the door surface. Mark the screw hole locations with a pencil.
- Attach the Knob: Align the knob with the marked holes. Secure the knob to the door surface using the provided mounting screws. Do not overtighten to avoid damaging the door or knob finish.
- Repeat for Second Knob: If installing a pair of dummy knobs, repeat the process for the second knob on the opposite side of the door or another door.
Installation Steps for Passage/Privacy Functions (with existing hardware):
If you are replacing existing knobs or integrating these knobs with a separate latch and rosette mechanism, follow the instructions provided with your specific latch and rosette hardware. Generally, the steps involve:
- Prepare Latch/Spindle: Ensure the latch mechanism and spindle (if applicable) are correctly installed in the door.
- Zamontuj pokrętła: Slide the Baldwin Fillmore Estate Knobs onto the spindle or through the rosette mechanism.
- Secure Knobs: Fasten the knobs using the mounting screws, typically through the rosette or directly into the knob's base, as per your specific hardware's design.
- Operacja testowa: Verify that the knobs turn smoothly and the latch operates correctly.
Działanie
The Baldwin Fillmore Estate Door Knobs operate based on the function of the associated door hardware (latch, lock, etc.).
- Dummy Function: These knobs are stationary and do not turn. They are used for decorative purposes or as pulls on cabinet doors or inactive door panels.
- Funkcja przejścia: When paired with a passage latch, the knobs turn freely to retract the latch bolt, allowing the door to open. There is no locking mechanism.
- Privacy Function: When paired with a privacy latch, the knobs turn to retract the latch bolt. A privacy pin or button on the interior knob allows for locking the door from the inside, typically without a key.
To open a door with a passage or privacy knob, simply turn the knob in either direction and pull or push the door. For privacy functions, engage the locking mechanism from the interior as needed.
Konserwacja
To maintain the finish and functionality of your Baldwin door knobs:
- Czyszczenie: Clean the knobs regularly with a soft, damp cloth. Avoid abrasive cleaners, solvents, or polishing agents, as these can damage the polished chrome finish.
- Smarowanie: If the internal mechanism (if applicable) becomes stiff, a small amount of silicone-based lubricant can be applied to moving parts. Avoid oil-based lubricants which can attract dust.
- Kontrola: Periodically check all mounting screws for tightness. Retighten if necessary to ensure secure attachment.
Rozwiązywanie problemów
| Problem | Możliwa przyczyna | Rozwiązanie |
|---|---|---|
| Gałka jest luźna | Śruby montażowe są poluzowane. | Dokręć śruby mocujące śrubokrętem krzyżakowym. Nie dokręcaj ich zbyt mocno. |
| Knob does not turn smoothly (Passage/Privacy) | Internal mechanism is dry or obstructed. | Apply a small amount of silicone-based lubricant to the spindle and internal moving parts of the associated hardware. Check for any obstructions. |
| Door does not latch (Passage/Privacy) | Latch mechanism misalignment or damage. | Inspect the latch mechanism and strike plate. Adjust alignment if necessary. If damaged, the latch mechanism may need replacement (not included with these knobs). |
Specyfikacje
- Model: 5080260MR
- Marka: Baldwin
- Tworzywo: Solid Brass, Metal
- Skończyć: Polerowany chrom
- Wymiary produktu: Approximately 2.2 x 2.2 x 2.7 inches (per knob)
- Waga przedmiotu: Approximately 1.4 pounds (per knob)
- Kraj pochodzenia: Chiny
- Cechy szczególne: Easy to Install, Sturdy construction
Gwarancja i wsparcie
For warranty information and customer support, please refer to the official Baldwin website or contact Baldwin customer service directly. Keep your proof of purchase for warranty claims.
Baldwin Webstrona: www.baldwinhardware.com


