Wstęp
Thank you for choosing the KRUPS Household Espresso Maker, Model 963/A. This manual provides essential information for the safe and efficient operation, maintenance, and care of your new espresso machine. Please read all instructions carefully before first use and retain this manual for future reference.
Ważne instrukcje bezpieczeństwa
- Zawsze upewnij się, że urządzenie jest odłączone od zasilania przed czyszczeniem lub gdy nie jest używane.
- Nie zanurzaj urządzenia, przewodu ani wtyczki w wodzie lub innych płynach.
- Trzymać poza zasięgiem dzieci. W przypadku korzystania z urządzenia w pobliżu dzieci wymagany jest ścisły nadzór.
- Nie używaj żadnego urządzenia, jeśli przewód lub wtyczka są uszkodzone, ani po awarii urządzenia lub po jego uszkodzeniu w jakikolwiek sposób.
- Używaj wyłącznie akcesoriów zalecanych przez producenta.
- To urządzenie jest przeznaczone wyłącznie do użytku domowego.
- Zachowaj szczególną ostrożność przy obchodzeniu się z gorącą parą i gorącą wodą.
Składniki produktu
Familiarize yourself with the main parts of your KRUPS Espresso Maker.
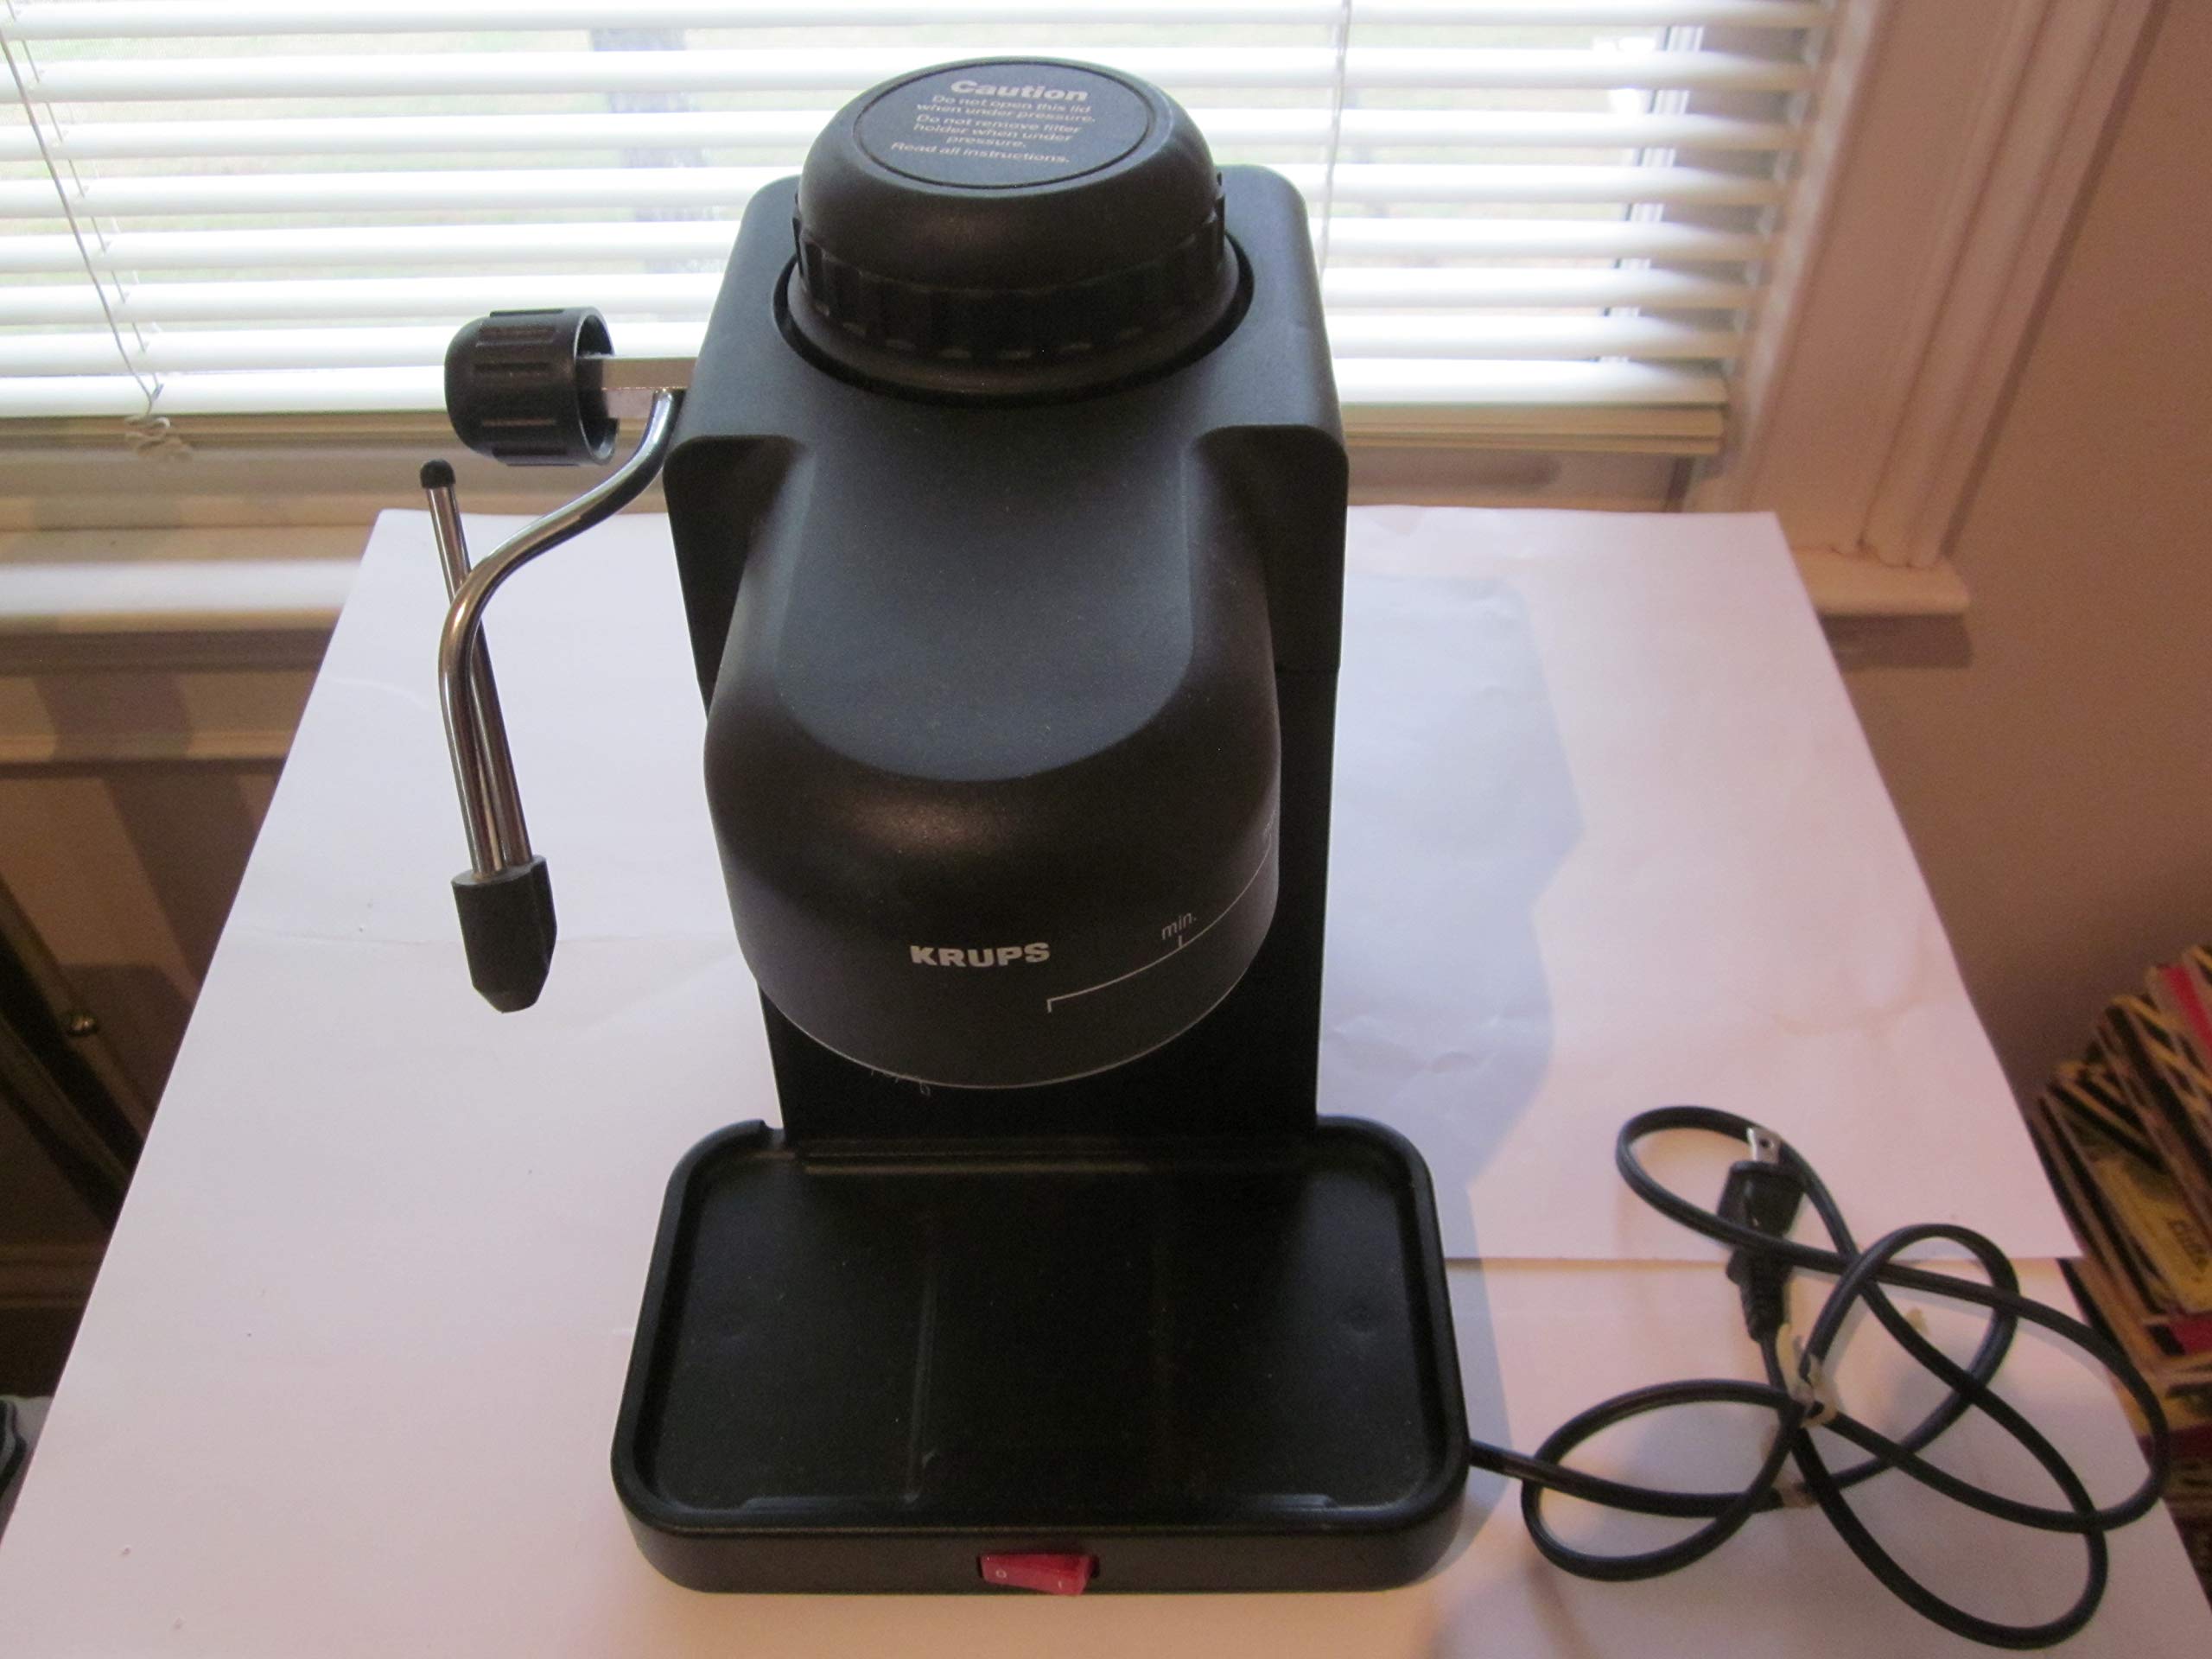
Figure 1: KRUPS Household Espresso Maker, Model 963/A. This image displays the overall design of the espresso machine.
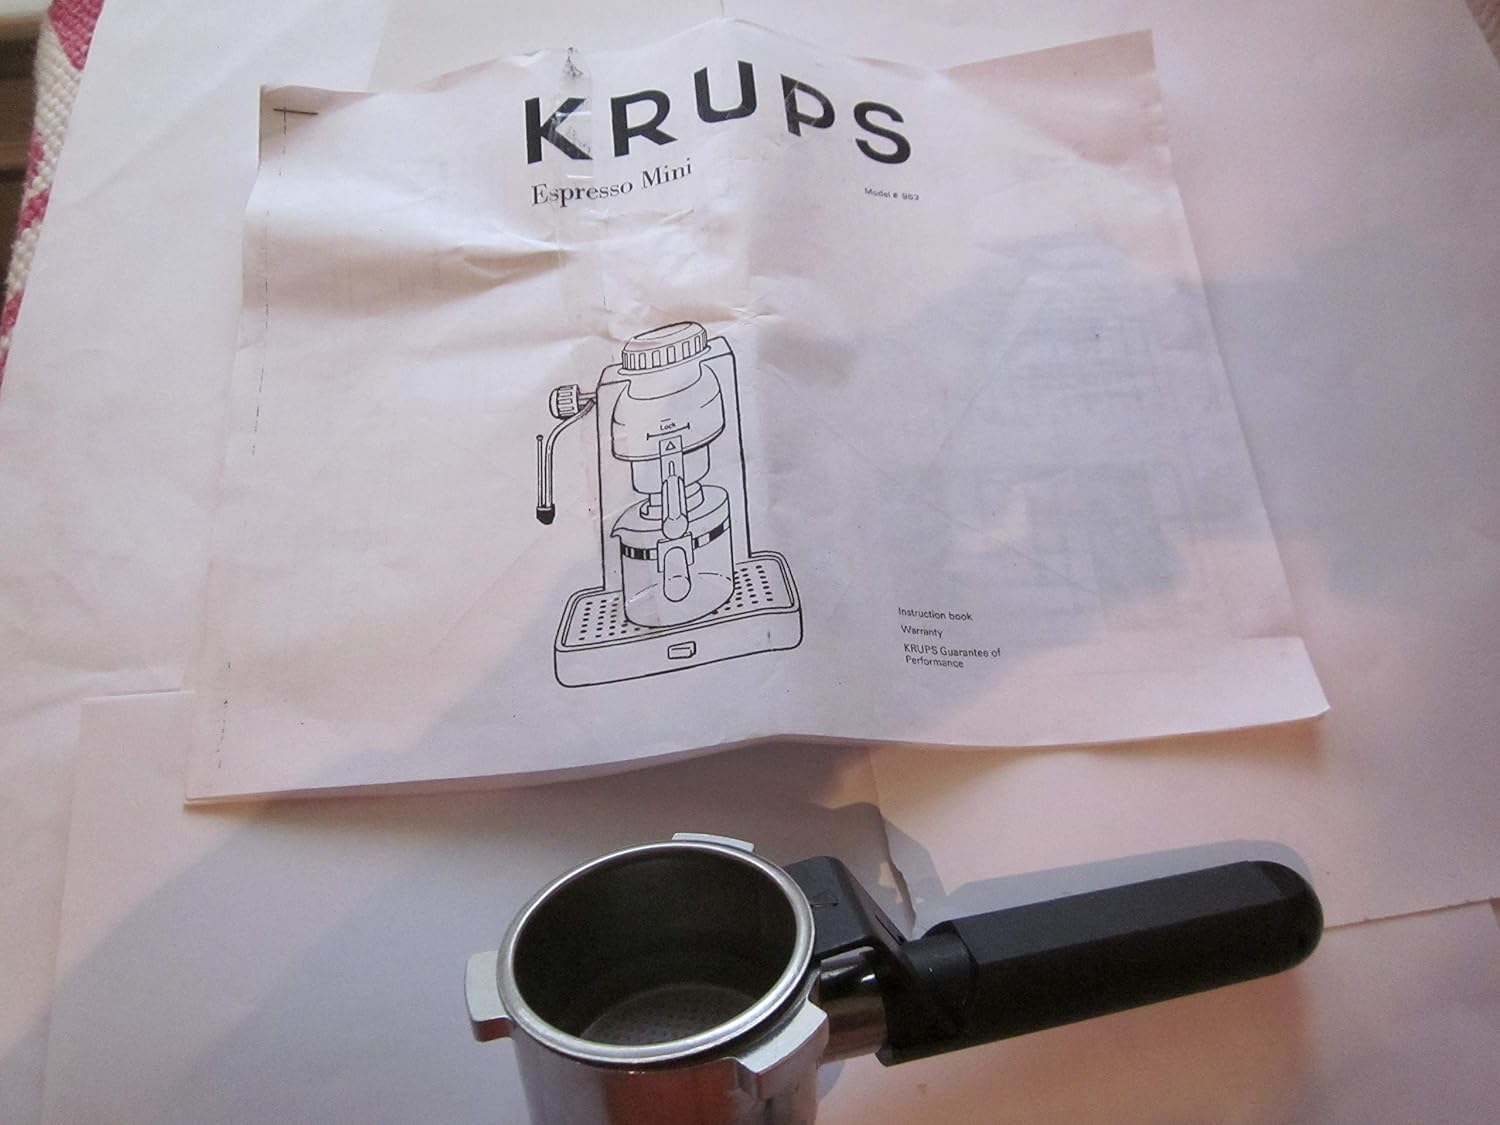
Figure 2: Included components, showing the portafilter and the cover of the instruction manual. The portafilter is a key component for holding ground coffee.
- Zbiornik wodny: Przechowuje wodę do zaparzania.
- Uchwyt filtra: Pojemnik na zmieloną kawę do zaparzenia espresso.
- Dysza pary: Stosowany do spieniania mleka.
- Taca ociekowa: Zbiera nadmiar płynu.
- Control Knob/Switch: Do wyboru funkcji (zaparzanie, para, wyłączenie).
- Karafka: Zbiera zaparzone espresso.
Konfiguracja i pierwsze użycie
1. Rozpakowanie i wstępne czyszczenie
- Usuń wszystkie materiały opakowaniowe i naklejki z urządzenia.
- Wash the removable parts (portafilter, carafe, drip tray) with warm, soapy water. Rinse thoroughly and dry.
- Wytrzyj zewnętrzną część urządzenia za pomocąamp płótno.
2. Preparing for First Use (Priming)
- Fill the water reservoir with fresh, cold water up to the "MAX" level.
- Place the carafe under the brewing head.
- Plug the machine into a 120 Volt, 60 Hz AC outlet.
- Turn the control knob to the "Brew" position (usually indicated by a coffee cup icon).
- Allow the machine to pump water through until the reservoir is empty. This primes the pump and cleans the internal components.
- Powtórz ten proces 2-3 razy, używając świeżej wody.
Instrukcja obsługi
1. Przyrządzanie Espresso
- Upewnij się, że zbiornik na wodę jest napełniony świeżą, zimną wodą.
- Add finely ground espresso coffee to the portafilter. Do not overfill. Tamp kawę lekko.
- Attach the portafilter securely to the brewing head by twisting it into place.
- Place the carafe under the portafilter.
- Turn the control knob to the "Brew" position. The machine will begin to heat the water and extract espresso.
- Once the desired amount of espresso is brewed, turn the control knob to the "Off" position.
- Ostrożnie wyjmij uchwyt filtra i usuń zużytą kawę mieloną.
2. Frothing Milk (Steam Function)
- Fill a small pitcher with cold milk (dairy or non-dairy).
- Turn the control knob to the "Steam" position (usually indicated by a steam icon). Allow the machine to heat up until the steam indicator light illuminates or steam starts to emit.
- Umieść dyszę pary tuż pod powierzchnią mleka w dzbanku.
- Slowly lower the pitcher as the milk froths, keeping the wand submerged to create a vortex.
- Once the desired foam consistency and temperature are reached, turn the control knob to the "Off" position.
- Natychmiast wytrzyj dyszę parową wodą.amp szmatką, aby zapobiec zasychaniu resztek mleka.
Konserwacja i czyszczenie
1. Codzienne czyszczenie
- After each use, unplug the machine and allow it to cool.
- Remove and empty the portafilter. Rinse it under running water.
- Empty and clean the drip tray and its cover.
- Wytrzyj zewnętrzną część urządzenia za pomocąamp płótno.
- Wyczyść dyszę pary natychmiast po spienianiu mleka.
2. Odkamienianie
Regular descaling is crucial to maintain performance and extend the life of your espresso maker. The frequency depends on water hardness and usage, typically every 2-3 months.
- Prepare a descaling solution according to the descaler manufacturer's instructions (or use a mixture of white vinegar and water, e.g., 1 part vinegar to 2 parts water).
- Napełnij zbiornik na wodę roztworem odkamieniającym.
- Podstaw duży pojemnik pod głowicę parową i dyszę pary.
- Turn the machine on and run about half of the solution through the brewing head.
- Turn the control knob to the "Steam" position and release steam through the wand for about 30 seconds.
- Wyłącz urządzenie i odczekaj 15–20 minut.
- Repeat steps 4-6 until all the descaling solution has passed through the machine.
- Rinse the reservoir thoroughly and fill it with fresh water. Run several full reservoirs of fresh water through the machine (both brewing head and steam wand) to rinse out any descaling residue.
Rozwiązywanie problemów
| Problem | Możliwa przyczyna | Rozwiązanie |
|---|---|---|
| No water flows through brewing head. | Zbiornik na wodę jest pusty; pralka nie jest zalana; filtr jest zatkany. | Fill reservoir; prime the machine; clean portafilter/filter basket; descale. |
| Espresso parzy się zbyt wolno lub wcale. | Kawa zmielona zbyt drobno lubampZbyt mocne cięcie; zatkany filtr. | Użyj grubszego zmielenia; tamp less firmly; clean portafilter/filter basket; descale. |
| Espresso brews too quickly, weak coffee. | Kawa zmielona zbyt grubo lub za mało kawy. | Use finer grind; use more coffee. |
| Brak pary z dyszy parowej. | Steam wand clogged; machine not heated sufficiently. | Clean steam wand hole with a pin; allow machine to heat longer. |
Jeśli problem nadal występuje, zapoznaj się z sekcją pomocy technicznej lub skontaktuj się z obsługą klienta.
Specyfikacje
- Model: 963/A
- Marka: KRUPS
- Moc: 120 Volt, 60 Hz, 800 Watt
- Typ: Ekspres parowy
- Tryb działania: Podręcznik
- Kolor: Czarny
- Zawartość zestawu: Carafe (Note: Perforated cover for drip tray may be missing and require reordering, as per product description.)
- Wymiary: Około 10 x 8 x 6 cala (wymiary opakowania)
Gwarancja i wsparcie
Informacje o gwarancji
This KRUPS product is covered by a manufacturer's warranty. Please refer to the separate warranty booklet included with your purchase for detailed terms and conditions, including warranty period and coverage. Retain your proof of purchase for warranty claims.
Obsługa klienta
For technical assistance, spare parts, or service, please contact KRUPS customer support. Contact information can typically be found on the KRUPS official website or in the warranty documentation. When contacting support, please have your model number (963/A) and purchase date available.
Note: The product description indicates that the original carafe may be broken and the perforated cover for the drip tray may be missing. These parts would need to be reordered if not present.


