1. Wprowadzenie
The Airthings Corentium Home Radon Detector 223 is a state-of-the-art, battery-operated device designed for accurate and continuous monitoring of radon gas levels in your home or other indoor environments. This portable and lightweight detector provides on-screen daily, weekly, and long-term average radon concentrations, empowering you to take informed action for your indoor air quality.
Radon is an invisible, odorless, and radioactive gas that naturally occurs and is found everywhere, impacting air quality. It is the leading cause of lung cancer for non-smokers. Continuous monitoring is essential as radon levels can fluctuate daily due to various environmental factors.
2. Koniec produktuview
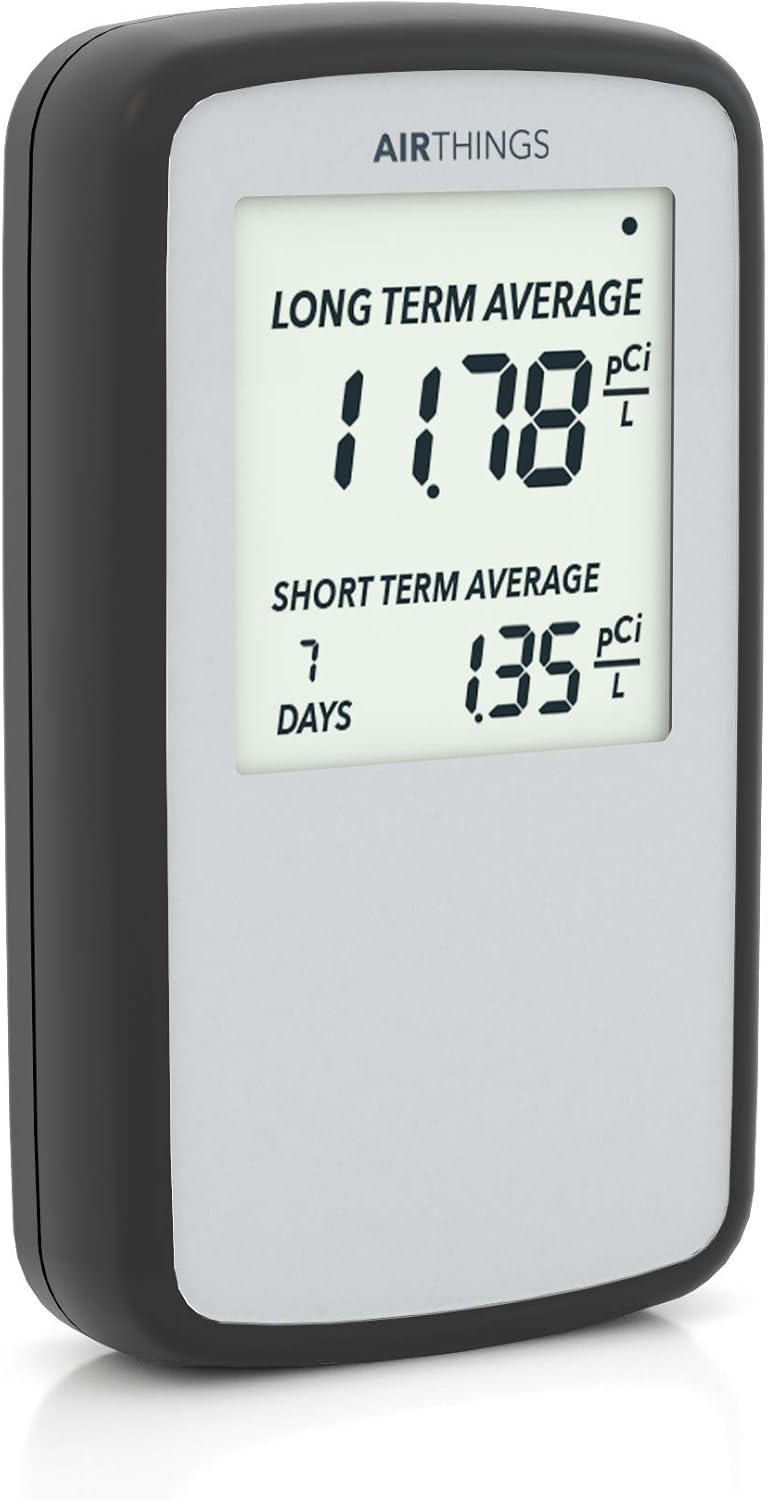
Rycina 1: Przód view of the Airthings Corentium Home Radon Detector 223, displaying long-term and short-term average radon levels.

Rysunek 2: Tył view of the Airthings Corentium Home Radon Detector 223, highlighting the battery compartment, reset button, and mode button.
Główne cechy:
- Zasilany bateryjnie: The first digital radon detector designed for portability without the need for an outlet.
- Ciągły monitoring: Provides ongoing measurement of radon levels.
- Digital Readings: Clear LCD screen displays long-term, weekly, and daily average concentrations.
- Radon Report Generation: Ability to generate self-inspection reports.
- Łatwy w użyciu: Prosta konfiguracja i obsługa.
3. Konfiguracja
3.1. Rozpakowanie i wstępna inspekcja
Carefully remove the Airthings Corentium Home Radon Detector from its packaging. Inspect the device for any visible damage. Ensure all components, including the radon sensor and 3 AAA batteries, are present.
3.2. Instalacja baterii
- Znajdź komorę baterii z tyłu urządzenia (patrz rysunek 2).
- Odsuń pokrywę baterii.
- Włóż 3 baterie AAA, zwracając uwagę na prawidłową biegunowość (+/-).
- Dokładnie zamknij pokrywę baterii.
- The device will automatically power on and begin calibration.
3.3. Umieszczenie
Place the detector in the lowest lived-in area of your home, such as a basement or ground floor. Ensure it is at least 20 inches (50 cm) from the floor and 4 inches (10 cm) from other objects. Avoid placing it near windows, doors, or ventilation systems that could affect readings.
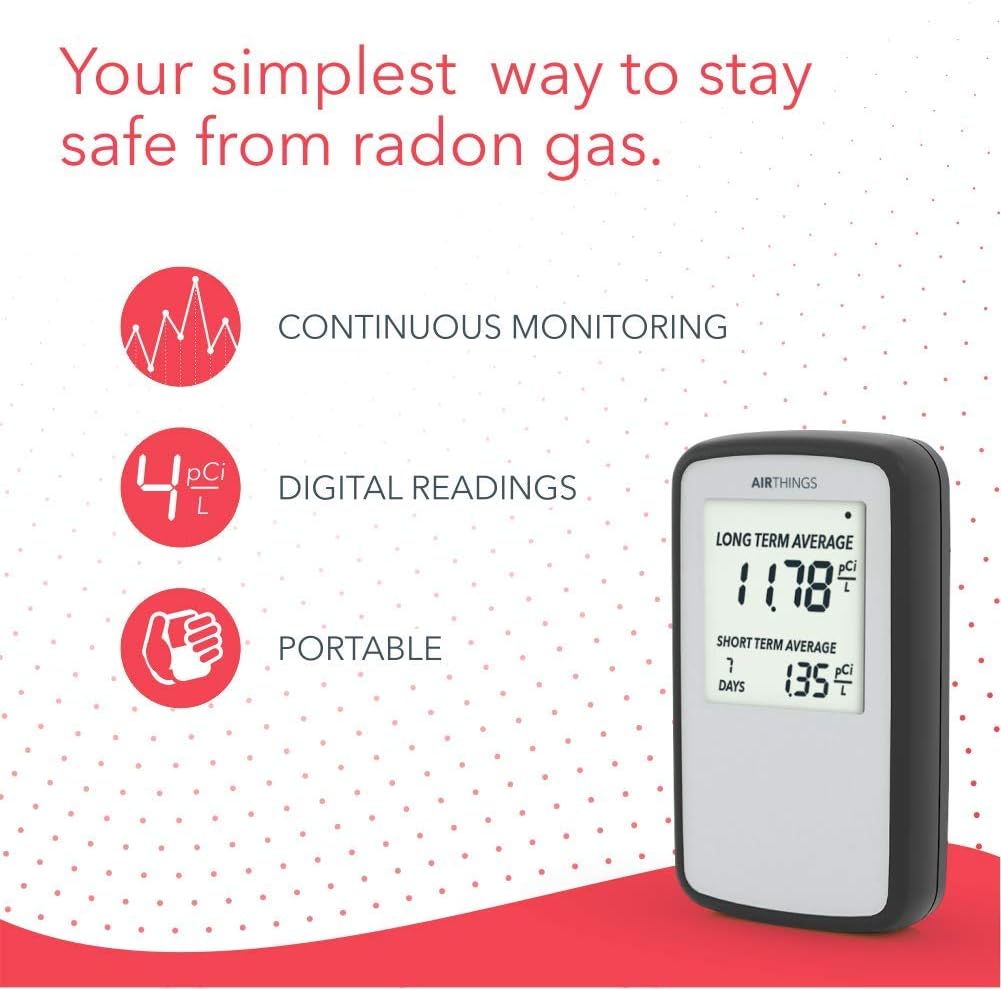
Figure 3: Proper placement of the radon detector on a shelf in a living area.
4. Instrukcja obsługi
4.1. Zrozumienie wyświetlacza
The LCD screen displays two main readings:
- Long Term Average: This is the average radon concentration since the device was last reset or powered on. This reading becomes more accurate over time.
- Short Term Average: This displays the average radon concentration over the last 24 hours (default) or 7 days. Use the 'Mode' button to switch between these short-term views.
A flashing dot in the upper right corner indicates that the device is actively taking measurements.
Figure 4: Close-up of the detector's display, showing long-term and short-term average readings.
4.2. Interpreting Radon Levels
The device provides guidance on interpreting your long-term average readings:
- 0-2 pCi/L: Continue to monitor.
- 2-4 pCi/L: Ventilate and monitor.
- 4+ pCi/L: Contact a professional and keep monitoring.
It is recommended to monitor for at least 24 hours for initial results, and for 7 days for a more stable long-term average. Radon levels naturally fluctuate with ventilation and weather, so longer measurements provide a more representative average.

Figure 5: Airthings Radon Levels Chart, detailing recommended actions based on pCi/L readings.
4.3. Generating a Radon Report
The Corentium Home allows you to generate a radon self-inspection report. Connect the device to your computer via the micro USB port (located on the side, not included). Follow the instructions provided on the Airthings website to download your data and create a printable report.
5. Konserwacja
5.1. Wymiana baterii
The device is powered by 3 AAA batteries (included). The battery life is estimated at over 2 years. When the battery indicator on the display shows low power, replace all three batteries with new ones. Refer to section 3.2 for battery installation steps.
5.2. Czyszczenie
Wipe the device with a soft, dry cloth. Do not use abrasive cleaners or solvents, as these may damage the device.
5.3. Kalibracja
The Airthings Corentium Home Radon Detector does not require annual calibrations throughout its useful life, estimated at over 10 years. This is due to its advanced internal architecture and signal analysis algorithms.
6. Rozwiązywanie Problemów
6.1. No Display / Device Not Turning On
- Sprawdź, czy baterie zostały włożone prawidłowo, z zachowaniem właściwej polaryzacji.
- Wymień baterie na nowe.
6.2. Niespójne odczyty
- Ensure the device has been running for at least 24 hours for initial readings and 7 days for a stable short-term average. Long-term averages become more accurate over longer periods.
- Verify the device is placed in an optimal location, away from direct drafts, windows, or extreme temperature fluctuations.
- Radon levels naturally fluctuate. Continuous monitoring provides a more representative average.
6.3. Resetowanie urządzenia
To clear all historical data and restart monitoring, use a pointed object (like a toothpick) to press the 'Reset' button located on the back of the device (refer to Figure 2). This will reset all averages to zero and begin a new measurement cycle.
7. Specyfikacje
| Funkcja | Szczegół |
|---|---|
| Marka | Powietrze |
| Numer modelu | 223 |
| Źródło zasilania | Zasilanie bateryjne (w zestawie 3 baterie AAA) |
| Wymiary produktu | 1" gł. x 2.7" szer. x 4.7" wys. |
| Waga przedmiotu | 3.52 uncji |
| Wilgotność robocza | 95 procent |
| Górna ocena temperatury | 104 stopni Fahrenheita |
| Typ czujnika | Detektor radonu |
| Tworzywo | ABS |
| Życie | Estimated over 10 years |
8. Gwarancja i wsparcie
8.1. Informacje o gwarancji
Airthings offers a 5-year extended warranty on all air quality monitors for consumers. Registration is required within 30 days of purchase on the official Airthings website. Registration is free and does not affect your statutory rights.
8.2. Obsługa klienta
For further assistance, technical support, or to register your product for warranty, please visit the official Airthings webstronie lub skontaktuj się z działem obsługi klienta.


