Bravo Collection Three-Light Inverted Pendant User Manual
Model: P3912-09 | Marka: Progress Lighting
Produkt ponadview
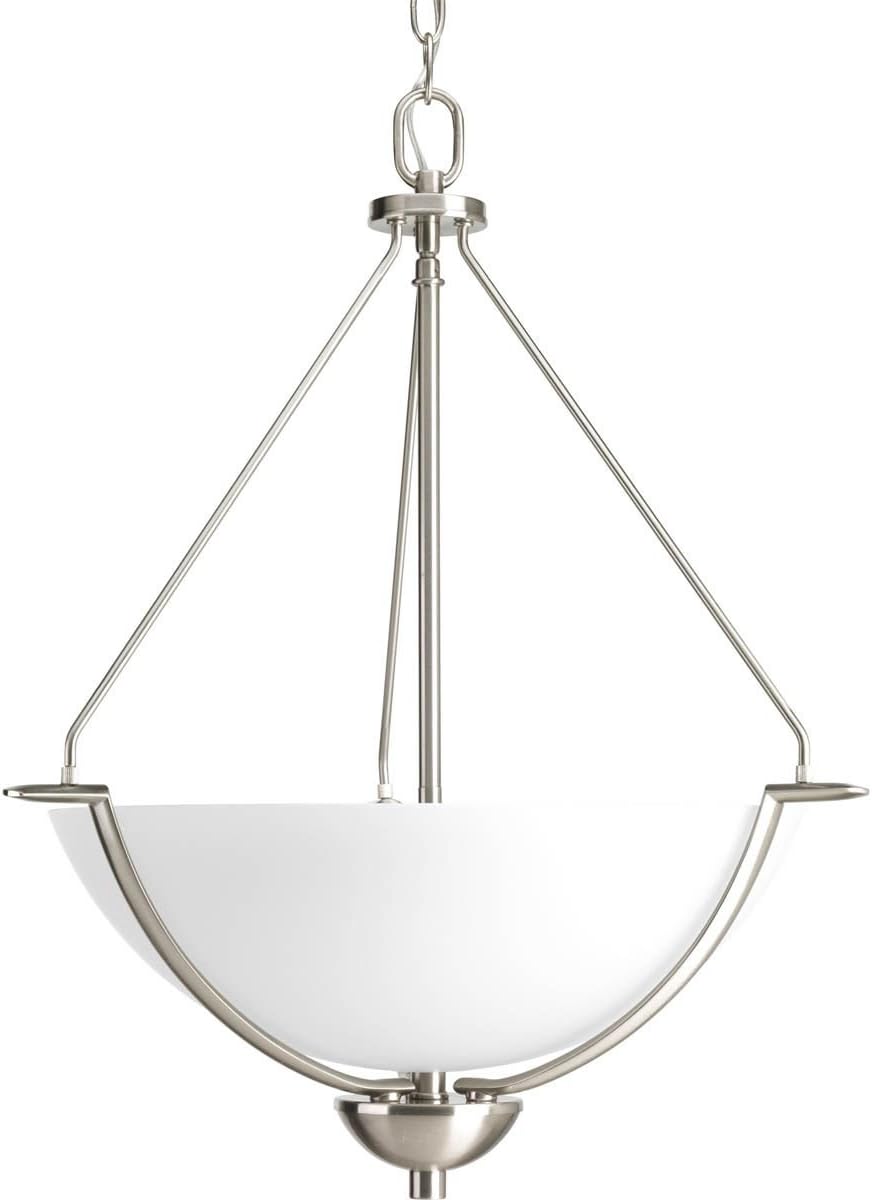
The Bravo Collection Three-Light Inverted Pendant in Nickel offers a current, transitional style with free-flowing arms gracefully suspended with fluted shaped glass. This fixture is designed to provide ample illumination and enhance the aesthetic of various indoor spaces.
Image: The Bravo Collection Three-Light Inverted Pendant, showcasing its nickel finish and inverted glass shade.
Ważne informacje dotyczące bezpieczeństwa
Przed rozpoczęciem instalacji prosimy o przeczytanie i zrozumienie wszystkich instrukcji. Nieprzestrzeganie ich może spowodować porażenie prądem, pożar lub inne obrażenia, które mogą być śmiertelne lub spowodować uszkodzenie mienia.
Przed przystąpieniem do instalacji lub konserwacji należy zawsze odłączyć zasilanie za pomocą głównego wyłącznika.
Jeśli nie masz pewności co do procesu instalacji, skonsultuj się z wykwalifikowanym elektrykiem.
Upewnij się, że wszystkie połączenia elektryczne są zgodne z lokalnymi przepisami i rozporządzeniami.
Nie przekraczać maksymalnej mocytage określone dla żarówek.
Zawartość opakowania
Przed przystąpieniem do instalacji sprawdź, czy wszystkie komponenty są obecne i nieuszkodzone.
Fixture Body with Inverted Glass Shade
Uchwyt montażowy
Daszek
Chain (72 inches included for adjustable hanging height)
Drut nakrętki
Śruby montażowe i osprzęt
Instrukcje instalacji
Follow these steps carefully for proper installation of your pendant light.
Przygotowanie: Turn off power at the circuit breaker. Gather necessary tools (screwdriver, wire strippers, electrical tape, safety glasses).
Instalacja wspornika montażowego: Przymocuj uchwyt montażowy do puszki przyłączeniowej w suficie za pomocą dołączonych śrub. Upewnij się, że jest solidnie zamocowany.
Regulacja długości łańcucha: Determine the desired hanging height. The fixture includes 72 inches of chain. Adjust the chain by opening links with pliers to achieve the correct length. Feed the electrical wires through the chain and canopy.
Połączenia elektryczne: Connect the fixture's wires to the corresponding house wires (black to black, white to white, ground to ground) using wire nuts. Secure connections with electrical tape.
Attaching Fixture Body: Carefully lift the fixture and attach the canopy to the mounting bracket, securing it with the decorative nuts. Ensure the glass shade is properly seated and secured to the fixture body.
Montaż żarówki: Install three (3) incandescent bulbs with an E26 base, not exceeding 100 watts per bulb.
Recommended Hanging Heights and Spacing
Proper placement ensures optimal lighting and aesthetic appeal.
Wyspy kuchenne: For multiple pendants, start the row 12-15 inches in from either end of the island and space the remaining pendants evenly within that span. The bottom of the pendant should hang 30-36 inches above the countertop.
Dining Tables: Pendants should be at least 10 inches smaller in diameter than the width of the table. Hang the bottom of the pendant 30-34 inches above the dining table surface.
Entryways/Stairwells: Ensure adequate clearance for walking. For a 12-foot ceiling, the bottom of the fixture might hang around 6 feet from the floor.
Image: Illustration of the included 72-inch chain, allowing for multiple hanging heights and suitability for sloped ceilings.
Image: Technical drawing indicating the pendant's dimensions: 23-1/2 inches in height and 21 inches in width.
Image: Guide for pendant placement over a kitchen island, suggesting 12 inches from ends and 30-36 inches hanging height.
Image: Illustration demonstrating appropriate chandelier hanging height in a stairwell, considering ceiling height and clearance.
Image: Guide for pendant placement over a dining table, suggesting 32-48 inches width and 30-34 inches hanging height.
Operating Your Pendant Light
This pendant light operates like any standard hardwired lighting fixture. Ensure the light switch connected to the fixture is in the 'ON' position for illumination.
Wymagania dotyczące zasilania: The fixture operates on a standard 120 Volts AC power supply.
Typ żarówki: Uses three (3) incandescent bulbs with an E26 base. Maximum wattage per bulb is 100 watts. For energy efficiency, consider using compatible LED bulbs.
Pielęgnacja i konserwacja
Regular care will help maintain the appearance and functionality of your pendant light.
Czyszczenie: To clean the fixture, turn off the power and allow it to cool. Wipe the metal surfaces with a soft, dry cloth. For the glass shade, use a mild glass cleaner and a soft cloth. Avoid abrasive cleaners or solvents.
Wymiana żarówki: Ensure power is off and bulbs are cool before replacing. Unscrew old bulbs and screw in new ones of the correct type and wattage.
Rozwiązywanie problemów
If you encounter issues with your pendant light, refer to the table below for common problems and solutions.
Problem
Możliwa przyczyna
Rozwiązanie
Światło się nie włącza
No power to fixture; Loose wiring connection; Faulty bulb; Tripped circuit breaker
Check circuit breaker and wall switch; Verify all wiring connections are secure; Replace bulb; Reset circuit breaker
Tighten bulb; Check and secure wiring connections; Ensure dimmer is compatible with bulb type; Use recommended bulb type
Fixture is unstable/wobbles
Mounting bracket not secure; Chain not properly attached
Ensure mounting bracket is tightly secured to junction box; Verify chain links are closed and securely attached
Specyfikacja produktu
Marka: Oświetlenie Progress
Model: P3912-09
Wymiary: 23.5" dł. x 21" szer. x 23.5" wys.
Tworzywo: Alloy Steel, Crystal (Shade)
Skończyć: Nikiel
Typ źródła światła: Rozżarzony
Podstawa żarówki: E26
Liczba źródeł światła: 3
Cotage: 100 watów (maks. na żarówkę)
Tomtage: 120 wolty
Waga przedmiotu: 5 funtów
Kod UPC: 785247166503
Kraj pochodzenia: Chiny
Informacje o gwarancji
This Progress Lighting product is backed by a 1-letnia ograniczona gwarancja. This warranty guarantees your complete satisfaction with your purchase and includes professional after-sales customer service support. For specific terms and conditions, please refer to the warranty documentation included with your product or contact customer support.
Obsługa klienta
For further assistance, technical support, or warranty claims, please contact Progress Lighting customer service. Visit the official Progress Lighting webstrona zawierająca dane kontaktowe i dodatkowe zasoby.
Instrukcja montażu lampy wiszącej Progress Lighting P500446 1-LT Medium Instrukcja montażu i instalacji oprawy oświetleniowej Progress Lighting P500446 1-LT Medium Pendant. Zawiera zawartość opakowania, szczegóły dotyczące osprzętu, informacje dotyczące bezpieczeństwa oraz instrukcję montażu krok po kroku.
Progress Lighting P550135 4-LT Outdoor Pendant Installation Guide Detailed installation and assembly instructions for the Progress Lighting P550135 4-LT Outdoor Pendant. Includes package contents, hardware list, safety information, and step-by-step assembly guidance.
Progress Lighting P500435 & P500436 Latham Collection Pendant Installation Guide Comprehensive installation guide for Progress Lighting's P500435 (1-Light Small Pendant) and P500436 (1-LT Medium Pendant) from the Latham Collection. Includes detailed assembly steps, safety precautions, preparation checklist, care instructions, and warranty information.
Instrukcja montażu i instalacji Progress Lighting 8715, 8718 Instrukcja krok po kroku dotycząca montażu i instalacji opraw wiszących Progress Lighting, modeli 8715 i 8718, zawierająca również instrukcje dotyczące okablowania i ostrzeżenia dotyczące bezpieczeństwa.