Wstęp
This manual provides essential information for the safe and efficient installation, operation, and maintenance of your BRILLIANT Luca 4-Flame Spot Tube Light. Please read these instructions carefully before installation and retain them for future reference.
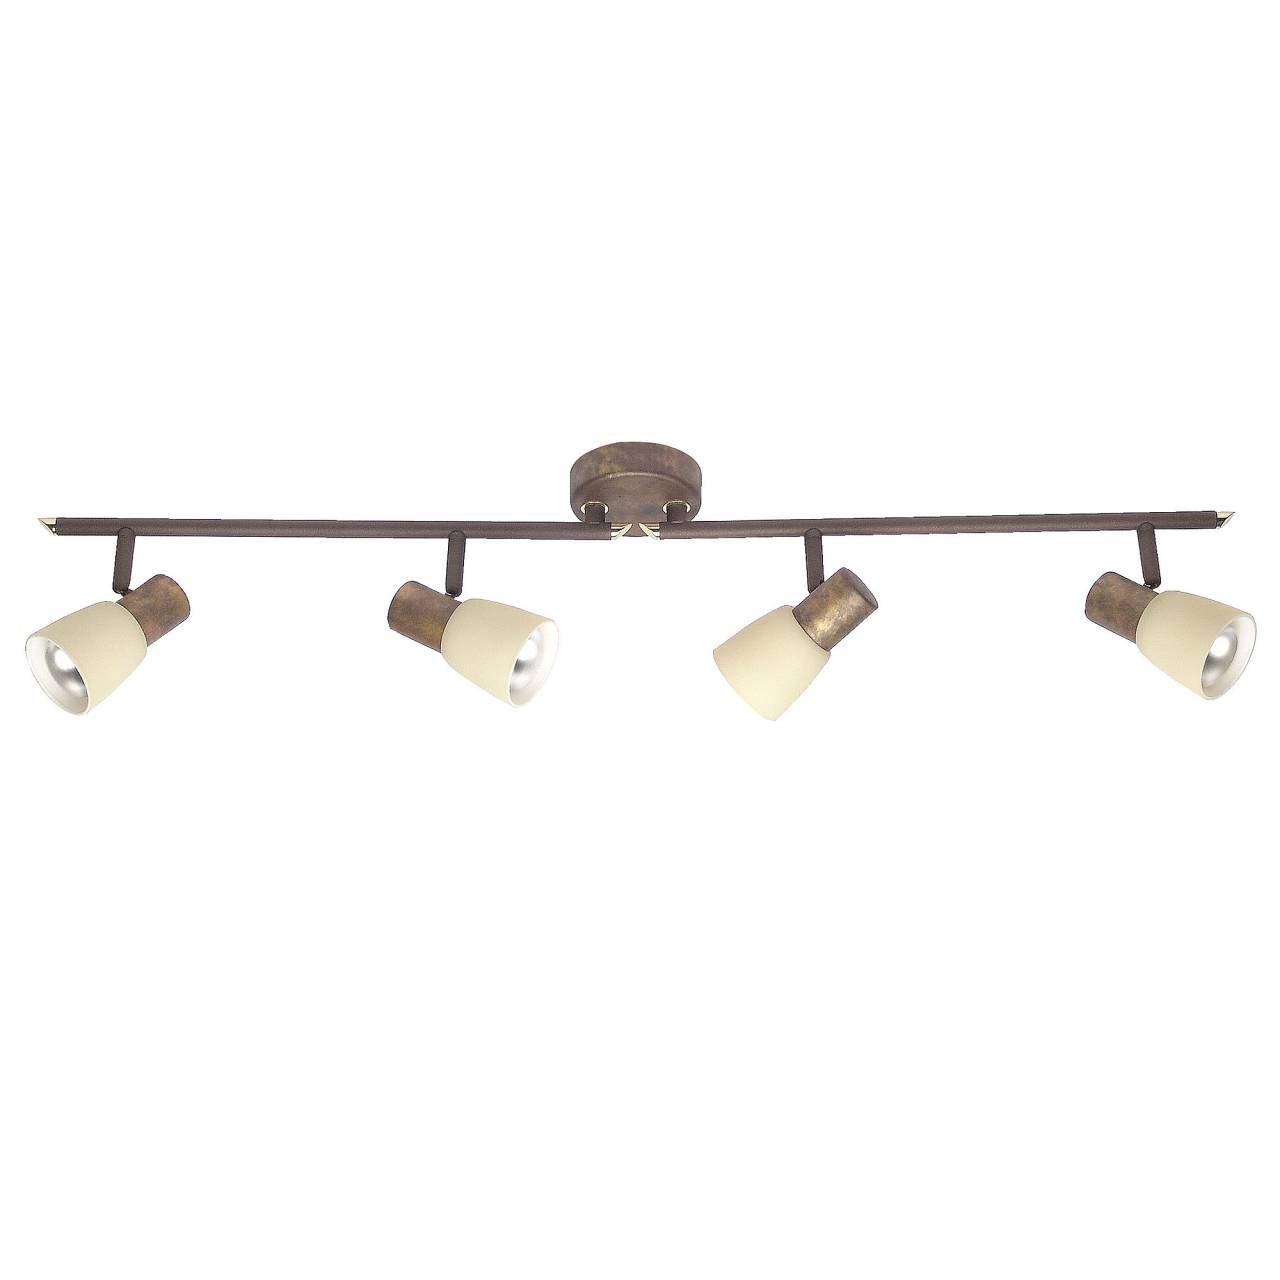
Image 1: The BRILLIANT Luca 4-Flame Spot Tube Light. This image displays the complete light fixture, featuring a long, brown metal bar with four individual spot heads. Each spot head is adjustable and includes a beige glass shade, designed to direct light. The central mounting plate is also visible.
Instrukcje bezpieczeństwa
- Przed instalacją, konserwacją lub wymianą żarówki należy zawsze odłączyć zasilanie od głównego bezpiecznika lub wyłącznika obwodu.
- Instalację powinien wykonać wykwalifikowany elektryk lub osoba kompetentna.
- Upewnij się, że powierzchnia montażowa może utrzymać ciężar urządzenia.
- Nie przekraczać maksymalnej mocytage specified for the bulbs (40W per bulb).
- Produkt przeznaczony jest wyłącznie do użytku wewnątrz pomieszczeń (stopień ochrony IP20). Nie wystawiać na działanie wilgoci ani ekstremalnych temperatur.
- Allow bulbs to cool before touching or replacing them.
- Materiały opakowaniowe należy przechowywać w miejscu niedostępnym dla dzieci.
Zawartość opakowania
Przed rozpoczęciem instalacji sprawdź, czy wszystkie komponenty są obecne:
- 1x BRILLIANT Luca 4-Flame Spot Tube Light fixture
- Mounting material (screws, wall plugs, etc.)
- Instrukcja obsługi
Note: Light bulbs (E14, R50 reflector type, max 40W) are not included and must be purchased separately. LED bulbs are compatible.
Specyfikacje
| Marka | Genialny |
| Numer modelu | 35832/56 |
| Wymiary (dł. x szer. x wys.) | Wymiary 85 x 23.2 x 23.2 cm |
| Waga | 1.22 kilogramów |
| Tworzywo | Metal, Szkło |
| Kolor | Brown (fixture), Beige (shade) |
| Liczba żarówek | 4 |
| Typ gniazda żarówki | E14 |
| Maksymalna moctage na żarówkę | 40 watów |
| Tomtage | 240 wolty |
| Stopień ochrony IP | IP20 (tylko do użytku w pomieszczeniach) |
| Cechy specjalne | Dimmable (with appropriate bulbs and external dimmer), Adjustable Spot Heads |
| Typ instalacji | Montaż sufitowy |
Konfiguracja i instalacja
Ważny: Before starting installation, ensure the power supply is switched off at the main circuit breaker to prevent electric shock.
- Przygotuj powierzchnię montażową: Choose a suitable location on your ceiling or wall. Ensure the surface is clean, dry, and structurally sound to support the light fixture.
- Zaznacz punkty wiercenia: Hold the mounting bracket of the fixture against the desired installation spot. Use a pencil to mark the positions for drilling holes.
- Wiercenie otworów: Drill holes at the marked positions using an appropriate drill bit for your ceiling/wall material. Insert the provided wall plugs into the drilled holes.
- Bezpieczny wspornik montażowy: Attach the mounting bracket to the ceiling/wall using the provided screws. Ensure it is firmly secured.
- Podłączenie elektryczne: Connect the household electrical wires to the terminal block on the fixture. Follow standard wiring color codes (e.g., Live to Live, Neutral to Neutral, Earth to Earth). Ensure all connections are secure.
- Zamontuj osprzęt do uchwytu: Carefully align the light fixture with the secured mounting bracket and attach it using the remaining screws or fastening mechanism.
- Zainstaluj żarówki: Insert four E14 R50 reflector bulbs (not included) into the lamp holders. Do not exceed 40 Watts per bulb. LED bulbs are recommended for energy efficiency.
- Przywróć zasilanie: Po zakończeniu instalacji i zabezpieczeniu wszystkich połączeń należy przywrócić zasilanie za pomocą głównego wyłącznika.
Jeśli masz wątpliwości co do jakiegokolwiek etapu procesu instalacji, skonsultuj się z wykwalifikowanym elektrykiem.
Instrukcja obsługi
- Włączanie/wyłączanie: Operate the light using your standard wall switch.
- Regulacja głowic punktowych: The individual spot heads are pivotable and the arms are rotatable. Gently adjust each spot head and arm to direct the light to your desired area.
- Funkcja ściemniania: If you are using dimmable E14 bulbs and have an external dimmer switch installed, you can adjust the light intensity by operating the dimmer. Ensure your bulbs are compatible with your dimmer type.
Konserwacja
- Czyszczenie: Disconnect power before cleaning. Wipe the fixture with a soft, dry cloth. Do not use abrasive cleaners or solvents, as these can damage the finish.
- Wymiana żarówki:
- Ensure the light is switched off and has cooled down completely.
- Carefully unscrew the old E14 bulb from its socket.
- Screw in a new E14 R50 reflector bulb, ensuring it is no more than 40 Watts.
- Przywróć zasilanie i sprawdź światło.
- Regularne kontrole: Periodically check all connections and mounting screws to ensure they remain tight and secure.
Rozwiązywanie problemów
| Problem | Możliwa przyczyna | Rozwiązanie |
|---|---|---|
| Światło się nie włącza. |
|
|
| Światło migocze. |
|
|
| Ściemnianie nie działa. |
|
|
Jeśli problem nadal występuje, skontaktuj się z obsługą klienta lub wykwalifikowanym elektrykiem.
Gwarancja i wsparcie
Information regarding warranty and spare parts availability is not provided in the product details. For support, please refer to the retailer or manufacturer's official webstrona.
Producent: Genialny