Wstęp
This manual provides comprehensive instructions for the installation, operation, maintenance, and troubleshooting of your Robertshaw RS3110 Digital 5-2 Day Programmable Thermostat. The RS3110 is designed to offer convenient and efficient temperature control for your heating and cooling systems.
Key features include simple touch button controls for weekly programming and worry-free memory retention to maintain settings during power outagt.j.
Produkt ponadview
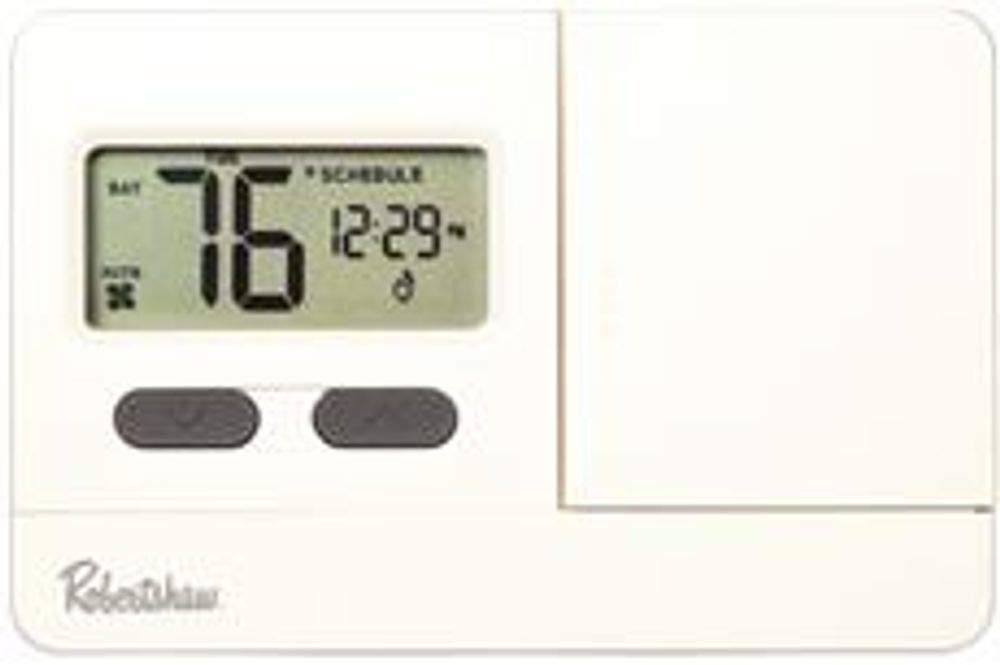
This image displays the front of the Robertshaw RS3110 thermostat, featuring a digital screen that shows the current temperature (76 degrees) and time (12:29). Below the screen are two control buttons. The Robertshaw logo is visible at the bottom left.
The Robertshaw RS3110 is a digital, 5-2 day programmable thermostat designed for 1 Heat/1 Cool systems. It features a clear digital display and intuitive push-button controls for easy temperature management and scheduling.
Konfiguracja i instalacja
Przed rozpoczęciem instalacji należy upewnić się, że zasilanie systemu HVAC jest wyłączone na wyłączniku, aby zapobiec porażeniu prądem.
1. Demontaż starego termostatu
- Turn off power to the heating and cooling system at the main fuse or circuit breaker.
- Zdejmij pokrywę starego termostatu.
- Take a picture of the wiring connections for reference. Label each wire with the corresponding terminal letter (e.g., R, W, Y, G).
- Disconnect the wires and remove the old thermostat's mounting plate from the wall.
2. Mounting the RS3110 Thermostat
- Separate the front cover of the RS3110 from its base plate.
- Position the new base plate against the wall, ensuring wires can pass through the opening.
- Mark the screw holes and drill pilot holes if necessary.
- Przymocuj płytę bazową do ściany za pomocą dołączonych śrub.
3. Okablowanie
Connect the labeled wires from your system to the corresponding terminals on the RS3110 base plate. Refer to the wiring diagram provided with your thermostat for specific connections. This thermostat is compatible with 1 Heat/1 Cool systems.
4. Instalacja baterii
The RS3110 requires two AA batteries (included). Insert the batteries into the designated compartment, observing the correct polarity (+/-). The thermostat will retain settings during power outages due to its internal memory, but batteries are essential for operation.
5. Zakończenie instalacji
- Carefully attach the front cover of the thermostat to the base plate.
- Przywróć zasilanie systemu HVAC za pomocą wyłącznika obwodu.
- The thermostat display should now illuminate.
Instrukcja obsługi
1. Ustawianie aktualnego czasu i dnia
Upon initial power-up or after battery replacement, you may need to set the current time and day. Refer to the specific instructions in your thermostat's included manual for button sequences to adjust these settings.
2. Wybór trybu systemu
Use the system mode switch (typically located on the thermostat) to select between:
- CIEPŁO: Aktywuje system ogrzewania.
- FAJNE: Aktywuje układ chłodzenia.
- OFF: Wyłącza ogrzewanie i chłodzenie.
3. Regulacja temperatury
Użyj UP I W DÓŁ arrow buttons (or similar controls) on the thermostat to set your desired temperature. The display will show both the current room temperature and your setpoint.
4. Programming 5-2 Day Schedule
The RS3110 allows for 5-2 day programming, meaning you can set one schedule for weekdays (Monday-Friday) and another for weekends (Saturday-Sunday). This feature helps optimize energy usage and comfort.
Do programu:
- Naciśnij PROGRAM button (or similar, refer to your specific manual).
- Użyj UP I W DÓŁ buttons to adjust the start time and temperature for each program period (e.g., Wake, Leave, Return, Sleep).
- Navigate through the days and periods using the appropriate buttons.
- Save your settings once programming is complete.
5. Funkcja Hold (tymczasowe nadpisanie)
To temporarily override the programmed schedule, adjust the temperature using the UP or W DÓŁ buttons. The thermostat will maintain this new temperature until the next programmed period begins, or until you press a TRZYMAĆ or URUCHOMIĆ button to cancel the override.
6. Adjustable Temperature Differential
The RS3110 features an adjustable temperature differential, which controls the temperature range before the heating or cooling system activates. Adjusting this setting can prevent frequent cycling of your HVAC system. Consult your thermostat's full manual for instructions on how to access and modify this setting to suit your comfort preferences and system efficiency.
Konserwacja
1. Wymiana baterii
When the low battery indicator appears on the display, replace the two AA batteries promptly. Although the thermostat retains programming during power outages, fresh batteries ensure continuous operation and prevent system shutdown.
- Open the battery compartment (usually located on the side or front of the thermostat).
- Wyjmij stare baterie.
- Włóż dwie nowe baterie alkaliczne AA, zwracając uwagę na prawidłową biegunowość.
- Zamknij komorę baterii.
2. Czyszczenie
Wyczyść zewnętrzną część termostatu miękką,amp ściereczką. Nie używaj środków czyszczących o właściwościach ściernych ani rozpuszczalników, ponieważ mogą one uszkodzić wykończenie lub elementy wewnętrzne.
Rozwiązywanie problemów
| Problem | Możliwa przyczyna | Rozwiązanie |
|---|---|---|
| No Display / Thermostat Unresponsive | Dead or incorrectly installed batteries. No power to the HVAC system. | Replace batteries with new AA alkaline batteries, ensuring correct polarity. Check the circuit breaker for your HVAC system and reset if tripped. |
| Heating/Cooling System Not Responding | Incorrect system mode selected. Wiring issues. Blown fuse in HVAC system. | Ensure the system mode is set to HEAT or COOL. Verify wiring connections are secure. Consult an HVAC technician if wiring is correct and system still doesn't respond. |
| Temperature Swings Are Too Large | Temperature differential setting is too wide. | Adjust the temperature differential setting to a narrower range. Refer to the operating instructions or the full product manual for details on this advanced setting. |
| Error Code E2 Displayed | Potential internal fault or sensor issue. | Try removing and reinserting batteries. If the error persists, contact customer support or a qualified technician. |
| Difficulty with Programming | Nieznajomość kroków programowania. | Review the "Programming 5-2 Day Schedule" section in this manual or the detailed instructions provided with your thermostat. Practice the steps without saving if possible. |
Specyfikacje
| Marka | Robertshaw |
| Numer modelu | RS3110 |
| Typ kontrolera | Naciśnij przycisk |
| Funkcja specjalna | Programowalny |
| Kolor | Biały |
| Rodzaj kontroli temperatury | Programowalny |
| Zawarte komponenty | 2 baterie AA |
| Źródło zasilania | Zasilany bateryjnie |
| Tomtage | 30 wolty |
| Waga przedmiotu | 0.7 funta (11.2 uncji) |
| Wymiary produktu | 5.5 x 1.25 x 4.75 cala |
| Typ wyświetlacza | Cyfrowy |
| Metoda kontroli | Dotyk (przyciski) |
| Typ montażu | Montaż ścienny |
| Podświetlenie | Tak |
| Wymagane baterie | Yes (2 AA batteries) |
| Średnia żywotność baterii | 1335 godzin |
| UPC | 662013219680, 020967031107 |


