1. Koniec produktuview
The Intermatic FD12HC is a 12-hour spring-loaded wall timer designed to automatically limit the 'ON' time of various electrical loads such as fans, lights, motors, and heaters. This energy-saving timer operates without electricity and is intended to replace any standard wall switch, whether single or multi-gang. It features an easy 'press-on' knob design and 'up front' terminal connections for straightforward installation.
Główne cechy:
- Oszczędność energii: Operates mechanically without requiring electricity.
- Wszechstronne zastosowanie: Suitable for fans, lighting, motors, and heaters.
- Łatwa instalacja: Designed for simple replacement of standard wall switches with convenient terminal connections and a 'press-on' knob.
- Elastyczna konstrukcja: Supplied with a molded ivory time dial plate compatible with both toggle and decorator style switch plates.
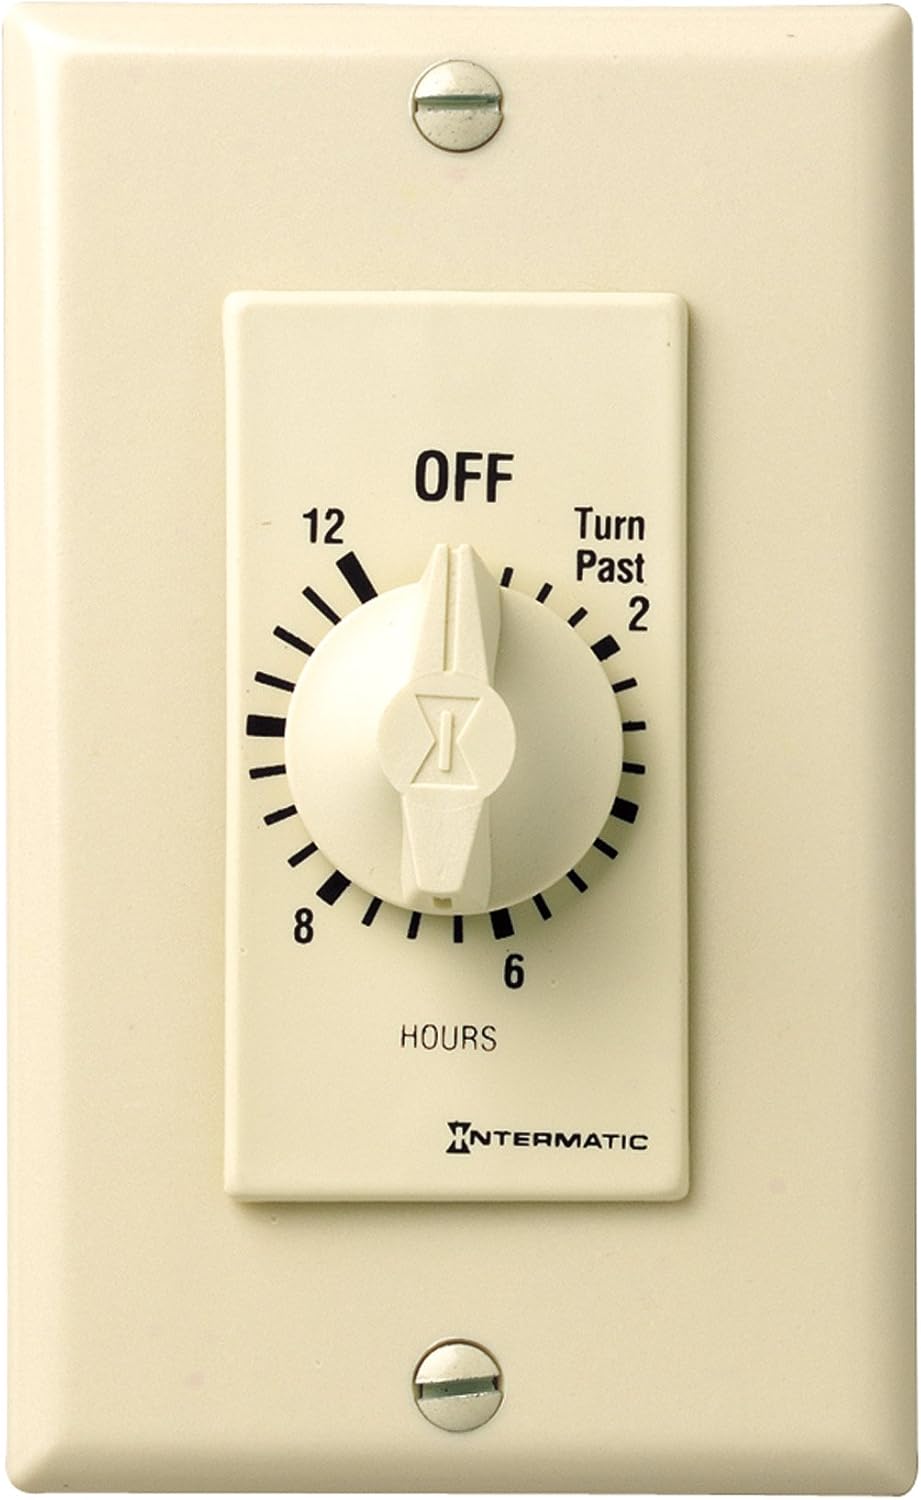
Image 1: Intermatic FD12HC 12-Hour Spring-Loaded Wall Timer in Ivory.
2. Specyfikacje
| Funkcja | Szczegół |
|---|---|
| Numer modelu | FD12HC |
| Kolor | Kość słoniowa |
| Marka | Intermatyczny |
| Tworzywo | Plastikowy |
| Wymiary produktu | 1.25" gł. x 1.75" szer. x 4.13" wys. |
| Waga przedmiotu | 4.8 uncji |
| Zakres timera | 12-godzinny |
| Typ operacji | Without Hold on Timer |
| Tomtage | 125 wolty |
| Certyfikaty | CSA, ul |
| Temperatura pracy | od 32 do 104 °F (od 0 do 40 °C) |
3. Instalacja
The Intermatic FD12HC timer is designed for easy installation, replacing a standard wall switch. Always ensure power is turned off at the circuit breaker before beginning any electrical work.
Kroki instalacji:
- Wyłącz zasilanie: Locate the circuit breaker controlling the switch you intend to replace and turn off the power. Verify that the power is off using a voltagtester.
- Usuń stary przełącznik: Carefully remove the existing wall plate and unscrew the old switch from the wall box. Disconnect the wires from the old switch, noting which wire is connected to the 'line' (power source) and 'load' (appliance).
- Podłącz przewody: The FD12HC timer features 'up front' terminal connections. Connect the hot (line) wire to the terminal marked 'LINE' and the load wire to the terminal marked 'LOAD'. Ensure all connections are secure using wire nuts if necessary. Connect the ground wire to the timer's ground terminal.
- Mount Timer: Gently push the wired timer into the wall box, being careful not to pinch any wires. Secure the timer to the wall box using the provided screws.
- Attach Faceplate and Knob: The timer comes with a molded ivory time dial plate. Position this plate over the timer and secure it. Then, firmly press the knob onto the timer shaft until it sits snugly.
- Przywróć zasilanie: Po zakończeniu instalacji i bezpiecznym umieszczeniu wszystkich komponentów należy przywrócić zasilanie za pomocą wyłącznika automatycznego.

Obraz 2: Wewnętrzny view of the Intermatic FD12HC timer, illustrating wiring terminals.

Image 3: Various wiring diagrams for FD Series timers, including SPST and DPST configurations.
Materiały wideo dotyczące instalacji:
Intermatic In-Wall Timer
Video 1: A detailed guide from Intermatic on installing their in-wall timers, covering wiring and mounting procedures.
Produkt ponadview Wideo
Wideo 2: Overview of the product, demonstrating its features and basic operation.
4. Instrukcja obsługi
The Intermatic FD12HC timer offers simple, mechanical operation. To activate the timer, rotate the knob clockwise to your desired 'ON' duration, up to 12 hours. The timer will then automatically count down and turn off the connected load once the set time has elapsed. No electricity is required for the timer's operation.
Ustawianie timera:
- Ensure the timer is installed correctly and power is restored.
- Rotate the central knob clockwise to the desired time setting (e.g., 2 hours, 4 hours, 12 hours). The timer will begin its countdown immediately.
- The connected appliance or light will remain on for the set duration and then automatically switch off.
Note: This model does not feature a 'Hold On' function, meaning the timer will always count down once set.
5. Konserwacja
The Intermatic FD12HC timer is designed for durability and requires minimal maintenance.
Opieka ogólna:
- Czyszczenie: Wipe the timer's surface and knob with a soft, damp cloth. Avoid using abrasive cleaners or solvents, as these may damage the finish.
- Brak części nadających się do samodzielnej naprawy przez użytkownika: Do not attempt to open or repair the timer. There are no user-serviceable parts inside.
6. Rozwiązywanie Problemów
If you encounter issues with your Intermatic FD12HC timer, consider the following:
- Timer nie aktywuje się: Ensure the power is on at the circuit breaker. Verify that the knob is rotated past the 'OFF' position to a specific time setting.
- Load Not Turning Off: Confirm that the timer is correctly wired according to the installation instructions. Check for any loose connections.
- Timer nie odlicza: As a mechanical timer, ensure the knob is not obstructed and can rotate freely.
- Stałe problemy: If problems persist after checking these points, it is recommended to consult a qualified electrician for further assistance.
7. Gwarancja i wsparcie
Informacje o gwarancji:
The Intermatic FD12HC 12-Hour Spring-Loaded Wall Timer comes with a 1-roczna ograniczona gwarancja. This warranty covers defects in materials and workmanship under normal use. In the event of a defect within the warranty period, the unit will be replaced.
Obsługa klienta:
For technical assistance, warranty claims, or further information, please contact Intermatic customer support through their official webstronę internetową lub dane kontaktowe podane na opakowaniu produktu.


