1. Wprowadzenie
This manual provides essential instructions for the safe and effective use of your Weller 8200PKS Universal Soldering Gun Kit. This kit is designed for various soldering applications, offering dual heat settings of 140 watts and 100 watts. Please read this manual thoroughly before operation to ensure proper usage and to prevent injury or damage.
2. Informacje dotyczące bezpieczeństwa
OSTRZEŻENIE: Aby zminimalizować ryzyko pożaru, porażenia prądem i obrażeń ciała, należy zawsze przestrzegać podstawowych zasad bezpieczeństwa podczas korzystania z narzędzi elektrycznych.
- Wentylacja: Use the soldering gun in a well-ventilated area to avoid inhaling fumes from solder and flux.
- Ochrona oczu: Always wear safety glasses or goggles to protect your eyes from splashes of molten solder or flux.
- Ryzyko poparzenia: The soldering tip and surrounding metal parts become extremely hot during operation. Avoid contact with skin and flammable materials. Allow the tool to cool completely before handling or storing.
- Bezpieczeństwo elektryczne: Ensure the power cord is in good condition and avoid using the tool in damp or wet conditions. Do not modify the plug.
- Cykl pracy: To prevent overheating and prolong tool life, operate the soldering gun for a maximum of 1 minute ON, followed by a minimum of 4 minutes OFF. Exceeding this duty cycle can damage the tool.
- Składowanie: Przechowuj narzędzie w suchym i bezpiecznym miejscu, poza zasięgiem dzieci.
- UL & cUL Listed: This product is UL & cUL listed, indicating compliance with safety standards.
3. Zawartość opakowania
Your Weller 8200PKS Soldering Gun Kit includes the following items:
- Weller 8200 Soldering Gun (120V, 140/100W)
- Końcówka lutownicza
- Smoothing Tip
- Końcówka do cięcia
- Coil of Lead-Free Solder
- Flux Brush
- Soldering Aid Tool
- Etui do przechowywania

Image 1: The Weller 8200PKS Soldering Gun Kit, including the gun, various tips, solder, and other accessories, neatly organized within its black plastic storage case.
4. Konfiguracja
- Wybierz wskazówkę: Choose the appropriate tip for your task (soldering, smoothing, or cutting). The kit includes different tips for various applications.
- Install the Tip: Ensure the soldering gun is unplugged and cool. Loosen the two screws at the front of the gun. Insert the desired tip into the two holes, ensuring it is seated firmly. Tighten the screws to secure the tip.
- Przygotuj obszar roboczy: Work on a heat-resistant surface in a well-ventilated area. Have your solder, flux, and any necessary cleaning tools ready.
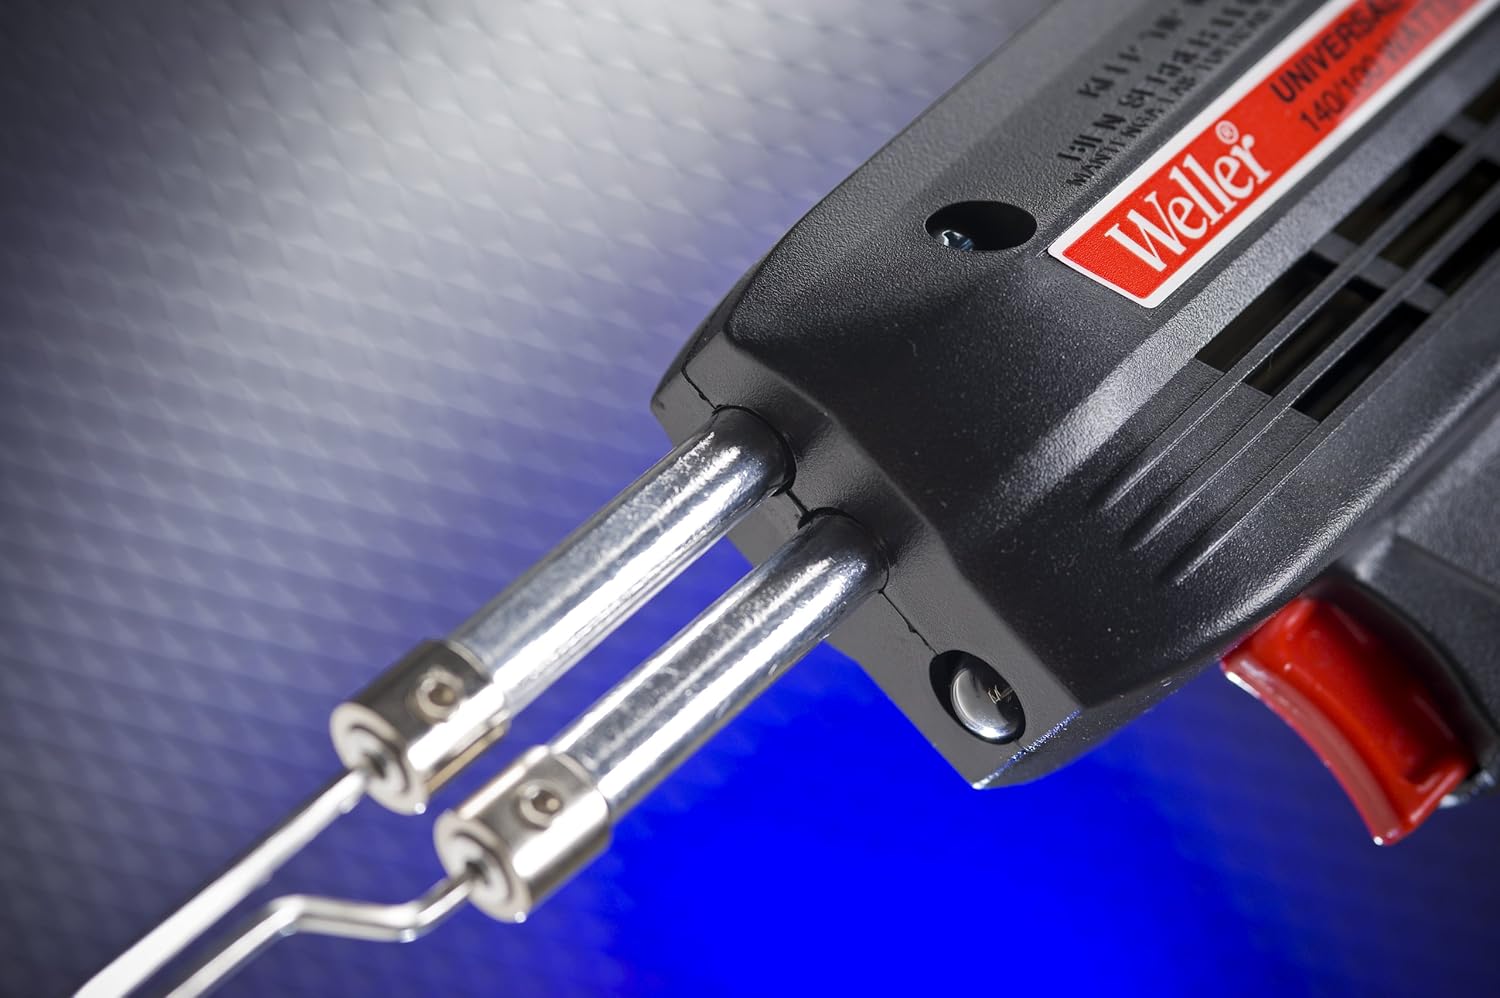
Obraz 2: Zbliżenie view of the front of the Weller soldering gun, highlighting the two metal tubes where the soldering tips are inserted and secured with screws.
5. Instrukcja obsługi
- Włączanie: Plug the soldering gun into a standard 120-volt AC outlet.
- Wybierz ustawienie ogrzewania: The gun features a dual-heat trigger.
- Press the trigger partially (first position) for 100 watts of heat.
- Press the trigger fully (second position) for 140 watts of heat.
- Lutowanie:
- Apply the hot tip to the joint to be soldered, ensuring both surfaces are heated simultaneously.
- Feed solder onto the heated joint, not directly onto the tip. The solder should flow smoothly and evenly.
- Remove the solder wire, then remove the soldering gun. Allow the joint to cool undisturbed.
- Duty Cycle Adherence: Remember to observe the 1 minute ON / 4 minutes OFF duty cycle to prevent damage to the tool.
- Wyłączone: Release the trigger to turn off the heating element. Unplug the tool from the outlet when finished or when not in use.

Image 3: The Weller 8200PKS Soldering Gun, showing its pistol grip design, red trigger for dual heat control, and the integrated work light.
6. Konserwacja
- Czyszczenie końcówek: Regularnie czyść grot lutownicy za pomocąamp gąbki lub wełny mosiężnej do usuwania nadmiaru lutu i utleniania. Czysta końcówka zapewnia efektywne przenoszenie ciepła.
- Wymiana końcówki: Tips will wear out over time. Replace them when they become pitted, corroded, or no longer hold solder effectively. Ensure the gun is unplugged and cool before replacing tips.
- Ogólne sprzątanie: Keep the body of the soldering gun clean and free of dust and debris. Use a dry cloth for cleaning.
- Kontrola przewodu: Periodically inspect the power cord for any signs of damage. Do not use the tool if the cord is frayed or damaged.
7. Rozwiązywanie Problemów
| Problem | Możliwa przyczyna | Rozwiązanie |
|---|---|---|
| Gun does not heat up. | Not plugged in; faulty outlet; damaged cord; loose tip connection. | Check power connection; try a different outlet; inspect cord for damage; ensure tip screws are tight. |
| Solder does not melt or flows poorly. | Dirty or oxidized tip; insufficient heat setting; improper application. | Clean the tip thoroughly; ensure full trigger press for 140W; apply tip to joint, not solder. |
| Gun overheats or shuts off. | Exceeded duty cycle (1 min ON / 4 min OFF). | Allow the gun to cool down for at least 4 minutes. Adhere strictly to the recommended duty cycle. |
| Work light is dim or not working. | Awaria żarówki; problem elektryczny. | Contact Weller customer support for assistance. |
8. Specyfikacje
- Model: 8200PKS
- Marka: Weller
- Źródło zasilania: Elektryczny przewodowy
- Tomtage: 120 wolty
- Cotage: 140 watów (wysoka moc), 100 watów (niska moc)
- Czas nagrzewania: Około 6 sekund
- Górna ocena temperatury: 1100 stopni Fahrenheita
- Materiał uchwytu: Rubber or Acrylonitrile Butadiene Styrene (ABS)
- Waga przedmiotu: 3 funtów
- Długość przewodu: 6 stóp
- Cechy szczególne: Dual Heat, Work Light, Durable
- Certyfikaty: Na liście UL i cUL
- Zawartość zestawu: Soldering Gun, Soldering Iron Tips (Soldering, Smoothing, Cutting), Flux, Lead-free Solder, Soldering Aid Tool, Storage Case
9. Gwarancja i wsparcie
The Weller 8200PKS Universal Soldering Gun Kit comes with a 7-letnia gwarancja. For warranty claims, technical support, or to purchase replacement parts and accessories, please contact Weller customer service.
Visit the official Weller website for contact information and further resources: www.weller-tools.com


