1. Koniec produktuview
The Lutron Diva DVSCELV-300P-BI is a 300-watt single pole electronic low-voltage dimmer designed to control lighting from one location. It features a large paddle switch for on/off control and a linear slider for precise dimming adjustments. This dimmer is specifically for use with electronic low-voltage lighting applications. It allows users to adjust light levels, contributing to energy savings and creating desired room atmospheres. Wallplates are sold separately.
2. Informacje dotyczące bezpieczeństwa
- OSTRZEŻENIE: RYZYKO PORAŻENIA. May result in serious injury or death. Turn OFF power at the circuit breaker or fuse box before installing.
- Zainstaluj zgodnie ze wszystkimi krajowymi i lokalnymi przepisami elektrycznymi.
- Jeśli nie masz pewności co do którejkolwiek części niniejszej instrukcji, skonsultuj się z wykwalifikowanym elektrykiem.
- Do not use with standard incandescent, magnetic low-voltage, or fluorescent lighting. This dimmer is for electronic low-voltage tylko aplikacje.
- Zapewnij całkowitą moctage of the connected lighting does not exceed 300 watts.
3. Zawartość opakowania
- Lutron Diva DVSCELV-300P-BI Dimmer
- Wire connectors (various colors, typically yellow and blue)
- Instrukcja instalacji
Note: Wallplate is not included and must be purchased separately.
4. Specyfikacje
| Funkcja | Szczegół |
|---|---|
| Numer modelu | DVSCELV-300P-BI |
| Cotage | 300 watów |
| Objętość operacyjnatage | 120 wolty |
| Typ obwodu | Single Pole (1-way) |
| Aplikacja | Elektroniczny o niskiej głośnościtage (GPO) |
| Wymiary (dł. x szer. x wys.) | 1.75 x 2.2 x 4.25 cala |
| Kolor | Suchar |
| Metoda kontroli | Paddle Switch with Linear Slider |
| Tworzywo | Miedź (materiał stykowy) |
5. Instalacja
Before beginning installation, ensure you have turned off power at the circuit breaker. This dimmer is designed for single-pole applications where the light is controlled from one switch. A neutral wire connection is typically required for proper operation.
5.1. Przygotowanie
- Wyłącz zasilanie: Znajdź panel z wyłącznikami i wyłącz zasilanie przełącznika światła, który chcesz wymienić.
- Sprawdź, czy zasilanie jest wyłączone: Flip the existing switch on and off to confirm the power is disconnected.
- Remove existing wallplate and switch: Unscrew the wallplate and then the mounting screws holding the old switch in place. Carefully pull the switch out from the wall box.
- Zidentyfikuj przewody: Note the connections of the existing wires. Typically, a single-pole switch will have two load/line wires and a ground wire. Some dimmers may require a neutral wire (usually white).
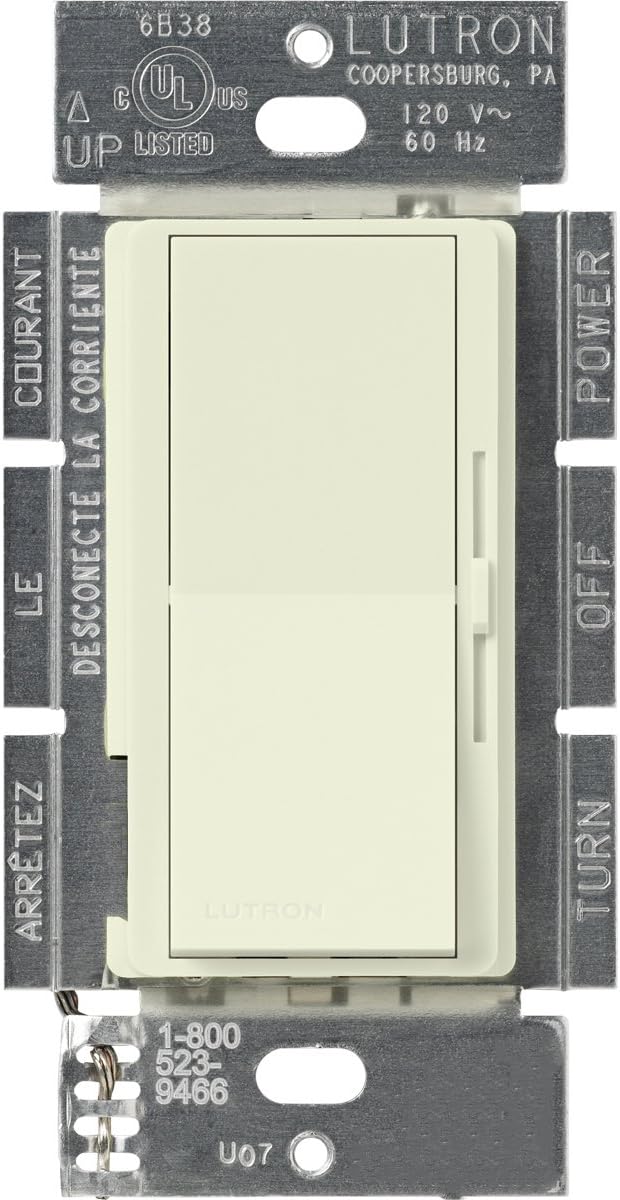
Obraz: Przód view of the Lutron Diva DVSCELV-300P-BI Electronic Low-Voltage Dimmer, showing the paddle switch and linear slider.

Obraz: Bok view of the Lutron Diva DVSCELV-300P-BI Dimmer, illustrating the pre-stripped wires for connection.
5.2. Wiring the Dimmer
The Lutron Diva DVSCELV-300P-BI dimmer typically has three wires: a green wire (ground), a black wire (hot/line), and a yellow wire (load). Some models may also include a white wire (neutral).
- Uziemienie: Connect the green wire from the dimmer to the bare copper or green ground wire in the wall box using a wire connector.
- Przewód pod napięciem/liniowy: Connect the black wire from the dimmer to the incoming hot/line wire from the circuit breaker (often black or red) using a wire connector.
- Przewód obciążeniowy: Connect the yellow wire from the dimmer to the load wire that goes to the light fixture (often black or red) using a wire connector.
- Neutral Wire (if applicable): If your dimmer has a white wire and your wall box has a neutral wire bundle (usually white wires twisted together), connect the white dimmer wire to the neutral bundle using a wire connector. If no neutral wire is present in the wall box, cap off the white wire from the dimmer with a wire connector.
Video: This video demonstrates the wiring process for a single-pole dimmer with one black, one yellow, and one white wire, which is applicable to the Lutron Diva DVSCELV-300P-BI. It covers connecting the ground, hot, load, and neutral wires.
5.3. Zakończenie instalacji
- Secure the dimmer: Carefully push all wires back into the wall box. Mount the dimmer to the wall box using the provided screws.
- Attach wallplate: Install the coordinating wallplate (sold separately) over the dimmer.
- Przywróć zasilanie: Return to your circuit breaker panel and turn the power back on.

Image: The Lutron Diva DVSCELV-300P-BI Dimmer installed in a wall, ready for use.
6. Działanie
- Włączanie/wyłączanie świateł: Press the large paddle switch to turn the connected lights on or off.
- Regulacja jasności: Use the linear slider located next to the paddle switch to adjust the light level. Slide up for brighter lights and down for dimmer lights.
- Preset Dimming: The dimmer will return to the previously set light level when turned back on.

Image: A hand demonstrating the operation of the Lutron Diva DVSCELV-300P-BI Dimmer, highlighting the paddle switch and linear slider.
7. Konserwacja
- Czyszczenie: Clean the dimmer and wallplate with a soft, damp ściereczka. Nie należy używać środków czyszczących o właściwościach ściernych ani rozpuszczalników.
- Brak części nadających się do samodzielnej naprawy przez użytkownika: Wewnątrz ściemniacza nie ma żadnych części, które mogłyby zostać naprawione przez użytkownika. Nie należy otwierać ani naprawiać urządzenia.
8. Rozwiązywanie Problemów
| Problem | Możliwa przyczyna / rozwiązanie |
|---|---|
| Światła nie włączają się. |
|
| Lights flicker or buzz. |
|
| Dimmer does not dim properly. |
|
9. Gwarancja i wsparcie
For warranty information, technical support, or further assistance, please visit the official Lutron website or contact Lutron customer service. Keep your purchase receipt for warranty claims.
Lutron Support: Lutron.com/support


