1. Ważne informacje dotyczące bezpieczeństwa
Please read all instructions carefully before operating your Thomson RR 68 M clock. Keep this manual for future reference.
- Nie wystawiaj zegara na działanie ekstremalnych temperatur, bezpośredniego światła słonecznego i wysokiej wilgotności.
- Unikaj upuszczania zegara i narażania go na silne uderzenia.
- Do not attempt to disassemble or modify the clock. This will void the warranty.
- Używaj wyłącznie baterii określonego typu. Podczas wkładania baterii zwróć uwagę na prawidłową biegunowość.
- Jeżeli zegar nie będzie używany przez dłuższy czas, wyjmij baterie, aby zapobiec wyciekowi.
2. Koniec produktuview
Familiarize yourself with the components of your Thomson RR 68 M clock.
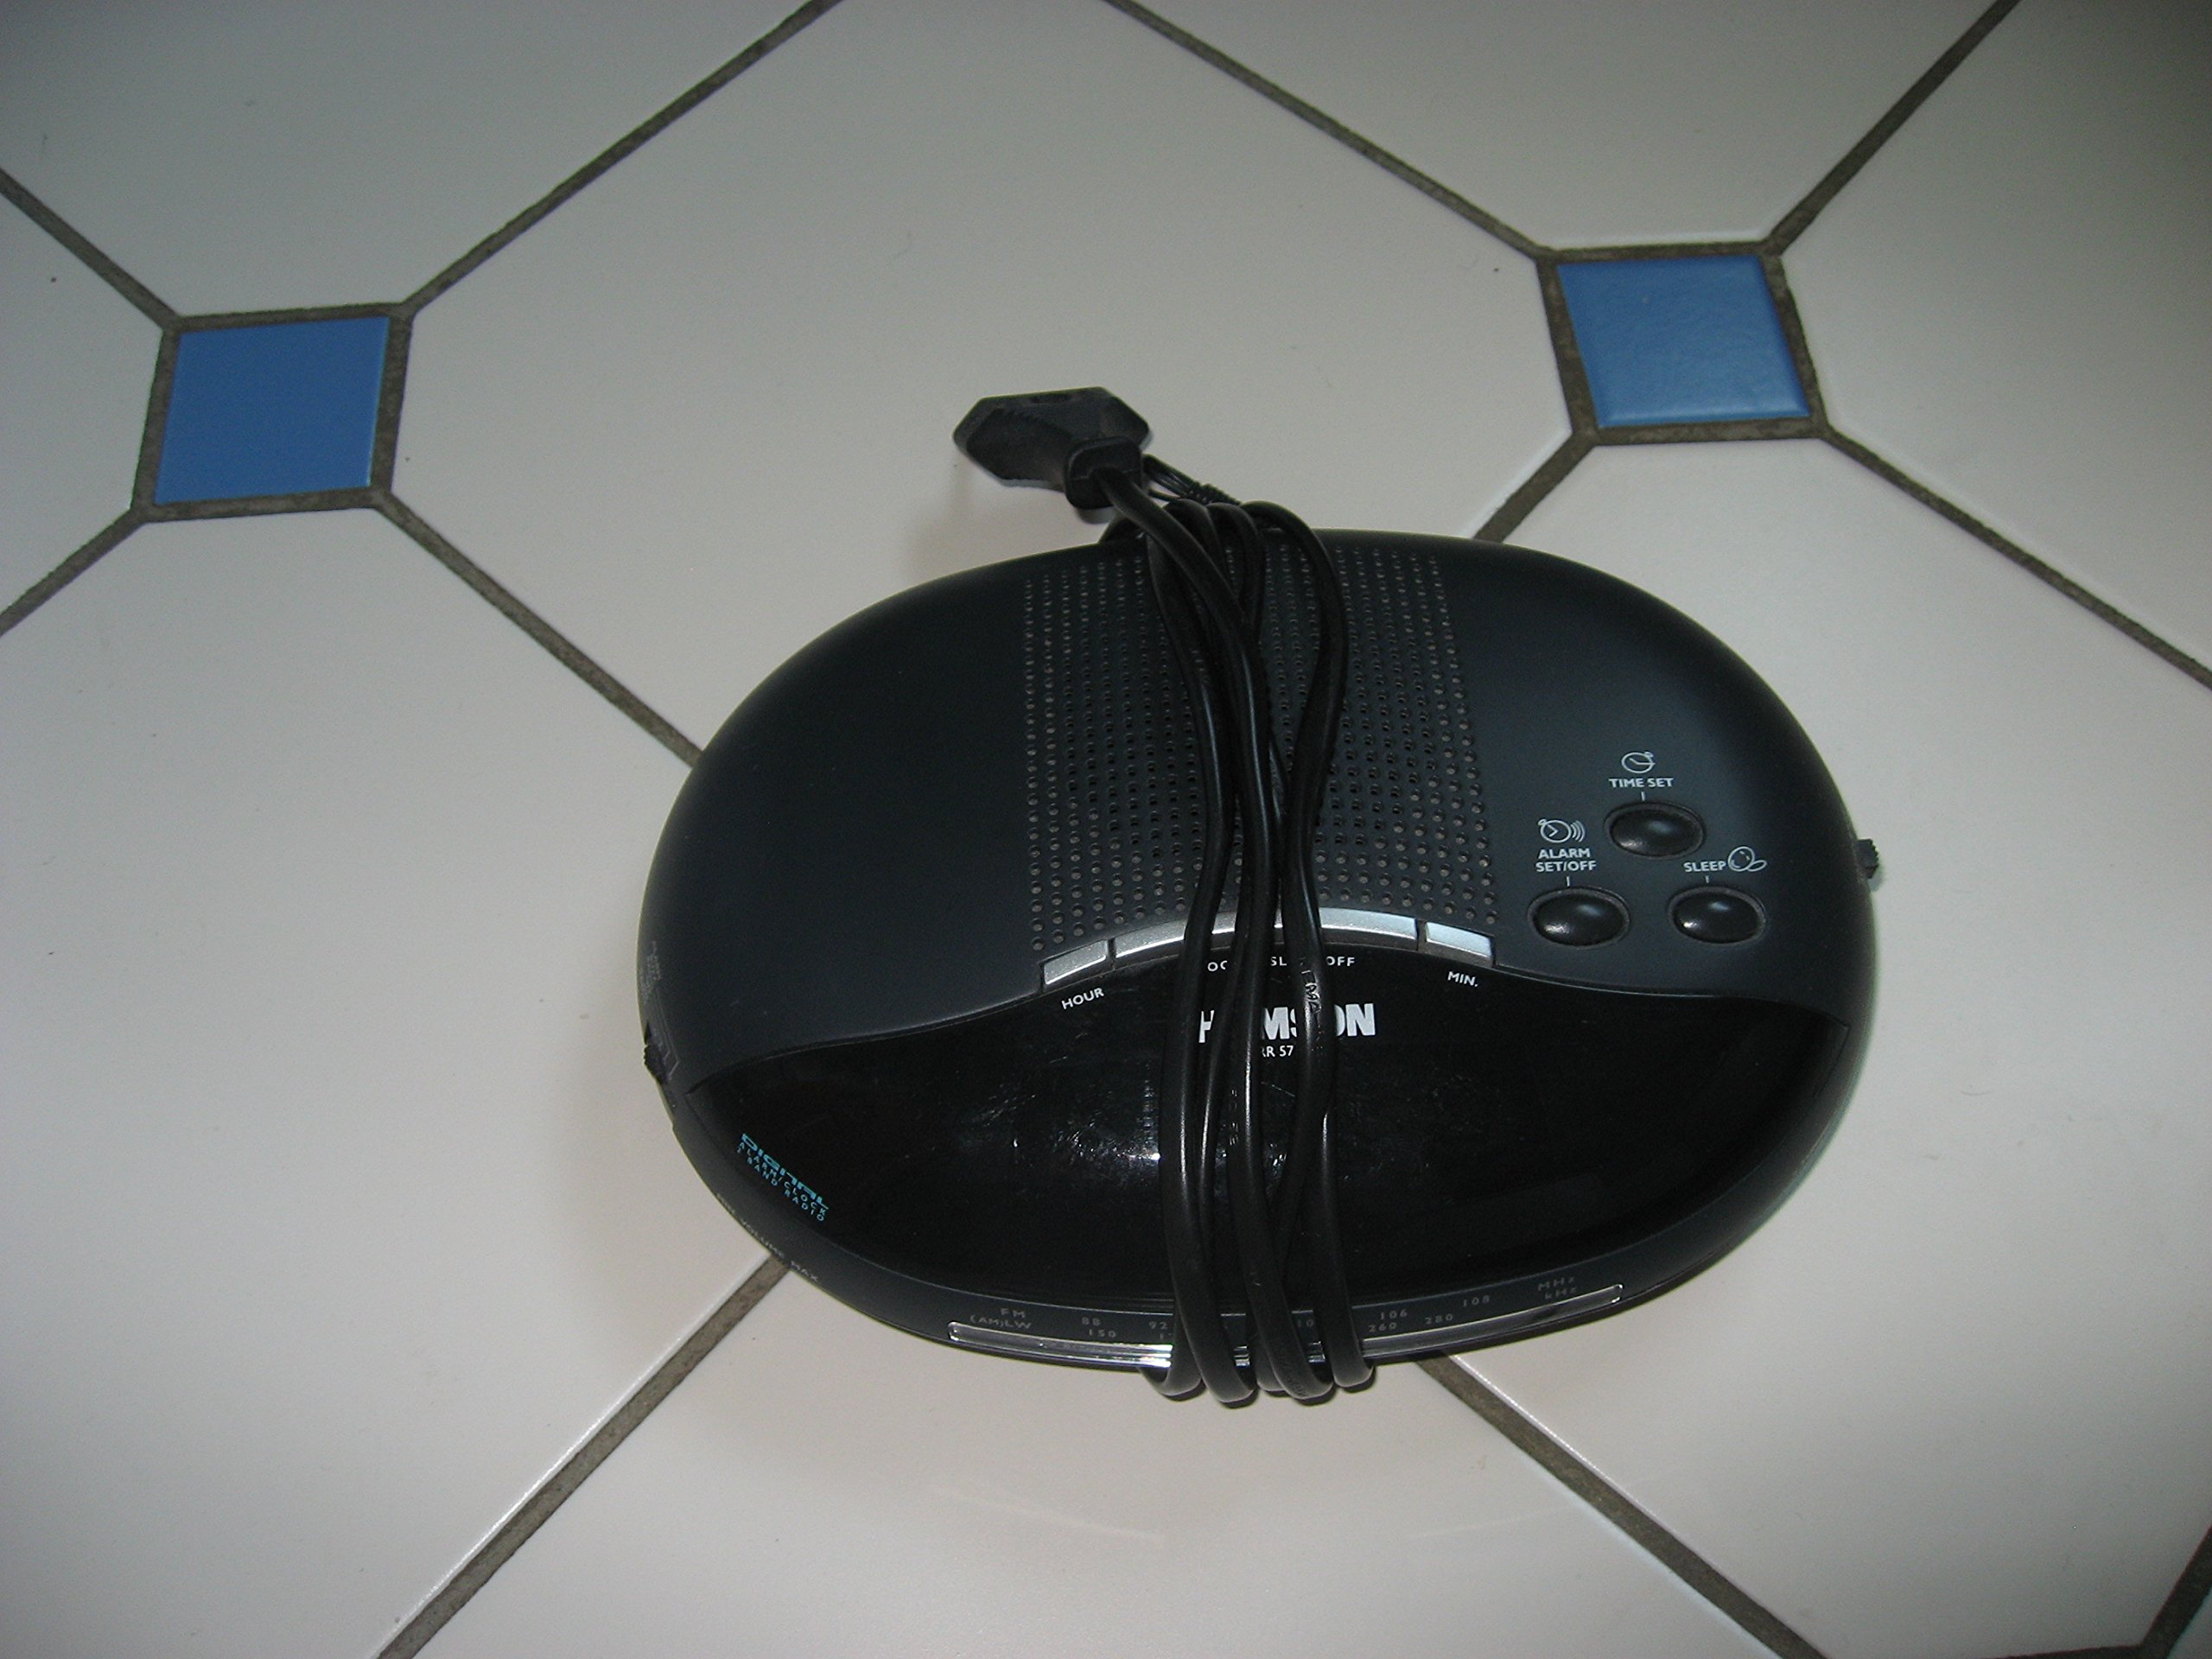
Obraz 1: Przód view of the Thomson RR 68 M clock, showing the digital display and control buttons. This image illustrates the compact design suitable for tabletop placement.
2.1 Zawartość opakowania
- Thomson RR 68 M Clock Unit
- Instrukcja obsługi (ten dokument)
3. Konfiguracja
3.1 Włączanie zegara
The Thomson RR 68 M clock operates on batteries (not included). Ensure you have the correct type and quantity of batteries before proceeding.
- Znajdź pokrywę komory baterii z tyłu lub na spodzie zegara.
- Remove the battery compartment cover by sliding or unlatching it.
- Insert the required batteries, paying close attention to the polarity markings (+ and -) inside the compartment.
- Replace the battery compartment cover securely. The clock display should now illuminate.
4. Instrukcja obsługi
4.1 Ustawianie czasu
To set the current time on your Thomson RR 68 M clock:
- Locate the 'SET' or 'MODE' button, usually on the back or side of the clock. Press and hold this button for a few seconds until the hour digits begin to flash.
- Use the '+' or 'HOUR' button to adjust the hour. Press repeatedly to advance the hour.
- Press the 'SET' or 'MODE' button again. The minute digits will begin to flash.
- Use the '+' or 'MINUTE' button to adjust the minutes. Press repeatedly to advance the minutes.
- Press the 'SET' or 'MODE' button one last time to confirm the time setting and exit the setting mode. The display will stop flashing.
Note: This model does not feature an alarm function.
5. Konserwacja
5.1 Czyszczenie
To maintain the appearance of your clock:
- Przetrzyj zewnętrzną część zegara miękką, suchą ściereczką.
- Nie należy używać środków czyszczących o działaniu ściernym, rozpuszczalników ani środków chemicznych w sprayu, gdyż mogą one uszkodzić powłokę.
5.2 Wymiana baterii
When the display dims or the clock stops functioning, it is time to replace the batteries. Follow the steps in Section 3.1 to replace the old batteries with new ones. Dispose of used batteries responsibly according to local regulations.
6. Rozwiązywanie Problemów
If you encounter issues with your Thomson RR 68 M clock, refer to the following common problems and solutions:
6.1 Clock Display is Blank or Dim
- Sprawdź baterie: Upewnij się, że baterie są prawidłowo włożone, z zachowaniem właściwej polaryzacji. W razie potrzeby wymień baterie na nowe.
- Komora baterii: Sprawdź, czy pokrywa komory baterii jest szczelnie zamknięta.
6.2 Czas jest nieprawidłowy
- Zresetuj czas: Follow the instructions in Section 4.1 to manually set the time.
- Moc baterii: If the time frequently resets or loses accuracy, the batteries may be low and require replacement.
7. Specyfikacje
| Numer modelu | RR 68 M |
| Marka | TOMSON |
| Typ montażu | Blat stołu |
| Źródło zasilania | Baterie (brak w zestawie) |
| Funkcja alarmu | NIE |
8. Informacje o gwarancji
Specific warranty details for the Thomson RR 68 M clock are not provided within this user manual. Please refer to the product packaging, the point of purchase, or the official Thomson webstrona zawierająca szczegółowe warunki gwarancji.
9. Obsługa klienta
For further assistance, technical support, or inquiries regarding your Thomson RR 68 M clock, please visit the official Thomson weblub skontaktuj się z działem obsługi klienta. Dane kontaktowe są zazwyczaj dostępne na stronie producenta. webwitryny lub opakowania produktu.


