
Wstęp
Thank you for choosing the Gamrombo Wired Controller. This manual provides detailed instructions for setting up, operating, and maintaining your controller. This controller is designed for use with Xbox Series X/S, Xbox One, and PC, offering a stable and responsive gaming experience with features like programmable macro functions, turbo mode, and a 3.5mm headphone jack.
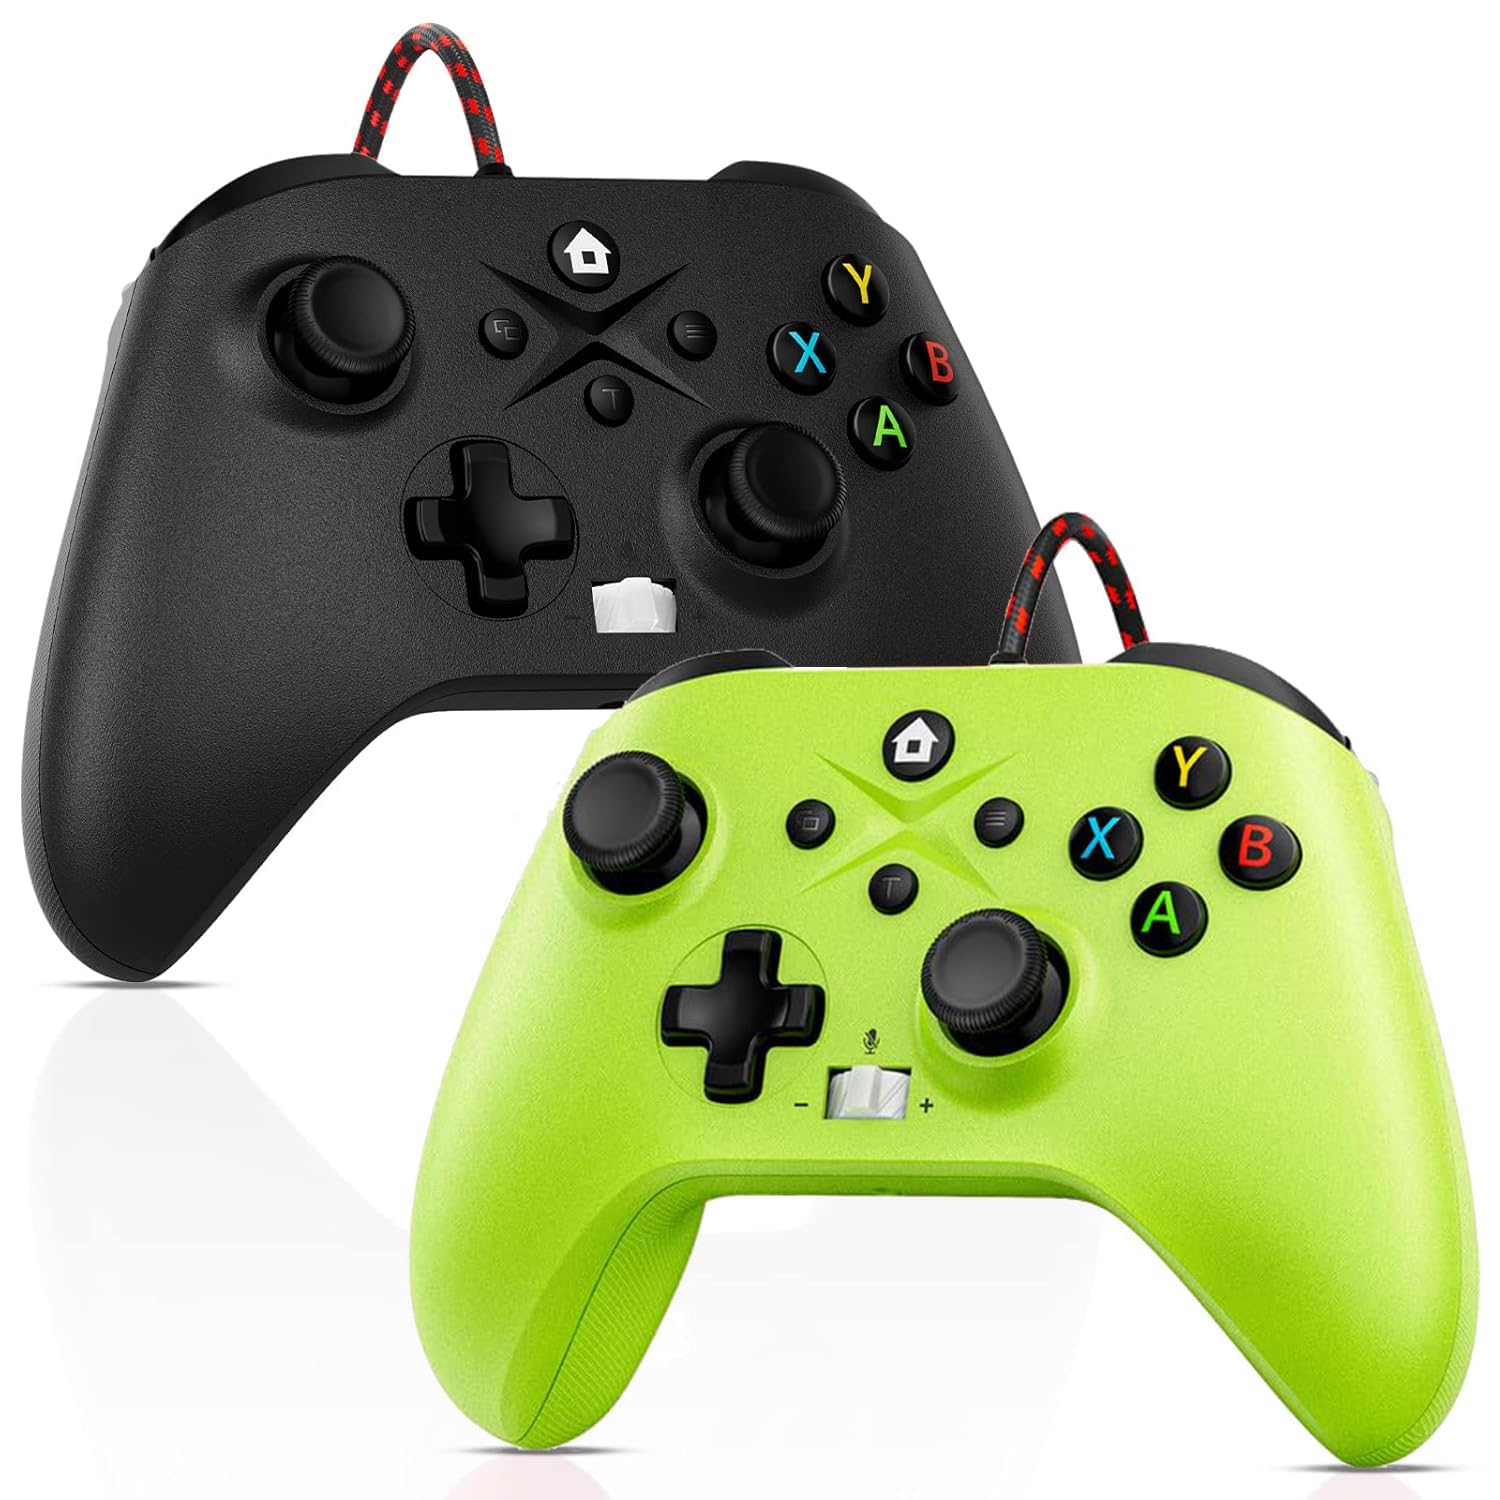
Image: Gamrombo Wired Controller in Black and Green.
Cechy produktu
- Wszechstronna kompatybilność: Compatible with Xbox Series X/S, Xbox One (including One S/One X), and PC.
- Połączenie przewodowe: Provides a stable, low-latency gaming experience with a 10-foot (3-meter) durable, tangle-free cable. No batteries required.
- Programowalna funkcja makro: Two back mappable buttons (PR/PL) allow programming up to 16 button inputs for complex actions.
- Funkcja turbo: Enables rapid-fire for selected buttons.
- Gniazdo słuchawkowe 3.5 mm: Supports audio output and microphone input for clear in-game communication.
- One-Touch Mic Mute: Quickly mute your microphone directly from the controller.
- Silniki wibracyjne asymetryczne: Built-in motors provide varied vibration feedback for an immersive gaming experience.
- Precise 3D Gaming Joysticks: Offers 360-degree response with zero delay for accurate control.
- Ergonomiczna konstrukcja: Wygodny uchwyt do długich sesji grania.

Image: Diagram illustrating the wide compatibility of the Gamrombo Wired Controller with Xbox consoles and PC.
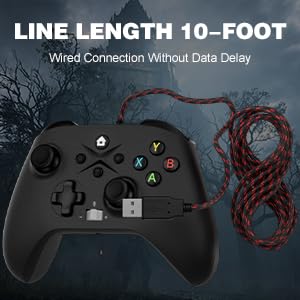
Image: The Gamrombo Wired Controller showcasing its 10-foot long braided cable for extended reach.
Zawartość opakowania
Pakiet zazwyczaj zawiera:
- 2 x Gamrombo Wired Controllers
- 1 x Instrukcja obsługi
Organizować coś
- Connect to Xbox Console: Plug the USB connector of the controller into an available USB port on your Xbox Series X/S or Xbox One console. The controller will automatically be recognized and ready for use.
- Połącz z komputerem: Plug the USB connector of the controller into an available USB port on your PC. The operating system (Windows 10/11 recommended) will typically install the necessary drivers automatically. The controller will be recognized as an Xbox controller.
- Początkowe połączenie: Once connected, the controller's indicator light will illuminate, signifying a successful connection.
Instrukcja obsługi
Układ kontrolera

Image: Detailed diagram of the Gamrombo Wired Controller showing all buttons and their labels, including Home, View, Menu, A/B/X/Y, D-pad, Joysticks (L3/R3), Bumpers (L1/R1), Triggers (L2/R2), Turbo, Programming Function Keys (PR/PL, Set), Adjustable Volume, and Headphone Jack.
Podstawowe sterowanie
- Przycisk Home: Powers on/off the console (Xbox) or opens the Xbox Game Bar (PC).
- View Przycisk: Provides additional context-sensitive options in games or apps.
- Przycisk menu: Opens in-game menus or system settings.
- Przyciski A/B/X/Y: Standardowe przyciski akcji.
- Pad kierunkowy: Wejście kierunkowe.
- Left/Right Joysticks (L3/R3): Analog movement and camera control. Pressing them down activates L3/R3 buttons.
- L1/R1 (Zderzaki): Przyciski na ramionach umożliwiające wykonywanie różnych akcji w grze.
- L2/R2 (Wyzwalacze): Analog triggers for precise control, often used for acceleration/braking or aiming/firing.
Funkcja Turbo
The Turbo function allows a button to be pressed repeatedly as long as it is held down.
- Aktywuj Turbo: Naciśnij i przytrzymaj Turbo button, then press the desired action button (e.g., A, B, X, Y, L1, R1, L2, R2, D-pad directions). The button will now have Turbo functionality.
- Dezaktywuj Turbo: To remove Turbo from a specific button, press and hold the Turbo button again, then press the button with active Turbo.
Macro Function (Programmable Back Buttons)
The two back buttons (PR and PL) can be programmed to execute a sequence of up to 16 button presses.
- Wejdź w tryb programowania: Naciśnij USTAWIĆ button. The indicator light will start blinking.
- Select Macro Button: Naciśnij albo PR or PL przycisk.
- Nagraj makro: Input the desired sequence of up to 16 button presses (e.g., A, B, X, Y, L1, R1, D-pad, etc.).
- Zapisz makro: Naciśnij USTAWIĆ button again to save the macro. The indicator light will stop blinking.
- Use Macro: Naciśnij zaprogramowany PR or PL button to execute the recorded sequence.
- Wyczyść makro: To clear a macro, enter programming mode (press USTAWIĆ), a następnie naciśnij PR or PL button you wish to clear, and then press USTAWIĆ again without inputting any sequence.
3.5mm Headphone Jack and Mic Mute
- Podłącz zestaw słuchawkowy: Plug any standard 3.5mm gaming headset into the headphone jack located at the bottom of the controller.
- Dostosuj głośność: Use the volume control buttons (+/-) on the controller to adjust headset audio levels.
- Wyciszenie mikrofonu: Press the dedicated mic mute button to toggle your microphone on or off. An indicator light may show the mute status.
Feedback wibracji
The controller features asymmetric vibration motors in the grips, providing varied haptic feedback based on in-game events for enhanced immersion.

Image: Illustration of the asymmetric vibration motors within the grips of the Gamrombo Wired Controller.

Image: Depiction of the adjustable vibration feature and 6-axis gyro sensor in the Gamrombo Wired Controller.
3D Gaming Joysticks and Linear Triggers
The controller is equipped with high-precision 3D joysticks for accurate 360-degree movement and Hall Effect linear triggers that offer responsive and immersive control.

Obraz: Zbliżenie view of the 3D gaming joystick on the Gamrombo Wired Controller, highlighting its precision.

Image: Visual representation of the precise 360-degree joystick and E-Sports level linear triggers with vibration function.
Konserwacja
- Czyszczenie: Do wycierania kontrolera użyj miękkiej, suchej ściereczki. W przypadku uporczywych zabrudzeń delikatnie przetrzyjampPrzetrzyj szmatkę wodą. Unikaj stosowania silnych środków chemicznych i materiałów ściernych.
- Składowanie: Przechowuj kontroler w chłodnym, suchym miejscu, z dala od bezpośredniego światła słonecznego i ekstremalnych temperatur.
- Pielęgnacja kabli: Avoid sharply bending or twisting the cable. Do not pull the controller by its cable.
- Unikaj płynów: Keep the controller away from liquids to prevent damage to internal components.
Rozwiązywanie problemów
- Kontroler nie odpowiada:
- Sprawdź, czy kabel USB jest prawidłowo podłączony do kontrolera i konsoli/komputera.
- Spróbuj podłączyć kontroler do innego portu USB.
- Uruchom ponownie konsolę lub komputer.
- Dźwięk w słuchawkach nie działa:
- Check if the headset is fully plugged into the 3.5mm jack.
- Verify that the volume is not muted or set too low using the controller's volume controls and system settings.
- Test the headset with another device to ensure it is functioning correctly.
- Macro/Turbo Function Not Working:
- Review the programming steps in the 'Operating Instructions' section to ensure correct setup.
- Ensure no other conflicting software or settings are interfering.
- Wibracje nie działają:
- Sprawdź ustawienia gry, aby upewnić się, że opcja wibracji jest włączona.
- Ensure the game supports vibration functionality.
Specyfikacje
| Funkcja | Opis |
|---|---|
| Kompatybilne urządzenia | Xbox Series X, Xbox Series S, Xbox One, Xbox One S, Xbox One X, PC (Windows) |
| Typ kontrolera | Przewodowy |
| Technologia łączności | Przewodowy USB |
| Długość kabla | 10 stopy (około 3 metrów) |
| Dodatkowe funkcje | 3.5mm Headphone Jack, Turbo Function, Macro Function, Vibration Feedback, 6-Axis Gyro Sensor |
| Ilość przycisków | 21 |
| Platforma sprzętowa | Xbox, PC |
Informacje o gwarancji
Gamrombo products are manufactured to high-quality standards. For specific warranty details, please refer to the warranty card included with your purchase or contact Gamrombo customer support. Keep your proof of purchase for warranty claims.
Wsparcie
If you encounter any issues or have questions not covered in this manual, please contact Gamrombo customer support through the retailer's platform or the official Gamrombo webaby uzyskać pomoc.