
1. Koniec produktuview
The TechniSat DIGITRADIO 320 is a versatile compact stereo Hi-Fi system designed to deliver high-quality audio from various sources. It features DAB+ and FM radio reception, an integrated CD player, Bluetooth connectivity for wireless streaming, and a USB port for MP3 playback and device charging. The system is equipped with a TFT color display and intuitive controls for ease of use.
Główne cechy
- Digital and FM Radio: Enjoy a wide selection of digital radio programs via DAB+ and traditional FM stations.
- Odtwarzacz CD: Supports audio CDs, MP3 CDs, CD-R, and CD-RW formats.
- Bluetooth 5.0: Przesyłaj strumieniowo muzykę bezprzewodowo ze smartfona lub innych urządzeń obsługujących technologię Bluetooth.
- Port USB: Odtwórz MP3 files from external storage or charge mobile devices (5V, 1A).
- Dźwięk stereo: Two integrated 5-watt RMS speakers provide a total of 10 watts of clear stereo sound.
- Kolorowy wyświetlacz TFT: A 2.4-inch adjustable brightness display shows station information, time, and slideshows.
- Wygodne funkcje: Includes alarm clock, sleep timer, and snooze functions.
- Zdalne sterowanie: Wielofunkcyjny pilot zdalnego sterowania zapewniający wygodną obsługę.
Co jest w pudełku
- TechniSat DIGITRADIO 320 Jednostka
- Zdalne sterowanie
- 2 baterie AAA (do pilota)
- Instrukcja obsługi
2. Przewodnik konfiguracji
2.1 Rozpakowywanie i umieszczanie
Carefully remove all components from the packaging. Place the DIGITRADIO 320 on a stable, flat surface. Ensure adequate ventilation around the unit. Avoid placing it near heat sources or in direct sunlight.
2.2 Podłączanie zasilania
Connect the power cable to the AC inlet on the rear of the unit, then plug it into a standard wall outlet. The unit will enter standby mode.
2.3 Podłączenie anteny
Extend the telescopic antenna located at the rear of the unit for optimal DAB+ and FM radio reception. Adjust its position for the best signal quality.

Rysunek 2.1: Połączenia na panelu tylnym. This image displays the rear panel of the DIGITRADIO 320, highlighting the telescopic DAB/FM antenna, USB 5V 1A port, 3.5mm AUX IN, and 3.5mm headphone output. The remote control is also shown for reference.
2.4 Konfiguracja zdalnego sterowania
Insert the two supplied AAA batteries into the remote control, observing the correct polarity (+/-). The remote control is now ready for use.
3. Instrukcja obsługi
3.1 Włączanie/wyłączanie zasilania
Naciśnij MOC button on the front panel or the remote control to switch the unit on or off (standby mode).
3.2 Obsługa radia (DAB+/FM)
- Naciśnij TRYB button to select DAB+ or FM radio mode.
- In DAB+ mode, the radio will automatically scan for available stations upon first use. Use the STROJENIE pokrętło lub SKANDOWAĆ button to navigate and select stations.
- W trybie FM użyj STROJENIE knob to manually tune to a frequency or press the SKANDOWAĆ button for automatic station search.
- To save a favorite station, press and hold one of the preset buttons (1-20) until the display confirms the save.

Rysunek 3.1: Wyświetlacz radia DAB+. This image shows the DIGITRADIO 320's color display indicating DAB+ mode, station name ("Deutschlandfunk"), and program information.

Figure 3.2: TFT Color Display. Szczegółowy view of the 2.4-inch TFT color display, which provides clear information on stations, time, and other functions.
3.3 Obsługa odtwarzacza CD
- Naciśnij TRYB przycisk, aby wybrać tryb CD.
- Insert a CD into the disc slot on the front of the unit with the label side facing up. The CD will load automatically.
- Użyj ODTWÓRZ/PAUZA, POMINĄĆ, I ZATRZYMYWAĆ SIĘ przyciski do sterowania odtwarzaniem.
- Aby wysunąć płytę CD, naciśnij przycisk WYRZUCAĆ przycisk.

Figure 3.3: CD Player. This image illustrates the integrated CD player with a disc partially ejected, demonstrating its functionality for playing audio and MP3 CDs.
3.4 Łączność Bluetooth
- Naciśnij TRYB Naciśnij przycisk, aby wybrać tryb Bluetooth. Na wyświetlaczu pojawi się komunikat „Parowanie” lub „Oczekiwanie na połączenie”.
- On your smartphone or Bluetooth device, enable Bluetooth and search for "DIGITRADIO 320".
- Select the device to pair. Once connected, you can stream audio wirelessly to the DIGITRADIO 320.
3.5 Odtwarzanie i ładowanie przez USB
- Włóż urządzenie pamięci masowej USB zawierające plik MP3 filedo portu USB znajdującego się z tyłu urządzenia.
- Naciśnij TRYB Naciśnij przycisk, aby wybrać tryb USB. Urządzenie automatycznie wykryje i rozpocznie odtwarzanie plików MP3. files.
- Use the playback controls (PLAY/PAUSE, SKIP) to manage your music.
- The USB port can also be used to charge compatible mobile devices (5V, 1A) even when the unit is in standby.
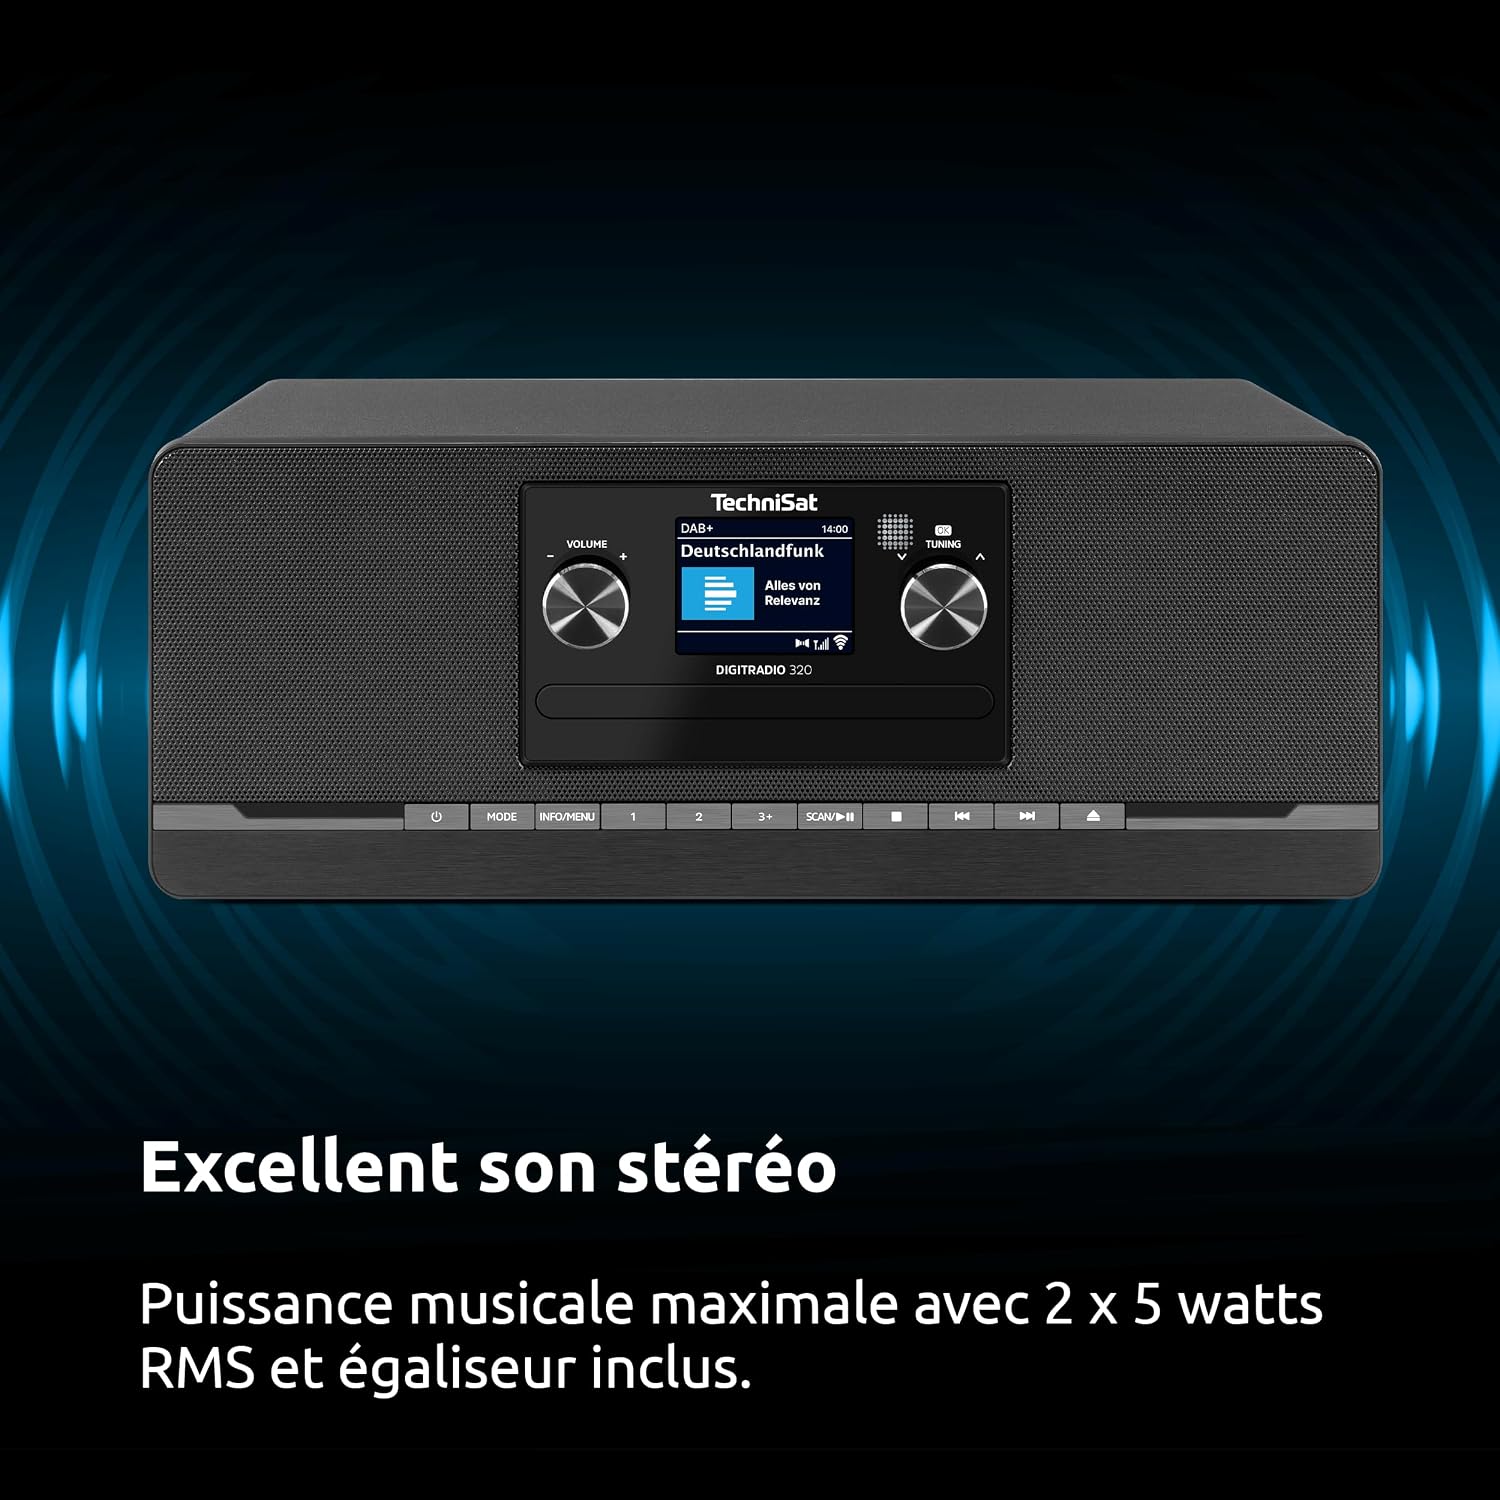
Figure 3.4: USB Functionality. This image highlights the USB port's dual functionality for playing MP3 files from external storage and charging mobile devices.
3.6 AUX IN Connection
Connect an external audio device (e.g., an MP3 player) to the 3.5mm AUX IN port on the rear of the unit using an appropriate audio cable. Press the TRYB button to select AUX IN mode to play audio from the connected device.
3.7 Wyjście słuchawkowe
For private listening, connect headphones with a 3.5mm jack to the headphone output port on the rear of the unit. The main speakers will be muted automatically.
3.8 Alarm, Sleep Timer, and Snooze Functions
- Alarm: Set up to two independent alarms with customizable sources (DAB+, FM, CD, or buzzer) and volume levels. Refer to the on-screen menu for detailed alarm setup.
- Wyłącznik czasowy: Program the unit to automatically switch to standby after a set period (e.g., 15, 30, 60 minutes).
- Drzemka: Gdy zabrzmi alarm, naciśnij przycisk DRZEMKA naciśnij przycisk, aby tymczasowo wyciszyć dźwięk na kilka minut.

Figure 3.5: Excellent Stereo Sound. The DIGITRADIO 320 delivers powerful and clear stereo sound through its two integrated 5-watt RMS speakers, providing a rich audio experience.
4. Konserwacja
4.1 Czyszczenie urządzenia
Before cleaning, ensure the unit is switched off and unplugged from the power outlet. Use a soft, dry cloth to wipe the exterior surfaces. Do not use abrasive cleaners, waxes, or solvents as they may damage the finish. For the display, use a soft, lint-free cloth specifically designed for electronic screens.
4.2 Pielęgnacja odtwarzacza CD
Handle CDs by their edges to avoid fingerprints and scratches. If a CD is dirty, wipe it gently from the center outwards with a soft, lint-free cloth. Do not use cleaning sprays or abrasive materials on CDs. Regularly inspect the CD slot for dust or debris and clean if necessary with a soft brush or compressed air.
4.3 Ogólna opieka
Keep the unit away from excessive dust, moisture, and extreme temperatures. Do not block ventilation openings. If the unit will not be used for an extended period, unplug it from the power outlet.
5. Rozwiązywanie Problemów
| Problem | Możliwa przyczyna | Rozwiązanie |
|---|---|---|
| Brak zasilania | Kabel zasilający nie jest podłączony; gniazdko elektryczne nie jest aktywne. | Ensure the power cable is securely connected. Check if the power outlet is working by plugging in another device. |
| Słaby odbiór radia (DAB+/FM) | Antenna not extended or poorly positioned; Weak signal in the area. | Fully extend and adjust the telescopic antenna. Try repositioning the unit. Perform a new station scan. |
| Płyta CD nie odtwarza się lub przeskakuje | CD is dirty, scratched, or inserted incorrectly; Unsupported CD format. | Clean the CD with a soft cloth. Ensure the CD is inserted with the label side up. Check if the CD format (audio CD, MP3 CD) is supported. |
| Parowanie Bluetooth nie powiodło się | Bluetooth not enabled on device; Device too far; DIGITRADIO 320 not in pairing mode. | Ensure Bluetooth is enabled on your device. Move the device closer to the DIGITRADIO 320. Select Bluetooth mode on the unit to enter pairing mode. |
| Brak dźwięku | Głośność jest zbyt niska; Funkcja wyciszenia jest aktywna; Słuchawki są podłączone. | Increase the volume. Check if the unit is muted. Disconnect headphones if you want sound from the speakers. |
6. Specyfikacje techniczne
| Funkcja | Specyfikacja |
|---|---|
| Marka | TechniSat |
| Numer modelu | 0000/2958 |
| Technologia łączności | Pomocniczy, Bluetooth, USB |
| Kolor | Czarny |
| Typ głośnika | Stereo (2 speakers) |
| Tryb wyjścia audio | 2.0 stereo |
| Moc wyjściowa | 10 watów (2 x 5 W RMS) |
| Wymiary (dł. x szer. x wys.) | 35 x 20 x 13.5 cm (13.8 x 7.9 x 5.3 cala) |
| Waga przedmiotu | 2.8 kilogramów (6.17 funty) |
| Źródło zasilania | Kabel elektryczny |
| Kompatybilne urządzenia | Słuchawki, smartfon |
| Obsługiwane standardy | DAB+, FM, Bluetooth, USB |
| Wersja Bluetooth | 5.0 |
| Obsługiwane formaty audio | CD-DA, MP3 |
| Wyświetlacz | 2.4-calowy kolorowy wyświetlacz TFT |
| Kraj pochodzenia | Chiny |

Rysunek 6.1: Wymiary produktu. This image provides a visual representation of the DIGITRADIO 320's dimensions: 35.1 cm (width), 21.2 cm (depth), and 13.3 cm (height).
7. Gwarancja i wsparcie
7.1 Informacje o gwarancji
This TechniSat DIGITRADIO 320 comes with a 2-letnia gwarancja from the date of purchase. This warranty covers manufacturing defects and material faults under normal use. Please retain your proof of purchase for warranty claims. The warranty does not cover damage caused by misuse, accidents, unauthorized modifications, or normal wear and tear.
7.2 Obsługa klienta
For technical assistance, troubleshooting, or warranty service, please contact TechniSat customer support. You can find contact information on the official TechniSat website or through your local retailer. Please have your product model number (DIGITRADIO 320) and proof of purchase ready when contacting support.
Official TechniSat Webstrona: www.technisat.pl