
1. Wprowadzenie
Thank you for choosing the THKFMSRC GD11048MH Solar Inverter. This manual provides essential information for the safe and efficient installation, operation, and maintenance of your 11KW 48V photovoltaic energy storage inverter with built-in MPPT. Please read this manual thoroughly before installation and operation, and retain it for future reference.
2. Informacje dotyczące bezpieczeństwa
Always observe the following safety precautions to prevent injury and damage to the inverter or connected equipment.
- Zagrożenie elektryczne: Ten falownik pracuje przy dużej objętościtages. Only qualified personnel should perform installation and maintenance.
- Odłącz zasilanie: Before performing any wiring or maintenance, ensure all power sources (solar panels, battery, AC grid) are disconnected.
- Prawidłowe uziemienie: Aby zapobiec porażeniu prądem elektrycznym, falownik musi być prawidłowo uziemiony.
- Wentylacja: Zamontuj falownik w dobrze wentylowanym pomieszczeniu, aby zapobiec przegrzaniu. Nie blokuj otworów wentylacyjnych.
- Materiały łatwopalne: Do not install the inverter near flammable or explosive materials.
- Narażenie na działanie wody: Protect the inverter from water, rain, snow, and excessive humidity.
- Bezpieczeństwo baterii: Follow battery manufacturer's safety guidelines. Wear appropriate personal protective equipment when working with batteries.
3. Koniec produktuview
The THKFMSRC GD11048MH is a high-efficiency 11KW 48V solar inverter designed for photovoltaic energy storage systems. It features a built-in MPPT charge controller for optimized solar power harvesting and dual output capabilities.
3.1. Elementy falownika
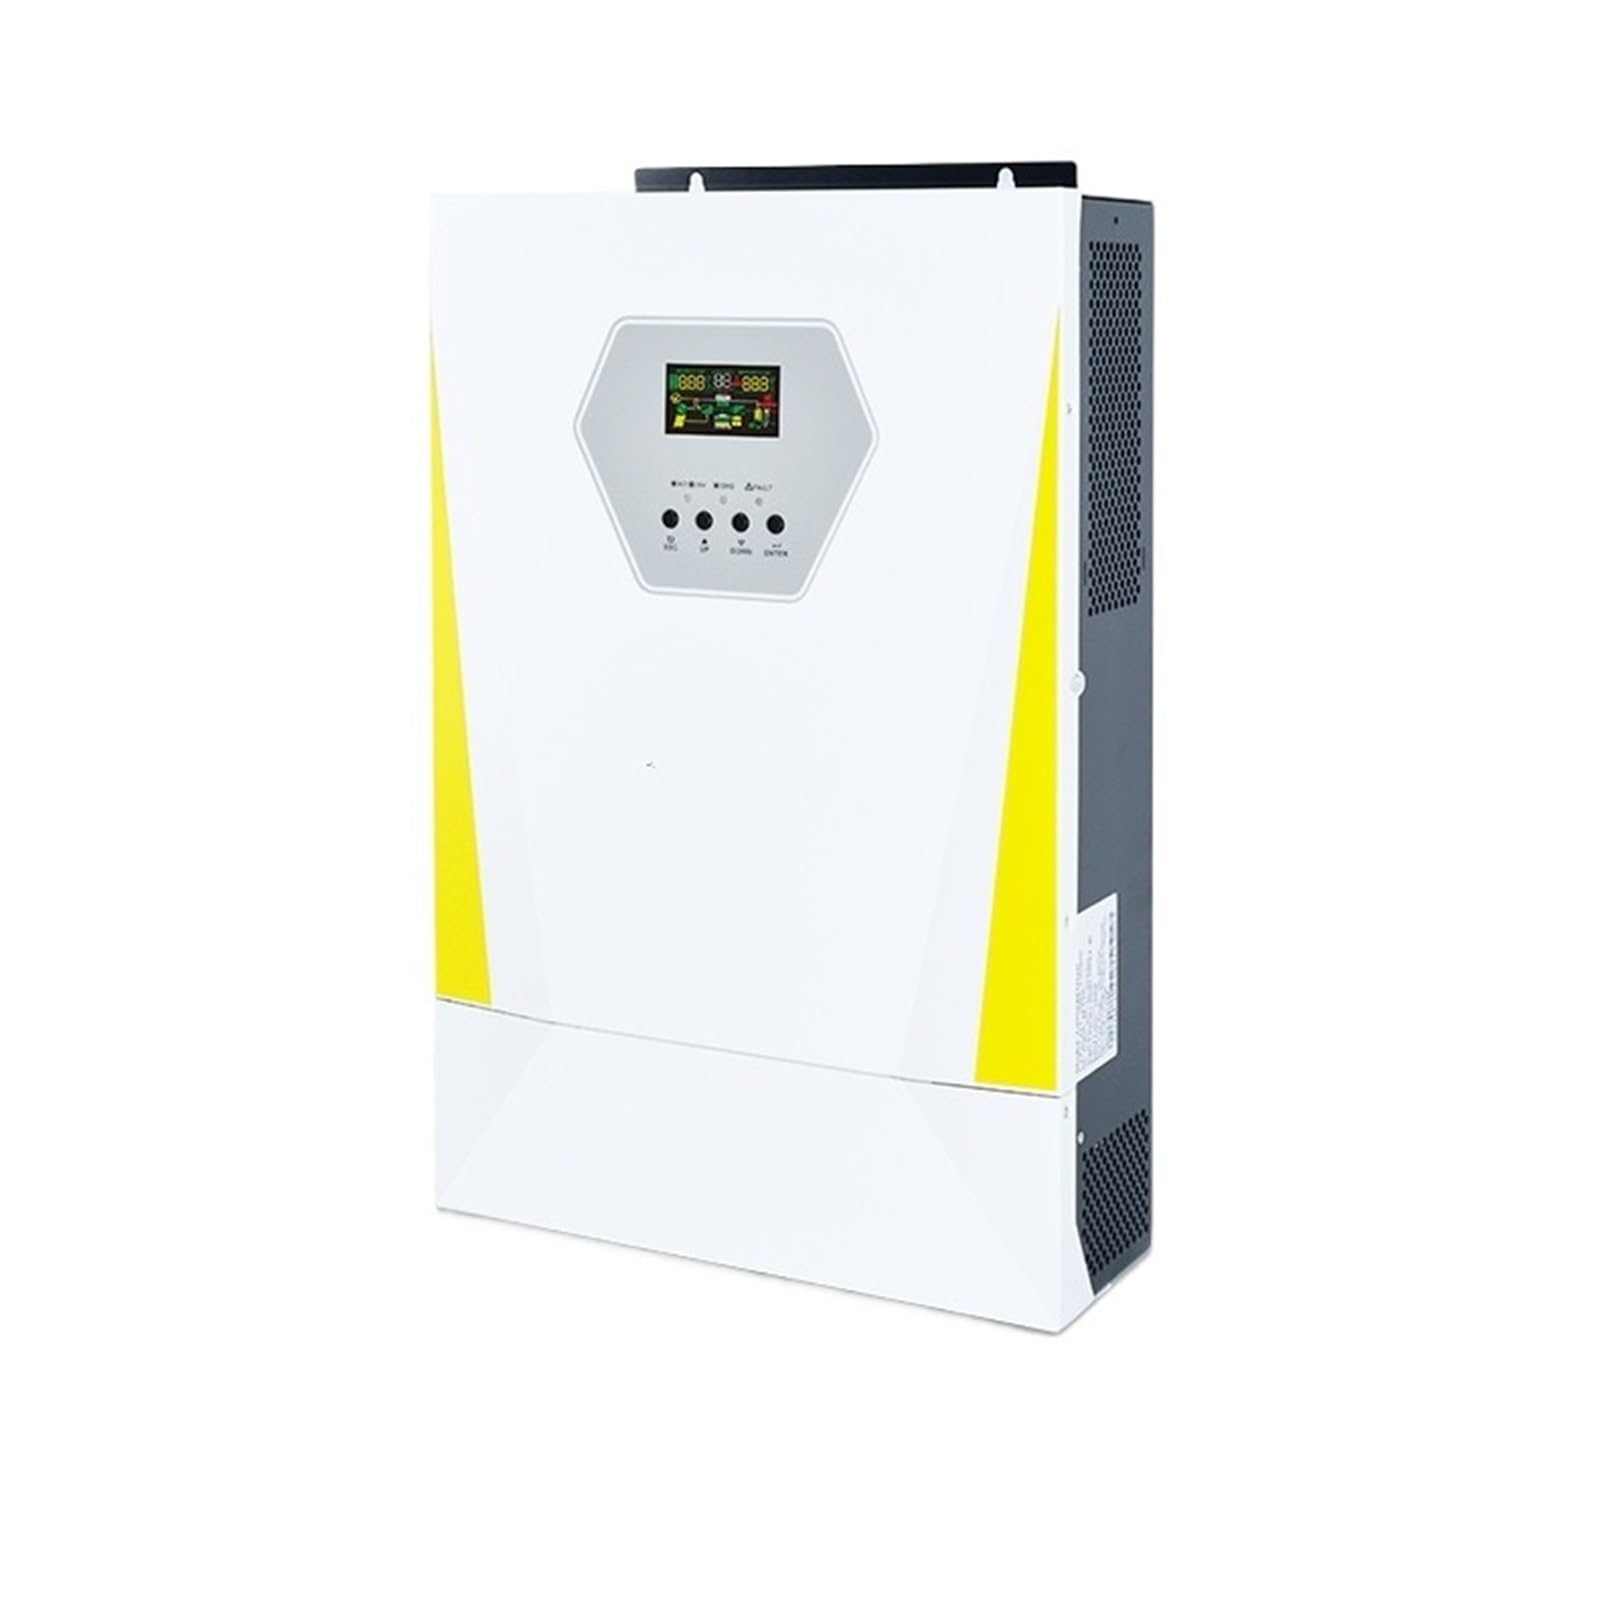
Rycina 1: Przód view of the THKFMSRC GD11048MH Solar Inverter. This image shows the main unit with its white casing, yellow accents, and the central display panel. The display indicates operational status and power flow, surrounded by control buttons and indicator lights. A ventilation grille is visible on the left side.
- Panel wyświetlacza: Provides real-time operational data, system status, and error codes.
- Przyciski sterujące: Służy do poruszania się po menu i konfigurowania ustawień.
- Kontrolki: Show power status, fault conditions, and charging status.
- Kratki wentylacyjne: Ensure proper airflow for cooling internal components.
- Input/Output Terminals (Rear/Bottom): Connections for solar panels, batteries, AC input, and AC output (refer to specific wiring diagrams in the full manual).
4. Konfiguracja
4.1. Rozpakowanie i kontrola
- Carefully unpack the inverter from its packaging.
- Inspect the unit for any visible damage that may have occurred during transit. If damage is found, contact your supplier immediately.
- Sprawdź, czy wszystkie akcesoria wymienione w liście przewozowym są obecne.
4.2. Montaż falownika
Choose a suitable location for mounting the inverter, considering the following:
- Wentylacja: Ensure adequate clearance (at least 20 cm) around the inverter for proper airflow.
- Środowisko: Mount in a dry, dust-free area, away from direct sunlight and heat sources.
- Wsparcie strukturalne: The mounting surface must be strong enough to support the inverter's weight (approximately 44.1 pounds).
- Dostępność: Ensure easy access for wiring, operation, and maintenance.
Use appropriate mounting hardware (not included) to securely fasten the inverter to a vertical surface.
4.3. Połączenia okablowania
All wiring must comply with local electrical codes and regulations. Use appropriately sized cables for all connections.
- Grunt: Podłącz zacisk uziemienia falownika do niezawodnego uziemienia.
- Podłączenie akumulatora: Connect the battery bank to the inverter's battery terminals. Ensure correct polarity (+ to + and - to -). Install a DC circuit breaker between the battery and inverter.
- Podłączenie panelu słonecznego: Connect the solar panel array to the PV input terminals. Observe correct polarity and ensure the open-circuit voltage (Voc) and short-circuit current (Isc) are within the inverter's specifications. Install a DC circuit breaker between the solar array and inverter.
- Wejście prądu przemiennego (sieć/generator): If connecting to an AC grid or generator, connect the AC input to the designated terminals. Install an AC circuit breaker.
- Wyjście prądu przemiennego (obciążenia): Connect your AC loads to the inverter's AC output terminals. Install an AC circuit breaker.
Ważny: Double-check all connections for tightness and correct polarity before proceeding. Incorrect wiring can cause severe damage to the inverter and pose a safety risk.
5. Instrukcja obsługi
5.1. Pierwsze uruchomienie
- Sprawdź, czy wszystkie połączenia okablowania są bezpieczne i prawidłowe.
- Zamknij wyłącznik obwodu akumulatora.
- Close the solar panel circuit breaker.
- Close the AC input circuit breaker (if connected to grid/generator).
- Close the AC output circuit breaker to power your loads.
- The inverter will perform a self-test and then begin operation. Observe the display for status indications.
5.2. Wyświetlacz i sterowanie
The LCD display provides real-time information about the system's performance, including input voltage, objętość wyjściowatage, battery status, charging current, and load power. Use the control buttons (typically 'Up', 'Down', 'Enter', 'Esc') to navigate through the menus and adjust settings such as output voltage, charging parameters, and operating modes.
5.3. Tryby działania
The inverter supports various operation modes, which can be configured via the display panel. Common modes include:
- Priorytet użyteczności: AC loads are primarily powered by the utility grid, with solar/battery as backup.
- Priorytet energii słonecznej: AC loads are primarily powered by solar energy, then battery, and finally the utility grid.
- Priorytet baterii: AC loads are primarily powered by the battery, then solar, and finally the utility grid.
Refer to the detailed menu structure in the full manual for specific configuration options.
6. Konserwacja
Regularna konserwacja zapewnia optymalną wydajność i długą żywotność falownika.
- Czyszczenie: Okresowo czyść zewnętrzną część falownika i otwory wentylacyjne, aby zapobiec gromadzeniu się kurzu. Używaj suchej, miękkiej ściereczki.
- Kontrola połączeń: Co roku sprawdzaj wszystkie połączenia przewodów pod kątem szczelności i śladów korozji. W razie potrzeby dokręć je ponownie.
- Kontrola baterii: Follow the battery manufacturer's maintenance schedule. Check battery terminals for corrosion and ensure proper ventilation around the battery bank.
- Kontrola środowiskowa: Upewnij się, że środowisko instalacji mieści się w określonym zakresie temperatury i wilgotności.
Ostrożność: Przed przystąpieniem do prac konserwacyjnych należy zawsze odłączyć wszystkie źródła zasilania.
7. Rozwiązywanie Problemów
This section provides solutions for common issues you might encounter. For problems not listed here, contact technical support.
| Problem | Możliwa przyczyna | Rozwiązanie |
|---|---|---|
| Falownik się nie włącza | Brak połączenia z baterią; Pojemność bateriitage too low; DC breaker open. | Check battery connections; Charge battery; Close DC breaker. |
| Brak wyjścia AC | AC output breaker open; Overload; Inverter fault. | Close AC output breaker; Reduce load; Check display for error codes. |
| Niskie ładowanie słoneczne | Shading on panels; Dirty panels; PV input voltage za niskie/za wysokie. | Clear shading; Clean panels; Verify PV array configuration. |
| Ostrzeżenie o przeciążeniu | Podłączone obciążenia przekraczają wydajność falownika. | Zmniejsz całkowite zużycie energii przez podłączone urządzenia. |
8. Specyfikacje techniczne
The following table outlines the key technical specifications for the THKFMSRC GD11048MH Solar Inverter.
| Funkcja | Wartość |
|---|---|
| Model | GD11048MH |
| Moc znamionowa | 11 kW |
| Objętość systemutage | 48 V |
| Wydajność falownika | 98% |
| Źródło zasilania | Zasilany bateryjnie |
| Waga przedmiotu | 44.1 funta |
| Wymiary opakowania | 0.39 x 0.39 x 0.39 cala |
| Producent | THKFMSRC |
9. Gwarancja i wsparcie
This THKFMSRC Solar Inverter comes with a standard manufacturer's warranty. Please refer to the warranty card included with your product for specific terms and conditions. For technical support, service, or warranty claims, please contact your point of purchase or the manufacturer directly. Ensure you have your product model and serial number available when contacting support.