
1. Koniec produktuview
The ELECROW 5 Inch Touchscreen Monitor (Model DLH05050B) is a versatile IPS capacitive display designed for various mini PCs and systems. It features a 1024x600 resolution, 178° wide viewing angle, and supports 5-point capacitive touch input. This monitor is ideal for embedded projects, portable dashboards, and as an interface for single-board computers.
Główne cechy:
- Rozrywka wizualna HD: 5-inch IPS capacitive touchscreen with 1024×600 resolution, 178° wide viewing angle, and up to 1080P signal input via intelligent scaling.
- Podłącz i graj: No additional software or drivers required for most compatible systems.
- Szeroka kompatybilność: Compatible with Raspberry Pi (5, 4, 3 B+), BB Black, Banana Pi, Jetson Nano, Windows 7/8/8.1/10/11 systems, Raspbian, Ubuntu, Windows 10 IoT, PS4, and Xbox.
- Responsive Touch & Screen Adjustment: Features 5-point capacitive touch for accurate input, a built-in OSD menu for brightness and contrast adjustment, and USB dimming support.
- Integrated Mounting Design: Rear mounting holes allow direct attachment of Raspberry Pi boards, and an included acrylic stand provides desktop placement.
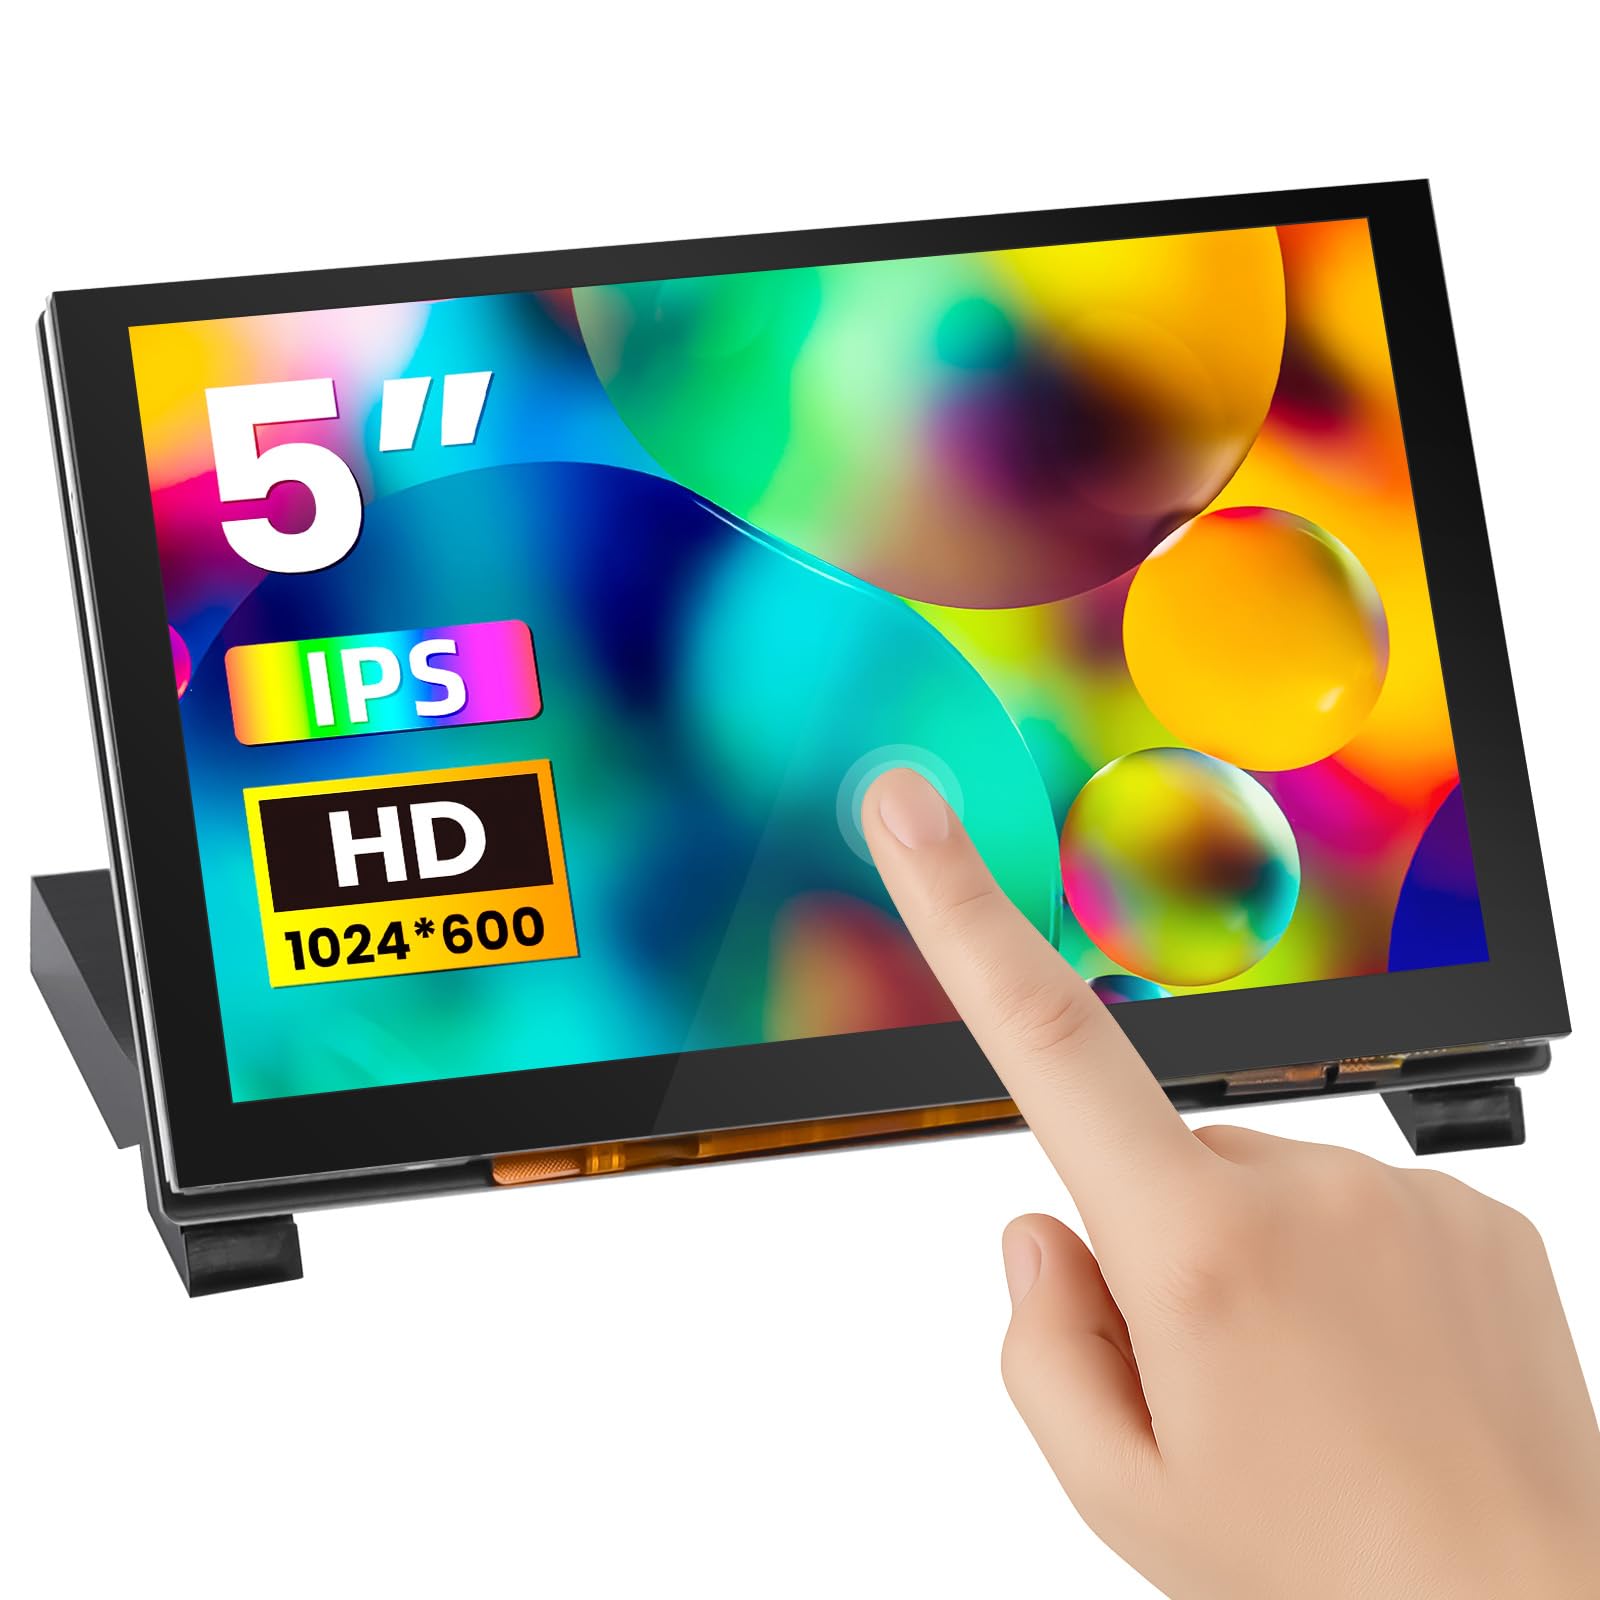
Figure 1: ELECROW 5 Inch Touchscreen Monitor with Acrylic Stand.
2. Co jest zawarte
Przed przystąpieniem do instalacji sprawdź, czy w opakowaniu znajdują się wszystkie elementy.
- 1x 5-inch Touch Screen
- 1x USB-A to USB-C Cable (1m)
- 1x Micro-HD Adapter (for Raspberry Pi 4B & 5)
- 2x Acrylic Stand pieces
- Screws and copper pillars for mounting
- 1x Śrubokręt
- Szybki przewodnik

Figure 2: Package contents including the 5-inch touch screen, cables, adapters, and stand components.
3. Specyfikacje produktu
| Funkcja | Specyfikacja |
|---|---|
| Marka | ELEKTROROW |
| Numer modelu | DLH05050B |
| Rozmiar ekranu | 5 cali |
| Rozdzielczość natywna | 1024x600 pikseli |
| Maksymalna rozdzielczość wyświetlacza | 1024x600 Pixels (Supports up to 1080P signal input via intelligent scaling) |
| Proporcje obrazu | 16:9 |
| Typ wyświetlacza | Ekran LCD IPS |
| Viewing kąt | 178 stopni |
| Jasność | 410 kandeli na metr kwadratowy |
| Częstotliwość odświeżania | 60 Hz |
| Czas reakcji | 2 milisekund |
| Typ ekranu dotykowego | Capacitive (5-point) |
| Technologia łączności | HDMI, USB typu C |
| Wszystkie porty HDMI | 1 |
| Łączna liczba portów USB | 1 (Type-C for power and touch) |
| Tomtage | 5 wolty |
| Wymiary przedmiotu (gł. x szer. x wys.) | 4.8" gł. x 3.08" szer. x 0.8" wys. |
4. Instrukcje konfiguracji
This section details how to connect your ELECROW 5 Inch Touchscreen Monitor to various devices.
4.1 Assembling the Acrylic Stand
- Carefully remove the protective film from both sides of the acrylic stand pieces.
- Align the slots on the stand pieces with the mounting holes on the back of the monitor.
- Secure the stand using the provided screws and screwdriver. Ensure the stand is stable.
4.2 Connecting to Raspberry Pi (3/4/5)
The monitor is designed for direct mounting with Raspberry Pi boards. For Raspberry Pi 4B and 5, a Micro-HD adapter is included.
- Montaż (opcjonalny): Use the provided copper pillars and screws to attach your Raspberry Pi board directly to the rear mounting holes of the display.
- Połączenie wideo:
- For Raspberry Pi 3B+, connect the standard HDMI cable from the Raspberry Pi to the monitor's HD input.
- For Raspberry Pi 4B and 5, attach the Micro-HD adapter to the Raspberry Pi's Micro-HDMI port, then connect the standard HDMI cable from the adapter to the monitor's HD input.
- Power & Touch Connection: Connect the USB-A to USB-C cable from a USB port on your Raspberry Pi to the monitor's USB Type-C port. This cable provides both power to the monitor and enables touch functionality.
- Włączanie: Power on your Raspberry Pi. The display should automatically detect the signal.

Figure 3: Connection diagram for Raspberry Pi models.
4.3 Connecting to Jetson Nano
- Połączenie wideo: Connect an HDMI cable from the Jetson Nano's HDMI output to the monitor's HD input.
- Power & Touch Connection: Connect the USB-A to USB-C cable from a USB port on the Jetson Nano to the monitor's USB Type-C port. This provides power and touch input.
- Włączanie: Power on your Jetson Nano. The display should activate.

Figure 4: Connection diagram for Jetson Nano.
4.4 Connecting to a Computer (Windows)
- Połączenie wideo: Connect an HDMI cable from your computer's HDMI output to the monitor's HD input.
- Power & Touch Connection: Connect the USB-A to USB-C cable from a USB port on your computer to the monitor's USB Type-C port. This provides power and enables touch functionality.
- Ustawienia wyświetlania: Your computer should automatically detect the new display. You may need to adjust display settings (e.g., extend or duplicate display, set resolution to 1024x600) in your operating system.
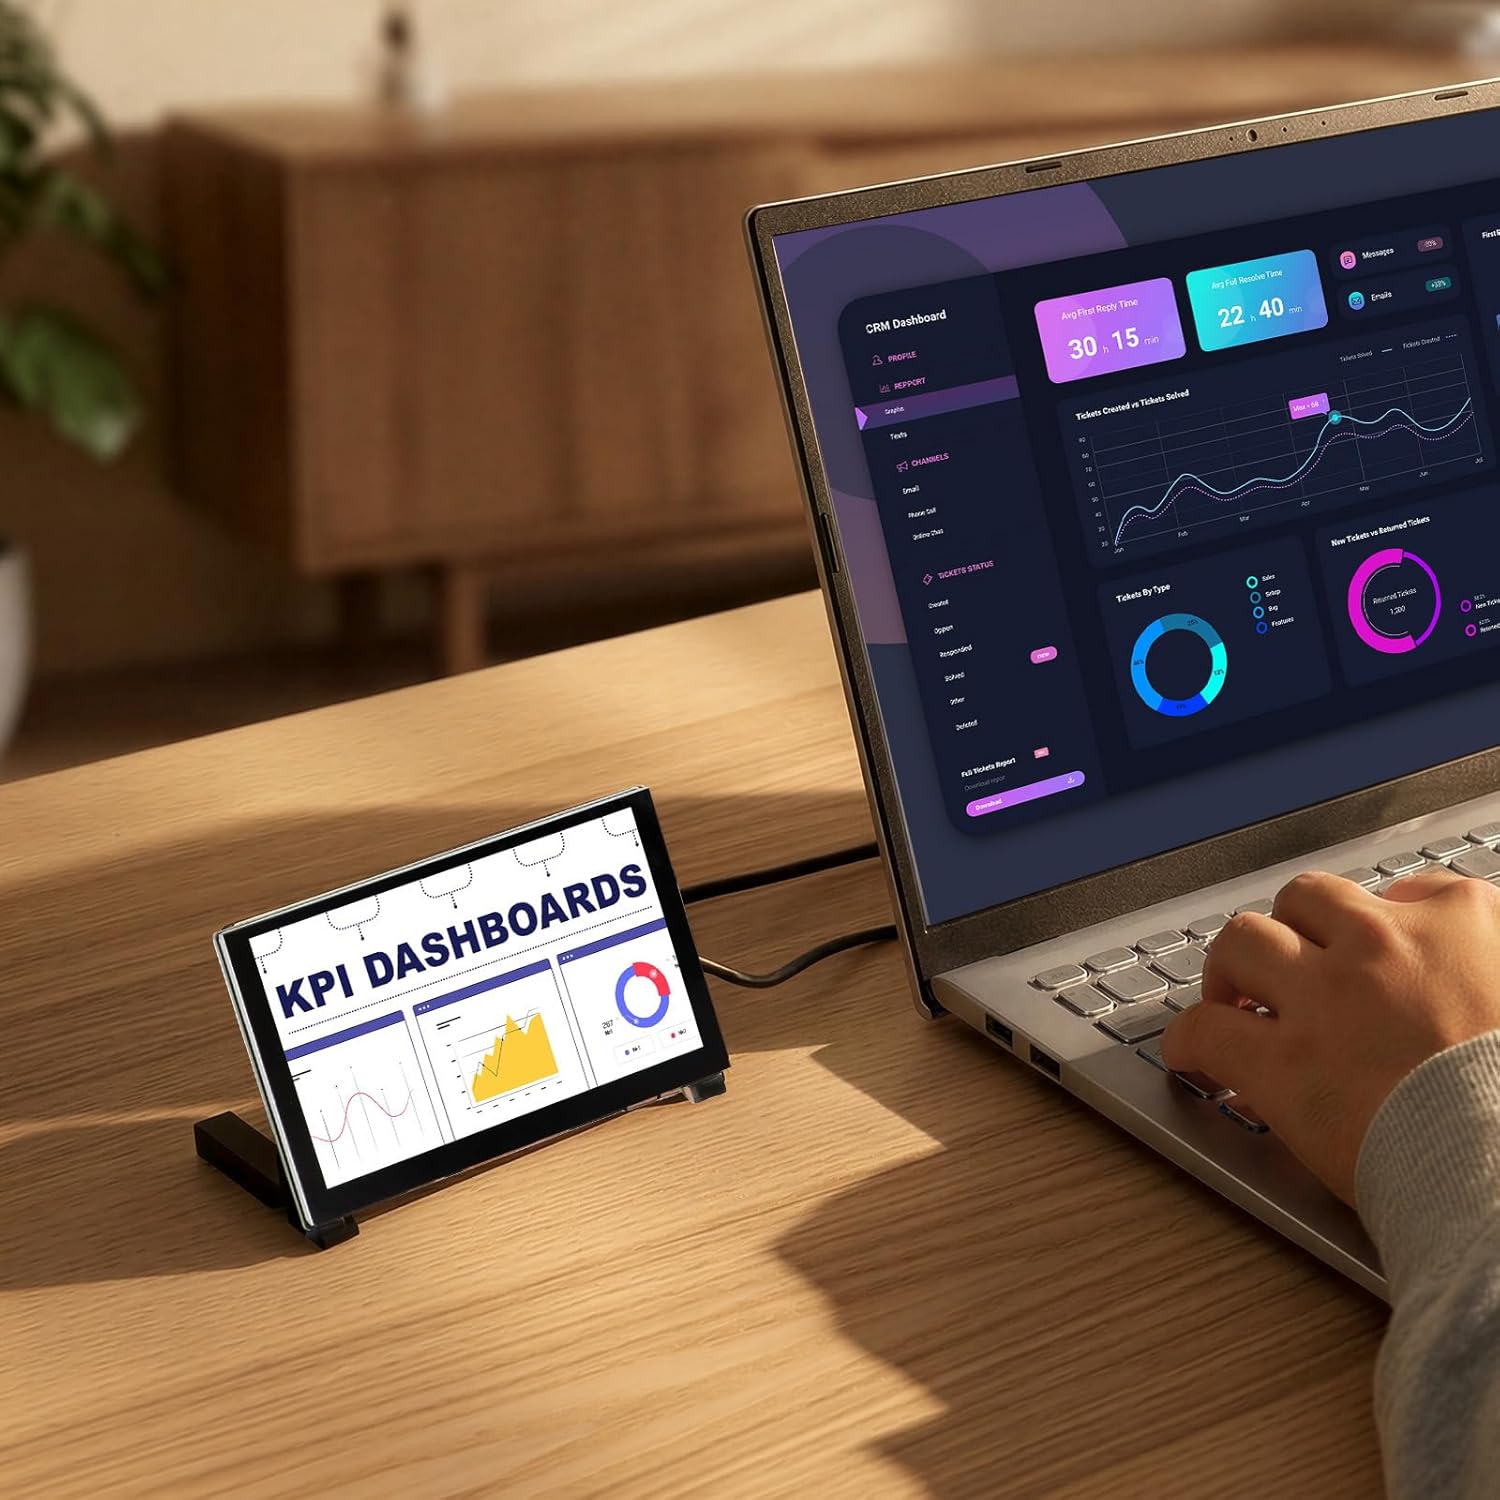
Figure 5: Monitor connected to a laptop for extended display.
5. Instrukcja obsługi
The ELECROW 5 Inch Touchscreen Monitor is designed for intuitive use with its capacitive touch and integrated controls.
5.1 Funkcjonalność dotykowa
The monitor supports 5-point capacitive touch. For Raspberry Pi, it typically supports single touch. For Windows systems, it supports multi-touch gestures.
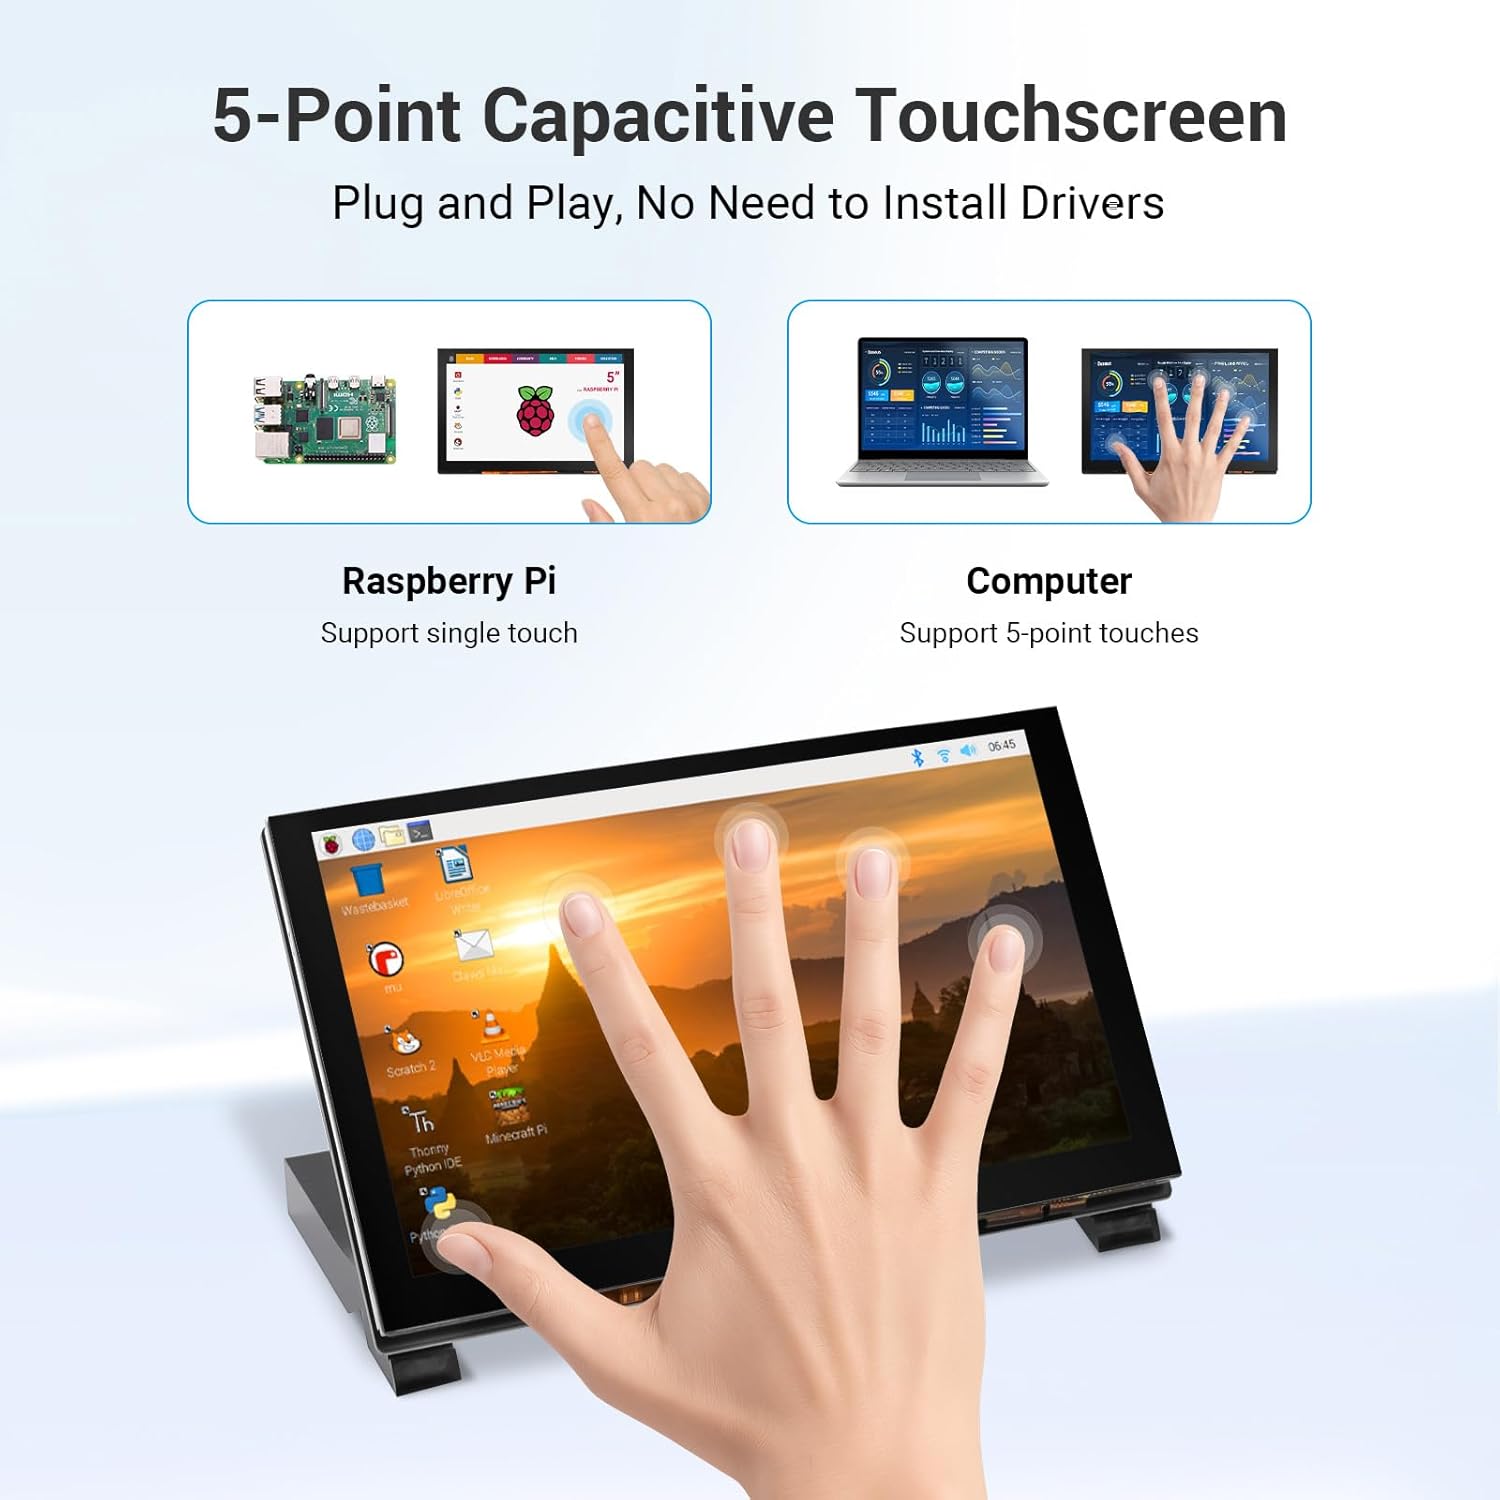
Figure 6: Demonstrating 5-point capacitive touch on the monitor.
5.2 Menu ekranowe (OSD)
The monitor features a built-in OSD menu for adjusting display settings. Buttons are located on the side or back of the display board.
- Przycisk menu: Naciśnij, aby otworzyć menu OSD.
- Przyciski w górę/w dół: Poruszaj się po opcjach menu.
- Przycisk powrotu: Wróć do poprzedniego menu lub wyjdź z OSD.
- Przycisk zasilania: Włącz/wyłącz wyświetlacz.
Within the OSD menu, you can adjust settings such as brightness, contrast, color temperature, and aspect ratio to optimize your viewzdobywania doświadczenia.
5.3 Compatibility with Operating Systems
The monitor offers broad compatibility with various operating systems and devices, ensuring a plug-and-play experience without the need for complex driver installations.
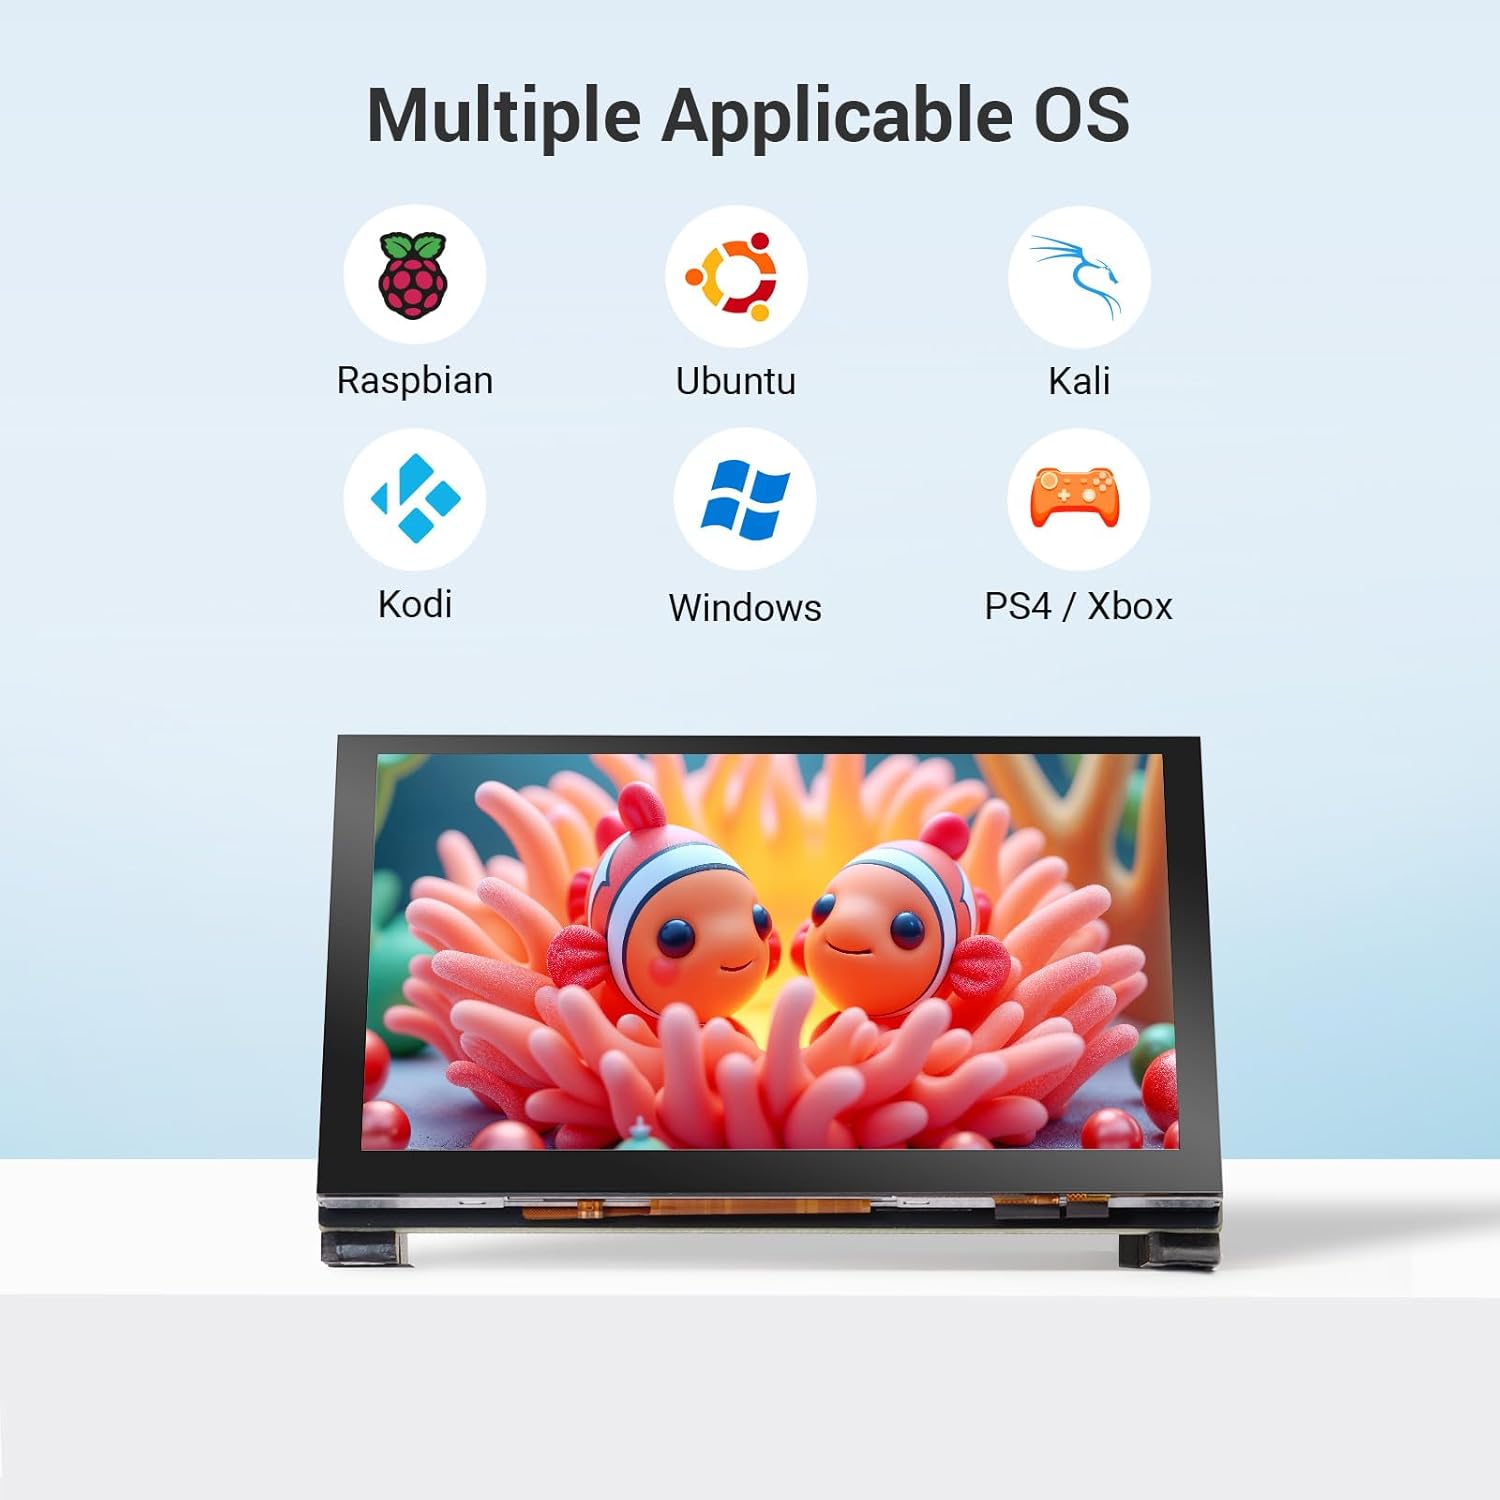
Figure 7: Wide operating system compatibility.
6. Konserwacja
Proper care and maintenance will ensure the longevity and optimal performance of your ELECROW 5 Inch Touchscreen Monitor.
6.1 Czyszczenie produktu
- Turn off the product and disconnect the power cord before cleaning.
- Use a clean, soft, dry cloth to wipe the display screen.
- Do not use cleaning agents containing alcohol, solvents, or surfactants on the screen.
- Do not directly spray water or cleaning agents onto the product.
- dla casing, use a soft, dry cloth to wipe it out, and then clean the exterior of the product.
6.2 Safe Placement
- Unikaj umieszczania produktu w pobliżu źródeł ciepła.
- Do not position the product on an unstable or vibrating surface.
- Keep the monitor away from damp środowiska.
7. Rozwiązywanie Problemów
If you encounter issues with your ELECROW 5 Inch Touchscreen Monitor, please refer to the following common troubleshooting steps:
7.1 No Display or Flickering Screen
- Sprawdź połączenie zasilania: Ensure the USB-C cable is securely connected to both the monitor and the power source (e.g., Raspberry Pi, computer USB port). Verify the power source is active.
- Check HDMI Connection: Ensure the HDMI cable is firmly connected to both the monitor's HD input and your device's HDMI output. If using a Micro-HD adapter, ensure it is correctly seated.
- Verify Signal Source: Make sure your connected device (Raspberry Pi, PC, etc.) is powered on and outputting a video signal.
- Test with Another Cable/Device: If possible, try different HDMI and USB-C cables, or connect the monitor to another compatible device to rule out cable or source issues.
- Dostosuj rozdzielczość: Ensure your device's output resolution is compatible with the monitor (native 1024x600, supports up to 1080P scaled).
7.2 Touch Function Not Working
- Połączenie USB-C: The USB-C cable provides both power and touch data. Ensure it is securely connected to both the monitor and a functional USB port on your device.
- Obsługa systemu operacyjnego: Verify that your operating system supports touch input and that necessary drivers (if any, though usually plug-and-play) are installed. For Raspberry Pi, ensure your OS image is configured for touch.
- Uruchom ponownie urządzenia: Try restarting both the monitor and the connected device.
7.3 OSD Menu Not Appearing
- Funkcjonalność przycisku: Ensure you are pressing the correct 'Menu' button on the display board.
- Stan zasilania: The monitor must be powered on to access the OSD menu.
8. Gwarancja i wsparcie
8.1 Informacje o gwarancji
The ELECROW 5 Inch Touchscreen Monitor comes with a 1-letnia gwarancja producentaNiniejsza gwarancja obejmuje wady materiałowe i wykonawcze powstałe w wyniku normalnego użytkowania w okresie gwarancyjnym.
For specific warranty terms and conditions, please refer to the documentation provided with your purchase or contact ELECROW customer support.
8.2 Obsługa klienta
For technical assistance, troubleshooting, or warranty claims, please contact ELECROW customer support through their official website or the retailer where the product was purchased. Please have your model number (DLH05050B) and purchase information ready when contacting support.