
1. Wprowadzenie
The Daitsu Velar ceiling fan combines design, technology, and sustainability to provide comfort throughout the year. Its natural FSC-certified wooden blades, sourced from responsibly managed forests, add warmth to any room while committing to the protection of the planet's forest resources.
This manual provides detailed instructions for the safe installation, operation, and maintenance of your Daitsu Velar ceiling fan. Please read it thoroughly before installation and keep it for future reference.
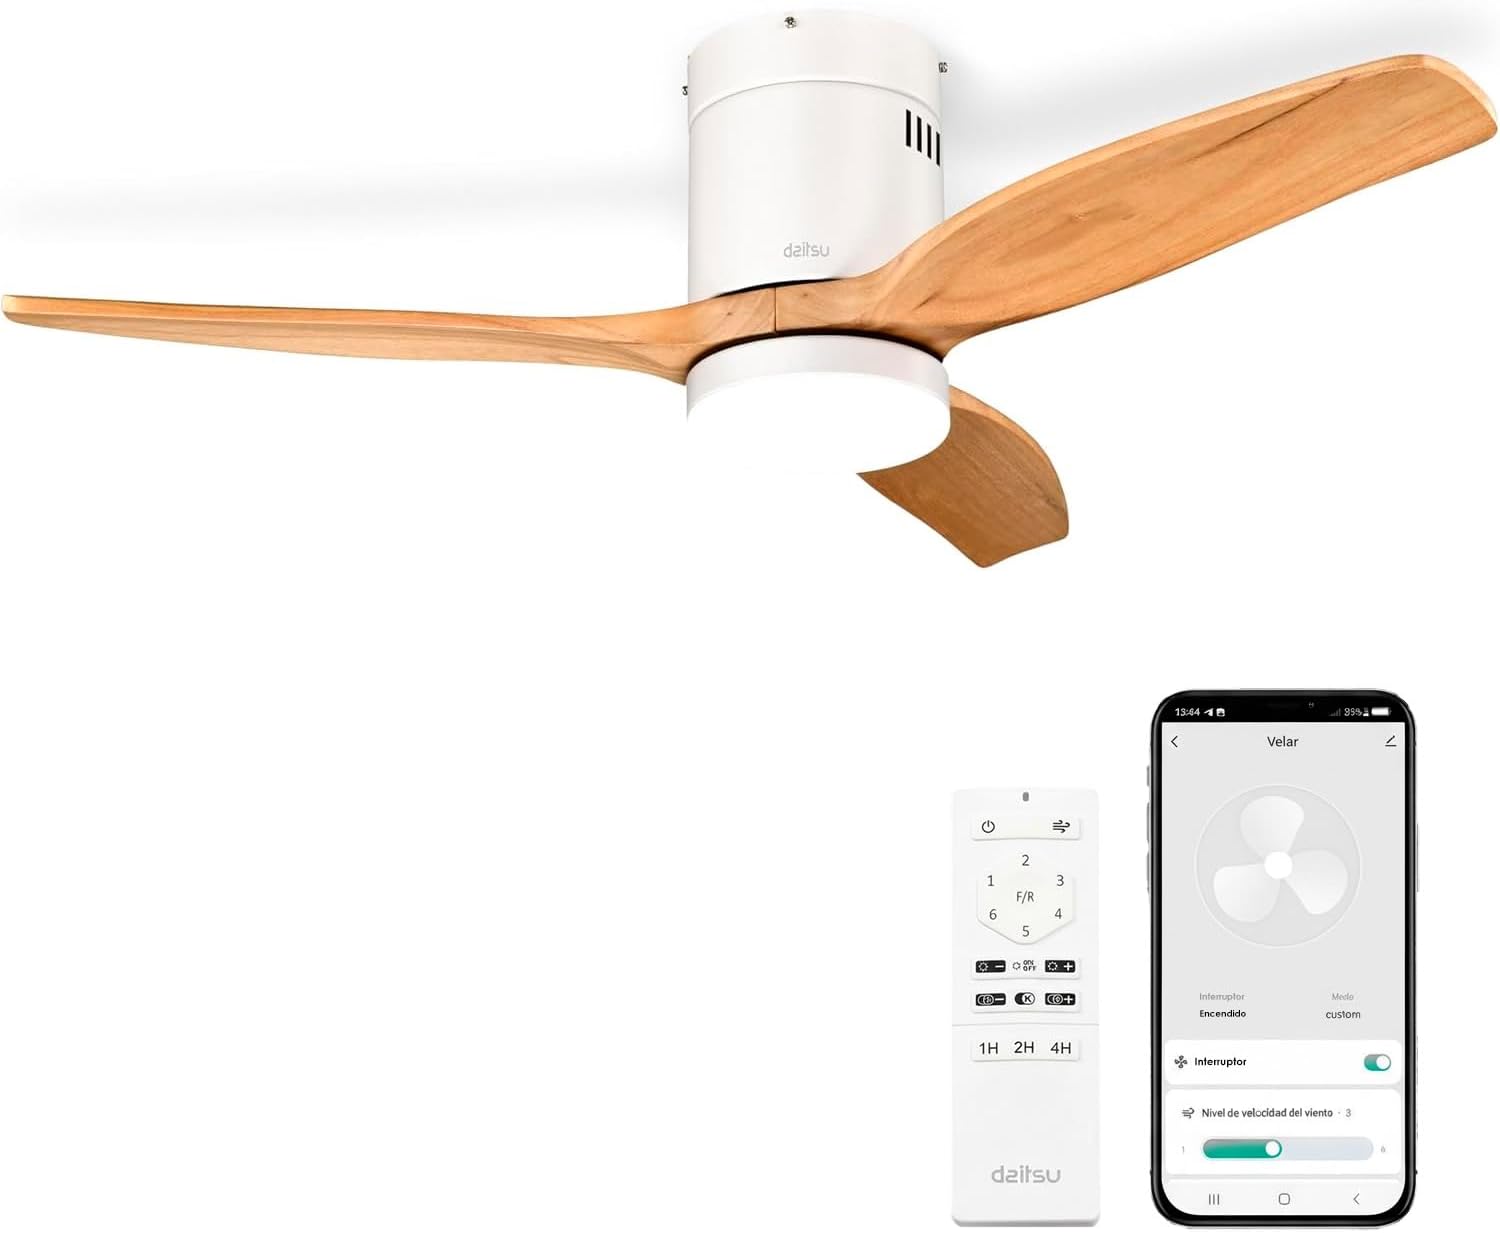
Image 1.1: Daitsu Velar Ceiling Fan in a living room setting.
2. Informacje dotyczące bezpieczeństwa
Ważne instrukcje bezpieczeństwa:
- Przed instalacją i użytkowaniem przeczytaj uważnie wszystkie instrukcje.
- Przed przystąpieniem do instalacji lub konserwacji należy upewnić się, że zasilanie jest odłączone za pomocą głównego wyłącznika.
- Instalację musi wykonać wykwalifikowany elektryk, zgodnie z lokalnymi przepisami elektrycznymi.
- Konstrukcja montażowa musi być w stanie utrzymać ciężar wentylatora (około 4.6 kg).
- Ensure the fan blades are at least 2.3 meters (7.5 feet) from the floor and have at least 0.5 meters (1.6 feet) clearance from walls or other obstructions.
- Nie wkładaj żadnych przedmiotów na ścieżkę obracających się ostrzy.
- Nie próbuj samodzielnie naprawiać ani modyfikować wentylatora. Skontaktuj się z wykwalifikowanym personelem serwisowym.
- To urządzenie jest przeznaczone wyłącznie do użytku wewnątrz pomieszczeń.
3. Zawartość opakowania
Przed rozpoczęciem instalacji należy sprawdzić, czy wszystkie komponenty są obecne i nieuszkodzone:
- Łopatki wentylatora (3x)
- Motor and Ceiling Mount Bracket
- LED Light Kit (plate + diffuser)
- Wireless Remote Control and Wall Mount Holder
- Mounting Screws (for ceiling and blades)
- Instrukcja obsługi (ten dokument)

Obraz 3.1: Example of product packaging, indicating included components.
4. Konfiguracja i instalacja
Wymagane narzędzia: Screwdriver, wire strippers, electrical tape, ladder, drill (if necessary).
- Odłączenie zasilania: Wyłącz zasilanie za pomocą głównego wyłącznika, aby zapobiec porażeniu prądem.
- Instalacja wspornika montażowego: Securely attach the ceiling mount bracket to a ceiling joist or a suitable electrical junction box capable of supporting the fan's weight. Use the provided mounting screws.
- Okablowanie: Connect the fan's electrical wires to the household wiring according to the wiring diagram in the full installation guide (not provided here, but typically included with the product). Ensure all connections are secure and insulated.
- Zespół silnika: Carefully lift the fan motor assembly and hang it onto the mounting bracket.
- Mocowanie ostrza: Attach the three wooden blades to the motor housing using the provided screws. Ensure they are securely fastened.
- Montaż zestawu oświetlenia LED: Connect the LED light kit wiring and attach the light plate and diffuser to the bottom of the fan motor housing.
- Montaż baldachimu: Przesuń daszek do sufitu i zamocuj go tak, aby zakrył okablowanie i uchwyt montażowy.
- Przywrócenie zasilania: Przywróć zasilanie na głównym wyłączniku.
- Konfiguracja pilota zdalnego sterowania: Insert batteries into the remote control. The fan should be ready for operation.
- Wi-Fi App Setup (Daitsu Connect):
- Download the "Daitsu Connect" app from your smartphone's app store.
- Follow the in-app instructions to pair your fan with your mobile device. This typically involves putting the fan into pairing mode (refer to the full app manual for specific steps).
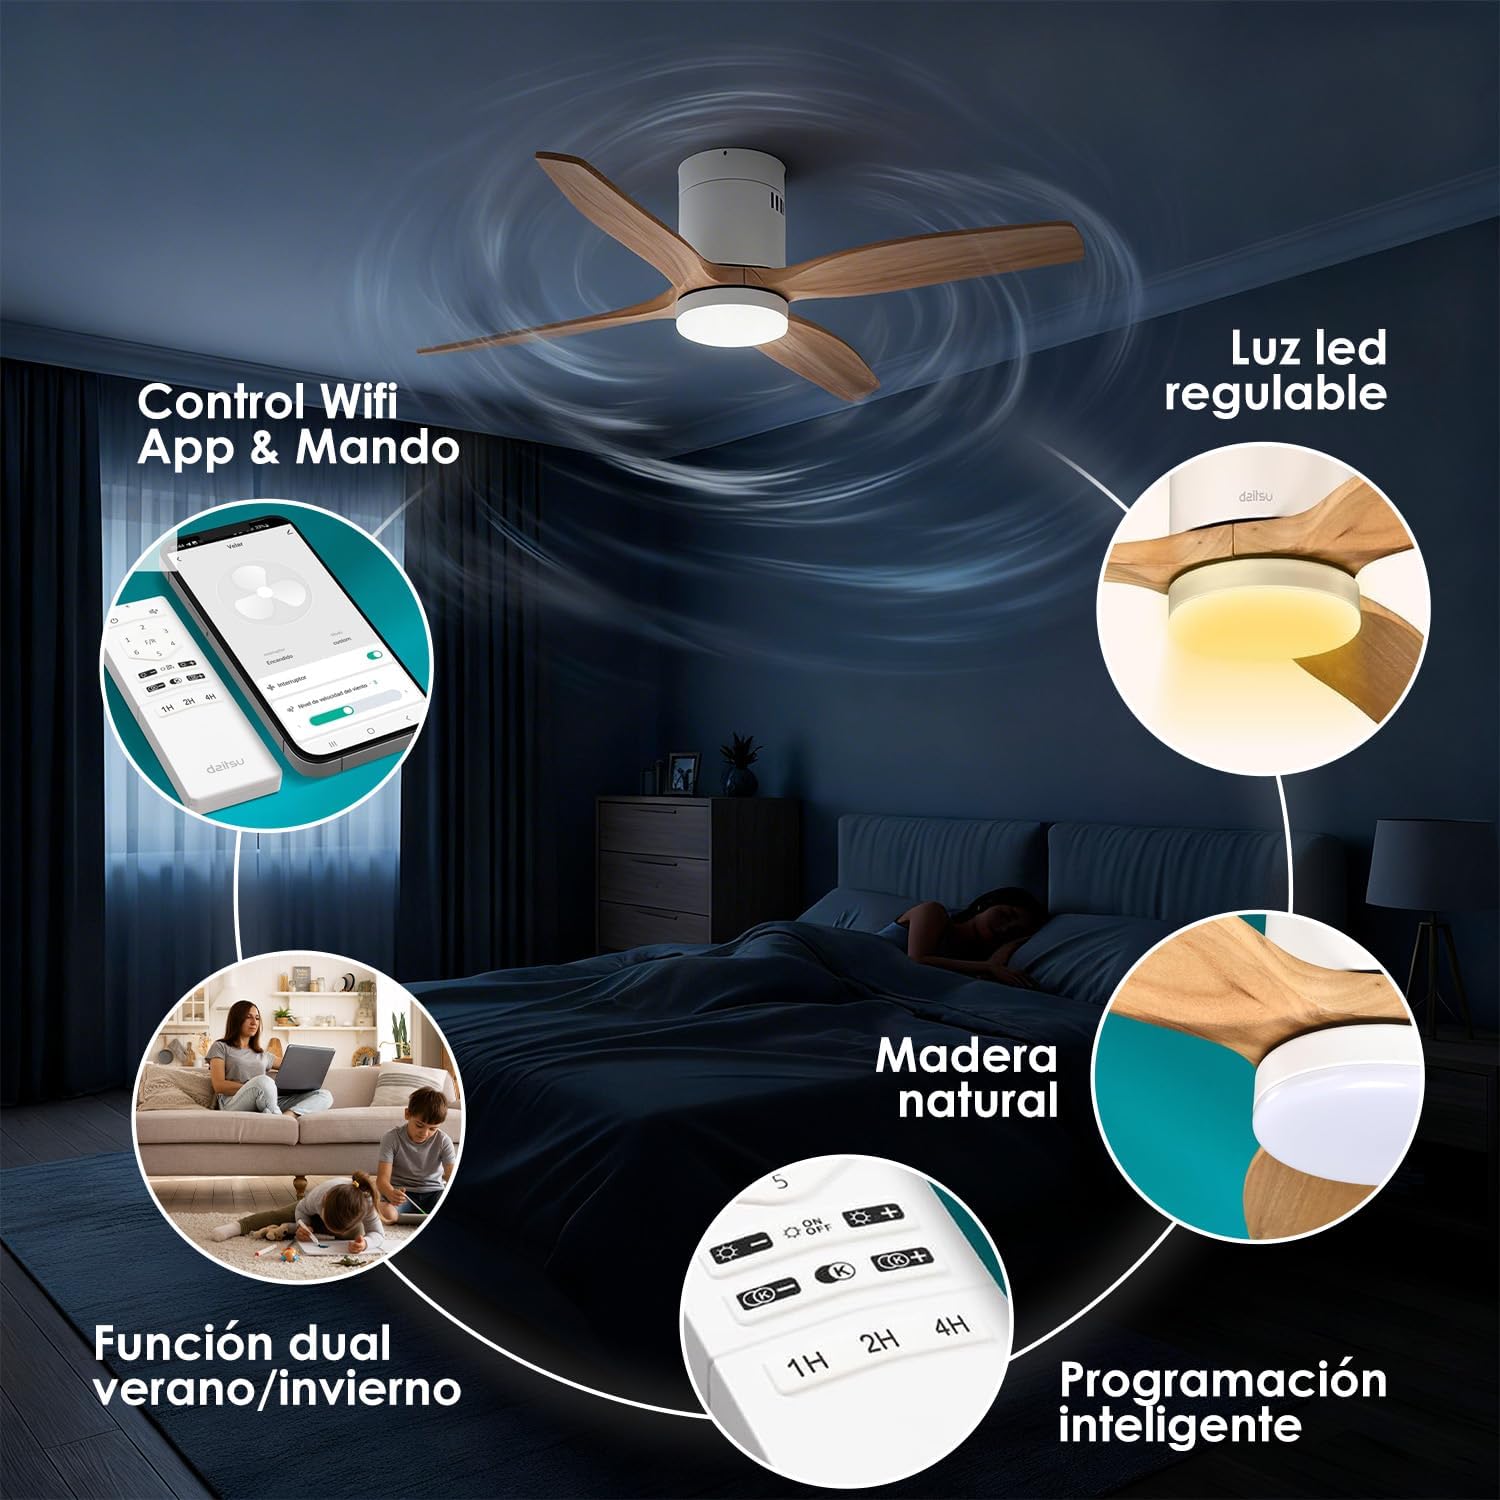
Obraz 4.1: Koniecview of fan features, including Wi-Fi App & Remote Control.
5. Instrukcja obsługi
Your Daitsu Velar ceiling fan can be controlled using the included wireless remote control or the Daitsu Connect mobile application.
5.1. Funkcje pilota

Image 5.1: Remote control and Daitsu Connect App interface.
- Włączanie/wyłączanie: Naciśnij Moc przycisk, aby włączyć lub wyłączyć wentylator i oświetlenie.
- Prędkość wentylatora: Use the speed buttons (1-6) to select one of the six available fan speeds. There is also a variable mode that alternates between low levels for a more natural air sensation.
- Summer/Winter Function (F/R): Naciśnij Przód/tył button to switch between summer and winter modes.
- Tryb letni: Łopatki obracają się przeciwnie do ruchu wskazówek zegara, wypychając powietrze w dół i zapewniając chłodną bryzę.
- Tryb zimowy: Blades rotate clockwise, drawing cool air up and pushing warm air down from the ceiling, optimizing heating efficiency.
- Sterowanie oświetleniem:
- Włączanie/wyłączanie światła: Naciśnij przycisk światła, aby włączyć lub wyłączyć światło LED.
- Regulacja jasności: Użyj + I - buttons to adjust the light intensity (9 levels).
- Regulacja temperatury barwowej: Użyj K+ I K- buttons to change the color temperature from cool to warm (9 levels).
- Funkcja timera: Set the fan to automatically turn off after 1, 2, or 4 hours using the respective timer buttons (1H, 2H, 4H).

Image 5.2: Summer/Winter function diagram for optimal air circulation.

Image 5.3: LED light adjustability with 9 intensity and color temperature levels.
5.2. Daitsu Connect App Control
The Daitsu Connect app provides full control over all fan functions, including speed, light, mode, and timer, directly from your mobile device. It also allows for personalized hourly programming to automate operation based on your daily or weekly routines.
- Pełna funkcjonalność: Access all remote control features and more.
- Zaawansowane planowanie: Program specific on/off times and settings for different days.
- Funkcja pamięci: The fan automatically remembers its last state (speed, light, color temperature, and mode) if power is interrupted or turned off from the switch. Upon power restoration, it will resume the last settings.

Image 5.4: Key features including 6 speeds, programming, light levels, and dual control.
6. Konserwacja
Regularna konserwacja zapewnia optymalną wydajność i wydłuża żywotność wentylatora.
- Czyszczenie:
- Zawsze odłączaj zasilanie przed czyszczeniem.
- Przetrzyj obudowę wentylatora i łopatki miękką ściereczką.amp ściereczka. Nie należy używać środków czyszczących o właściwościach ściernych ani rozpuszczalników.
- Dust the blades regularly to maintain balance and efficiency.
- Kontrola ostrza: Okresowo sprawdzaj, czy wszystkie śruby łopatek są dokręcone. Luźne śruby mogą powodować chybotanie i hałas.
- Źródło światła: The integrated LED light is designed for long life. If it requires replacement, contact customer support.
7. Rozwiązywanie Problemów
Jeśli masz problemy z wentylatorem, zapoznaj się z poniższymi typowymi problemami i rozwiązaniami:
| Problem | Możliwa przyczyna | Rozwiązanie |
|---|---|---|
| Wentylator nie uruchamia się. | Brak zasilania, luźne okablowanie, rozładowana bateria pilota. | Check circuit breaker. Ensure wiring is secure. Replace remote control batteries. |
| Wentylator się chwieje. | Loose blade screws, unbalanced blades, improper mounting. | Tighten all blade screws. Ensure blades are balanced (a balancing kit may be required). Recheck mounting bracket security. |
| Światło nie działa. | Loose wiring, LED module failure. | Check light kit wiring connections. If issue persists, contact customer support for LED module replacement. |
| Pilot nie odpowiada. | Dead batteries, interference, remote not paired. | Replace batteries. Ensure no obstructions. Re-pair remote if necessary (refer to full manual). |
| Wi-Fi app connection issues. | Incorrect Wi-Fi password, poor signal, fan not in pairing mode. | Verify Wi-Fi password. Ensure fan is within Wi-Fi range. Follow app instructions to put fan in pairing mode. |
If the problem persists after attempting these solutions, please contact Daitsu customer support.
8. Specyfikacje
| Funkcja | Szczegół |
|---|---|
| Marka | Daitsu |
| Numer modelu | TYLNOJĘZYKOWY |
| Rozmiar | Ø122cm (suitable for rooms up to 25m²) |
| Wymiary (gł. x szer. x wys.) | 106.5 cm x 106.5 cm x 31.5 cm (Note: The Ø122cm refers to the blade span, while 106.5cm might be the housing dimensions or a different measurement.) |
| Waga | 4.6 kilograma |
| Kolor | White with Wooden Blades |
| Liczba ostrzy | 3 |
| Źródło zasilania | Elektryczny przewodowy |
| Tomtage | 240 wolty |
| Pobór mocy | 30 watów |
| Przepływ powietrza | 121 metrów sześciennych na minutę |
| Liczba prędkości | 6 |
| Poziom hałasu | 34 Decibels (Ultra-silent DC motor) |
| Cechy specjalne | Natural wooden blades, Remote control, App control (Wi-Fi), Dimmable LED light (18W, 9 intensity levels, 9 color temperatures), Summer/Winter function, Smart memory function, Programmable auto-off. |
| Zalecane zastosowanie | Air circulation, Ventilation (Indoor use only) |

Image 8.1: Dimensions for the Ø122cm model.
9. Gwarancja i wsparcie
Gwarancja: Produkt objęty jest 3-letnią gwarancją producenta.
Obsługa klienta: For technical assistance, warranty claims, or any questions regarding your Daitsu Velar ceiling fan, please contact Daitsu customer service through their official webstronę lub dane kontaktowe podane w dokumentacji zakupu.
Please have your model number (VELAR) and proof of purchase ready when contacting support.