
1. Wprowadzenie
Thank you for choosing the VOCOO 15.7" Digital Wall Timer and Clock. This device is designed to provide clear time display, versatile countdown and count-up timer functions, and customizable alarm settings for various environments such as offices, homes, kitchens, gyms, and classrooms. Please read this manual carefully to ensure proper setup and operation.
2. Co jest zawarte
Sprawdź, czy w opakowaniu znajdują się wszystkie komponenty:
- VOCOO 15.7" Digital Wall Timer and Clock
- Zdalne sterowanie
- 16.4-stopowy przewód zasilający
- Zasilacz 5V/2A
- 3 x AAA Batteries (for memory backup)
- 2 baterie AAA (do pilota)
- Instrukcja obsługi (ten dokument)
3. Konfiguracja
3.1 Połączenie zasilania
- Connect the 16.4ft power cord to the DC 5V input port on the back of the timer.
- Plug the 5V/2A power adapter into a standard electrical outlet. The timer will power on automatically.
3.2 Memory Backup Battery Installation
The timer uses 3 AAA batteries (included) to retain settings during power outages. This ensures that time, colors, and alarms are preserved without reprogramming.
- Znajdź komorę baterii z tyłu timera.
- Otwórz pokrywę komory.
- Włóż 3 baterie AAA, zwracając uwagę na prawidłową biegunowość (+/-).
- Dokładnie zamknij pokrywę komory baterii.

Image: Illustration of memory backup battery installation. The diagram shows the timer connected to power and the location for AAA batteries to preserve settings during power loss.
3.3 Instalacja baterii w pilocie zdalnego sterowania
The remote control requires 2 AAA batteries (included).
- Otwórz komorę baterii znajdującą się z tyłu pilota.
- Włóż 2 baterie AAA, zwracając uwagę na właściwą polaryzację.
- Zamknij pokrywę komory.
3.4 Montaż i umiejscowienie
The timer can be wall-mounted or placed on a desk.
- Montaż na ścianie: Use the keyhole slots on the back of the timer to hang it securely on screws (not included) in your desired wall location.
- Umiejscowienie biurka: Place the timer on a flat, stable surface.
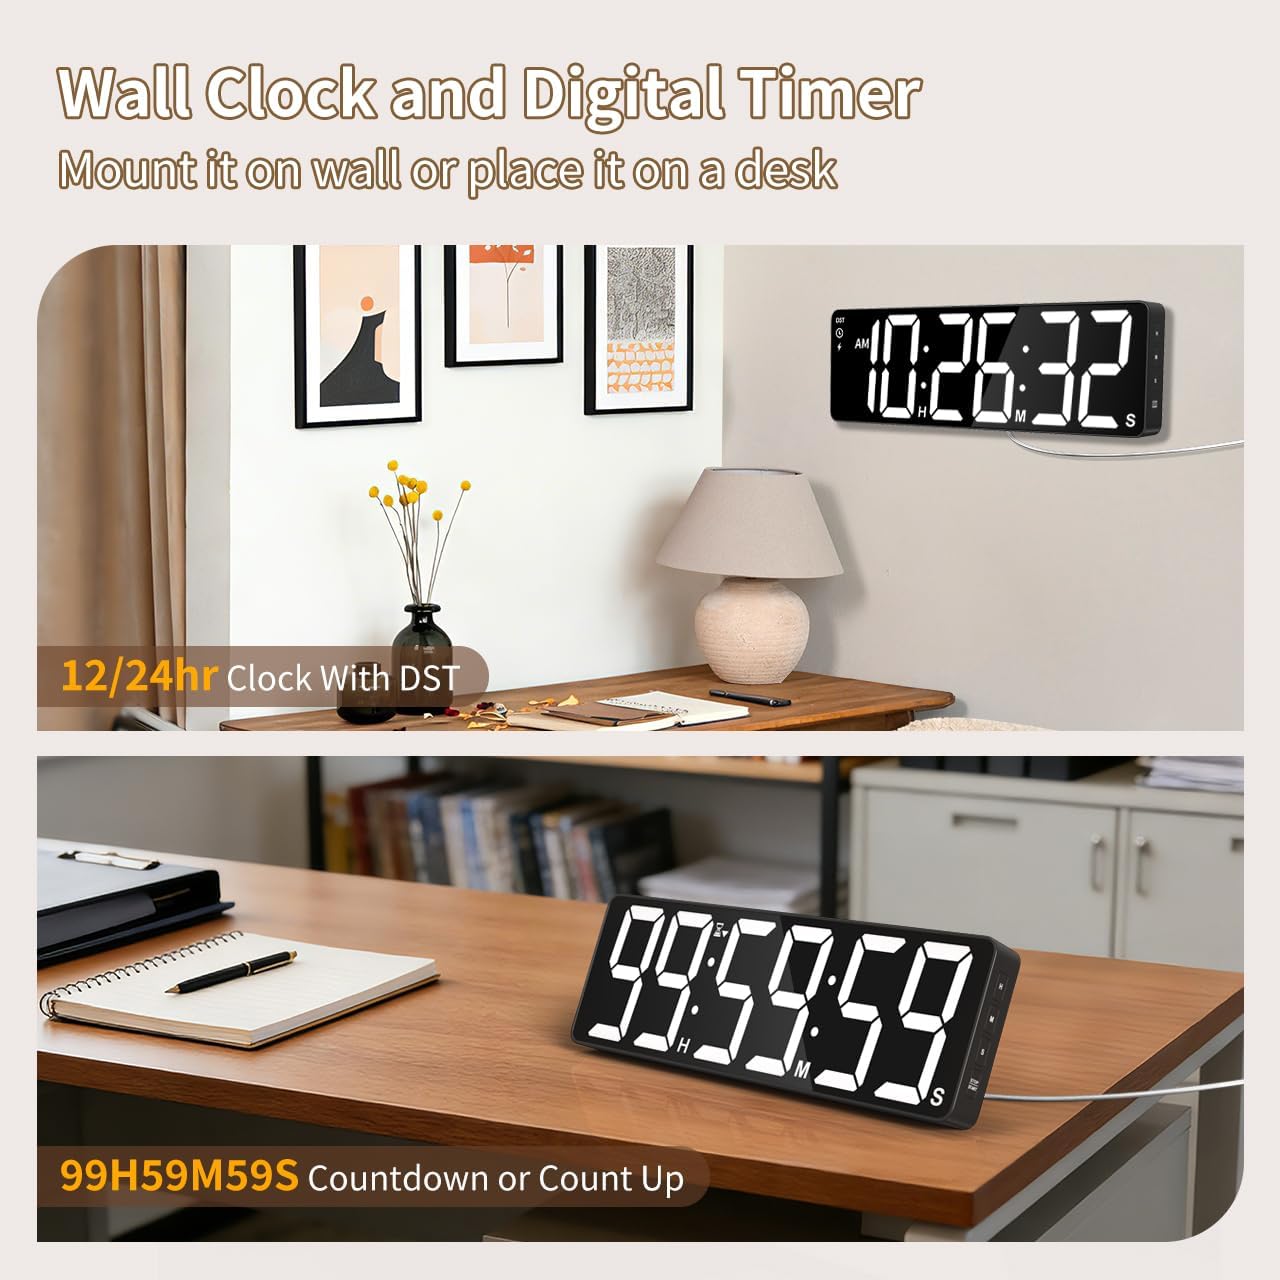
Obraz: Byłyamples of the digital timer's placement, showing it mounted on a wall and resting on a desk, illustrating its versatility.
4. Instrukcja obsługi
The timer can be operated using the buttons on the device or the included remote control.

Obraz: Ponadview of the timer's physical buttons and the remote control, highlighting their functions for easy operation.
4.1 Basic Clock Settings
Upon initial power-on or after a full power loss without backup batteries, the clock may need to be set.
- Ustaw czas: Naciśnij USTAWIĆ button on the remote or device. Use the number buttons (0-9) on the remote or the GÓRA/DÓŁ buttons on the device to adjust hours and minutes. Press USTAWIĆ jeszcze raz, aby potwierdzić.
- Format 12/24-godzinny: Naciśnij 12/24 godziny button on the remote to switch between 12-hour (with AM/PM indicator) and 24-hour formats.
- Czas letni (DST): The timer features automatic DST adjustment. Ensure the DST setting is enabled if your region observes it. Refer to the remote control for a dedicated Czas letni button or a combination key press.
4.2 Regulacja jasności
The display has 3 brightness levels.
- Naciśnij JASNOŚĆ button on the remote or device to cycle through the available brightness levels (Dim, Medium, Bright).
Wybór 4.3 kolorów
Choose from 18 color options for the display digits.
- Naciśnij KOLOR ŚWIATŁA button on the remote or device to cycle through 8 solid colors, 3 RGB fixed colors, and 7 RGB gradient colors.

Image: Visual representation of the 18 color options and 3 brightness levels (Dim, Medium, Bright) available for the timer's display.
4.4 Timer Functions (Countdown/Count Up)
The timer supports both countdown and count-up modes, up to 99 hours, 59 minutes, and 59 seconds.
- Set Countdown: Naciskać REGULATOR CZASOWY on the remote. Use the number buttons (0-9) to input the desired time (HH:MM:SS). Press START/PAUZA zacząć.
- Count Up (Stopwatch): Naciskać REGULATOR CZASOWY i wtedy JASNE to set the timer to 00:00:00. Press START/PAUZA aby rozpocząć liczenie.
- Wstrzymaj/Wznów: Naciskać START/PAUZA during an active timer to pause or resume.
- Reset: Naciskać NASTAWIĆ to clear the current timer setting.
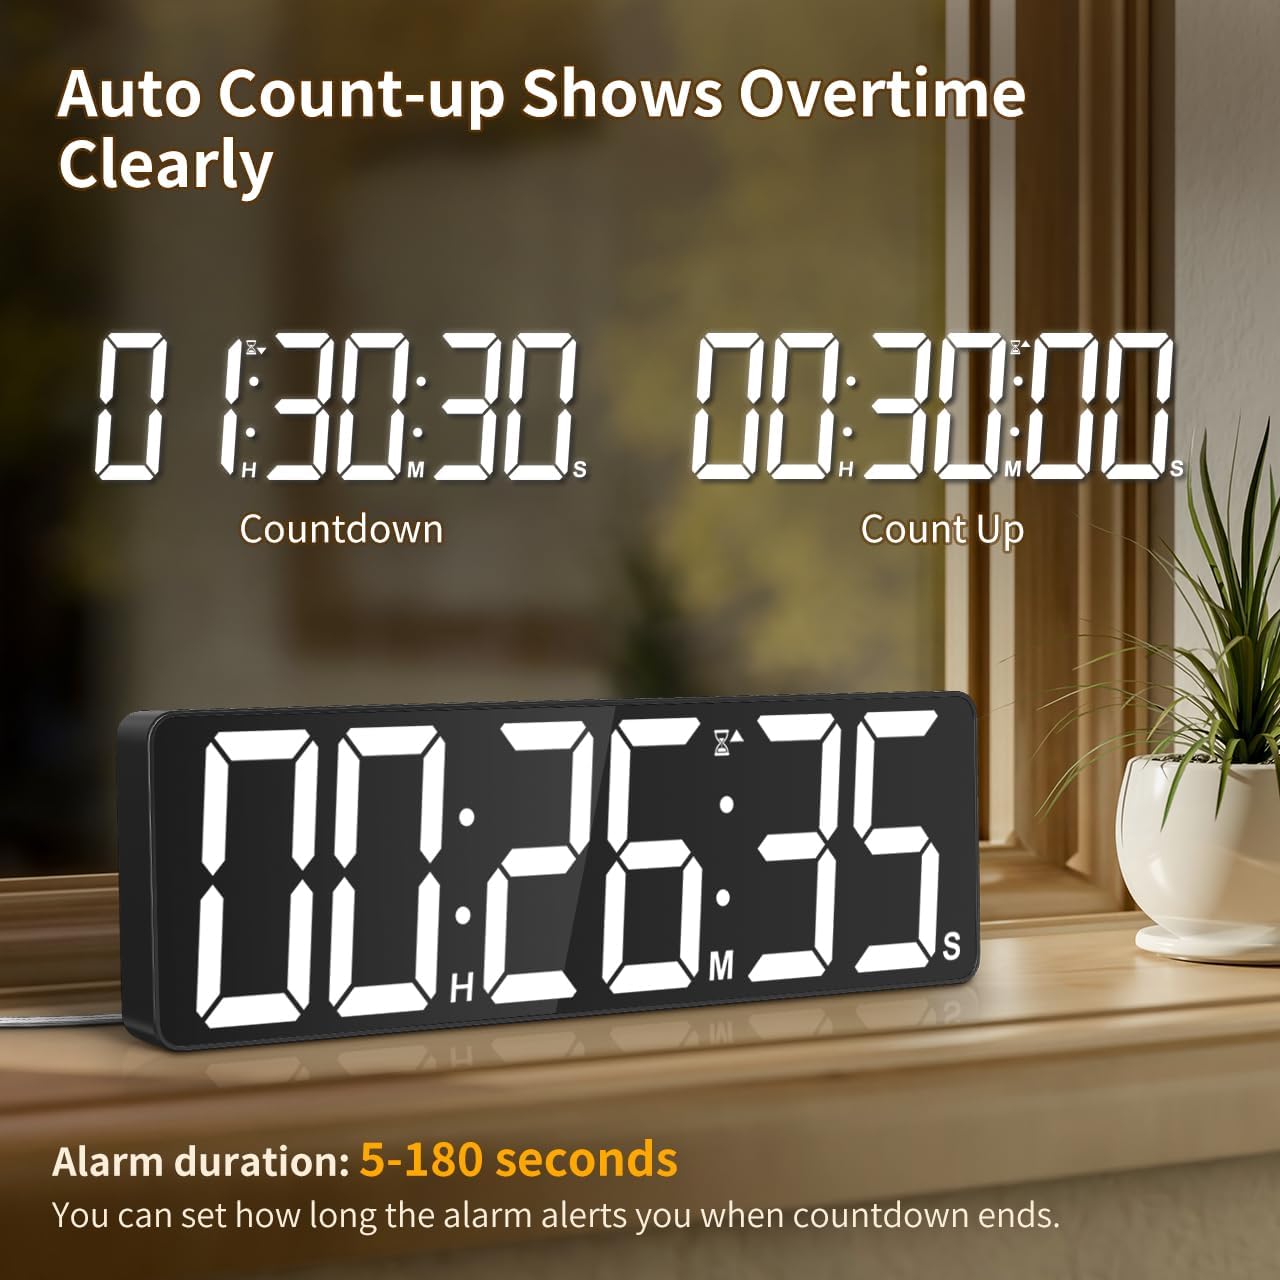
Image: The timer showing a countdown from 01:30:30 and an automatic count-up to 00:30:00 after a countdown finishes, indicating overtime tracking.
4.5 Quick-Set Shortcuts
The remote control includes 6 one-touch shortcut buttons for common timer durations:
- 3 minut
- 5 minut
- 15 minut
- 25 minut
- 30 minut
- 5 godziny
Press the desired shortcut button to instantly set and start a countdown.
4.6 Ustawienia alarmu
The timer offers 6 distinct ringtones and 4 adjustable volume levels.
- Nastaw budzik: Naciskać ALARM on the remote. Use number buttons to set the alarm time. Press ALARM jeszcze raz, aby potwierdzić.
- Select Ringtones: Naciśnij DZWONEK button on the remote to cycle through the 6 available tones (Buzzer, Melody 1-5).
- Dostosuj głośność: Naciśnij TOM button on the remote to cycle through 4 volume levels (L01-L04) or L00 for silent mode (digits flash).
- Czas trwania alarmu: The alarm duration can be set from 5 to 180 seconds. Refer to the remote control for specific buttons or combination presses to adjust this setting.
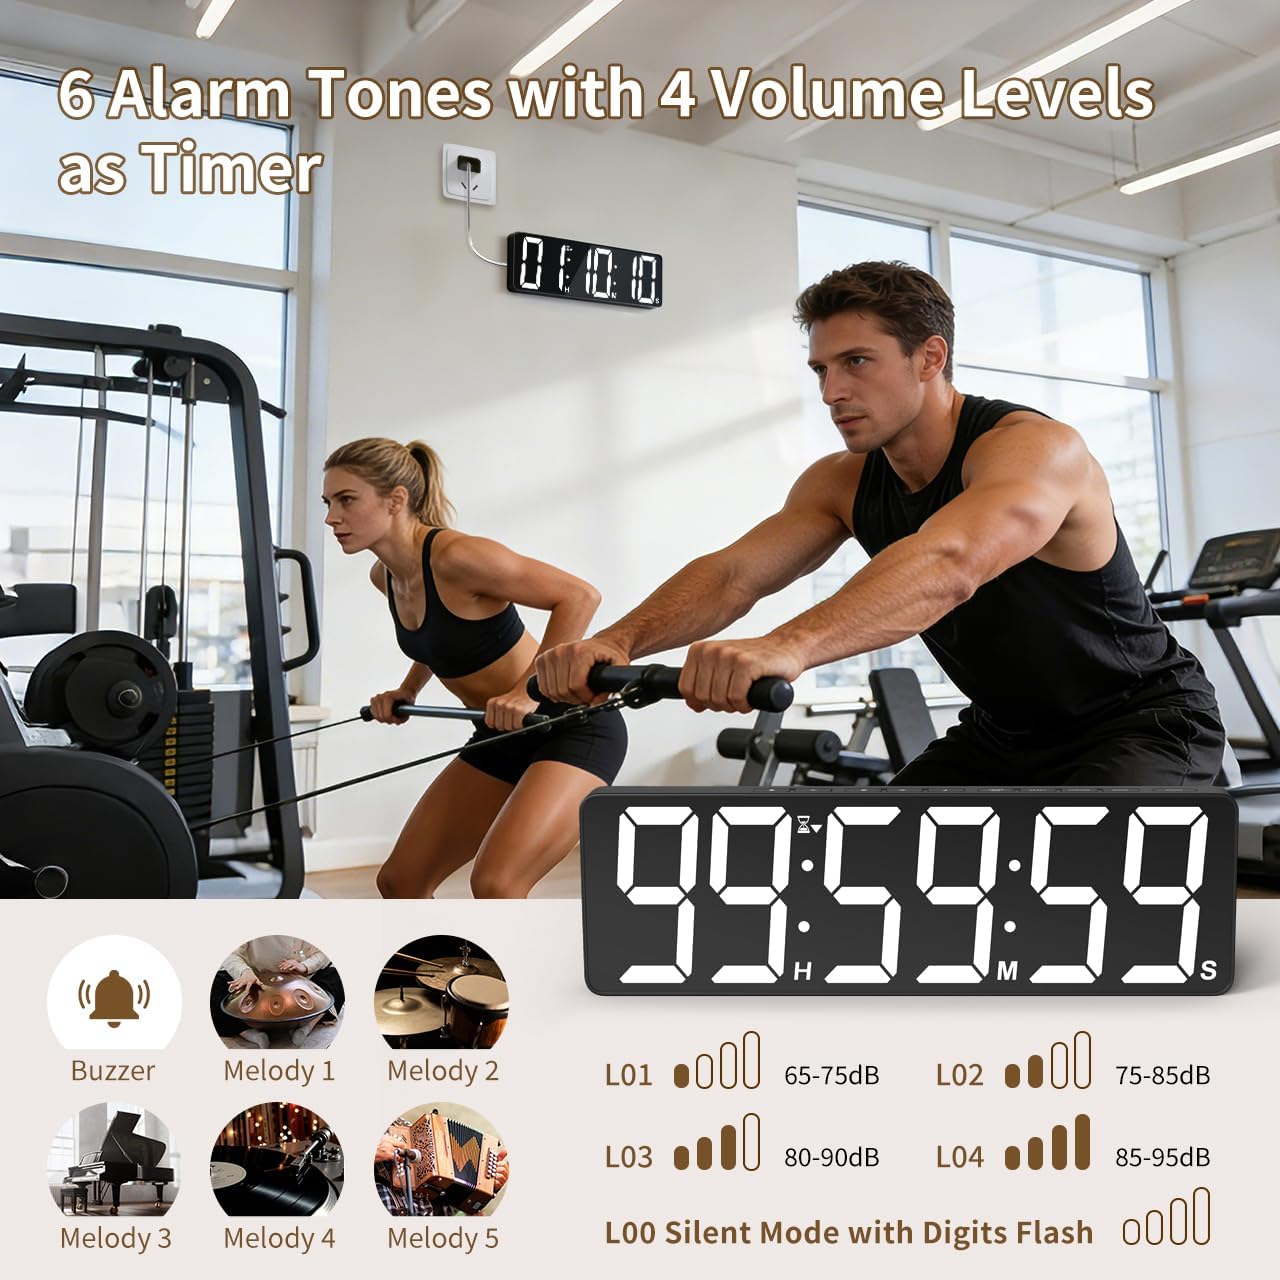
Image: Visual guide to the 6 alarm tones (Buzzer, Melody 1-5) and 4 volume levels (L01-L04), including a silent mode (L00) with flashing digits.
5. Konserwacja
5.1 Czyszczenie
To clean the timer, gently wipe the display and casinCzyścić miękką, suchą ściereczką. Nie używać środków czyszczących o działaniu ściernym, rozpuszczalników ani nie spryskiwać urządzenia bezpośrednio.
5.2 Wymiana baterii
- Memory Backup Batteries: Replace the 3 AAA batteries in the main unit annually or if you notice settings are not retained during power outagt.j.
- Baterie do pilota zdalnego sterowania: Replace the 2 AAA batteries in the remote control when its range or responsiveness decreases.
Zużyte baterie należy zawsze utylizować zgodnie z lokalnymi przepisami.
6. Rozwiązywanie Problemów
- Timer się nie włącza: Ensure the power adapter is securely connected to both the timer and a working electrical outlet. Check if the outlet is functional.
- Pilot nie działa: Check if the remote control batteries are correctly installed and not depleted. Ensure there are no obstructions between the remote and the timer. The remote has a range of 30ft+.
- Ustawienia utracone po wyłączeniu zasilaniatage: Verify that the 3 AAA memory backup batteries are installed correctly and are not depleted. Replace them if necessary.
- Display is dim or colors are incorrect: Adjust the brightness level using the JASNOŚĆ button. Cycle through color options using the KOLOR ŚWIATŁA przycisk.
- Alarm not audible: Check the alarm volume setting using the TOM button on the remote. Ensure it is not set to L00 (silent mode).
7. Specyfikacje
| Numer modelu | 6247 |
| Typ wyświetlacza | PROWADZONY |
| Rozmiar ekranu | 15.7 cali |
| Wysokość cyfr | 4.1 cali |
| Opcje kolorów | 18 (8 solid, 3 RGB fixed, 7 RGB gradients) |
| Poziomy jasności | 3 |
| Zakres timera | Do 99 godzin, 59 minut, 59 sekund |
| Dzwonki alarmowe | 6 |
| Poziomy głośności alarmu | 4 + Silent Mode |
| Czas trwania alarmu | 5-180 sekund |
| Moc wejściowa | 5V/2A prądu stałego |
| Długość przewodu zasilającego | 16.4 ft (5 metry) |
| Kopia zapasowa pamięci | Baterie 3 x AAA (w zestawie) |
| Baterie do pilota zdalnego sterowania | Baterie 2 x AAA (w zestawie) |
| Zasięg pilota | 30ft+ |
| Wymiary produktu (Gł. x Szer. x Wys.) | 3.7 cm głębokości x 38 cm szerokości x 12 cm wysokości |
| Waga przedmiotu | 820 gram |
| Tworzywo | Akrylonitryl Butadienowo-styrenowy |
8. Gwarancja i wsparcie
For warranty information or technical support, please refer to the contact details provided with your purchase or visit the official VOCOO webstrona. Zachowaj dowód zakupu na potrzeby roszczeń gwarancyjnych.