
DAUZ KYX-0035
DAUZ WiFi Digital Wall Clock (Model KYX-0035) Instruction Manual
Twój przewodnik po konfiguracji i obsłudze nowego cyfrowego zegara ściennego.
1. Wprowadzenie
Thank you for choosing the DAUZ WiFi Digital Wall Clock. This clock is designed to provide accurate timekeeping, along with useful information such as temperature, humidity, and date. It features customizable brightness, remote control operation, and automatic time calibration via WiFi for precise timekeeping. Please read this manual carefully before use to ensure proper operation and maintenance.
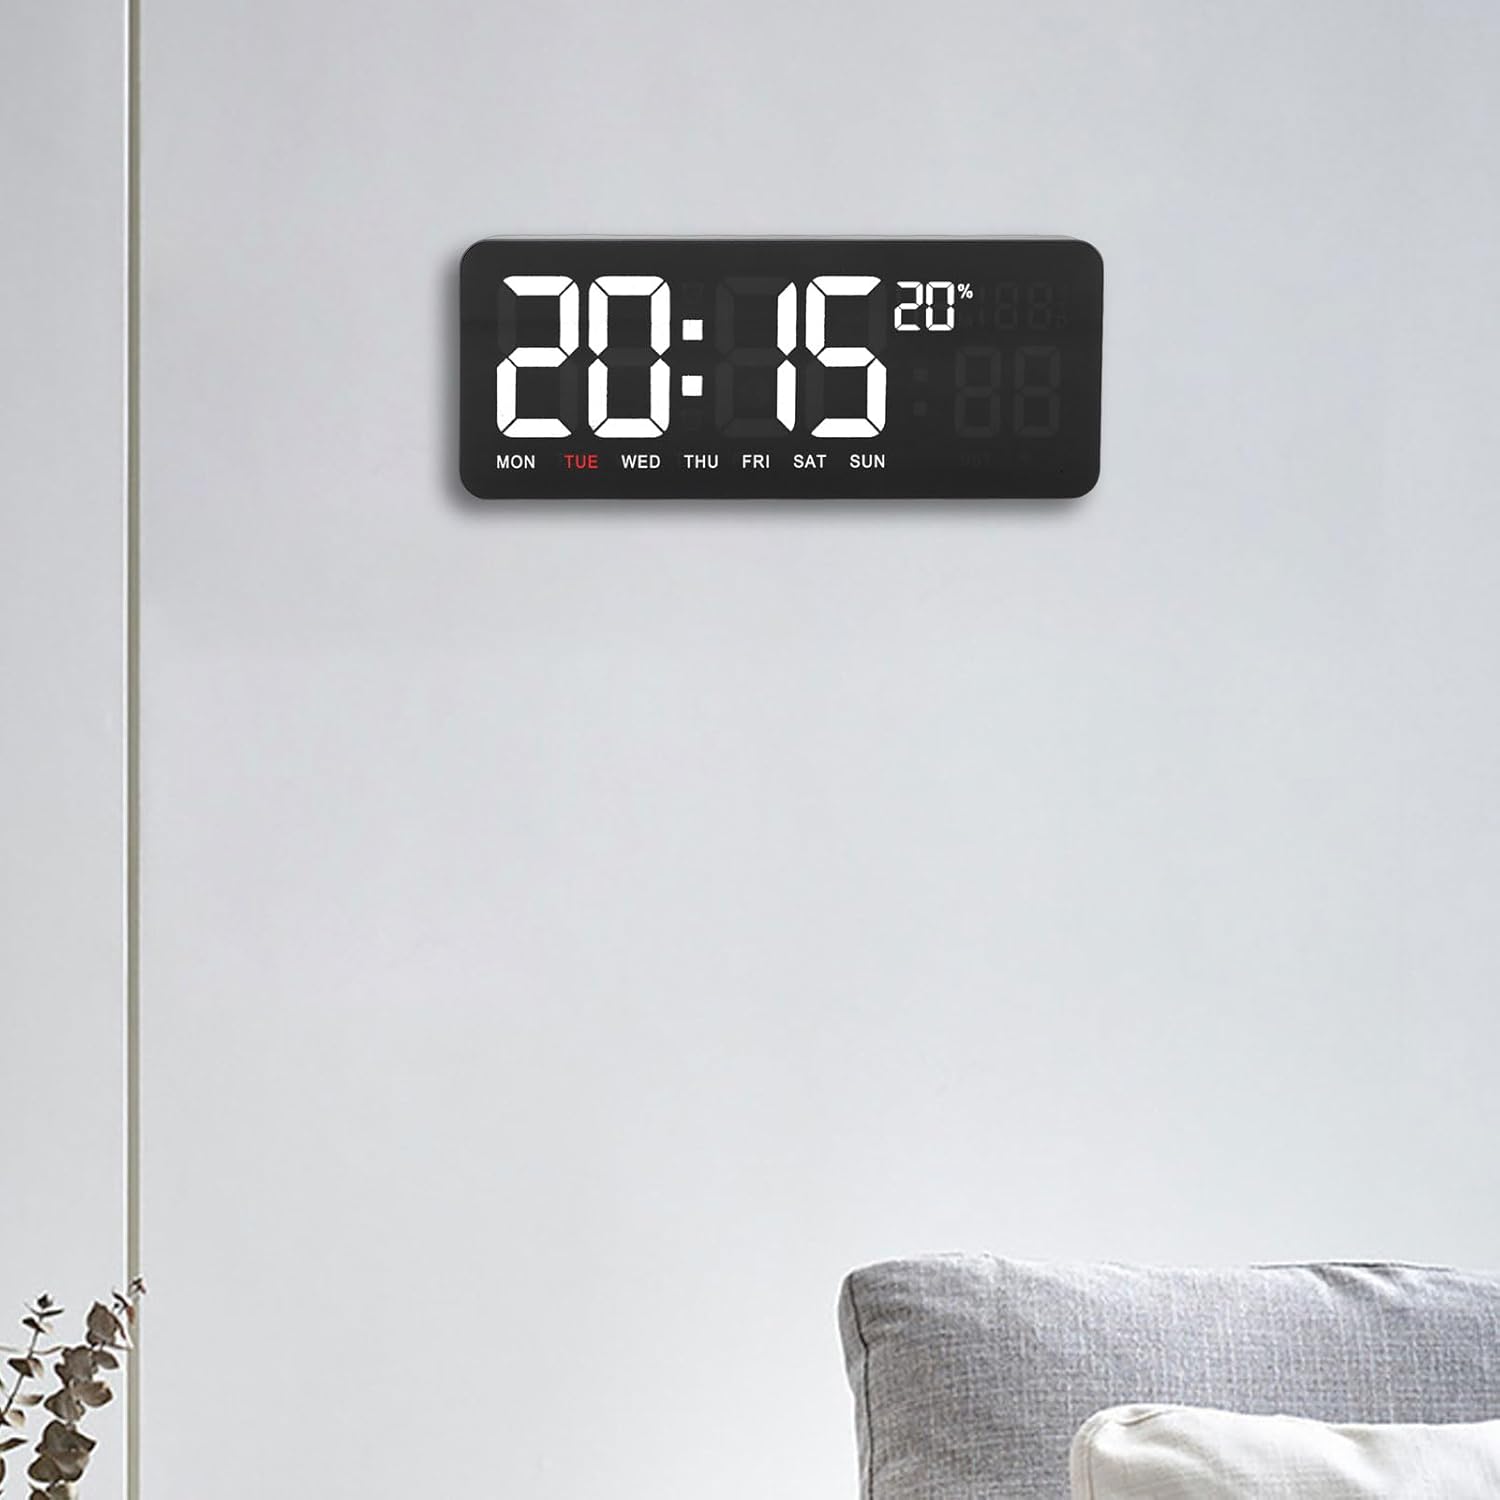
Figure 1: DAUZ WiFi Digital Wall Clock in a typical home setting.
2. Ważne informacje dotyczące bezpieczeństwa
- Keep the product away from direct sunlight to prevent damage to the display and internal components.
- Protect the device from water and high humidity. This product is not waterproof.
- Nie próbuj samodzielnie demontować ani naprawiać zegara. Wszelkie prace serwisowe zleć wykwalifikowanemu personelowi.
- Należy używać wyłącznie dołączonego przewodu zasilającego i akcesoriów.
- Ensure the clock is securely mounted if wall-mounted to prevent falling.
3. Zawartość opakowania
Proszę sprawdzić, czy w paczce znajdują się następujące elementy:
- 1 x DAUZ WiFi Digital Wall Clock (Model KYX-0035)
- 1 x Instrukcja obsługi (ten dokument)
- 1 x USB Power Cable (approx. 3 meters / 9.84 feet)
- 2 x Wall Mounting Nails
- 1 x Pilot zdalnego sterowania

Figure 2: All included accessories and the digital wall clock.
4. Koniec produktuview
The DAUZ WiFi Digital Wall Clock features a clear digital display and a sleek design. Key display elements include:
- Wyświetlacz czasu: Large, easy-to-read digits for hours and minutes.
- Wyświetlanie daty: Pokazuje miesiąc i dzień.
- Dzień tygodnia: Indicates the current day (MON, TUE, WED, etc.).
- Wyświetlacz temperatury: Pokazuje temperaturę otoczenia.
- Wyświetlacz wilgotności: Shows ambient humidity percentage.

Rysunek 3: Szczegółowy view of the clock's display elements.
4.1 Funkcje zdalnego sterowania
The included remote control allows for convenient adjustment of various clock settings from up to 10 meters away. Refer to the button layout on the remote for specific functions.
- Przycisk zasilania: Turns the clock display on/off.
- Przyciski GÓRA/DÓŁ: Adjust brightness levels or navigate menu options.
- Przycisk OK: Potwierdź wybór.
- Przycisk EDYCJA: Enter settings mode.
- Przycisk zegara: Access time/date settings.
- Timer/Stopwatch/Reminder Buttons: Activate respective functions.
- Przyciski P1/P2: Preset functions (specific usage may vary, refer to on-screen prompts).
5. Konfiguracja
5.1 Połączenie zasilania
- Connect the provided USB power cable to the clock's power input port.
- Plug the other end of the USB power cable into a compatible USB power adapter (not included) or a powered USB port.
- The clock display will illuminate.
5.2 Instalacja baterii w pilocie zdalnego sterowania
The remote control requires a 120MAH battery (typically a CR2025 or similar coin cell battery). Open the battery compartment on the back of the remote control, insert the battery with the correct polarity, and close the compartment.
5.3 Montaż na ścianie
- Choose a suitable location on a wall, ensuring it is away from direct sunlight and moisture.
- Mark the positions for the two wall mounting nails using the clock's mounting holes as a guide.
- Carefully insert the provided wall mounting nails into the marked positions.
- Hang the clock securely onto the installed nails.
5.4 WiFi Connection and Time Calibration
The clock automatically calibrates its time via WiFi connection. Ensure the clock is within range of a stable WiFi network. The clock will attempt to connect and synchronize time upon power-up. If manual setup is required, use the remote control to access network settings (refer to the "Operating Instructions" section for remote control usage).
6. Instrukcja obsługi
6.1 Regulacja jasności
The clock offers three levels of brightness. Use the UP I W DÓŁ buttons on the remote control to cycle through the brightness settings to your preferred level.
6.2 Display Modes (Temperature, Humidity, Date)
The clock automatically cycles through temperature, humidity, and date information every 3 seconds. No manual intervention is typically required for this feature.
6.3 Ręczne ustawianie czasu i daty (jeśli to konieczne)
- Naciśnij REDAGOWAĆ button on the remote control to enter settings mode.
- Użyj UP/W DÓŁ buttons to navigate to "Time" or "Date" settings.
- Naciskać OK aby wybrać.
- Use the numeric buttons or UP/W DÓŁ aby dostosować wartości.
- Naciskać OK aby potwierdzić każde ustawienie.
- Naciskać REDAGOWAĆ ponownie, aby wyjść z trybu ustawień.
6.4 Using Timer, Stopwatch, and Reminder Functions
The clock includes various timing functions:
- Licznik czasu w górę/w dół: Naciśnij dedykowany Regulator czasowy przycisk. Posługiwać się UP/W DÓŁ to set the desired time, then OK zacząć.
- Stoper: Naciśnij dedykowany Stoper przycisk. naciskać OK aby rozpocząć/wstrzymać i REDAGOWAĆ zresetować.
- Przypomnienie: Naciśnij dedykowany Przypomnienie button. Follow on-screen prompts to set a specific reminder time.
7. Konserwacja
- Czyszczenie: Use a soft, dry cloth to clean the clock's surface. Do not use abrasive cleaners or solvents.
- Środowisko: Ensure the clock is kept in a dry environment and avoid exposure to extreme temperatures.
- Moc: Disconnect power before cleaning or if the clock will not be used for an extended period.
8. Rozwiązywanie Problemów
| Problem | Możliwa przyczyna | Rozwiązanie |
|---|---|---|
| Wyświetlacz zegara jest wyłączony. | No power or power cable disconnected. | Check power cable connection. Ensure USB adapter is working. Press the power button on the remote. |
| Wyświetlany jest nieprawidłowy czas. | No WiFi connection or manual setting error. | Ensure clock is within WiFi range. Check WiFi network status. Manually set time using the remote control if WiFi calibration fails. |
| Pilot nie odpowiada. | Battery depleted or incorrect insertion. Obstruction between remote and clock. | Replace remote control battery. Ensure correct battery polarity. Remove any obstructions. Ensure remote is pointed at the clock. |
| Temperature/Humidity not displaying. | Sensor issue or display mode setting. | The clock cycles automatically. If still not showing, try restarting the clock by unplugging and replugging the power. |
9. Specyfikacje
| Funkcja | Szczegół |
|---|---|
| Model | KYX-0035 |
| Tworzywo | ABS, Acrylic Panel |
| Screen Color Options | Yellow, Green, Blue (Note: Product images show white digits, actual color may vary by variant.) |
| Metoda działania | Zdalne sterowanie |
| Zasilacz | Plug-in (USB Power) |
| Długość przewodu zasilającego | Około 3 metra (9.84 stopy) |
| Instalacja | Montaż na ścianie |
| Bateria do pilota zdalnego sterowania | 120MAH (e.g., CR2025 coin cell) |
| Funkcje | Time, Date, Week, Temperature, Humidity Display, Count Up/Down Timer, Stopwatch, Reminder |
| Typ wyświetlacza | Cyfrowy |
| Cechy specjalne | Humidity Display, Temperature Display, WiFi Time Calibration, Customizable Brightness |
10. Gwarancja i wsparcie
For warranty information or technical support, please refer to the purchase documentation or contact DAUZ customer service directly. Contact details are typically available on the manufacturer's official webna stronie internetowej lub u sprzedawcy.
Ask a question about this manual
Ask about setup, troubleshooting, compatibility, parts, safety, or missing instructions. Manuals+ will review the question and use this page’s manual context to help answer it.