
GeekShare GC1201A
GeekShare Hall Effect Switch Controller (GC1201A) User Manual
Model: GC1201A
1. Wprowadzenie
The GeekShare Hall Effect Switch Controller is a versatile gaming controller designed for multi-platform compatibility, including Nintendo Switch (OLED/NS2/1/Lite), PC (Steam, Windows), and mobile devices (Android, iOS). It features dual-mode connectivity (Bluetooth and 2.4G wireless), a 1000mAh battery, 6-axis gyroscope, dual vibration motors, and customizable RGB lighting for an immersive gaming experience.
Zawartość opakowania
- 1 x GeekShare Hall Effect Wireless Controller
- Kabel ładujący 1 x USB-C
- 1 x odbiornik bezprzewodowy 2.4G
- 1 x Instrukcja obsługi
2. Główne cechy
- Joysticki z efektem Halla: Provides precise control and prevents stick drift.
- Dual Connectivity Modes: Seamlessly switch between Bluetooth 5.0 for mobile and consoles, and 2.4G wireless with the included dongle for PC.
- Zgodność z wieloma platformami: Supports Nintendo Switch (OLED/NS2/1/Lite), PC (Steam, Windows), Android, and iOS devices.
- Wciągające informacje zwrotne: Features a 6-axis gyroscope for motion control and dual vibration motors with 5-level adjustment for realistic haptic feedback.
- Długotrwała bateria: Integrated 1000mAh rechargeable battery offers up to 15 hours of continuous gameplay.
- Konfigurowalne oświetlenie RGB: Enhance your gaming setup with personalized RGB light effects.
- Przyciski programowalne: Two back buttons (M1, M2) can be mapped to complex commands for quick execution.
- Funkcja turbo: Auto and manual turbo settings for rapid-fire actions.
Opcje łączności
The controller supports three connection methods: Bluetooth, 2.4G wireless (with dongle), and wired USB-C.

Programowalne przyciski
The M1 and M2 buttons on the back can be programmed to perform specific actions, allowing for quick execution of complex in-game commands.

Feedback wibracji
Equipped with dual motors, the controller provides adjustable vibration feedback to enhance immersion. There are 5 levels of vibration intensity.

Żywotność baterii
The built-in 1000mAh battery provides extended gameplay. A full charge takes approximately 2.5 hours and offers up to 20 hours of continuous use.

Funkcja Turbo
The controller supports both automatic and manual turbo functions, allowing for rapid, repeated input of a button press. This is typically activated by pressing the 'M' button along with a desired action key.

Sterowanie ruchem
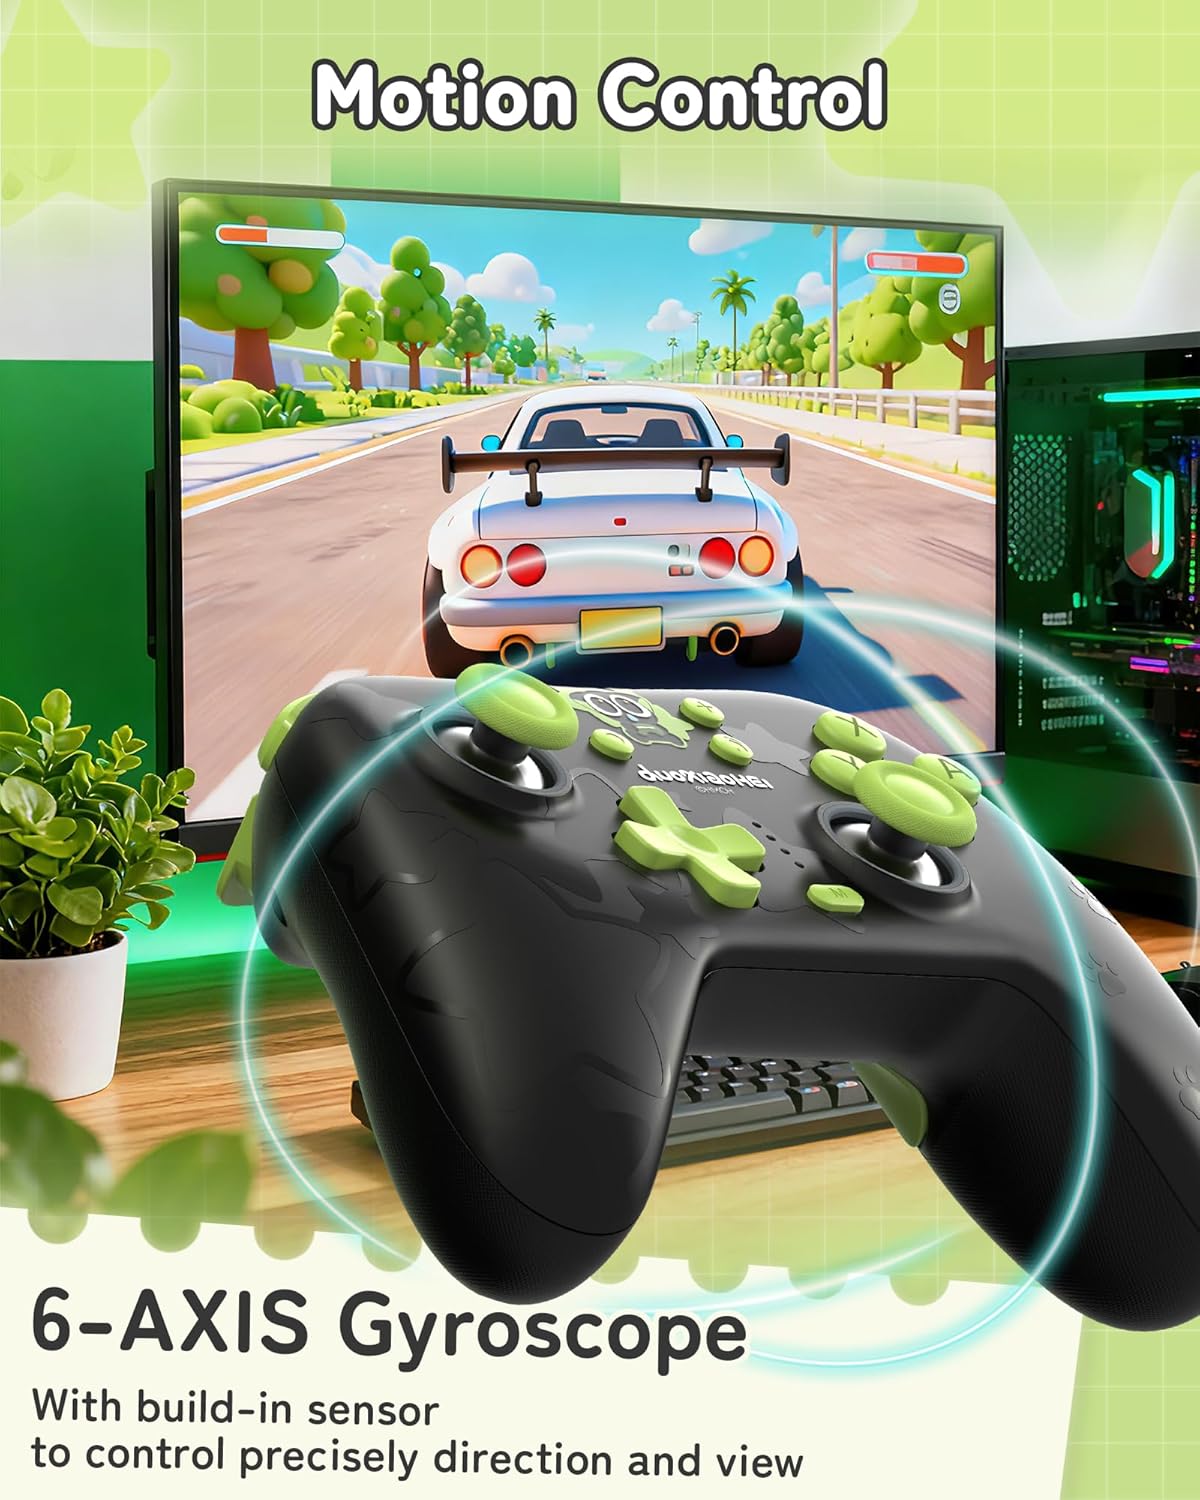
A built-in 6-axis gyroscope enables precise motion control, allowing for intuitive direction and view adjustments in compatible games.
3. Konfiguracja i połączenie
3.1 Ładowanie Kontrolera
Before first use, fully charge the controller. Connect the included USB-C cable to the controller's charging port and the other end to a USB power source (e.g., console, PC, or USB wall adapter). The indicator lights will show charging status and turn off when fully charged.
3.2 Connecting to Nintendo Switch (Bluetooth)
- Na konsoli Nintendo Switch przejdź do menu HOME.
- Wybierz „Kontrolery” > „Zmień uchwyt/kolejność”.
- Press and hold the Pairing button on the top of the GeekShare controller until the indicator lights begin to flash rapidly.
- The Switch will detect the controller. Once paired, the indicator light(s) on the controller will remain solid.
- Note: This controller may not support waking up the Switch console from sleep mode. You may need to manually wake the console before connecting.
3.3 Connecting to PC (2.4G Wireless)
- Insert the 2.4G wireless receiver into an available USB port on your PC.
- Turn on the GeekShare controller.
- The controller should automatically connect to the receiver. The indicator light(s) on the controller will remain solid once connected.
- If connection fails, press the pairing button on the controller and the button on the 2.4G receiver simultaneously to initiate pairing.
3.4 Łączenie z urządzeniami mobilnymi (Bluetooth)
- Sprawdź, czy Bluetooth jest włączony w Twoim urządzeniu z systemem Android lub iOS.
- On your device, go to Bluetooth settings and scan for new devices.
- Press and hold the Pairing button on the top of the GeekShare controller until the indicator lights begin to flash rapidly.
- Select "GeekShare Controller" (or similar name) from the list of available devices.
- Once paired, the indicator light(s) on the controller will remain solid.
3.5 Połączenie przewodowe
Connect the controller directly to your device (Switch dock, PC) using the USB-C cable. The controller will function as a wired controller and will also charge simultaneously.
4. Instrukcja obsługi
4.1 Podstawowe sterowanie
The controller features standard button layouts including A/B/X/Y buttons, D-pad, Left/Right joysticks, L/R/ZL/ZR shoulder buttons, and Home/Capture/Plus/Minus buttons. Refer to in-game prompts for specific button functions.
4.2 Programming M1/M2 Buttons
The M1 and M2 buttons on the back can be assigned to replicate other button presses or sequences. Consult the full user manual (included in the box) for detailed programming instructions, as the process may vary based on desired complexity.
4.3 Turbo Function Activation
Aby aktywować funkcję Turbo dla konkretnego przycisku:
- Naciśnij i przytrzymaj przycisk „M”.
- While holding 'M', press the desired action button (e.g., A, B, X, Y, L, R, ZL, ZR).
- Release both buttons. The selected button will now have the Turbo function enabled.
To adjust between manual and auto turbo, or to clear the turbo setting, refer to the detailed instructions in the included user manual.
4.4 Regulacja intensywności wibracji
The controller offers 5 levels of vibration intensity. Specific button combinations (e.g., 'M' button + D-pad Up/Down) are typically used to cycle through these levels. Refer to the included user manual for the exact key combinations.
4.5 Sterowanie oświetleniem RGB
The RGB lighting can be customized. This usually involves pressing a dedicated button or a combination of buttons to change colors, patterns, or turn the lighting on/off. Consult the included user manual for specific instructions.
5. Konserwacja i pielęgnacja
- Przechowuj kontroler w miejscu suchym i chronionym przed ekstremalnymi temperaturami.
- Czyść kontroler miękką, suchą ściereczką. Nie używaj silnych środków chemicznych ani materiałów ściernych.
- Unikaj upuszczania kontrolera i narażania go na silne uderzenia.
- Przechowuj kontroler w czystym i wolnym od kurzu miejscu, gdy nie jest używany.
- Charge the controller regularly, even if not used frequently, to maintain battery health.
6. Rozwiązywanie Problemów
6.1 Kontroler nie łączy się
- Sprawdź, czy kontroler jest odpowiednio naładowany.
- Verify that the correct connection mode (Bluetooth, 2.4G, Wired) is selected or attempted for your device.
- For Bluetooth, ensure your device's Bluetooth is on and the controller is in pairing mode (flashing lights).
- For 2.4G, ensure the receiver is properly inserted into the PC and try re-pairing if necessary.
- Spróbuj ponownie uruchomić kontroler i urządzenie, z którym próbujesz się połączyć.
- If connecting to Switch, ensure you are in the "Change Grip/Order" menu.
6.2 Opóźnienie wejściowe lub rozłączenia
- Upewnij się, że w pobliżu nie ma silnych zakłóceń elektromagnetycznych.
- Move closer to the connected device (for wireless connections).
- For PC, ensure the 2.4G receiver is in a clear line of sight and not obstructed.
- Spróbuj połączenia przewodowego, aby wykluczyć zakłócenia bezprzewodowe.
6.3 Buttons or Joysticks Unresponsive
- Sprawdź czy kontroler jest prawidłowo podłączony i włączony.
- Restart the controller and the gaming device.
- Upewnij się, że wokół przycisków i joysticków nie zgromadziły się żadne zanieczyszczenia.
- If the issue persists, a factory reset (if available, consult the included manual) might be necessary.
6.4 Controller Not Charging
- Ensure the USB-C cable is securely connected to both the controller and the power source.
- Wypróbuj inny kabel USB-C lub źródło zasilania.
- Verify the power source is active and providing sufficient power.
7. Specyfikacje
| Numer modelu | GC1201A |
| Łączność | Bluetooth 5.0, 2.4G Wireless (with receiver), USB-C Wired |
| Zgodność | Nintendo Switch (OLED/NS2/1/Lite), PC (Windows), Android, iOS |
| Pojemność baterii | 1000mAh |
| Pauza w szkole | Up to 15-20 hours (approx.) |
| Czas ładowania | Około 2.5 godzin |
| Czujnik ruchu | Żyroskop osi 6 |
| Wibracja | Dual Motors with 5-level adjustment |
| Cechy specjalne | Hall Effect Joysticks, Programmable M1/M2 buttons, Turbo function, RGB Lighting |
8. Gwarancja i wsparcie
For warranty information and technical support, please refer to the official GeekShare webOdwiedź stronę internetową lub skontaktuj się bezpośrednio z działem obsługi klienta. Szczegółowe informacje można zazwyczaj znaleźć na opakowaniu produktu lub w dołączonej instrukcji obsługi.
GeekShare Official Webstrona: Visit GeekShare Store on Amazon
Ask a question about this manual
Ask about setup, troubleshooting, compatibility, parts, safety, or missing instructions. Manuals+ will review the question and use this page’s manual context to help answer it.