
1. Wprowadzenie
This manual provides detailed instructions for the assembly, safe operation, and proper maintenance of your Polibi Wood Full Over Full Bunk Bed with Trundle, Storage Shelves & Hooks. Please read all instructions carefully before beginning assembly and retain this manual for future reference.
The Polibi bunk bed is designed to offer a space-saving sleeping solution with integrated storage. It features a full-size upper bunk, a full-size lower bunk, a pull-out trundle bed, and convenient storage shelves with hooks.
2. Ważne informacje dotyczące bezpieczeństwa
Niezastosowanie się do tych ostrzeżeń może spowodować poważne obrażenia.
- PRZED UŻYCIEM PRZECZYTAJ WSZYSTKIE INSTRUKCJE.
- OSTRZEŻENIE: Bunk beds can present a serious risk of injury from falls. Always use the provided ladder for access to the upper bunk.
- OSTRZEŻENIE: Górne łóżko piętrowe nie jest odpowiednie dla dzieci poniżej szóstego roku życia.
- OSTRZEŻENIE: Ensure all connections are tight before use and check periodically. Do not use the bed if any structural part is broken or missing.
- OSTRZEŻENIE: Nie pozwalaj, aby na górnym łóżku znajdowała się więcej niż jedna osoba.
- OSTRZEŻENIE: Nie mocuj ani nie wieszaj na żadnej części łóżka piętrowego przedmiotów, które nie są przeznaczone do użytku z łóżkiem; na przykładampnp. haki, paski lub skakanki.
- OSTRZEŻENIE: Always use the recommended mattress size for both upper and lower bunks, and the trundle bed. The maximum mattress thickness for the upper bunk should not exceed 6 inches to ensure proper guardrail height.
- OSTRZEŻENIE: Podczas prac budowlanych należy trzymać dzieci z dala od miejsca montażu.
- OSTRZEŻENIE: Nie skacz po łóżku.
- OSTRZEŻENIE: Użyj poręczy po obu stronach górnej leżanki.
- OSTRZEŻENIE: Periodically check and ensure that the guardrail, ladder, and other components are in their proper position and free from damage.
3. Zawartość opakowania
Przed rozpoczęciem montażu upewnij się, że wszystkie części są kompletne i nieuszkodzone. Jeśli brakuje którejkolwiek części lub jest ona uszkodzona, nie kontynuuj montażu. Skontaktuj się z obsługą klienta, aby uzyskać pomoc.
Typowe komponenty obejmują:
- Bunk bed frame components (headboards, footboards, side rails)
- Trundle bed frame components
- Wooden slats for all bed levels
- Drabina
- Storage shelves and hooks
- Pakiet osprzętu (śruby, nakrętki, klucz imbusowy)
- Instrukcja obsługi
4. Instrukcja montażu i konfiguracji
Assembly requires at least two adults. Clear a spacious area for assembly. Do not use power tools for assembly as this may overtighten fasteners and damage the wood.
Krok 1: Rozpakuj i zidentyfikuj części
Carefully unpack all components and lay them out on a soft, clean surface to prevent scratches. Refer to the parts list (usually found at the beginning of the included paper manual) to identify each piece.

Image: Overall dimensions of the bunk bed, including length, width, and height measurements for the main bed and trundle.
Step 2: Assemble the Lower Bunk Frame
Begin by connecting the side rails to the headboard and footboard of the lower bunk using the provided hardware. Ensure all bolts are finger-tight at this stage.
Step 3: Assemble the Upper Bunk Frame
Similar to the lower bunk, assemble the upper bunk frame, including the guardrails. Pay close attention to the orientation of the guardrails and the decorative house-like structure on the upper bunk.

Image: Detail of the upper bunk's design, showing the decorative roofline and window cutouts.
Step 4: Attach Storage Shelves and Hooks
Install the storage shelves and hooks onto the designated areas of the bunk bed frame, typically on the side of the lower bunk. Secure them firmly with the appropriate hardware.

Image: Integrated storage shelves, providing space for books or small items.
Step 5: Stack the Bunks and Install Ladder
Carefully lift the upper bunk frame and place it onto the lower bunk frame, aligning the connecting pins or brackets. Secure these connections. Then, attach the ladder to the designated side of the bunk bed.
Step 6: Assemble the Trundle Bed
Assemble the trundle bed frame according to the instructions, attaching its wheels or casters. The trundle is designed to slide underneath the lower bunk.

Image: Detail of the trundle bed frame, showing its slat support system.
Step 7: Install Bed Slats and Final Tightening
Place the wooden slats across the bed frames for both the upper and lower bunks, and the trundle. Secure them as instructed (usually with screws). Once all components are assembled, go back and tighten all bolts and screws securely, but do not overtighten.

Image: The fully assembled bunk bed, showcasing its structure and features.
5. Działanie
Korzystanie z łóżka wysuwanego
The trundle bed is designed to slide smoothly from underneath the lower bunk. To use, gently pull the trundle frame outwards until it is fully extended. To store, push the trundle back underneath the lower bunk until it is completely hidden.
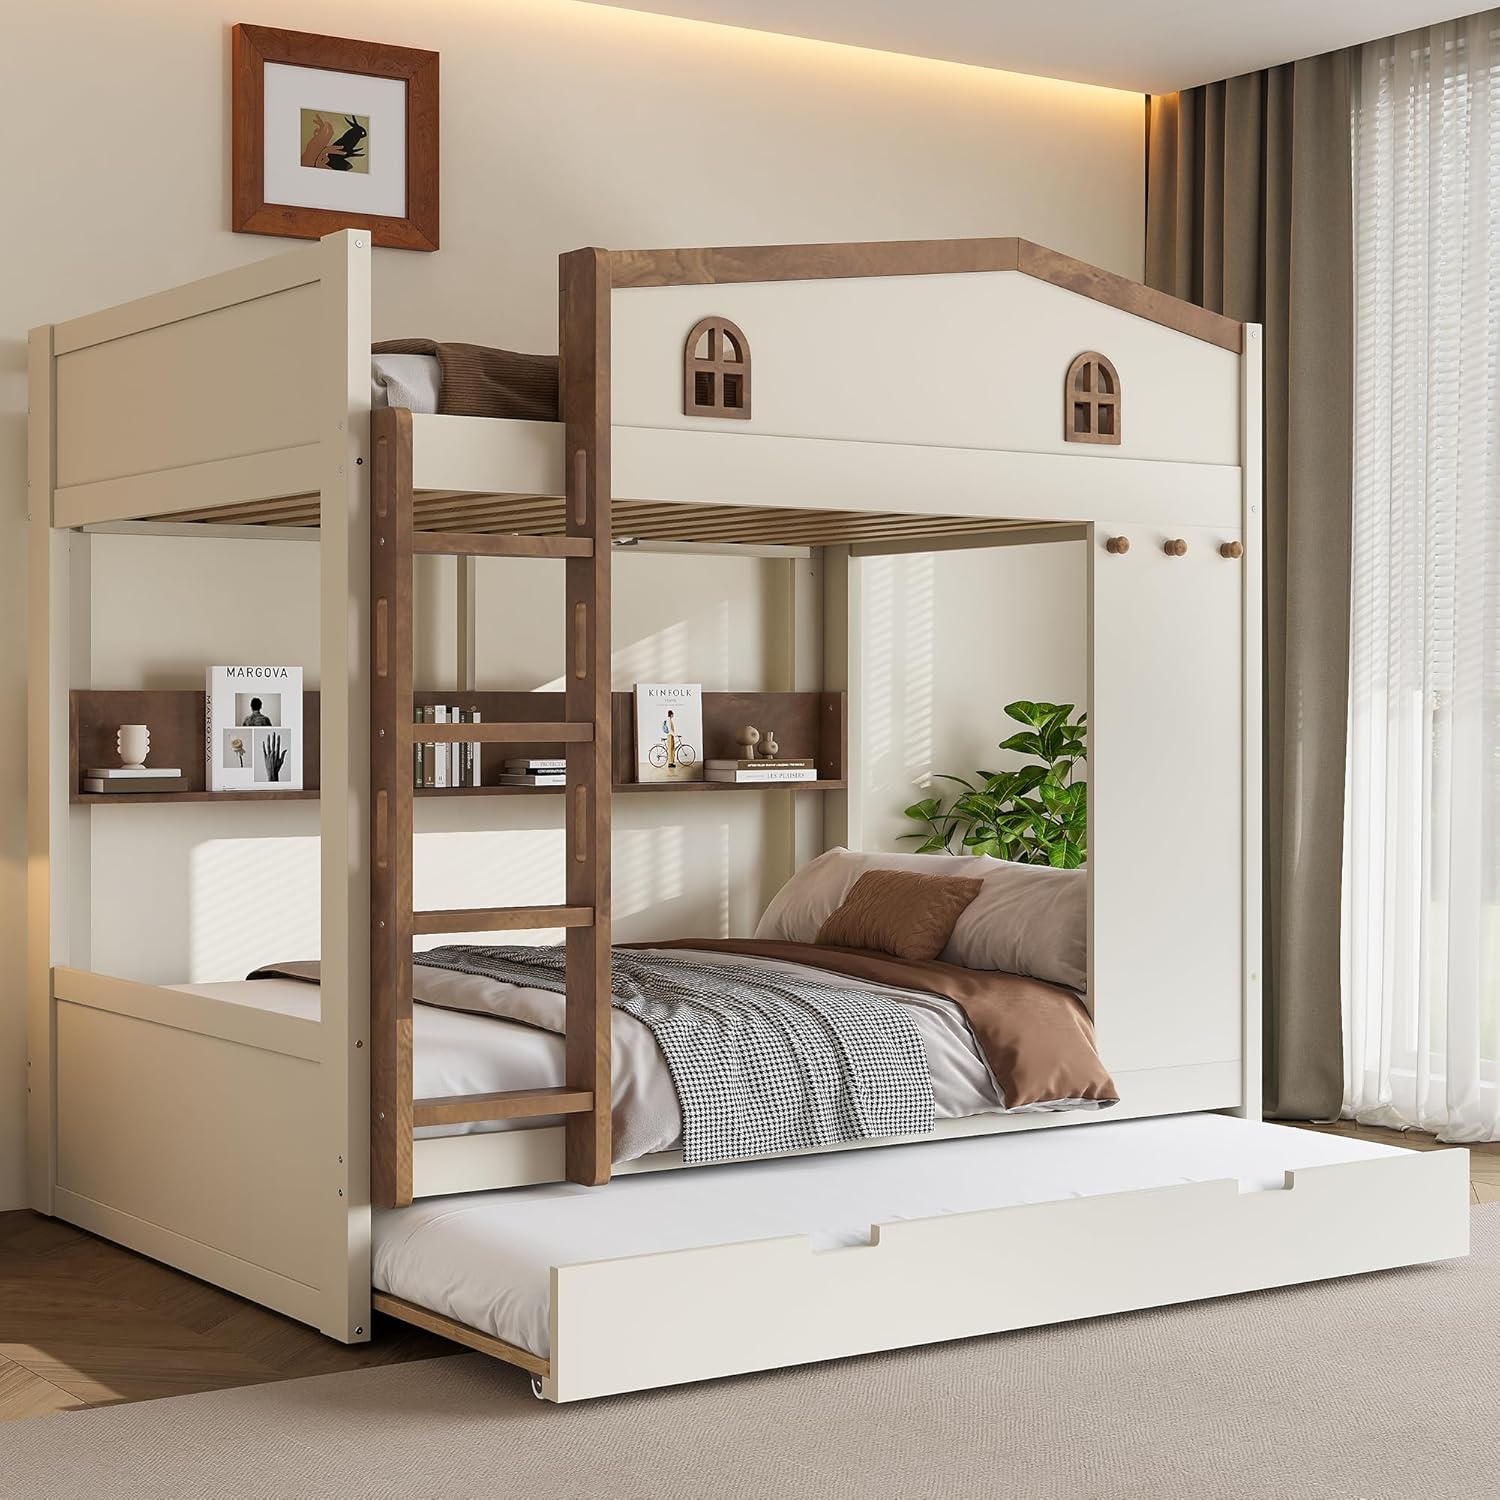
Image: The bunk bed with the trundle extended, ready for use.
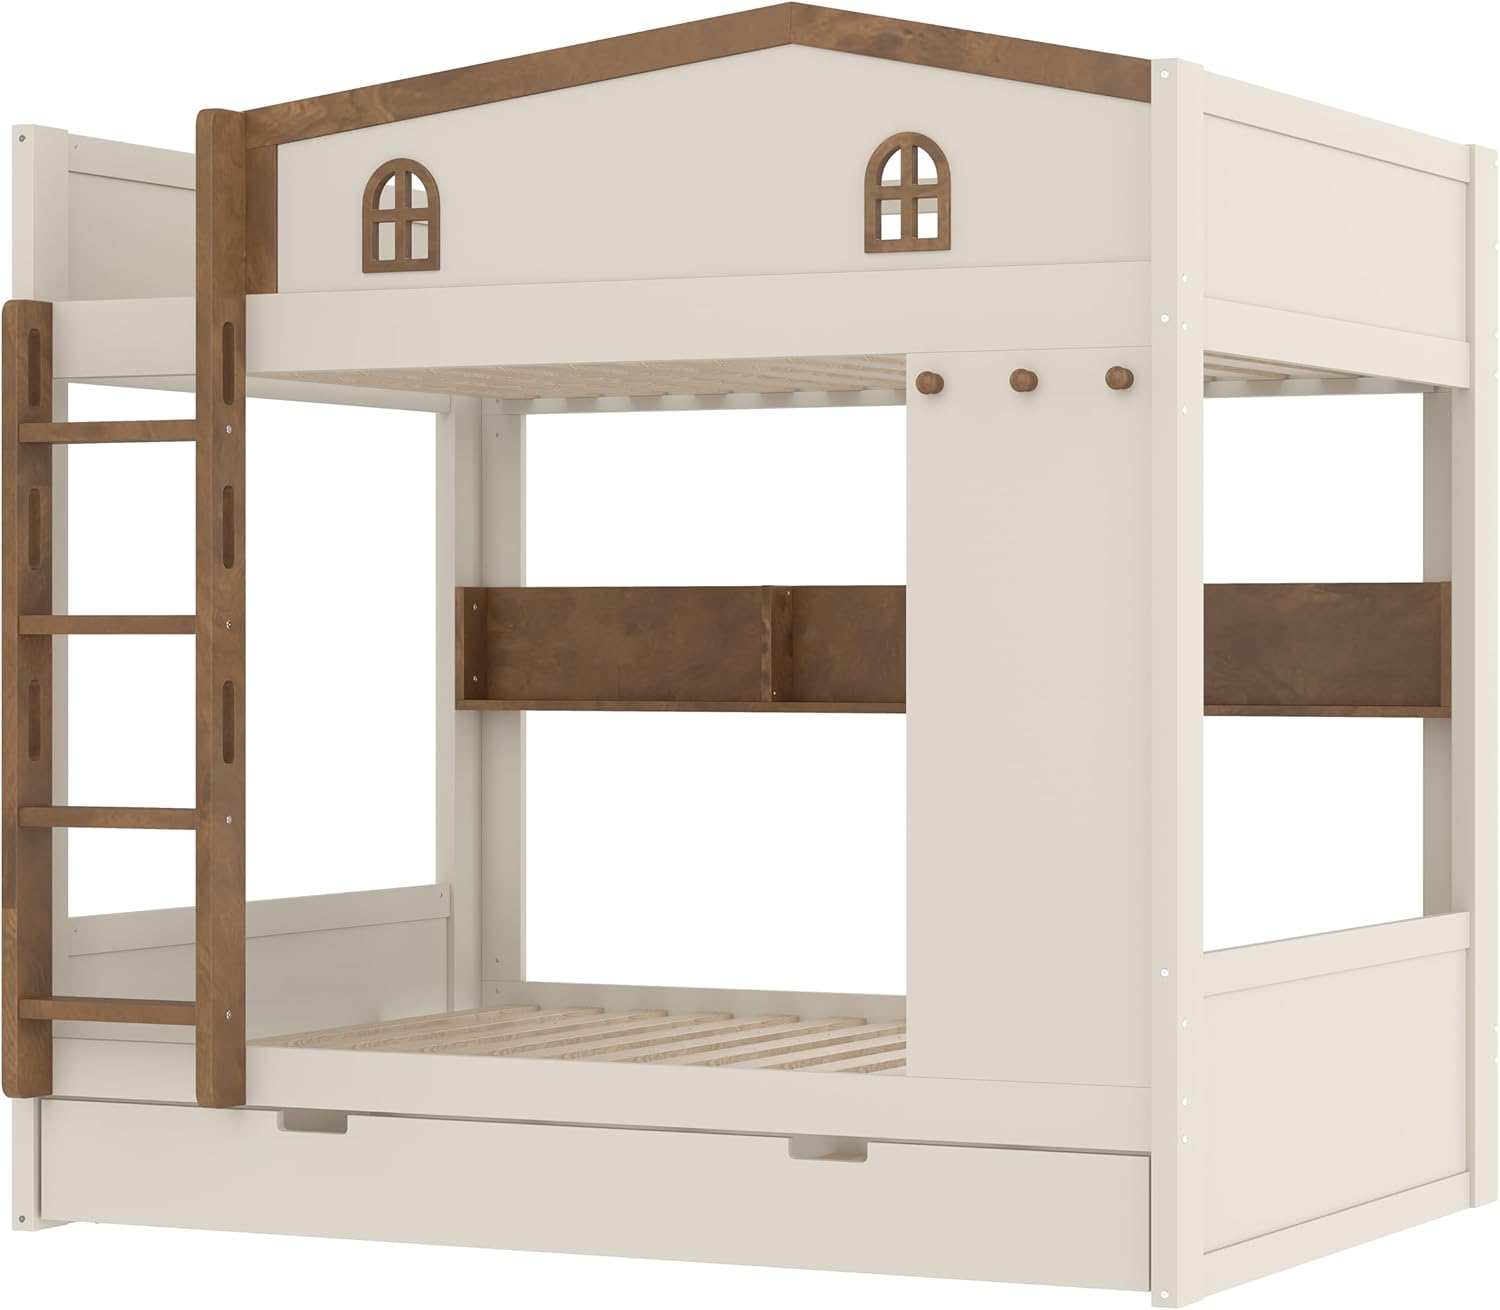
Image: The bunk bed with the trundle stored, demonstrating its space-saving design.
Using Storage Shelves and Hooks
The integrated shelves provide convenient storage for books, small electronics, or decorative items. The hooks are suitable for hanging lightweight items such as bags, hats, or robes. Do not overload shelves or hooks beyond their intended capacity.
6. Konserwacja
- Czyszczenie: Wytrzyj ramę łóżka miękką szmatką.amp szmatką. Unikaj stosowania silnych środków chemicznych i ściernych środków czyszczących, które mogą uszkodzić wykończenie drewna.
- Sprawdzenie sprzętu: Periodically (every 3-6 months) check all bolts, screws, and connections to ensure they are tight. Retighten if necessary, but do not overtighten.
- Integralność strukturalna: Inspect the bed frame for any signs of wear, damage, or loose parts. If any damage is found, discontinue use and contact customer support for replacement parts or advice.
- Pielęgnacja materaca: Przestrzegaj instrukcji pielęgnacji dołączonych do materacy. Regularnie obracaj i odwracaj materace, aby przedłużyć ich żywotność.
7. Rozwiązywanie Problemów
| Problem | Możliwa przyczyna | Rozwiązanie |
|---|---|---|
| Łóżko wydaje się chwiejne i niestabilne. | Luźny sprzęt. | Sprawdź i dokręć wszystkie śruby i wkręty. Upewnij się, że wszystkie połączenia są solidne. |
| Piszczące dźwięki. | Luźne połączenia lub tarcie pomiędzy elementami drewnianymi. | Dokręć wszystkie elementy. Jeśli skrzypienie nie ustąpi, nałóż niewielką ilość wosku parafinowego lub silikonu w sprayu na styki drewnianych elementów. |
| Łóżko wysuwane nie przesuwa się płynnie. | Obstruction under the bed or dirty wheels. | Clear any objects from under the lower bunk. Clean the trundle wheels and their tracks. Check for damaged wheels. |
| Brakujące lub uszkodzone części. | Błąd w opakowaniu lub uszkodzenie podczas transportu. | Do not proceed with assembly. Contact Polibi customer support immediately for replacement parts. |
8. Specyfikacje
- Marka: polibi
- Model: Full Over Full w/trundle
- Wymiary produktu (dł. x szer. x wys.): 77.5" x 56.8" x 66.5"
- Tworzywo: Drewno inżynieryjne, drewno sosnowe
- Kolor: Beige & Natural
- Dodatek specjalny: Trundle, Storage Shelves & Hooks
- Wymagany montaż: Tak
- Waga przedmiotu: Około 230.16 funtów
- Recommended Mattress Thickness (Upper Bunk): Do 6 cali
9. Gwarancja i wsparcie
For specific warranty information regarding your Polibi Wood Full Over Full Bunk Bed, please refer to the documentation included with your purchase or contact the retailer/manufacturer directly. Warranty terms typically cover manufacturing defects for a specified period from the date of purchase.
If you require assistance with assembly, missing parts, or have any questions about your product, please contact Polibi customer support. Contact details can usually be found on the packaging, the retailer's website, or the Polibi brand store on Amazon.
Polibi Brand Store: Visit the Polibi Store on Amazon