1. Wprowadzenie
This manual provides detailed instructions for the installation, operation, maintenance, and troubleshooting of your Rimoody 4Core 4G+128G Android 15 Car Stereo. This unit is specifically designed for Honda Fit models manufactured between 2008 and 2013. Please read this manual thoroughly before installation and use to ensure proper functionality and safety.
2. Zawartość produktu
Carefully unpack the box and ensure all items listed below are present. If any items are missing or damaged, please contact customer support.
- Jednostka główna radia samochodowego
- Kamera cofania
- Mikrofon
- Wiring Harnesses (Power Cable, RCA Cable, Camera Input Cable)
- Antena GPS
- Kable USB
- Narzędzie instalacyjne
- Instrukcja obsługi (ten dokument)

3. Instrukcja instalacji
Professional installation is recommended for this car stereo. Incorrect wiring can damage the unit or your vehicle's electrical system. Ensure the vehicle's battery is disconnected before beginning installation.
3.1 Zgodność pojazdu
This car stereo is designed to fit Honda Fit models from 2008 to 2013. The included wiring harnesses are specific to these models.

3.2 Podstawowe kroki instalacji
- Remove the Factory Radio: Carefully remove the existing car radio and trim panels using appropriate tools.
- Podłącz wiązki przewodów: Connect the provided wiring harnesses to the vehicle's factory wiring. Ensure all connections are secure.
- Podłącz antenę GPS: Zamontuj antenę GPS w miejscu z wolnym dostępem view nieba, zazwyczaj na desce rozdzielczej lub pod przednią szybą.
- Podłącz kable USB: Route the USB cables to a convenient location, such as the glove compartment or center console.
- Podłącz mikrofon: Install the external microphone in a suitable position for clear voice pickup, such as near the rearview lusterku lub na kolumnie kierownicy.
- Zainstaluj kamerę cofania (opcjonalnie): If installing the backup camera, route its cable from the rear of the vehicle to the head unit and connect it to the designated video input port.
- Montaż jednostki głównej: Zamocuj nowe radio samochodowe w otworze deski rozdzielczej.
- Podłącz ponownie akumulator: Podłącz ponownie akumulator pojazdu i przetestuj urządzenie.
4. Podstawowa obsługa
4.1 Włączanie/wyłączanie zasilania
Press the power button (usually located on the front panel or a soft button on the screen) to turn the unit on or off. The unit will automatically power on when the vehicle's ignition is turned on.
4.2 Interfejs ekranu dotykowego
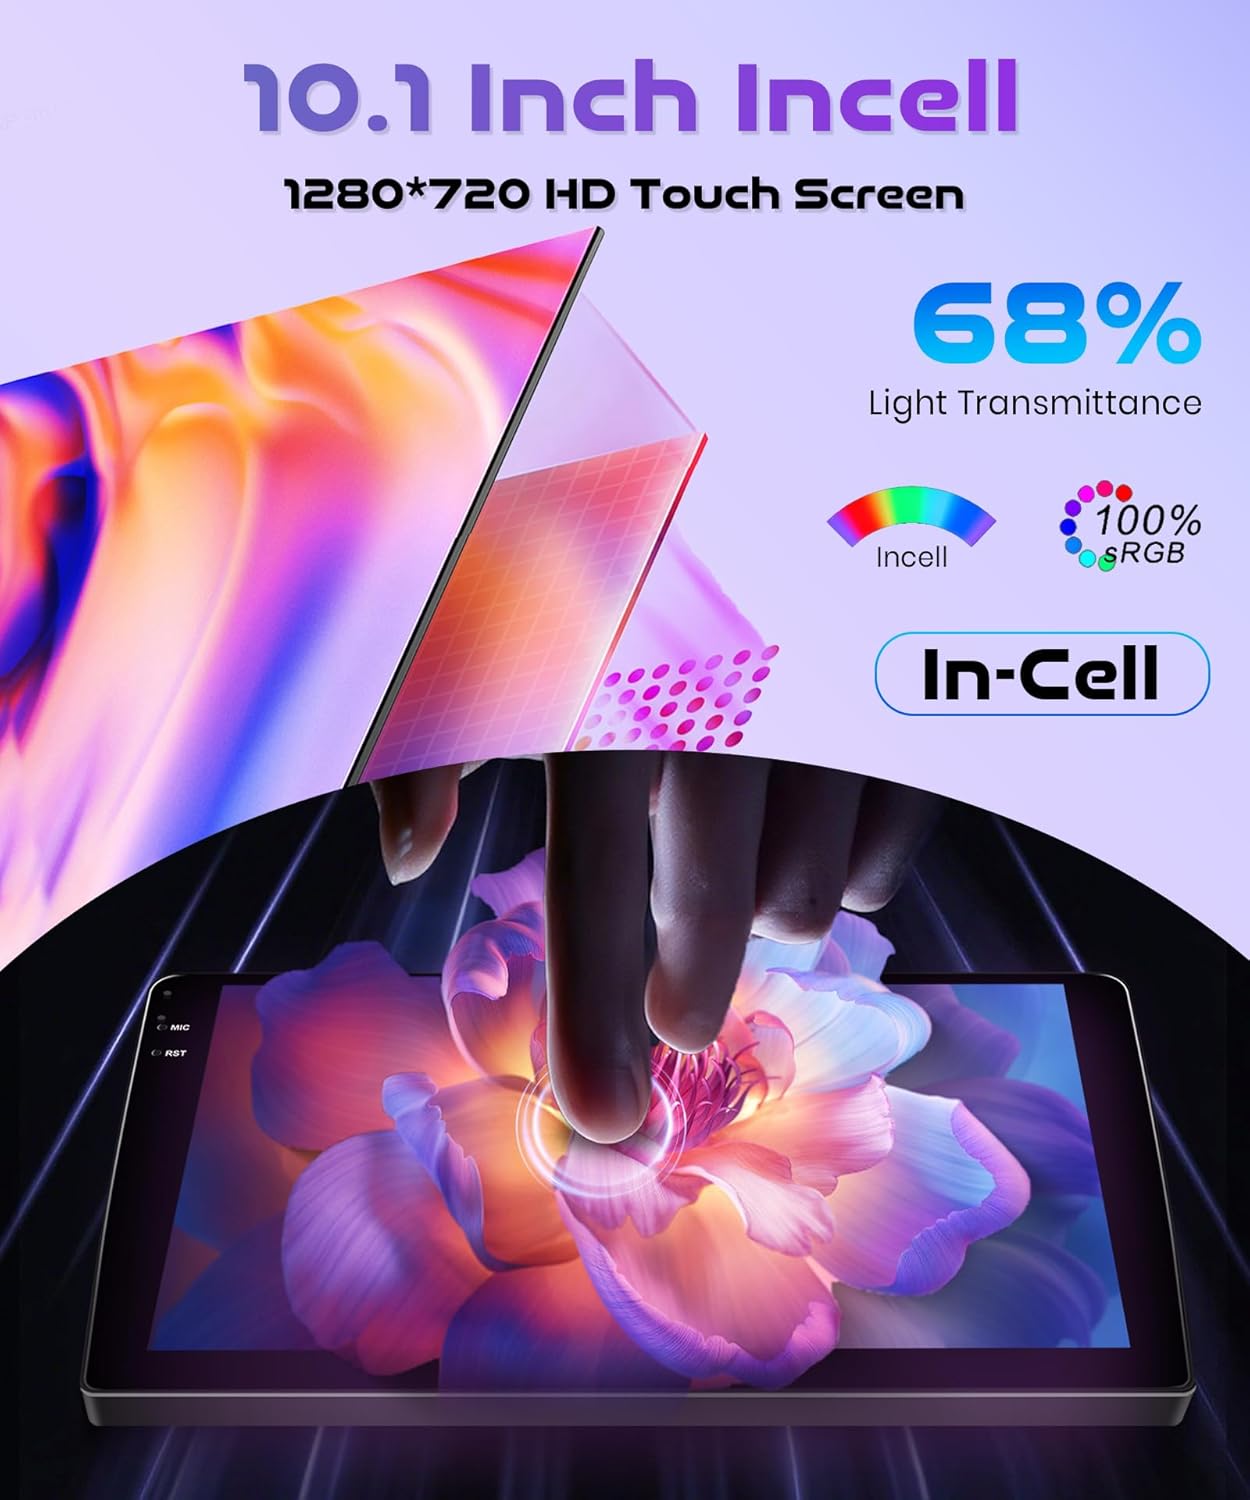
The 10.1-inch INCELL touchscreen provides a responsive and clear interface. Navigate through menus and applications by tapping, swiping, and dragging gestures, similar to a smartphone.
5. Zaawansowane funkcje
5.1 Wireless Carplay & Android Auto & Mirror Link
Connect your smartphone wirelessly to access navigation, music, messages, and calls directly from the car stereo display. The unit supports both Wireless Carplay for iOS devices and Wireless Android Auto for Android devices. Additionally, Mirror Link functionality allows you to mirror your phone's screen via USB cable or Wi-Fi.
- Połączenie bezprzewodowe: Enable Bluetooth and Wi-Fi on your smartphone. On the car stereo, navigate to the Carplay or Android Auto application and follow the on-screen instructions to pair your device.
- Link lustrzany: For Mirror Link, connect your phone via a USB cable or establish a Wi-Fi connection, then select the Mirror Link option on the stereo.

5.2 Nawigacja GPS
The built-in GPS module supports both online and offline maps. You can use pre-installed maps or download additional maps via Wi-Fi. Voice guidance and real-time traffic information are available with online map services.
- Mapy online: Connect the unit to a Wi-Fi hotspot (e.g., from your smartphone) to access real-time traffic and map updates.
- Mapy offline: Pobierz dane mapowe dla swojego regionu i korzystaj z nawigacji bez połączenia z Internetem.

5.3 Bluetooth 5.0
Pair your phone or other Bluetooth-enabled devices to the car stereo for hands-free calling, music streaming, and file przenosić.
- Łączenie w pary: Go to the Bluetooth settings on the car stereo and your device. Szukaj available devices and select the car stereo's name to pair.
- Strumieniowe przesyłanie muzyki: Once paired, you can play audio from your phone through the car stereo's speakers.
- Rozmowy bez użycia rąk: Make and receive calls directly from the car stereo interface.
5.4 FM/RDS Radio and EQ-32
The unit features an FM/RDS radio tuner for receiving radio signals with clear sound quality. The 32-band equalizer (EQ-32) allows for detailed sound customization.
- FM/RDS: Scan for stations, save presets, and view Informacje RDS (jeśli dostępne).
- Korektor: Adjust audio frequencies to tailor the sound output to your preference.
5.5 Sterowanie z kierownicy (SWC)
The unit supports the original car's steering wheel button learning function. This allows you to map functions like volume control, track skipping, and mode selection to your steering wheel buttons for convenient operation.
- Konfiguracja: Access the SWC settings in the car stereo menu. Follow the on-screen prompts to assign functions to each steering wheel button.
5.6 Tył View Kamera
Connect the included reversing camera to the dedicated video input port. When you shift the vehicle into reverse gear, the car stereo screen will automatically display the rear view, assisting with safe parking and obstacle avoidance.

6. Konserwacja
- Czyszczenie ekranu: Delikatnie przetrzyj ekran dotykowy miękką, niepozostawiającą włókien ściereczką. W przypadku uporczywych plam delikatnie przetrzyj.ampPrzetrzyj ściereczkę wodą lub środkiem do czyszczenia ekranów. Unikaj materiałów ściernych i silnych środków chemicznych.
- Aktualizacje oprogramowania: Periodically check for software updates through the system settings. Updates can improve performance, add new features, and fix bugs. Connect to Wi-Fi to download updates.
- Opieka ogólna: Utrzymuj urządzenie w czystości, chroniąc je przed kurzem i zanieczyszczeniami. Unikaj wystawiania go na działanie ekstremalnych temperatur lub bezpośredniego światła słonecznego przez dłuższy czas.
7. Rozwiązywanie Problemów
W tej sekcji omówiono typowe problemy, które mogą wystąpić. W przypadku problemów, których tutaj nie wymieniono, prosimy o kontakt z obsługą klienta.
| Problem | Możliwa przyczyna | Rozwiązanie |
|---|---|---|
| Urządzenie nie włącza się | Nieprawidłowe okablowanie; Przepalony bezpiecznik; Problem z akumulatorem pojazdu | Check power connections and fuses. Ensure vehicle battery is charged. Consult a professional installer. |
| Brak dźwięku | Speaker wiring issue; Volume too low; Mute function active | Check speaker connections. Increase volume. Disable mute. |
| Wireless Carplay/Android Auto fails to connect or disconnects | Bluetooth/Wi-Fi interference; Multiple devices connected; Software glitch | Ensure only one device is attempting to connect wirelessly. Restart phone and car stereo. Check for software updates. Avoid connecting multiple devices simultaneously. |
| Utracony lub niedokładny sygnał GPS | GPS antenna obstruction; Antenna not properly connected | Upewnij się, że antena GPS ma czyste pole widzenia view nieba. Sprawdź połączenie antenowe. |
| Kamera cofania nie jest wyświetlana | Camera wiring issue; Incorrect input selected | Check camera power and video signal connections. Ensure vehicle is in reverse. |
8. Specyfikacje
| Funkcja | Specyfikacja |
|---|---|
| Marka | Rimoody |
| Model | 4Core 4G+128G Wireless Carplay |
| System operacyjny | Android 15 |
| Procesor | 4 rdzeni |
| Pamięć (RAM+ROM) | 4 GB pamięci RAM + 128 GB pamięci ROM |
| Rozmiar ekranu | 10.1 cali |
| Typ ekranu | INCELL Touchscreen |
| Rezolucja | 1280x720 |
| Łączność | Wireless Carplay, Wireless Android Auto, Mirror Link, Built-in Wi-Fi, Bluetooth 5.0, USB |
| Nawigacja | Built-in GPS Module (Online/Offline Maps) |
| Funkcje audio | FM/RDS Radio, 32-band Equalizer (EQ-32) |
| Kontrola | Steering Wheel Control (SWC) Support |
| Waga | 1.8 kilograma |
| Zgodne pojazdy | Honda Fit 2008-2013 |
9. Gwarancja i wsparcie
Rimoody is committed to providing quality products and excellent customer service.
9.1 Informacje o gwarancji
Ten produkt jest dostarczany z 2-letnia gwarancja producenta covering defects in materials and workmanship from the date of purchase.
9.2 Obsługa klienta
For any questions, installation assistance, or troubleshooting, please contact our support team. We offer:
- 24-Hour Quick Response: Nasz zespół wsparcia stara się odpowiadać na zapytania w ciągu 24 godzin.
- Professional Installation Guide and Video: Access to detailed guides and videos for installation assistance.
- 90 dni na bezpłatny zwrot: Enjoy a 90-day free return period for refunds or exchanges.
- Dożywotnie wsparcie techniczne: Receive technical support for the lifetime of your product.
