1. Wprowadzenie
Thank you for choosing the Lepro 1000LM Battery Powered LED Camping Lantern. This manual provides essential information for the safe and efficient operation of your new lantern. Designed for versatility, this lantern offers powerful illumination for various outdoor activities, emergency situations, and general home use. Its robust design and multiple lighting modes ensure reliable performance when you need it most.
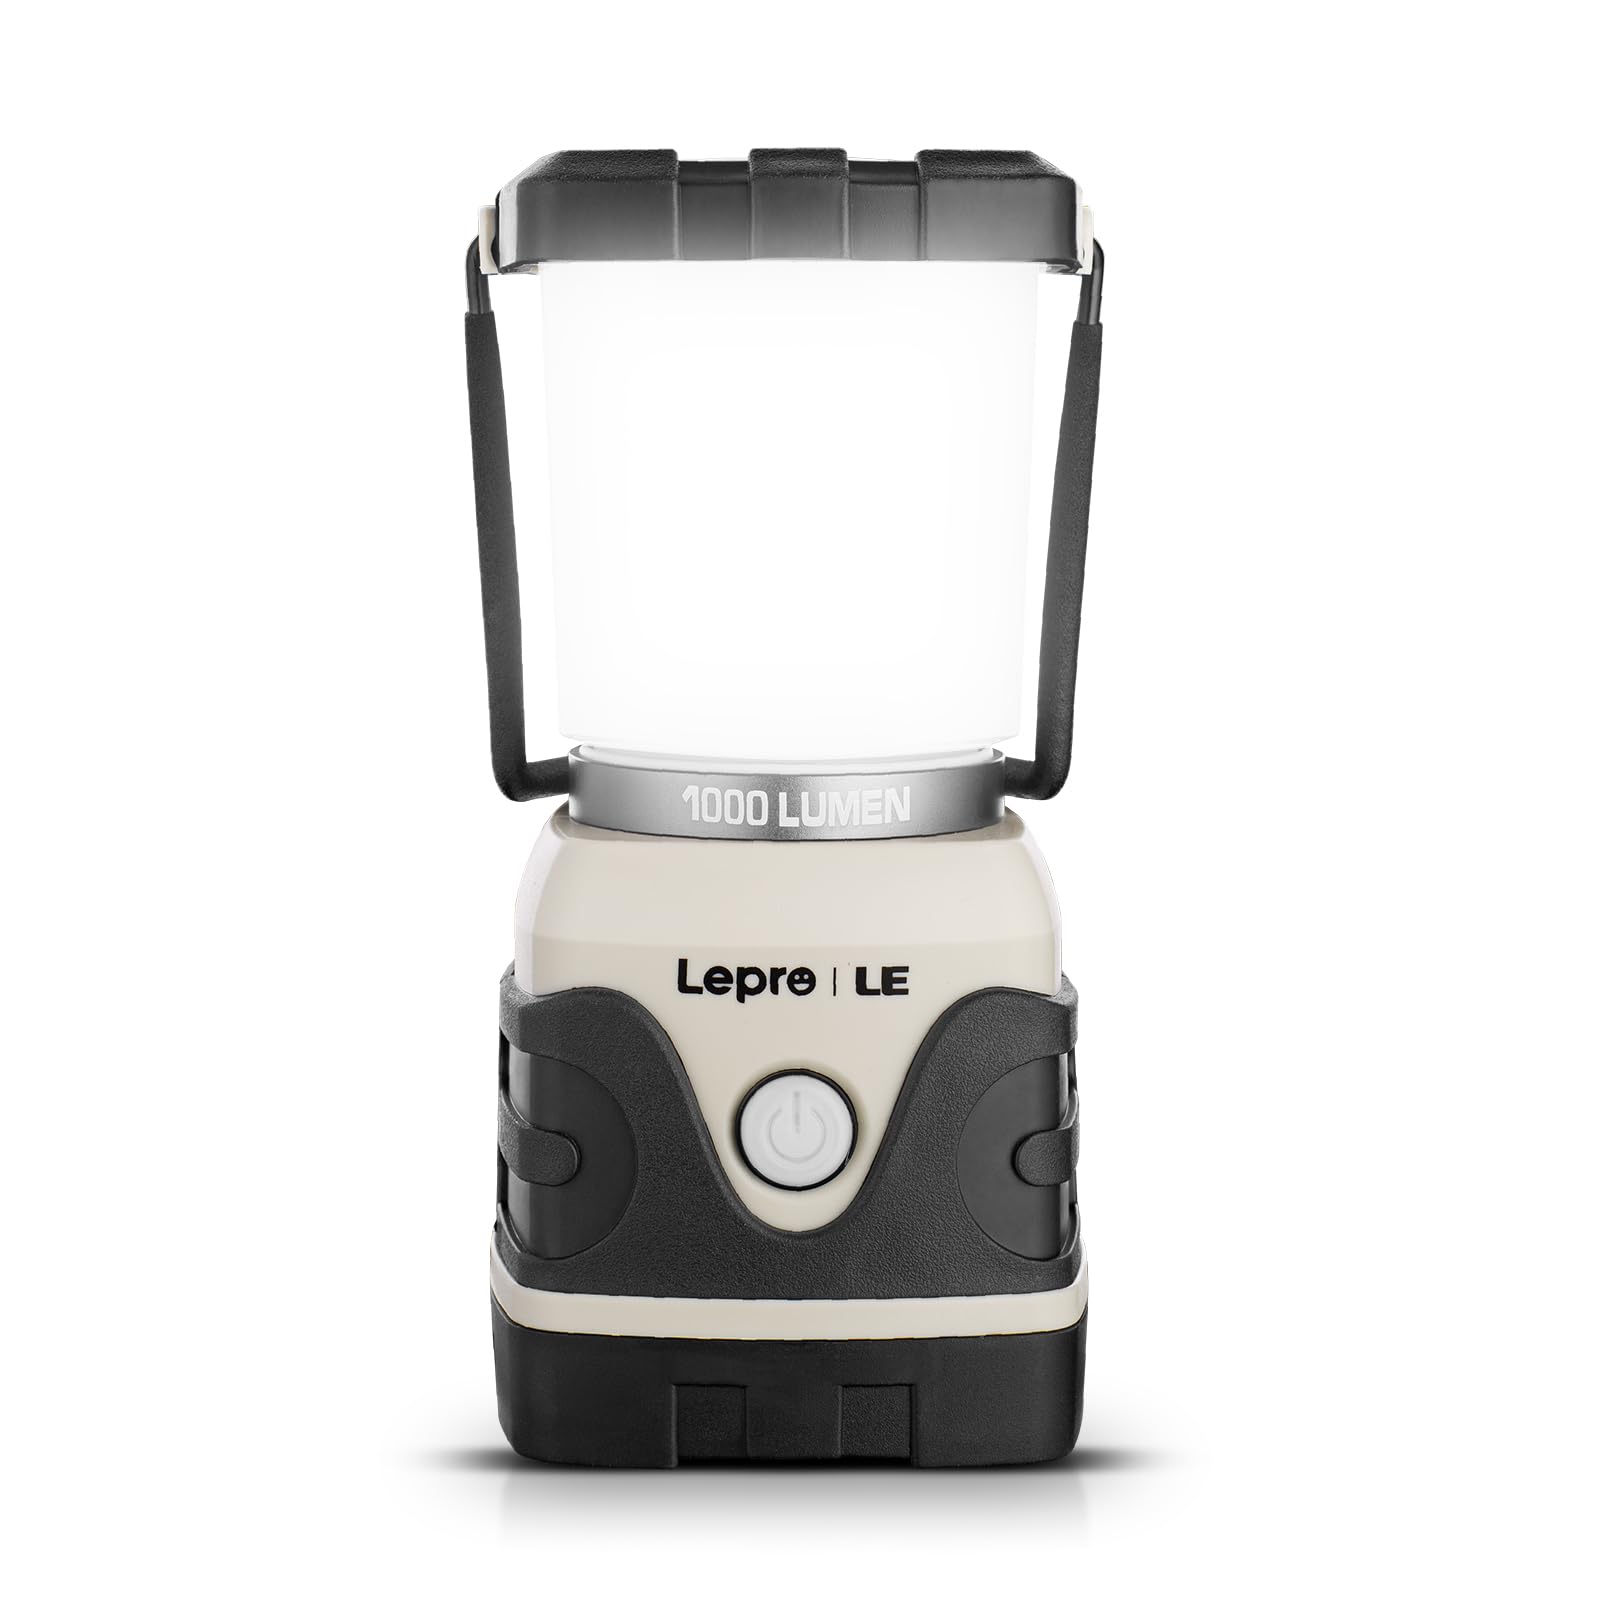
Image: Lepro 1000LM Battery Powered LED Campw Latarni.
2. Funkcje produktu
- High Brightness & Dimmable: Long press the button to adjust brightness up to 1000 lumen, suitable for reading or illuminating an entire space.
- 4 tryby oświetlenia: Short press the button to switch between Daylight White, Warm White, Full Brightness, and Flashing modes.
- Długa żywotność baterii: Powered by 3 D alkaline batteries (not included), it can last up to 12 hours under 1000 lumen brightness setting. This model is not rechargeable.
- Wodoodporność IPX4: Protected against splashing water from all angles, making it suitable for outdoor activities in rainy or snowy conditions.
- Hanging Hook & Removable Cover: Features a hook on the bottom and a metal handle on top for easy hanging or carrying.

Image: Key features of the Lepro 1000LM Lantern.
3. Co znajduje się w pudełku
- 1 x Lepro 1000LM Battery Powered LED Camping Latarnia
4. Konfiguracja: Instalacja baterii
- Ensure the lantern is turned off before installing batteries.
- Locate the battery compartment at the bottom of the lantern.
- Aby odblokować i zdjąć dolną pokrywę, przekręć ją w kierunku przeciwnym do ruchu wskazówek zegara.
- Insert three (3) D-size alkaline batteries into the compartment, ensuring correct polarity (+/-) as indicated inside.
- Align the protruding pole on the bottom cover with the corresponding hole in the battery compartment.
- Place the cover back on and twist clockwise to secure it tightly.
Note: Batteries are NOT included with the lantern. Use only D-size alkaline batteries.
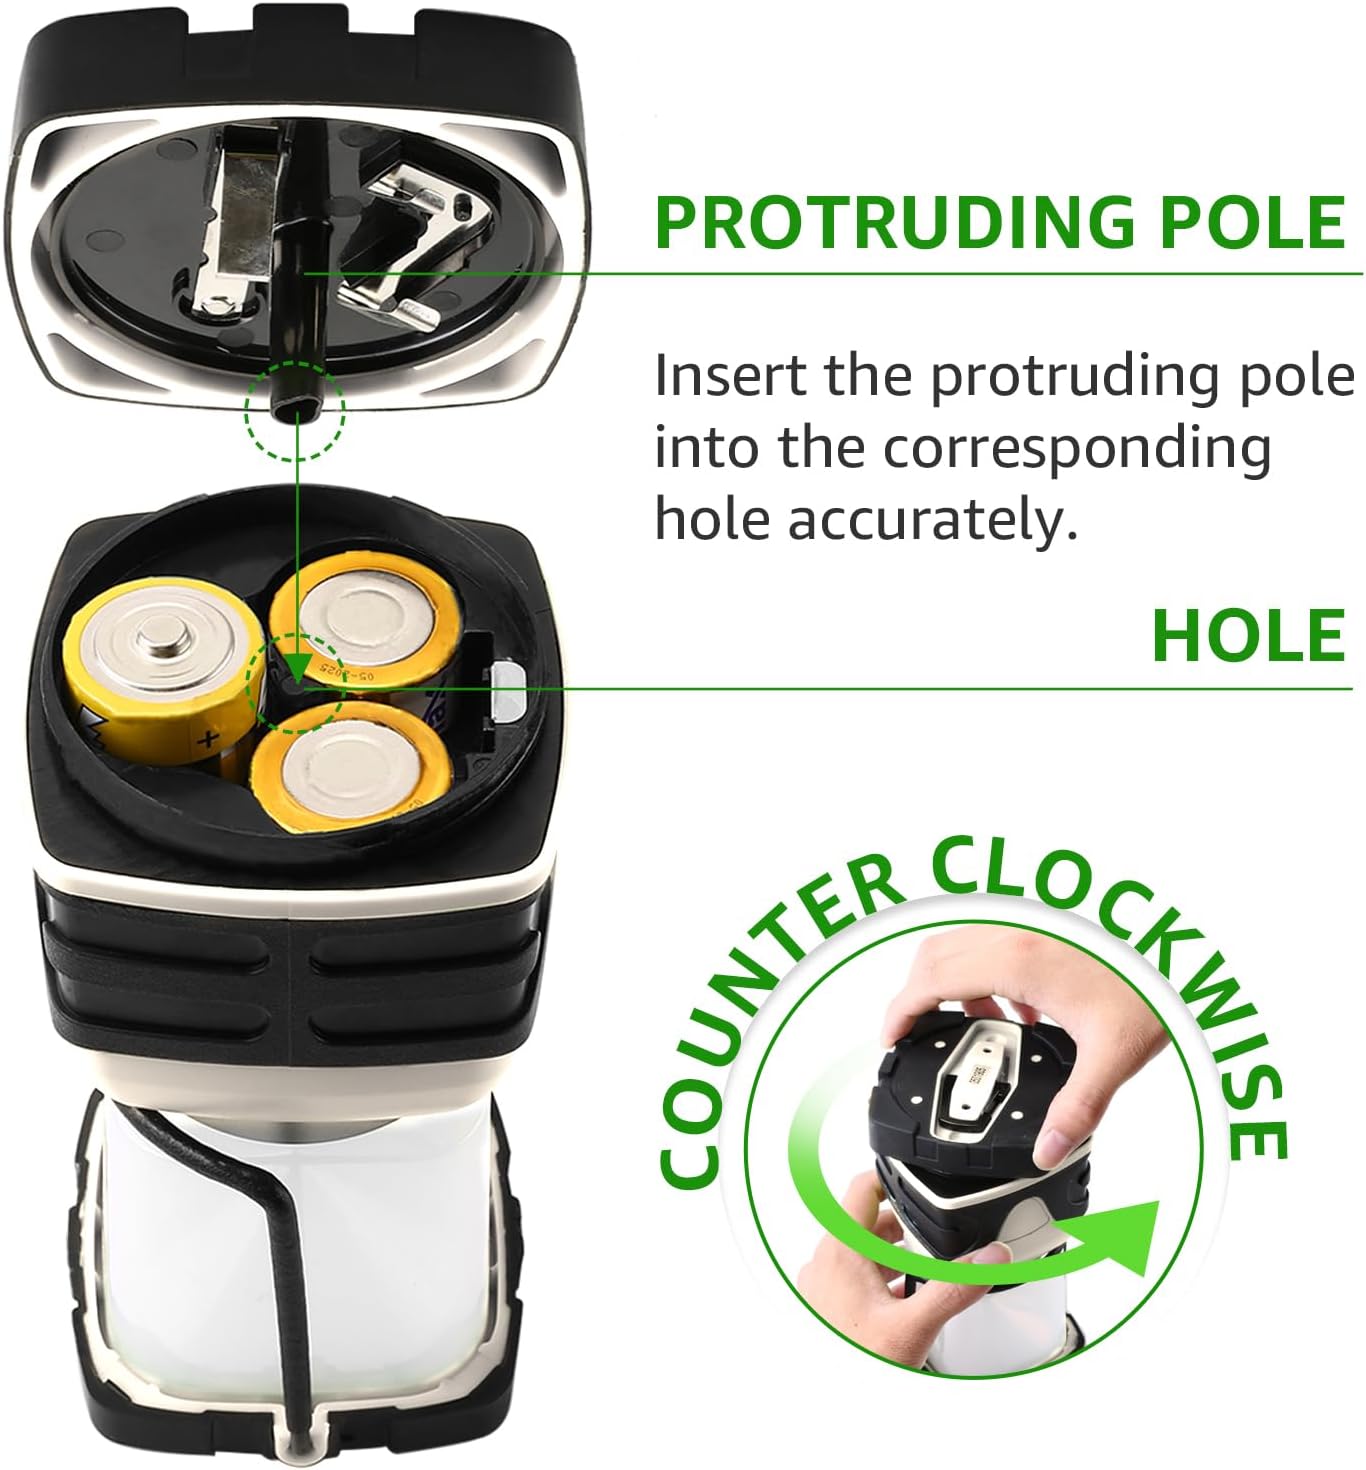
Obraz: Instrukcja instalacji baterii.
5. Instrukcja obsługi
Włączanie/wyłączanie zasilania
- Press the power button once to turn the lantern ON.
- Press and hold the power button for approximately 2 seconds to turn the lantern OFF from any mode.
Zmiana trybów oświetlenia
- With the lantern ON, short press the power button repeatedly to cycle through the 4 available lighting modes:
- Biały dzienny
- Ciepła biel
- Full Brightness (combination of Daylight and Warm White)
- Flashing (Emergency Signal)
Bezstopniowe ściemnianie
- While the lantern is ON in any non-flashing mode, press and hold the power button to continuously adjust the brightness level. Release the button when the desired brightness is reached.

Image: Operating the lantern's light modes and dimming function.
6. Opcje montażu
- Uchwyt górny: Use the sturdy metal handle at the top to carry the lantern or hang it from a hook or branch.
- Bottom Hook: The lantern features a retractable hook on its base, allowing it to be hung upside down for broader illumination, such as inside a tent.
- Zastosowanie na blacie: The flat base ensures stable placement on any flat surface.

Image: Versatile hanging and carrying options.
7. Konserwacja
- Czyszczenie: Przetrzyj latarnię miękką, damp ściereczka. Nie należy używać środków czyszczących o właściwościach ściernych ani rozpuszczalników.
- Wymiana baterii: Replace all three D-size batteries simultaneously when the light output diminishes. Do not mix old and new batteries or different battery types.
- Składowanie: If storing the lantern for an extended period, remove the batteries to prevent leakage and damage. Store in a cool, dry place.

Image: The lantern is IPX4 water resistant.
8. Rozwiązywanie Problemów
| Problem | Możliwa przyczyna | Rozwiązanie |
|---|---|---|
| Latarnia się nie włącza. | Baterie są rozładowane lub nieprawidłowo zainstalowane. | Replace batteries with new D-size alkaline batteries, ensuring correct polarity. |
| Moc światła jest słaba. | Baterie są słabe. | Replace all three D-size batteries. |
| Nie można zmienić trybów oświetlenia. | Button not pressed correctly or rapidly enough. | Ensure a quick, firm short press to cycle modes. |
9. Specyfikacje
| Numer modelu | 3300002-WH |
| Typ źródła światła | Dioda elektroluminescencyjna (LED) |
| Maksymalna moc światła | 1000 lumenów |
| Źródło zasilania | Zasilany bateryjnie |
| Typ baterii | 3 baterie typu D (brak w zestawie) |
| Tomtage | 4.5 wolty |
| Cotage | 10 watów |
| Tworzywo | Plastikowy |
| Pozycja Wymiary (dł. x szer. x wys.) | 3.46" dł. x 3.46" szer. x 7.24" wys. |
| Waga przedmiotu | 0.51 kilograma |
| Odporność na wodę | IPX4 |

Image: Lantern dimensions and battery requirements.
10. Gwarancja i wsparcie
This Lepro 1000LM Battery Powered LED Camping Lantern comes with a 1-year manufacturer's warranty. For warranty claims, technical support, or any inquiries, please visit the official Lepro webodwiedź witrynę lub skontaktuj się bezpośrednio z działem obsługi klienta.
Official Lepro Webstrona: www.lepro.com