
Geemax DDSLC003
Geemax Electric Tricycle User Manual
Model: DDSLC003 | Brand: Geemax
1. Wprowadzenie
This manual provides essential information for the safe assembly, operation, and maintenance of your Geemax Electric Tricycle. Please read it thoroughly before your first ride and keep it for future reference.

Obraz: Przód view of the Geemax Electric Tricycle, showcasing its fat tires and rear basket.
2. Informacje dotyczące bezpieczeństwa
Your safety is paramount. Always adhere to local traffic laws and regulations. Wear a helmet and appropriate safety gear. Perform pre-ride checks as outlined in this manual.
- Zawsze noś certyfikowany kask.
- Przed każdą jazdą sprawdź, czy wszystkie śruby i szybkozamykacze są solidnie dokręcone.
- Check tire pressure and brake function before use.
- Nie należy jeździć pod wpływem alkoholu lub narkotyków.
- Bądź świadomy otoczenia i jeźdź defensywnie.
- Nie należy przekraczać maksymalnej zalecanej wagi wynoszącej 350 funtów.
3. Zawartość opakowania
Upon unboxing, verify that all components are present and undamaged. If any parts are missing or damaged, contact customer support.

Image: All components of the Geemax Electric Tricycle laid out after unboxing, including the main frame, wheels, fenders, seat, and accessories.
Pakiet zazwyczaj zawiera:
- Tricycle Main Frame (partially assembled)
- Koło przednie
- Koła tylne (2)
- Seat with Backrest
- Kierownice
- Błotniki przednie i tylne
- Kosz tylny
- Pedały
- Rumak
- Zestaw narzędzi
- Instrukcja obsługi
4. Instrukcja montażu
Your Geemax Electric Tricycle arrives 80% pre-assembled. Follow these steps carefully for final assembly. Refer to the assembly video for visual guidance.
Video: Step-by-step assembly guide for the Geemax Electric Tricycle.
- Rozpakowywanie: Ostrożnie wyjąć wszystkie elementy z opakowania.
- Montaż kierownicy: Install the handlebars into the stem and tighten the stem bolts securely using the provided Allen wrench. Ensure the top cap is installed.
- Folding Box Closure: Close the folding mechanism securely.
- Saddle Assembly and Installation: Assemble the saddle and backrest, then insert the seat post into the frame and secure it.
- Montaż błotnika:
- Assemble the front fender by attaching its support rods.
- Assemble the two rear fenders by attaching their respective support rods.
- Instalacja przedniego koła: Remove the fork protection. Carefully align the front wheel with the fork, ensuring the disc brake rotor slides into the caliper. Secure the wheel with the provided nuts and install the safety hook. Connect the motor cable (arrow to arrow).
- Montaż tylnego koła: Install the two rear wheels onto the rear axle, securing them with nuts. Ensure the rear wheel is on the same plane as the rear axle for proper fit.
- Montaż hamulca tylnego: Install the rear brake calipers onto the frame and connect the brake cables. Adjust as necessary for proper function.
- Instalacja pedału: Install the pedals. Note that 'L' is for the left pedal and 'R' is for the right pedal. Tighten them securely.
- Rear Basket Assembly and Installation: Assemble the wire mesh rear basket. Install the basket onto the rear frame using the provided brackets and screws. Place the inner bag into the basket.
- Tyłview Instalacja lustra: Zainstaluj z tyłuview mirrors onto the handlebars.
- Front Reflector Installation: Install the front reflector onto the handlebar.

Image: Detailed diagram labeling key components of the tricycle, including the rear basket, disk brake, battery, folding switch, handlebars, LCD display, headlight, and front hub motor.
5. Instrukcja obsługi
5.1. LCD Display Usage
The LCD display provides essential riding information and allows you to control assist levels.

Image: The LCD display showing speed, battery level, distance, and pedal assist level.
- Włączanie/wyłączanie: Press and hold the power button (usually the middle button) to turn the display and tricycle power on or off.
- Regulacja poziomu wspomagania: Use the '+' and '-' buttons to cycle through the 5 pedal assist levels. Level 0 is no assist, Level 5 is maximum assist.
- Wyświetlacz informacyjny: The display shows current speed, battery level, distance covered (ODO/TRIP), and current assist level.
5.2. Tryby jazdy
Your tricycle offers three riding modes:
- Electric Tricycle Mode: Użyj przepustnicy, aby uzyskać pełną moc elektryczną bez pedałowania.
- Assisted Tricycle Mode: Silnik wspomaga pedałowanie, oferując 5 poziomów regulacji.
- Normal Tricycle Mode: Ride like a traditional tricycle, using pedal power only.
5.3. Użytkowanie i ładowanie baterii
The tricycle is equipped with a 36V 13Ah lithium battery. The battery can be charged while installed on the tricycle or removed.

Image: The 36V 13Ah lithium battery, highlighting its capacity and estimated range.
- Ładowanie: Connect the charger to the charging port on the battery. The red indicator light on the charger means it is charging; a green light indicates a full charge.
- Wyjmowanie baterii: Use the key to unlock and remove the battery for off-tricycle charging or storage.
- Zakres: Expect approximately 28 miles in full electric mode and up to 40 miles in pedal assist mode, depending on terrain, rider weight, and assist level.
6. Konserwacja
Regularna konserwacja gwarantuje długowieczność i bezpieczną eksploatację Twojego trójkołowca.
- Opony: Maintain recommended tire pressure (check tire sidewall for specific PSI). Inspect tires regularly for wear and punctures. The 20" x 4.0" fat tires provide excellent traction.
- Hamulce: Regularly check brake pads for wear and ensure brake levers engage smoothly. Adjust as needed. The tricycle features disc brakes for reliable stopping power.
- Pielęgnacja baterii: Przechowuj akumulator w chłodnym, suchym miejscu. Ładuj go regularnie, nawet jeśli nie jest używany, aby utrzymać go w dobrym stanie. Unikaj całkowitego rozładowania akumulatora.
- Czyszczenie: Wyczyść rowerek trójkołowy z reklamąamp cloth. Avoid high-pressure washing directly on electrical components. The tricycle has an IPX5 water resistance rating, meaning it can withstand splashes but not submersion.
- Elementy złączne: Okresowo sprawdzaj, czy wszystkie śruby, nakrętki i szybkozłącza są odpowiednio dokręcone.
- Łańcuch: Keep the chain clean and lubricated for smooth operation.

Obraz: Zbliżenie views of the tricycle's headlight, IPX5 water resistance, rear reflector, and the dimensions of the rear basket.
7. Rozwiązywanie Problemów
Oto kilka typowych problemów i ich potencjalne rozwiązania:
| Problem | Możliwa przyczyna | Rozwiązanie |
|---|---|---|
| Trójkołowiec nie włącza się. | Battery low or not installed correctly; power cable disconnected. | Charge battery; ensure battery is securely locked in place; check all electrical connections. |
| Silnik nie wspomaga. | Assist level set to 0; motor cable disconnected; brake levers engaged. | Increase assist level on display; check motor cable connection; ensure brake levers are fully released. |
| Hamulce są słabe. | Zużyte klocki hamulcowe; luźna linka hamulcowa; powietrze w układzie hydraulicznym (jeśli dotyczy). | Inspect and replace brake pads; adjust brake cable tension; consult a professional for hydraulic brake issues. |
| Nietypowe dźwięki podczas jazdy. | Loose components; dry chain; tire rubbing. | Check all fasteners; lubricate chain; inspect tire clearance. |
8. Specyfikacje
| Funkcja | Szczegół |
|---|---|
| Nazwa modelu | DDSLC003 |
| Typ roweru | Trójkołowiec elektryczny |
| Przedział wiekowy | Dorosły |
| Silnik | 36V 350W (Peak 500W) High-Speed Brushless Motor |
| Maksymalna prędkość | Do 20 mil na godzinę |
| Bateria | 36V 13Ah Lithium Battery (UL Certified) |
| Kuchenka elektryczna | Approx. 28 miles (full electric mode) |
| Assist Range | Approx. 40 miles (pedal assist mode) |
| Rozmiar koła | 20 Inches (Fat Tires: 20" x 4.0") |
| Materiał ramy | Stal stopowa |
| Styl hamulca | Hamulce tarczowe |
| Typ zawieszenia | Sztywny |
| Funkcja specjalna | LCD Display, Foldable Frame, Rear Basket |
| Maksymalna zalecana waga | 350 funtów |
| Wymagany montaż | Tak (80% wstępnie zmontowane) |
| UPC | 760762256953 |
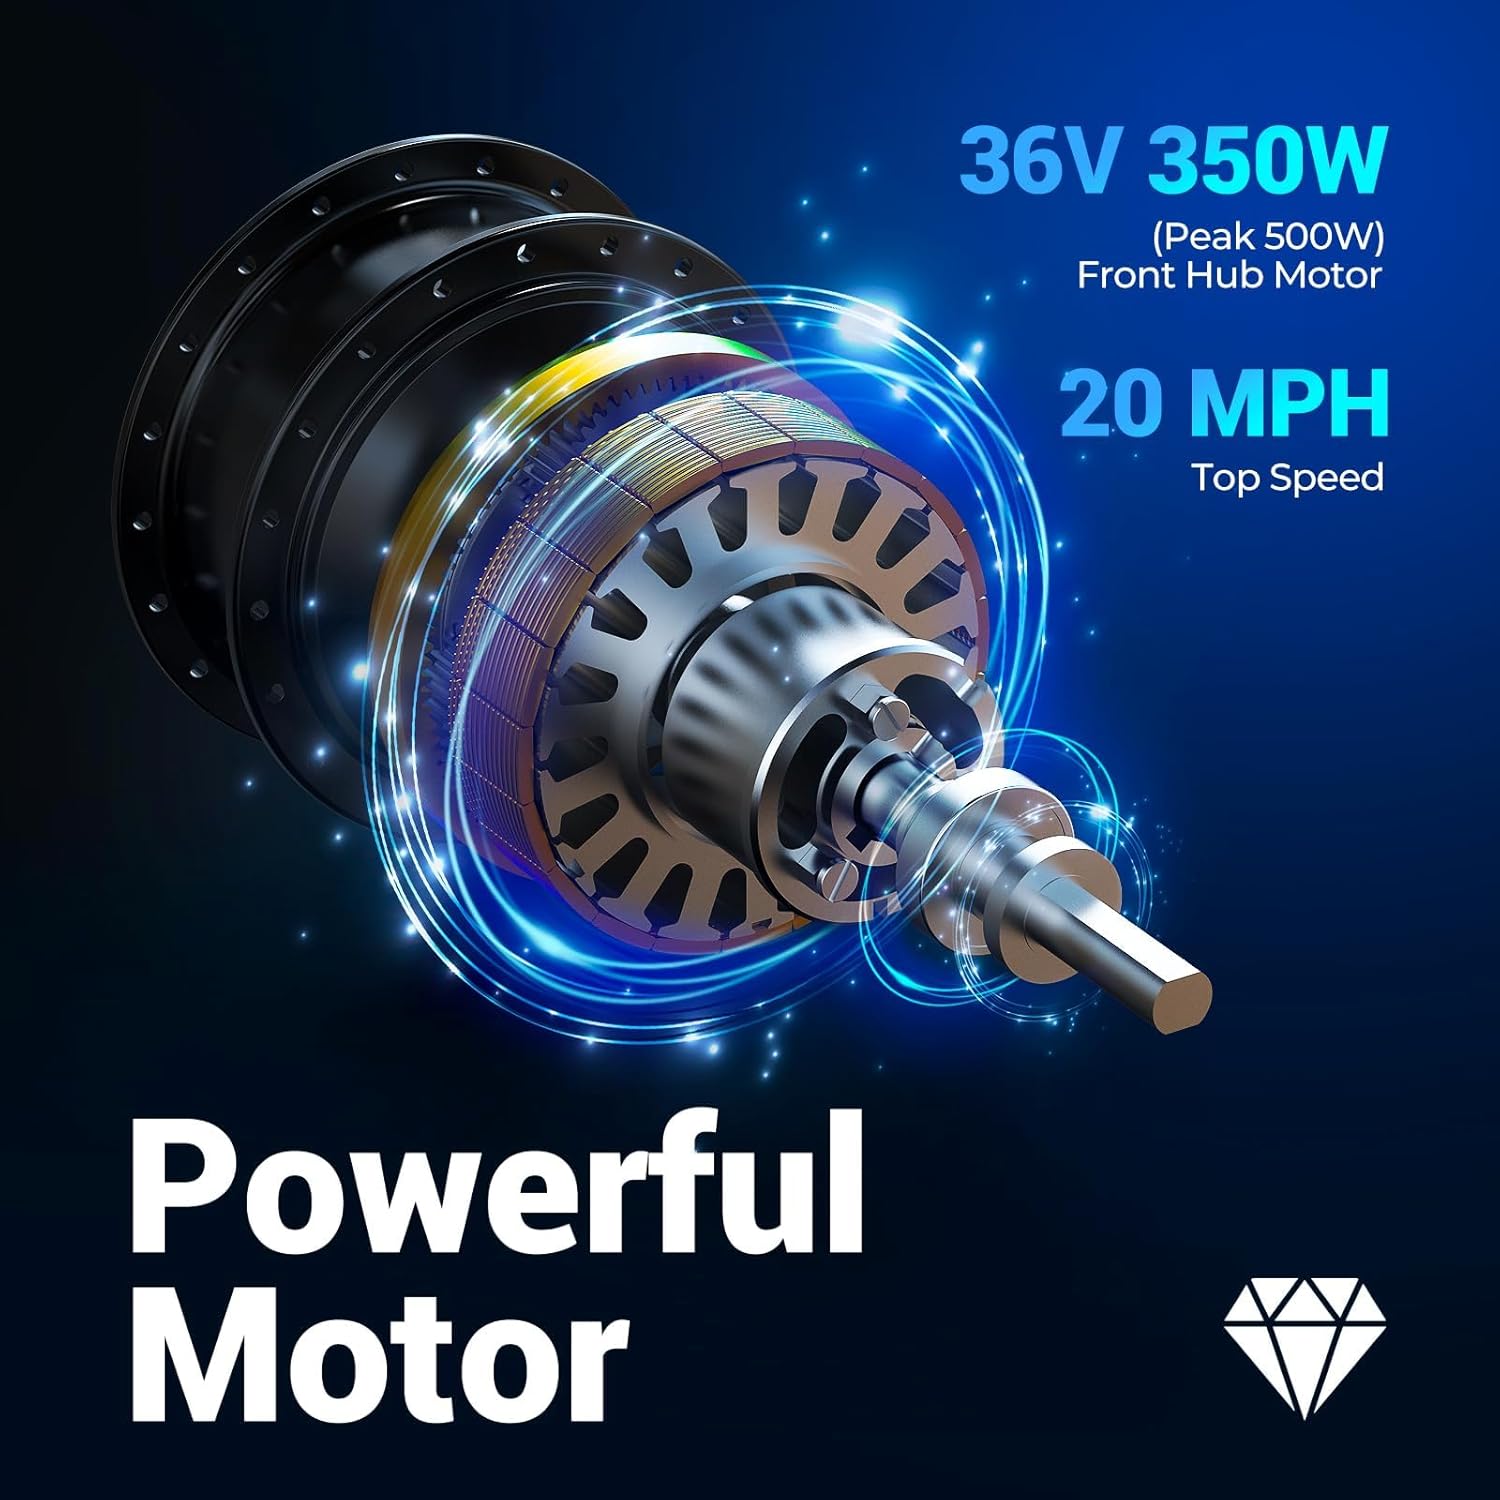
Image: Illustration of the powerful 36V 350W (Peak 500W) front hub motor.

Image: Visual representation of the tricycle's dimensions and recommended rider height range (5'2" - 6'4").
9. Gwarancja i wsparcie
The Geemax Electric Tricycle comes with a Roczna ograniczona gwarancja. For warranty claims, technical support, or any inquiries, please contact Geemax customer service.
Zachowaj dowód zakupu w celu potwierdzenia gwarancji.
Ask a question about this manual
Ask about setup, troubleshooting, compatibility, parts, safety, or missing instructions. Manuals+ will review the question and use this page’s manual context to help answer it.