1. Wprowadzenie
Thank you for choosing the Zilan Ceramic Wall Heater Model 2090. This high-quality wall-mounted fan heater combines comfort, efficiency, and safety, providing pleasant warmth at the touch of a button. Featuring two power levels (1000W/2000W) and modern ceramic heating technology, it ensures uniform heat distribution, making it ideal for bathrooms, offices, recreation rooms, or workshops.
This manual provides essential information for the safe and efficient operation of your heater. Please read it thoroughly before installation and use, and keep it for future reference.
2. Instrukcje bezpieczeństwa
Aby zmniejszyć ryzyko pożaru, porażenia prądem lub obrażeń ciała, należy zawsze przestrzegać następujących środków ostrożności:
- Przed użyciem tego grzejnika należy przeczytać wszystkie instrukcje.
- Do not use this heater outdoors or in wet locations not specified as suitable. The heater has an IPX22 rating, making it suitable for damp rooms like bathrooms, but it should not be directly exposed to water spray.
- Ten grzejnik jest gorący w trakcie użytkowania. Aby uniknąć oparzeń, nie należy dotykać gołej skóry gorących powierzchni.
- Materiały łatwopalne, takie jak meble, poduszki, pościel, papiery, ubrania i zasłony, należy trzymać w odległości co najmniej 1 metra (3 stóp) od przedniej części grzejnika i z dala od boków i tyłu.
- Należy zachować szczególną ostrożność, jeśli grzejnik jest używany przez dzieci lub osoby niepełnosprawne lub w ich pobliżu, a także zawsze, gdy grzejnik jest włączony i pozostawiony bez nadzoru.
- Zawsze odłączaj grzejnik od zasilania, gdy go nie używasz.
- Nie używaj grzejnika z uszkodzonym przewodem lub wtyczką, po awarii grzejnika, upuszczeniu lub uszkodzeniu w jakikolwiek sposób. Zwróć grzejnik do autoryzowanego punktu serwisowego w celu sprawdzenia, regulacji elektrycznej lub mechanicznej lub naprawy.
- Nie układaj przewodu pod wykładziną. Nie przykrywaj przewodu dywanikami, chodnikami ani podobnymi pokryciami. Ułóż przewód z dala od obszaru ruchu i tam, gdzie nie będzie można się o niego potknąć.
- Aby odłączyć grzejnik, wyłącz go, a następnie wyjmij wtyczkę z gniazdka.
- Nie wkładaj żadnych przedmiotów do otworów wentylacyjnych lub wylotowych ani nie pozwól, aby dostały się do nich obce przedmioty, gdyż może to spowodować porażenie prądem, pożar lub uszkodzenie grzejnika.
- Aby zapobiec ewentualnemu pożarowi, nie blokuj w żaden sposób wlotów powietrza ani wylotów. Nie używaj na miękkich powierzchniach, takich jak łóżko, gdzie otwory mogą zostać zablokowane.
- Grzejnik ma wewnątrz gorące i łukowate lub iskrzące części. Nie używaj go w miejscach, w których używa się lub przechowuje benzynę, farbę lub łatwopalne płyny.
- Używaj tego grzejnika tylko zgodnie z opisem w tej instrukcji. Każde inne użycie niezalecane przez producenta może spowodować pożar, porażenie prądem lub obrażenia osób.
- The integrated overheating protection automatically switches off the device if it becomes too hot.
3. Zawartość opakowania
Po otwarciu opakowania należy upewnić się, że wszystkie elementy znajdują się w opakowaniu i są w dobrym stanie:
- 1 x Zilan Ceramic Wall Heater
- 1 x Pilot zdalnego sterowania
- 1 x zestaw montażowy (śruby, kołki rozporowe)
- 1 x Instrukcja obsługi
4. Konfiguracja i instalacja
The Zilan Ceramic Wall Heater is designed for easy wall mounting. The complete mounting material is included for quick and simple installation.
4.1 Wybór lokalizacji
- Select a wall location that is clear of obstructions and away from flammable materials.
- Ensure there is sufficient space around the heater for proper air circulation.
- The heater is suitable for damp rooms (IPX22), but avoid direct water exposure.
- Consider the length of the power cable (approximately 145 cm) when choosing the mounting spot relative to a power outlet.
4.2 Kroki montażu
- Zaznacz punkty wiercenia: Hold the heater against the wall at the desired mounting height. Use a pencil to mark the positions for the mounting screws. Ensure the marks are level.
- Wiercenie otworów: Wywierć otwory w zaznaczonych miejscach, używając wiertła odpowiedniego do rodzaju ściany.
- Włóż kołki rozporowe: Włóż dołączone kołki ścienne do wywierconych otworów.
- Bezpieczne śruby: Insert the mounting screws into the wall plugs, leaving a small gap between the screw head and the wall.
- Montaż grzejnika: Carefully align the heater's mounting slots with the screws and slide the heater onto the screws. Ensure it is securely seated.
- Dokręcić śruby: Tighten the screws to firmly secure the heater to the wall. Do not overtighten.
- Włączać do kontaktu: Once securely mounted, plug the power cable into a suitable electrical outlet (220-240 V, 50/60 Hz).

Image 1: Wall mounting diagram with dimensions (56cm width, 20cm height, 12cm depth) and labels for ceramic heating element and 12-hour timer.
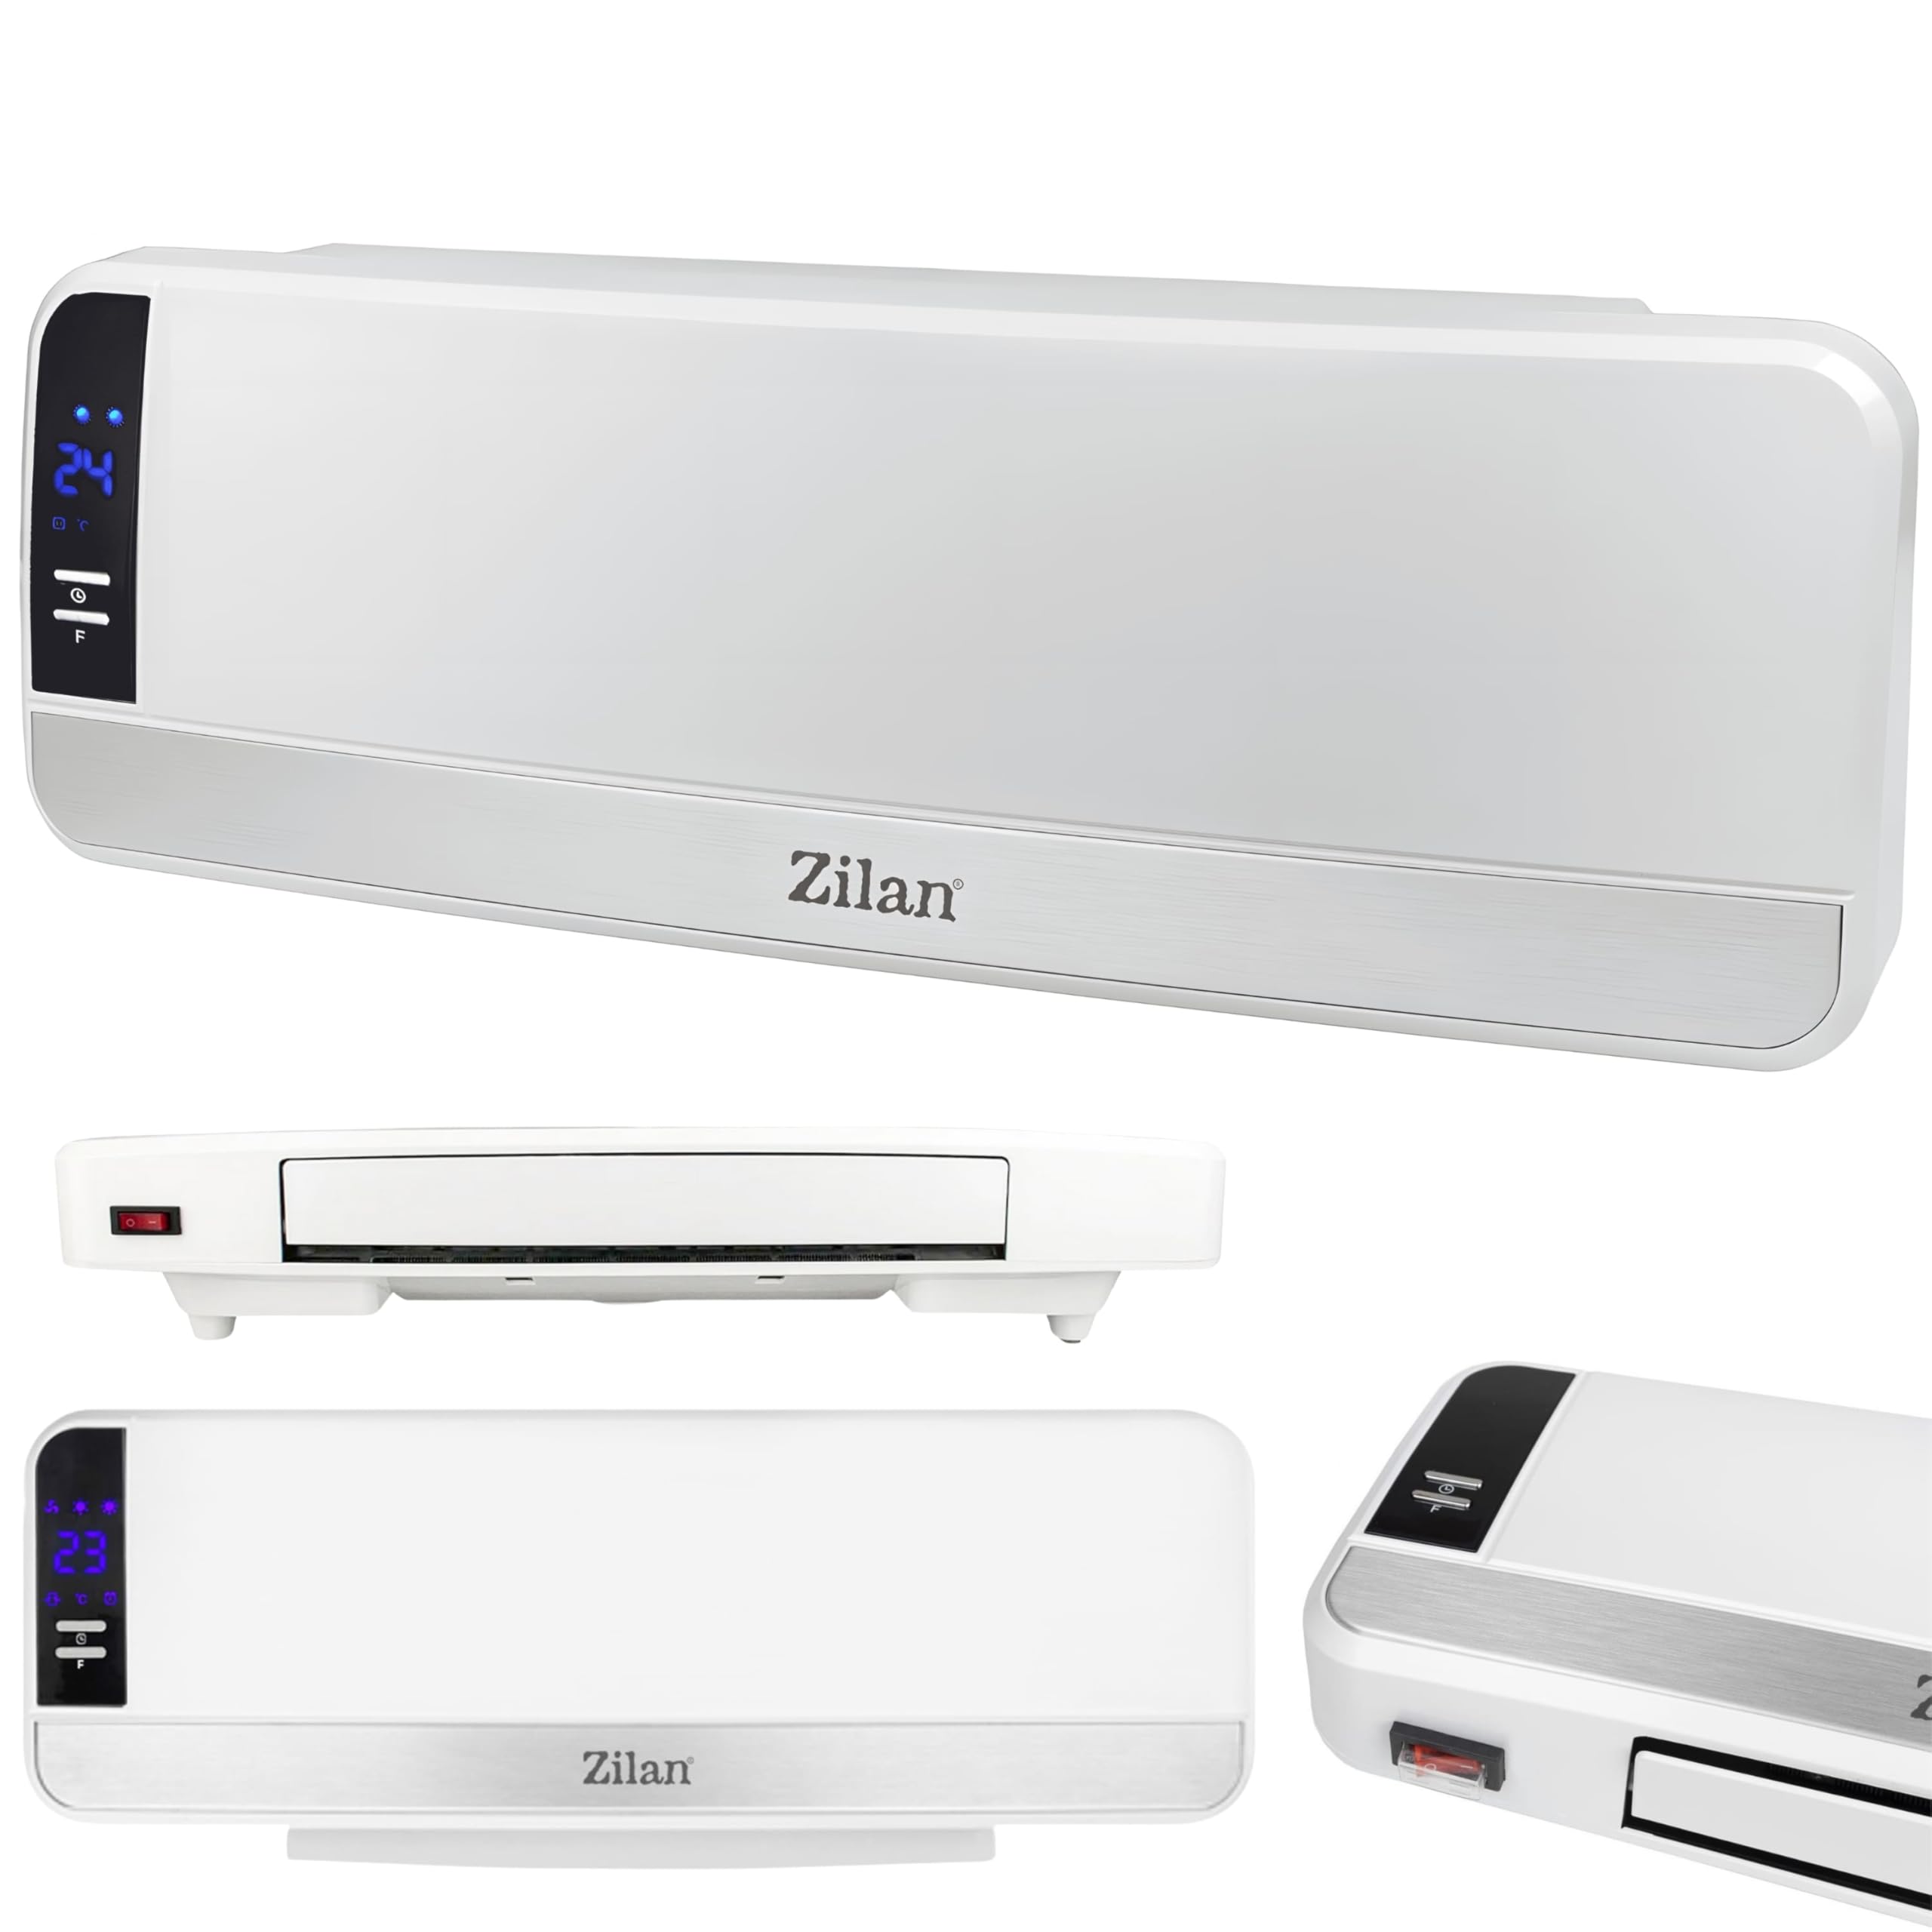
Image 2: The Zilan Ceramic Wall Heater, highlighting its compact dimensions and sleek design when mounted.
5. Instrukcja obsługi
The Zilan Ceramic Wall Heater offers various functions for comfortable and efficient heating.
5.1 Włączanie/wyłączanie
- Press the power button on the unit or the remote control to turn the heater on or off.
5.2 Regulacja poziomów mocy
The heater features two power settings:
- 1000 W: For energy-efficient basic heating.
- 2000 W: For intense heating power during colder conditions.
Use the corresponding buttons on the control panel or remote control to switch between these power levels.
5.3 Inteligentna kontrola temperatury
The automatic temperature control ensures your room maintains the desired comfort temperature. Once the set temperature is reached, the fan heater automatically reduces power or switches off, saving energy.
- Set your desired temperature using the temperature adjustment buttons on the unit or remote control.
- The heater will work to reach and maintain this temperature.

Image 3: The heater in a bedroom setting, illustrating its intelligent temperature control capability.
5.4 Timer Function (12-hour)
The 12-hour timer allows you to flexibly set the heating duration. This is ideal for preheating a room or precisely planning operation time.
- Press the timer button on the remote control or unit.
- Adjust the desired operating time in hours.
5.5 Weekly Timer and Working Hours Planning
For advanced scheduling, the weekly timer function allows you to plan individual heating times for each day of the week. For example, you can set it to heat your bathroom in the morning on weekdays and for longer periods on weekends.
- Refer to the detailed instructions in the included user manual for setting up the weekly timer program.
- This feature ensures the room is warm according to your personal schedule, preventing you from entering a cold space.
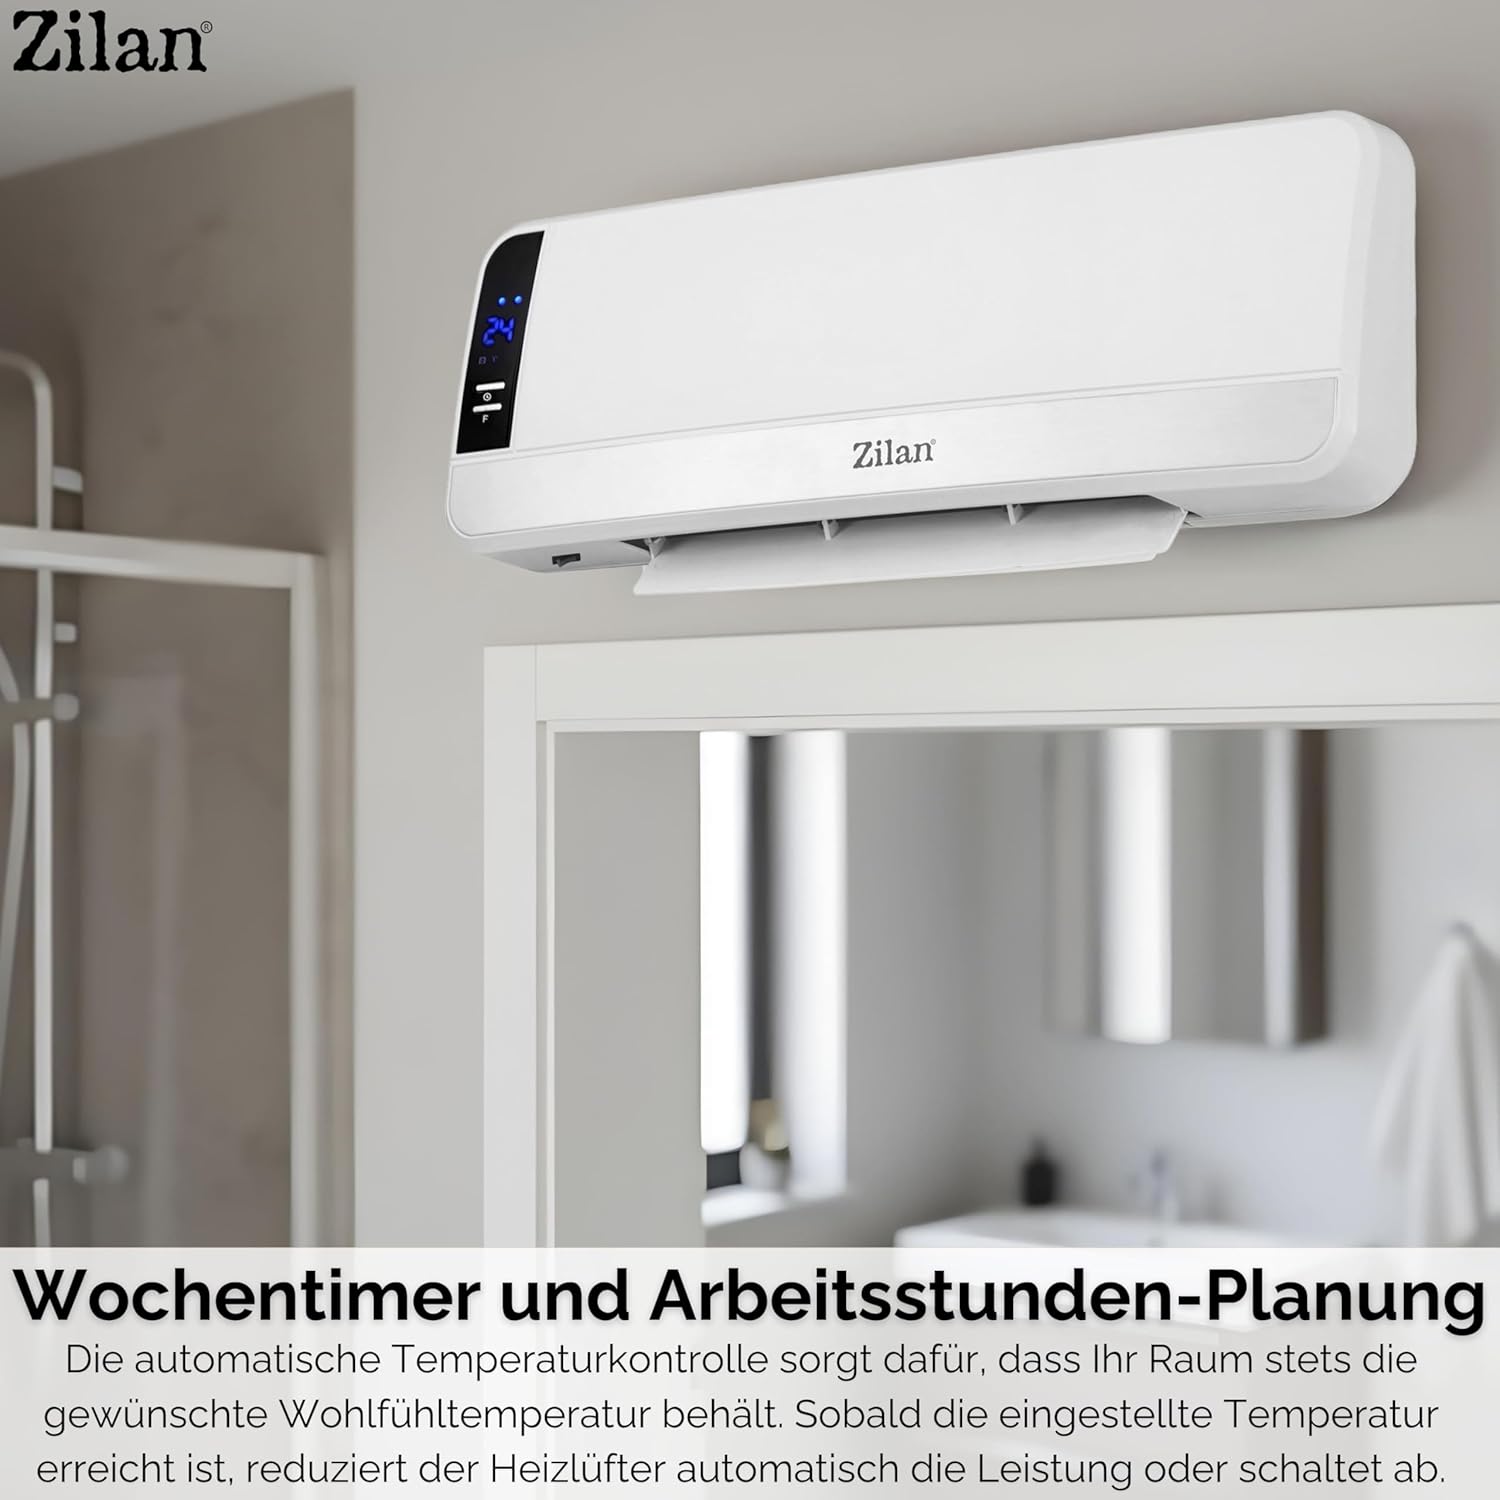
Image 4: The heater in a bathroom setting, highlighting its weekly timer and scheduling capabilities.
5.6 Obsługa pilota zdalnego sterowania
The included remote control allows you to conveniently manage all functions from a distance, whether from your sofa or bathtub. Power level, timer, or temperature settings can all be adjusted easily and intuitively.

Image 5: The remote control for the Zilan Ceramic Wall Heater, detailing its buttons for various functions.
6. Konserwacja
Regular maintenance ensures the longevity and efficient operation of your Zilan Ceramic Wall Heater.
6.1 Czyszczenie
- Przed czyszczeniem należy zawsze odłączyć grzejnik od zasilania i poczekać, aż całkowicie ostygnie.
- Użyj miękkiego, damp Do wycierania zewnętrznych powierzchni grzejnika należy używać ściereczki. Nie należy używać środków czyszczących o właściwościach ściernych ani rozpuszczalników.
- Nie zanurzaj grzejnika w wodzie i nie dopuść do przedostania się wody do jego wnętrza.
- Periodically clean the air intake and exhaust vents with a vacuum cleaner or a soft brush to remove dust and debris.
6.2 Przechowywanie
- If storing the heater for an extended period, unplug it and ensure it is clean and dry.
- Przechowywać w chłodnym i suchym miejscu, najlepiej w oryginalnym opakowaniu.
7. Rozwiązywanie Problemów
If you encounter issues with your Zilan Ceramic Wall Heater, refer to the following common troubleshooting steps:
- Ogrzewanie się nie włącza:
- Sprawdź, czy przewód zasilający jest prawidłowo podłączony do sprawnego gniazdka elektrycznego.
- Sprawdź, czy zadziałał wyłącznik automatyczny.
- Verify the power button on the unit or remote control has been pressed.
- Ogrzewanie nieoczekiwanie przestaje działać:
- The overheating protection may have activated. Unplug the heater, allow it to cool down for at least 30 minutes, and check for any blocked air vents before plugging it back in.
- Check if the timer function has turned the unit off.
- Niewystarczająca moc grzewcza:
- Ensure the heater is set to the 2000W power level for maximum output.
- Check if the desired temperature setting is higher than the current room temperature.
- Upewnij się, że żadne przedmioty nie blokują otworów wentylacyjnych.
- Pilot nie działa:
- Sprawdź i w razie potrzeby wymień baterie w pilocie.
- Ensure there are no obstructions between the remote control and the heater's receiver.
Jeśli po wypróbowaniu tych kroków problem nadal występuje, skontaktuj się z obsługą klienta.
8. Specyfikacje
| Numer modelu | 2090 |
| Marka | Zilan |
| Poziomy mocy | 1000 W / 2000 W |
| Element grzejny | Ceramiczny (PTC) |
| Kontrola temperatury | Automatyczny |
| Funkcja timera | 12 hours + Weekly Program |
| Klasa ochrony | IPX22 (odporność na zachlapanie) |
| Funkcje bezpieczeństwa | Zabezpieczenie przed przegrzaniem |
| Montowanie | Wall-mounted (mounting material included) |
| Działanie | Remote Control & Integrated Control Panel |
| Wymiary (dł. x gł. x wys.) | 56 x 12 x 20 cm (ok. 22 x 4.7 x 7.9 cala) |
| Długość kabla | Około 145 cm (około 57 cala) |
| Zasilacz | 220-240 V, 50/60 Hz |
| Kolor | Biały / srebrny |
9. Gwarancja i wsparcie
For warranty information or technical support, please refer to the specific warranty card included with your product or contact the retailer/manufacturer directly. Keep your purchase receipt as proof of purchase.
Manufacturer: Zilan