
1. Wprowadzenie
Thank you for choosing the REOLINK Argus Track 4K Dual-Lens Solar Security Camera. This manual provides essential information for setting up, operating, and maintaining your camera to ensure optimal performance and security. The Argus Track camera offers advanced features including 4K dual-lens video, auto-zoom tracking, smart AI detection, color night vision, and is powered by a 6W solar panel for continuous operation without subscriptions.
2. Zawartość opakowania
Sprawdź, czy w pakiecie znajdują się wszystkie komponenty:
- Kamera torowa REOLINK Argus
- Panel słoneczny 6W
- Zestaw śrub montażowych
- Kabel USB
- Instrukcja obsługi (ten dokument)
3. Koniec produktuview
The REOLINK Argus Track is a versatile 4K dual-lens security camera designed for both indoor and outdoor use. It features a wide-angle lens and a zoom lens, enabling comprehensive coverage and detailed close-ups. The camera is powered by a solar panel, ensuring continuous operation.
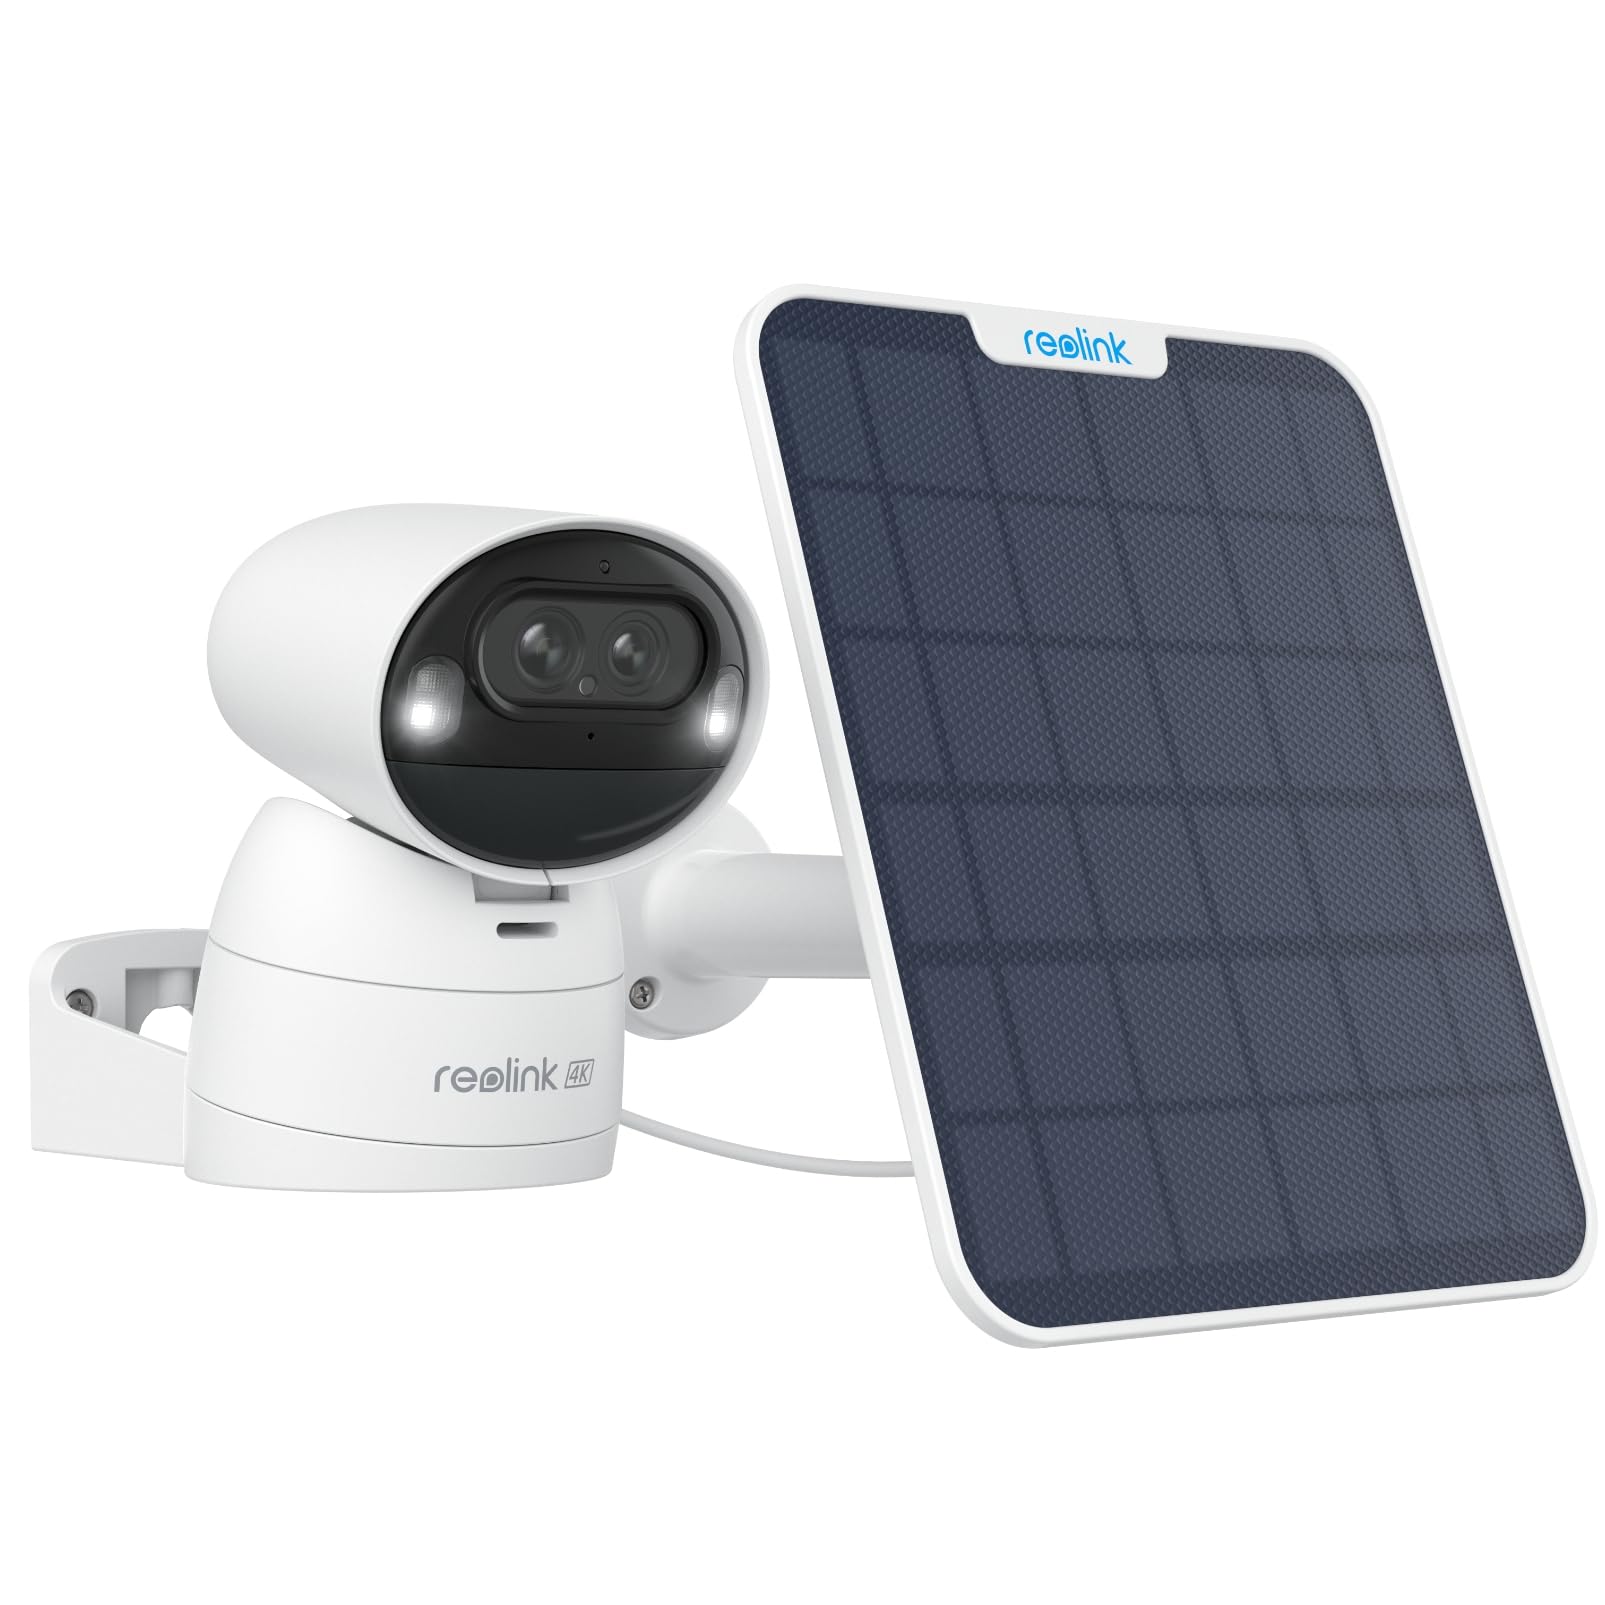
Obraz: Przód view of the REOLINK Argus Track 4K Dual-Lens Solar Security Camera with its accompanying solar panel.
Wideo: Ponadview of the Reolink Argus Track camera and solar panel, highlighting its key features and design.
Komponenty kamery
- Podwójne soczewki: One wide-angle 4K lens and one 2MP zoom lens for hybrid zoom and auto-tracking.
- Czujnik ruchu: Detects movement for smart alerts.
- Mikrofon i głośnik: Do dwukierunkowej komunikacji audio.
- Reflektory: Enable color night vision.
- Port USB-C: For charging and connecting the solar panel.
- Gniazdo kart microSD: Do przechowywania lokalnego (obsługuje do 128 GB, karta nie jest dołączona).
- Przycisk resetowania: Aby przywrócić ustawienia fabryczne.
- Przycisk zasilania: Aby włączyć/wyłączyć kamerę.

Image: The back of the REOLINK Argus Track camera, displaying the QR code for setup, serial number (S/N: WLBE246A000484), power button, and USB-C port. The QR code is used for initial setup with the Reolink app.
4. Konfiguracja
4.1 Początkowa aktywacja kamery
- Naładuj aparat: Before initial use, fully charge the camera using the provided USB cable or by connecting it to the solar panel under direct sunlight.
- Włóż kartę MicroSD (opcjonalnie): If local storage is desired, open the protective cover on the camera's underside and insert a microSD card (up to 128GB, not included) into the designated slot.
- Włączanie: Press and hold the power button located under the protective cover to turn on the camera. You will hear a startup chime.
4.2 Instalacja i konfiguracja aplikacji
- Pobierz aplikację Reolink: Download and install the "Reolink" app from your smartphone's app store (iOS or Android).
- Dodaj urządzenie: Open the Reolink app, tap the "+" icon in the top right corner, and scan the QR code located on the back of your camera.
- Połączenie internetowe: Follow the in-app instructions to connect the camera to your 2.4GHz or 5GHz Wi-Fi network. Ensure your Wi-Fi signal is strong at the camera's intended installation location.
- Set Up Password: Utwórz silne hasło do swojej kamery.
- Na żywo View: Po połączeniu możesz uzyskać dostęp do transmisji na żywo view aparatu.
4.3 Montaż kamery i panelu słonecznego
The camera can be mounted indoors or outdoors. Choose a location with optimal Wi-Fi signal and direct sunlight exposure for the solar panel.
- Wybierz lokalizację: Identify a suitable mounting spot for the camera and the solar panel. The solar panel should receive several hours of direct sunlight daily.
- Zainstaluj uchwyt: Use the provided mounting screws to securely attach the camera mount to a wall or ceiling.
- Podłącz kamerę: Secure the camera to the installed mount. The camera's image can be flipped in the app if mounted upside down.
- Zainstaluj panel słoneczny: Mount the 6W solar panel in a location that maximizes sun exposure. Connect the solar panel cable to the camera's USB-C port. The long cable allows for flexible placement.

Image: The REOLINK Argus Track camera installed on an outdoor wall, connected to its solar panel for continuous power.

Obraz: Byłyamples of flexible installation for the REOLINK Argus Track camera, showing it mounted on a wall, under an eave, and on a pole with the solar panel.
5. Instrukcja obsługi
5.1 Na żywo View i odtwarzanie
Uzyskaj dostęp do transmisji wideo na żywo i nagranego footage through the Reolink app or client software on your smartphone or computer.
- Na żywo View: Otwórz aplikację i wybierz kamerę, aby view transmisja w czasie rzeczywistym.
- Odtwarzanie nagranego dźwięku: Przejdź do sekcji odtwarzania, aby ponownieview recorded events stored on the microSD card.

Image: The Reolink app interface displayed on a smartphone, tablet, and computer, demonstrating multi-platform access to the camera feed.
5.2 Sterowanie obrotem, pochyleniem i powiększeniem (PTZ)
Zdalne sterowanie kamerą viewing angle and zoom level via the app.
- Panoramowanie/pochylanie: Use the directional controls in the app to rotate the camera horizontally (pan up to 355°) and vertically (tilt up to 50°).
- Brzęczenie: Utilize the digital zoom function or rely on the camera's 6x hybrid zoom for detailed views.
- Punkty predefiniowane: Ustaw do 32 ustawień wstępnych viewing points for quick navigation to specific areas.

Image: The REOLINK Argus Track camera illustrating its pan and tilt capabilities, along with the concept of setting up to 32 preset points for monitoring key areas.
5.3 Auto-Tracking and Auto-Zoom
The camera can automatically track detected objects and zoom in for clarity.
- Enable Auto Tracking: In the app settings, navigate to "Detection Alarm" and enable "Auto Tracking."
- Set Tracking Type: Choose to track "Person," "Vehicle," or both.
- Strefa detekcji: Define specific areas for motion detection to minimize false alarms.
- Wrażliwość: Adjust sensitivity levels for person and vehicle detection.
Video: A demonstration of how to set up auto-tracking in the Reolink app, showing the steps to enable the feature and select tracking types for persons and vehicles.

Image: The REOLINK Argus Track camera demonstrating its auto-tracking and auto-zoom capabilities, showing a wide view i powiększone view pojazdu.
6. Funkcje
6.1 4K Dual-Lens, Dual-View & 6X Hybrid Zoom
Experience superior clarity with 4K resolution from the wide-angle lens, complemented by a dedicated 2MP lens for sharp, zoomed-in views. The 6x hybrid zoom ensures no detail is missed, whether near or far.

Obraz: Zbliżenie view of the REOLINK Argus Track camera's dual lenses, highlighting the 4K wide-angle lens and the auto-tracking zoom lens.
6.2 100% Wireless & 6W Solar Panel
Enjoy complete freedom from wires with battery power and a robust 6W solar panel for continuous charging. The camera supports 2.4/5GHz Wi-Fi, offering flexible installation anywhere.

Image: The REOLINK 6W solar panel connected to the camera, illustrating its efficient charging capability under sunlight.
6.3 Inteligentne wykrywanie sztucznej inteligencji
Advanced AI technology accurately identifies people, vehicles, and animals, sending instant alerts to your smartphone and significantly reducing false alarms.

Image: The REOLINK Argus Track camera demonstrating its smart AI detection, highlighting the recognition of a person, a vehicle, and an animal within the camera's view.
6.4 4K Color Night Vision & Remote Pan/Tilt
Capture vivid, detailed footage day and night with 4K color night vision, enhanced by motion-activated spotlights. Remotely pan and tilt the camera to monitor larger areas and track movement effectively.

Image: A comparison showing the REOLINK Argus Track camera's color night vision with spotlights activated, providing clear and detailed footage w warunkach słabego oświetlenia.
6.5 Local Storage & No Subscription
Przechowuj swoje jedzenietage locally on a microSD card (up to 128GB) without any monthly fees. Your data remains private and accessible directly from the camera.

Image: An illustration representing the local storage capability of the REOLINK camera via an SD card, emphasizing no monthly fees or hub requirements.
6.6 Integracja inteligentnego domu
The REOLINK Argus Track camera is compatible with smart home ecosystems like Amazon Alexa and Google Assistant, allowing for convenient voice control and integration into your smart home routines.

Image: The REOLINK camera integrated with a smart home display, showing compatibility with Google Assistant for hands-free control.
7. Konserwacja
- Czyste soczewki: Aby zapewnić doskonałą jakość obrazu, należy regularnie czyścić obiektywy aparatu miękką, suchą ściereczką.
- Sprawdź panel słoneczny: Ensure the solar panel is free from dirt, dust, or obstructions to maintain optimal charging efficiency.
- Aktualizacje oprogramowania układowego: Check the Reolink app periodically for firmware updates to ensure your camera has the latest features and security enhancements.
- Stan baterii: Monitor battery levels in the app. If the camera is not charging effectively, check the solar panel's placement and cleanliness.
8. Rozwiązywanie Problemów
| Problem | Rozwiązanie |
|---|---|
| Kamera się nie włącza. | Ensure the camera is fully charged. Press and hold the power button for a few seconds. |
| Nie można połączyć się z siecią Wi-Fi. | Verify Wi-Fi password. Ensure the camera is within range of your router. Try resetting the camera and re-pairing. The camera supports both 2.4GHz and 5GHz Wi-Fi. |
| Niska jakość obrazu. | Clean the camera lenses. Ensure sufficient lighting. Check network connection stability. |
| Auto-tracking not working correctly. | Ensure auto-tracking is enabled in the app settings. Adjust detection zones and sensitivity. Ensure there are no obstructions in the camera's view. Note that tracking performance might vary in very low light conditions with spotlights. |
| Panel słoneczny nie ładuje się. | Ensure the solar panel is installed in direct sunlight and free from obstructions. Check the connection cable between the solar panel and the camera. |
| Frequent "device disconnected" messages. | Check your Wi-Fi signal strength at the camera's location. Restart your router and the camera. Ensure the Reolink app is updated to the latest version. |
9. Specyfikacje
| Funkcja | Szczegół |
|---|---|
| Nazwa modelu | Tor Argus |
| Rozdzielczość wideo | 4K (8 MP) |
| Łączność | Wireless (2.4GHz/5GHz Wi-Fi) |
| Źródło zasilania | Solar Powered / Battery Powered (5V, 6W) |
| Cechy specjalne | 4K Dual-Lens, Auto-Zoom Tracking, Color Night Vision, PTZ Technology, Smart AI Detection (Person, Vehicle, Animal) |
| Zakres obrotu/pochylenia | Obrót o 355°, pochylenie o 50° |
| Zoom optyczny | 6-krotny zoom hybrydowy |
| Zakres noktowizora | Up to 33 feet (with spotlights) |
| Pamięć lokalna | Karta microSD (do 128 GB) |
| Odporność na wodę | IP65 atmosferyczne |
| Wymiary | 3.33 x 3.3 x 4.64 cala |
| Kompatybilne urządzenia | Smartfon (iOS/Android), Amazon Alexa, Asystent Google |
10. Gwarancja i wsparcie
REOLINK products typically come with a limited warranty. For specific warranty details, please refer to the warranty card included in your package or visit the official REOLINK website. For technical support, product registration, or further assistance, please contact REOLINK customer service or visit their support portal.
- Urzędnik Webstrona: www.reolink.com
- Wsparcie: Informacje kontaktowe znajdują się na oficjalnej stronie internetowej webstrona z opcjami pomocy.


