
Abovsare 6677R
Abovsare Digital Wall Clock Model 6677R Instruction Manual
Comprehensive guide for setup, operation, and maintenance of your digital wall clock.
Wstęp
Thank you for choosing the Abovsare Digital Wall Clock Model 6677R. This manual provides detailed instructions to help you set up and operate your new clock. This clock features a large LED display, multiple color options, ambient lighting, and various functions including an alarm, date, week, and temperature display. Please read this manual carefully before use and retain it for future reference.
Główne cechy
- Crisp LED Display: 12-inch HD screen shows time, date, weekday, temperature, and seconds.
- 11 opcje kolorów: Choose from 7 solid colors + 4 dynamic RGB numbers for the main display.
- 9 Ambient Light Modes: Base features 8 solid colors + 1 dynamic RGB nightlight for customizable ambiance.
- 10-stopniowa regulacja jasności: Manual dimming (10 settings) or auto-brightness with a light sensor.
- Time/Calendar Auto-Scroll: Can alternate between temperature and calendar displays.
- Automatyczny czas letni: Self-adjusts for Daylight Saving Time in March/November.
- Wall/Tabletop Versatile: Designed for both wall mounting and desktop placement.
- Kopia zapasowa pamięci: Built-in memory preserves settings during power outages (requires 2xAAA backup batteries, not included, for memory only).
- Funkcja timera: Count up/down (max 99:99) with remote control.
Zawartość opakowania
Proszę sprawdzić, czy w paczce znajdują się następujące elementy:
- Abovsare Digital Wall Clock Model 6677R
- Zasilacz
- Kabel zasilający USB
- Zdalne sterowanie
- Instrukcja obsługi
Note: 2xAAA batteries for memory backup are not included and must be purchased separately.
Organizować coś
- Zainstaluj baterie zapasowe: Open the battery compartment on the back of the clock. Insert 2 AAA batteries (not included) to enable the memory backup function. These batteries will preserve your settings during a power outage but will not power the clock for display.
- Podłącz zasilanie: Connect the provided USB power cable to the clock and then to the power adapter. Plug the adapter into a standard electrical outlet. The clock display will illuminate.
- Początkowe umiejscowienie: Decide whether to wall-mount the clock using the integrated keyholes or place it on a flat surface using the built-in stand.
- Konfiguracja pilota zdalnego sterowania: Ensure the remote control has working batteries (usually a button cell, check remote for specifics). The remote is essential for accessing all clock functions.

Obraz: Tył view of the clock, highlighting the battery compartment for memory backup and the power input port. The clock requires 2xAAA batteries for memory backup, which are not included.
Instrukcja obsługi
1. Wyświetlanie czasu i daty
The clock automatically displays time, date, weekday, temperature, and seconds. Use the remote control to adjust settings.

Image: The digital wall clock showing the time (10:20 PM), temperature (68°F), and seconds (35), along with the day of the week (Mon). A power cord is visible, indicating it must be plugged in.
2. Adjusting Display Colors
The clock offers 11 color options for the main display. Use the remote control to cycle through 7 solid colors and 4 dynamic RGB modes.
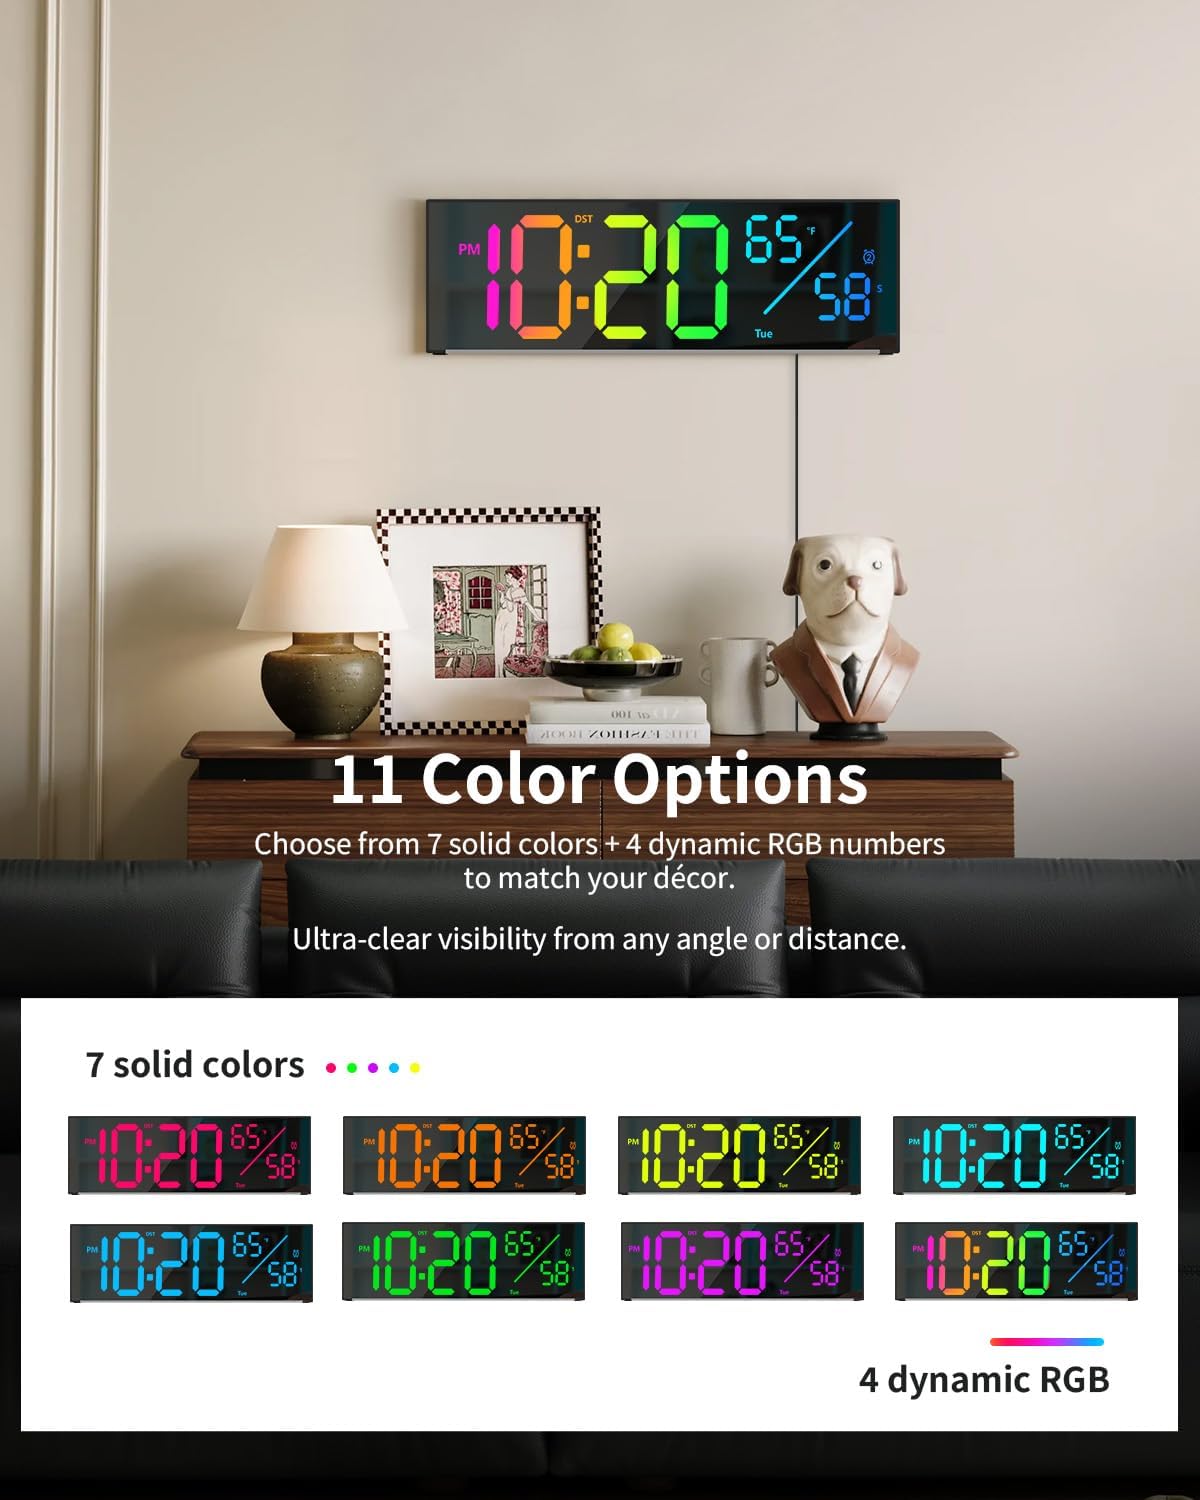
Image: The digital wall clock displaying the time with different color combinations, illustrating the 11 color options available for the main numbers.
3. Ambient Light Modes
The base of the clock features 9 ambient light modes, including 8 solid colors and 1 dynamic RGB nightlight. These can be controlled via the remote to create different atmospheres.
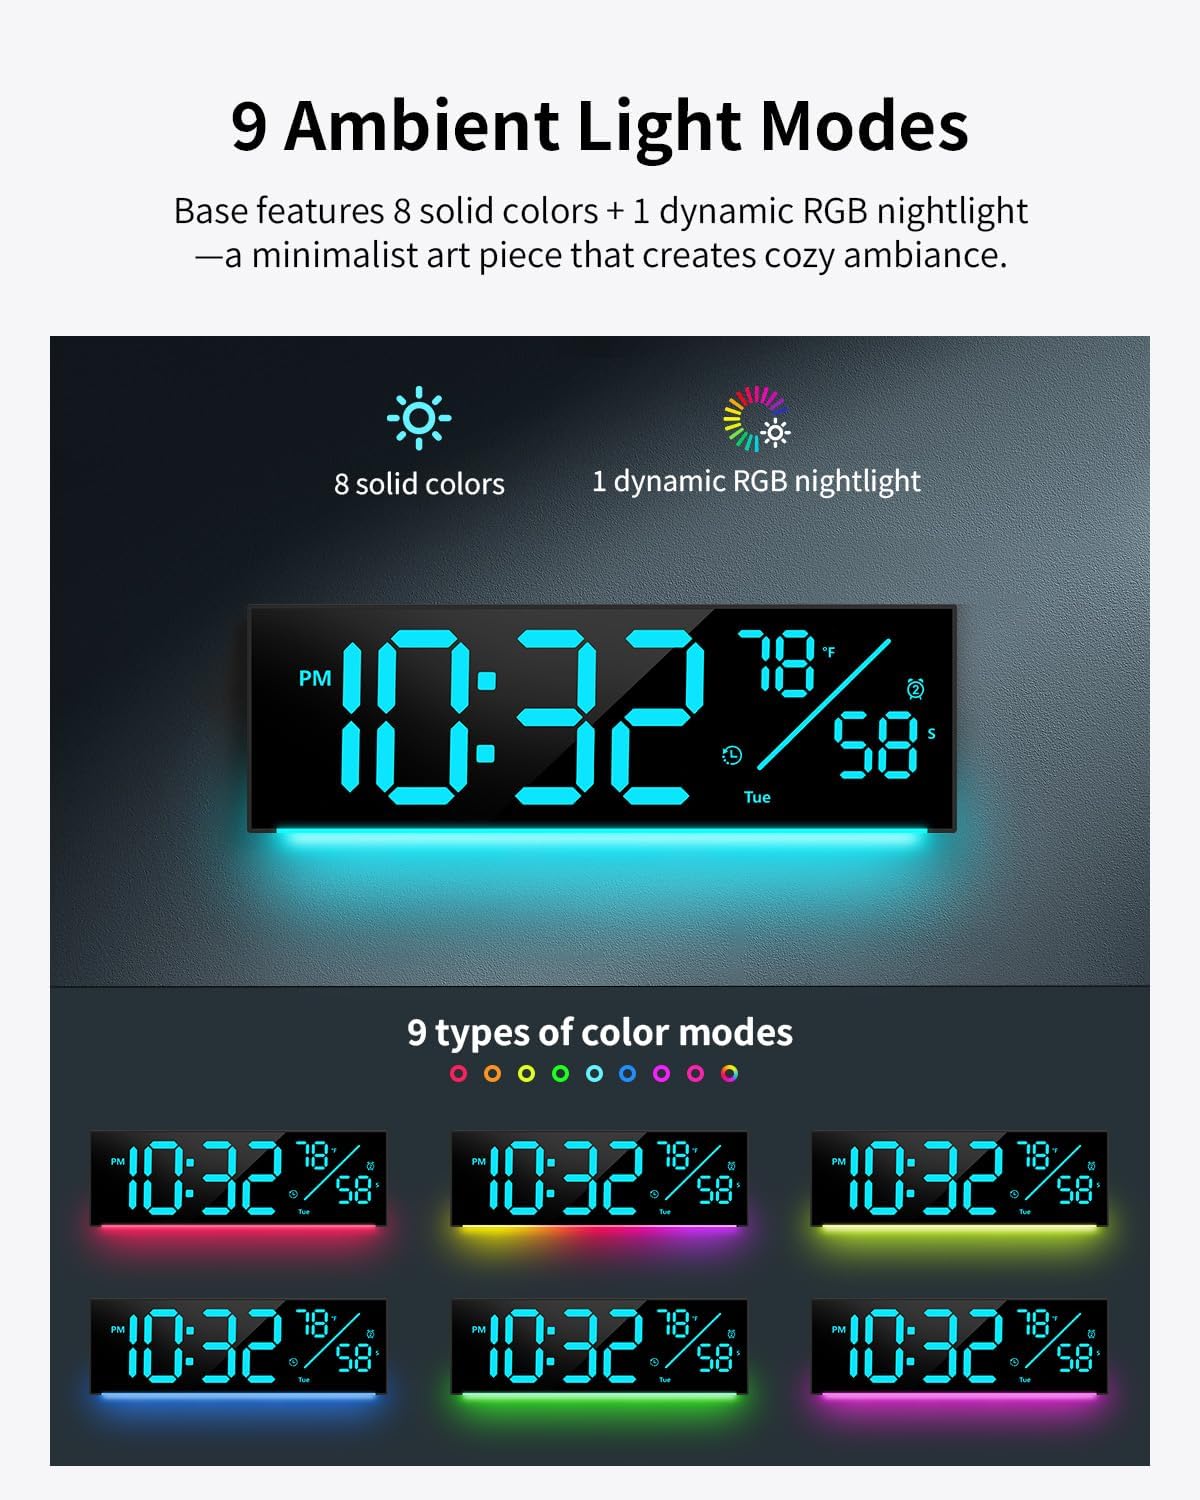
Image: The digital wall clock showcasing different ambient light colors projected from its base onto the surface below, demonstrating the 9 available ambient light modes.
4. Regulacja jasności
Adjust the display brightness manually with 10 settings or enable the auto-brightness feature, which uses a light sensor to adapt to ambient light conditions.
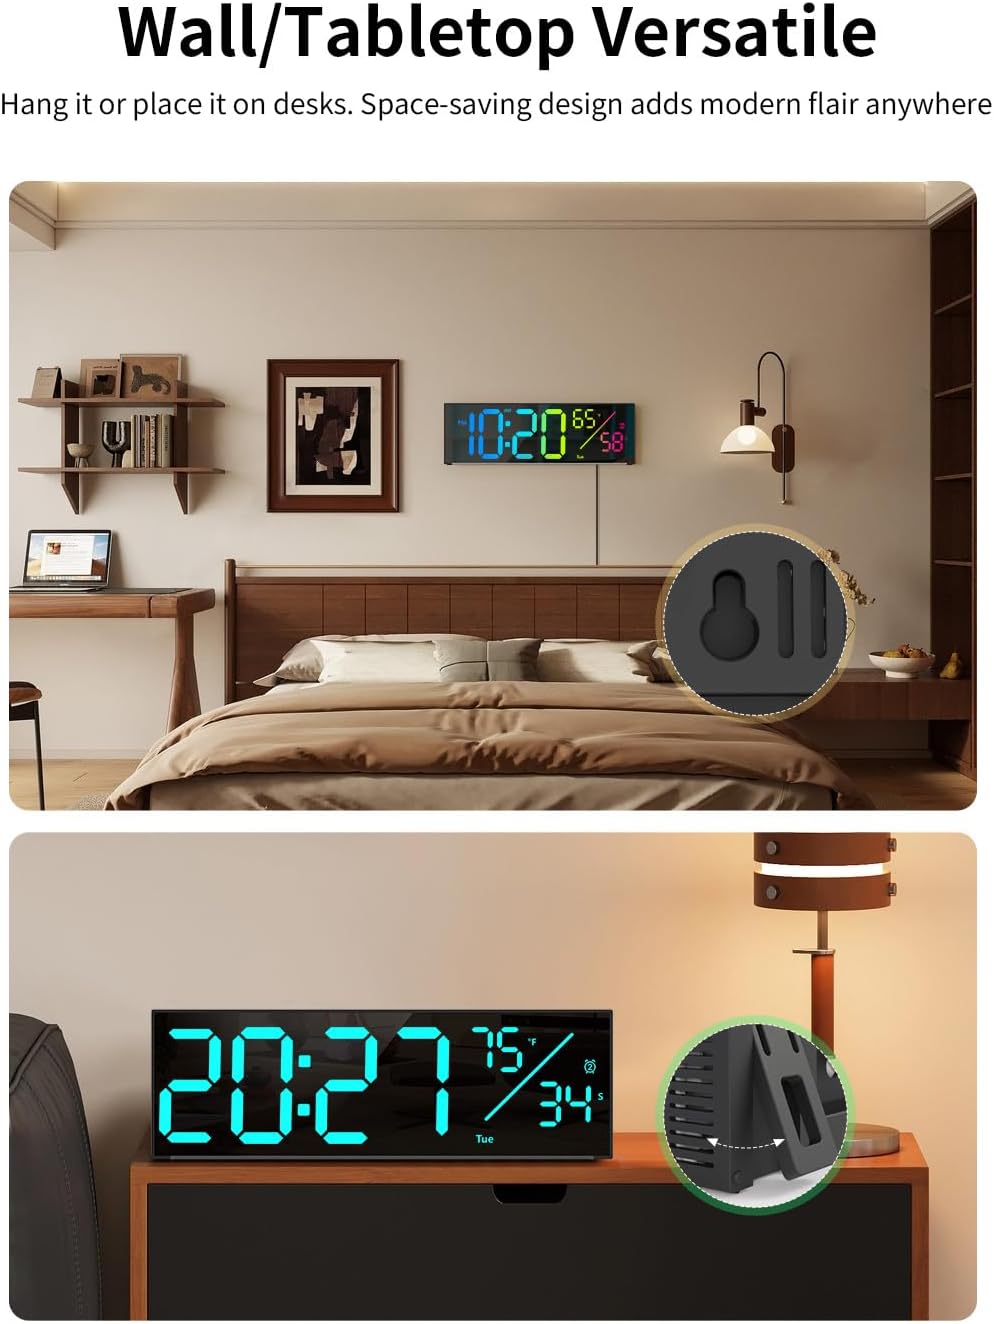
Image: A split image showing the clock at various manual brightness levels (100%, 75%, 50%, 25%) and an illustration of the auto-brightness feature adjusting the display based on ambient light.
5. Time/Calendar Auto-Scroll and DST
The clock can be set to automatically alternate between displaying the time with temperature and the time with the calendar (date and day of the week). It also supports automatic adjustment for Daylight Saving Time (DST) in March and November.

Image: Two clock displays side-by-side. One shows time and temperature, the other shows time and date, illustrating the auto-scroll feature between these two display modes.
6. Funkcja timera
Utilize the remote control to activate the count-up or count-down timer function, with a maximum setting of 99 minutes and 99 seconds. This is useful for various activities like cooking or workouts.

Image: The digital wall clock showing '00:00' for the timer function, with a hand holding the remote control. A person is seen exercising in the background, suggesting its use for workouts.
7. Wall/Tabletop Versatility
The clock is designed for flexible placement. It can be easily mounted on a wall using the integrated keyholes or placed on a desk or shelf using its stable built-in stand.

Image: A split image showing the digital wall clock both mounted on a wall in a bedroom setting and placed on a tabletop, demonstrating its versatile placement options.
8. Power-Outage Memory Backup
The clock features a memory backup system that retains your settings (time, alarm, etc.) during a power outage, provided 2xAAA batteries are installed. These batteries are for memory retention only and do not power the display.
Video: This video demonstrates the Abovsare Digital Wall Clock's large display and various features, including color options and ambient lighting. It highlights the clock's functionality and aesthetic appeal in different settings.
Konserwacja
- Czyszczenie: Use a soft, dry cloth to clean the clock's surface. Do not use abrasive cleaners or solvents, as they may damage the finish or display.
- Moc: Ensure the clock is always connected to a stable power source. Avoid exposing the power cable to excessive bending or pressure.
- Środowisko: Keep the clock away from direct sunlight, extreme temperatures, and high humidity to ensure optimal performance and longevity.
- Wymiana baterii: Replace the AAA backup batteries annually or when you notice settings are not retained during power interruptions.
Rozwiązywanie problemów
| Problem | Możliwa przyczyna | Rozwiązanie |
|---|---|---|
| Wyświetlacz zegara jest wyłączony. | Brak podłączenia zasilania. | Upewnij się, że zasilacz jest prawidłowo podłączony do zegara i do sprawnego gniazdka elektrycznego. |
| Ustawienia zostaną utracone po wyłączeniu zasilaniatage. | Baterie zapasowe są rozładowane lub nie zostały zainstalowane. | Włóż 2 nowe baterie AAA do komory baterii. |
| Pilot nie działa. | Remote batteries are dead or obstructed. | Replace the remote control battery. Ensure there are no obstructions between the remote and the clock. |
| Wyświetlacz jest zbyt ciemny lub zbyt jasny. | Wymagana jest regulacja jasności. | Use the remote control to manually adjust the brightness or enable auto-brightness mode. |
Specyfikacje
- Marka: Abovsare
- Numer modelu: 6677R
- Typ wyświetlacza: PROWADZONY
- Rozmiar ekranu: 12 cali
- Wymiary produktu: 11.2" szer. x 3.6" wys.
- Źródło zasilania: Corded Electric (5V 2A adapter included)
- Baterie zapasowe: 2 AAA batteries (not included, for memory only)
- Tworzywo: Plastikowy
- Typ montażu: Wall Mount / Tabletop Versatile
- Cechy szczególne: 11 Color Options, 9 Ambient Light Modes, Calendar Display, Memory Backup, Timer Function, Alarm Clock, Auto-DST
- Zastosowanie wewnątrz/na zewnątrz: Wnętrz
Gwarancja i wsparcie
For warranty information or technical support, please refer to the contact details provided on the product packaging or reach out to Abovsare customer service through your retailer's platform. Keep your purchase receipt as proof of purchase.
Ask a question about this manual
Ask about setup, troubleshooting, compatibility, parts, safety, or missing instructions. Manuals+ will review the question and use this page’s manual context to help answer it.