
1. Wprowadzenie
This manual provides comprehensive instructions for the safe and efficient installation, operation, and maintenance of your ErGear Single Monitor Arm, Model EGDMA69B. Please read this manual thoroughly before installation and retain it for future reference.

Image 1.1: ErGear Single Monitor Arm, Model EGDMA69B.
2. Informacje dotyczące bezpieczeństwa
Aby zapobiec obrażeniom ciała lub uszkodzeniu produktu, należy zawsze przestrzegać poniższych wytycznych bezpieczeństwa:
- Nie przekraczać maksymalnego udźwigu 9 kg (19.8 funtów).
- Ensure your monitor's VESA pattern is compatible (75x75mm or 100x100mm).
- Sprawdź, czy grubość Twojego biurka mieści się w określonym zakresie dla C-clamp (0.99 cm – 6.5 cm) or grommet base (0.99 cm – 7.5 cm).
- Perform installation with care, preferably with assistance for heavier monitors.
- Podczas instalacji należy trzymać dzieci i zwierzęta z daleka.
- Tighten all screws securely, but do not overtighten to avoid stripping threads.
3. Zawartość opakowania
Before installation, ensure all parts are present and undamaged. Refer to the included parts list in your product packaging for detailed component identification.
4. Specyfikacje
| Funkcja | Specyfikacja |
|---|---|
| Numer modelu | EGDMA69B |
| Kompatybilny rozmiar ekranu | 13 - 34 cali |
| Maksymalna nośność | 9 kg (19.8 funta) |
| Zgodność ze standardem VESA | 75x75mm, 100x100mm |
| Zakres pochylenia | +80° / -50° |
| Zakres obrotu | ±90° |
| Obrót | 360° |
| Maksymalna regulacja wysokości | Do 445 mm (17.5 cala) |
| Maksymalne rozszerzenie | Do 460 mm (18.1 cala) |
| Grubość biurka (C-clamp) | 0.99cm–6.5cm |
| Grubość biurka (przelotka) | 0.99cm–7.5cm |
| Tworzywo | Aluminium |

Obraz 4.1: Zgodnośćview for monitor size, VESA patterns, and maximum load.
5. Konfiguracja i instalacja
5.1 Desk Compatibility Check
Before installation, ensure your desk is compatible with the chosen mounting method. The arm supports both C-clamp and grommet hole mounting.
- C klamp: Suitable for desk thickness between 0.99 cm and 6.5 cm.
- Otwór przelotowy: Suitable for desk thickness between 0.99 cm and 7.5 cm.
- Ensure there is sufficient space and a flat surface under your table for secure attachment.

Image 5.1: Two mounting options: C-clamp and Grommet Hole, with specified desk thickness ranges.

Image 5.2: Detailed desk compatibility check, including contact surface width, height, and overall width requirements.
5.2 Mounting the Arm to the Desk
Choose either the C-clamp or grommet base method based on your desk type and preference.
- Dla C-clamp montowanie: Dołącz C-klamp to the edge of your desk and tighten the knob until secure.
- For Grommet Hole mounting: Insert the grommet base through an existing hole in your desk and secure it from underneath with the provided hardware.

Image 5.3: The three-step fast setup process, showing desk clamp, arm attachment, and VESA plate mounting.
5.3 Attaching the VESA Plate to Your Monitor
The ErGear monitor arm features a tool-free VESA mounting plate for quick attachment.
- Ensure your monitor has VESA holes (75x75mm or 100x100mm). If your monitor has a stand, remove it first.
- Dopasuj płytkę VESA do otworów montażowych znajdujących się z tyłu monitora.
- Secure the VESA plate to the monitor using the provided screws. The design allows for tool-free attachment to the arm.

Image 5.4: Illustration of tool-free VESA mounting, highlighting ease of installation compared to traditional methods.

Image 5.5: Guidance on identifying VESA holes on your monitor and options for monitors without VESA compatibility.
5.4 Attaching the Monitor to the Arm
Once the VESA plate is secured to your monitor, slide the monitor onto the arm's VESA head until it clicks into place. Ensure it is firmly seated.
6. Obsługa i regulacje
6.1 Full Motion Flexibility
The monitor arm offers extensive adjustability to achieve your ideal viewing angle and ergonomic position. It supports:
- Regulacja wysokości: Up to 17.5 inches (445mm).
- Zasięg: Up to 18.1 inches (460mm).
- Przechylenie: +80° / -50° for optimal vertical angle.
- Obracać: ±90° for horizontal screen orientation.
- Obrót: 360° for landscape or portrait mode.

Image 6.1: Visual representation of the arm's maximum height, extension, tilt, swivel, and rotation capabilities.

Image 6.2: Illustration of how the monitor arm's extension changes based on monitor size (24", 27", 32").
6.2 Regulacja naprężenia
The gas spring mechanism requires tension adjustment to properly support your monitor's weight. Use the provided Allen key to adjust the tension screw on the arm.
- Hold the arm in a horizontal position.
- Obróć śrubę clockwise (+) if the monitor drops down.
- Obróć śrubę counter-clockwise (-) if the monitor rises up or is difficult to push down.
- Adjust until the monitor stays in place at any desired height.

Image 6.3: Step-by-step guide for adjusting the arm's tension to match your monitor's weight.
6.3 Zarządzanie kablami
Integrated cable clips help keep your workspace tidy. Route your monitor and power cables through the clips along the arm for a clean setup.
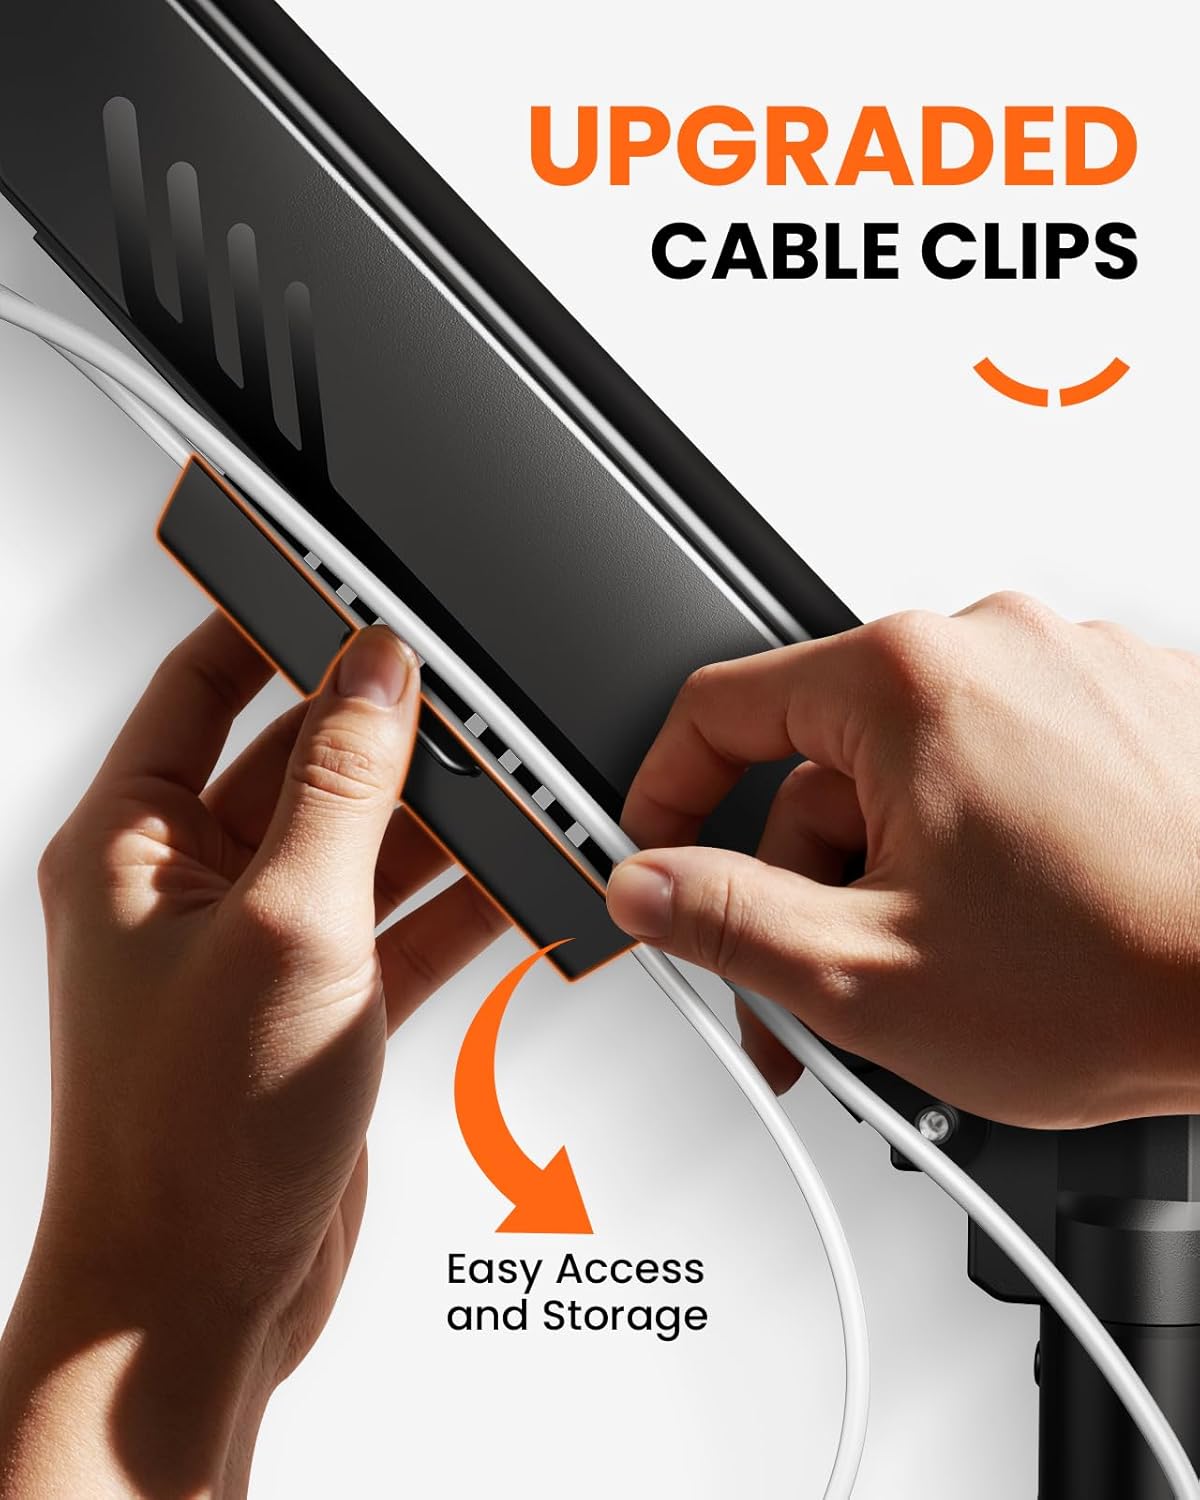
Image 6.4: Demonstration of the upgraded cable clips for easy cable organization.
7. Konserwacja
To ensure the longevity and optimal performance of your ErGear Single Monitor Arm:
- Regularly check all screws and connections for tightness. Retighten if necessary.
- Clean the arm with a soft, damp szmatką. Unikaj środków czyszczących o działaniu ściernym i rozpuszczalników.
- Do not lubricate the gas spring mechanism unless specifically instructed by customer support.
8. Rozwiązywanie Problemów
Jeśli masz problemy z ramieniem monitora, zapoznaj się z poniższymi typowymi problemami i ich rozwiązaniami:
- Monitor opada lub nie utrzymuje się na żądanej wysokości: The gas spring tension needs adjustment. Refer to Section 6.2 (Tension Adjustment) and use the provided Allen key to increase tension (turn clockwise).
- Monitor rises too easily or is difficult to push down: The gas spring tension is too high. Refer to Section 6.2 (Tension Adjustment) and use the provided Allen key to decrease tension (turn counter-clockwise).
- Arm feels wobbly: Upewnij się, że wszystkie śruby montażowe (na biurku)amp/grommet base and VESA plate) are securely tightened. Check desk stability.
- Cannot attach monitor to VESA plate: Verify your monitor's VESA pattern matches the arm's compatibility (75x75mm or 100x100mm). Ensure no obstructions are present on the monitor's back.
9. Gwarancja i wsparcie
ErGear products are designed for durability and performance. For warranty information, technical support, or replacement parts, please contact ErGear customer service through the retailer where you purchased the product or visit the official ErGear website. Please have your model number (EGDMA69B) and purchase details ready.


