
1. Wprowadzenie
The ATOMSTACK Swift 7W Laser Engraver is a high-precision laser cutting and engraving machine designed for various materials. It features advanced spot compression technology, enabling detailed engraving and efficient cutting. This manual provides essential information for safe operation, assembly, usage, and maintenance of your device.
2. Wytyczne bezpieczeństwa
- Ochrona oczu: Always wear the provided safety glasses during operation. The magnetic filter cover blocks 97% of intense light, but direct exposure to the laser beam can cause severe eye damage.
- Wentylacja: Operate the machine in a well-ventilated area to dissipate smoke and fumes produced during engraving and cutting.
- Zgodność materiałów: Graweruj lub tnij wyłącznie materiały określone jako bezpieczne do obróbki laserowej. Unikaj materiałów silnie odblaskowych, łatwopalnych lub nieznanych.
- Nadzór: Do not leave the machine running unattended. Monitor the engraving/cutting process closely.
- Awaryjny postój: Zapoznaj się z procedurą zatrzymania awaryjnego.
- Detekcja płomienia: The device includes a flame detector and gyroscope for enhanced safety, triggering an alarm in case of unexpected events.
3. Zawartość opakowania
Sprawdź, czy w pakiecie znajdują się wszystkie komponenty:
Obraz: Szczegółowy view of all components included in the ATOMSTACK Swift 7W Laser Engraver package, laid out on a table.
- Zespół przedniej osi X (z kablem)
- Zespół tylnej osi X
- Montaż osi X.
- Lewy zespół osi Y (z silnikiem)
- Montaż prawej osi Y
- Wał optyczny
- Moduł laserowy
- Zasilacz
- Kabel USB
- Instrukcja obsługi produktu
- Pasek rozrządu
- H2/H2.5/H3 L-shaped Allen wrench set
- Klucz
- M5×8 Screws (x6)
4. Instrukcja montażu
The ATOMSTACK Swift 7W Laser Engraver is designed for quick and easy assembly. Follow the steps below:
- Połącz zespoły: Align and connect the five main frame assemblies as shown in the video. Ensure the X-axis assembly's belt faces downward and the Y-axis assembly with the motor is on the left side.
- Zabezpiecz za pomocą śrub: Use the provided M5×8 screws to securely fasten all connected assemblies.
- Montaż wału optycznego: Insert the optical shaft onto the X-axis assembly.
- Dokręć sprzęgło i koło pasowe rozrządu: Push the X-axis toward the front X-axis assembly, ensuring it is fully inserted and aligned parallel. Then, tighten the coupling and the timing pulley.
- Zainstaluj moduł laserowy: Carefully install the laser module onto the X-axis assembly and tighten the thumb screw to secure it.
- Podłącz kable: Connect the motor cable, limit switch cables, and the laser module cable to their respective ports.
- Adjust Eccentric Nut: Use an open-end wrench to adjust the eccentric nut until the X-axis can slide down smoothly when the machine is tilted at 45°. This ensures proper movement and stability.
Video: A step-by-step guide demonstrating the unboxing and installation process of the ATOMSTACK Swift Laser Engraver, including connecting components and securing them.

Image: Illustration of the modular design of the ATOMSTACK Swift 7W Laser Engraver, highlighting its quick assembly process.
5. Instrukcja obsługi
5.1. Metoda ogniskowania
To ensure optimal engraving and cutting results, proper focusing is essential. Place your workpiece on the working area, then adjust the focus by turning the side knob on the laser module until the laser spot is at its smallest and sharpest point on the material surface. If the hand-tightened screw interferes with the optical shaft, pull out the black part, rotate it outward, and then release it.
5.2. Oprogramowanie i łączność
The ATOMSTACK Swift 7W Laser Engraver supports multiple software options and connectivity methods:
- Oprogramowanie: Compatible with LightBurn, LaserGRBL, and ATOMSTACK's proprietary PC software (AtomStack Studio) and mobile app.
- Łączność: Connect via Type-C USB cable, standard USB cable, or wirelessly via WiFi/hotspot.
- Obsługiwane systemy: Windows, macOS, Android i iOS.
- File Formaty: JPG, JPEG, SVG, PNG, BMP, PDF, G-Code, DXF.
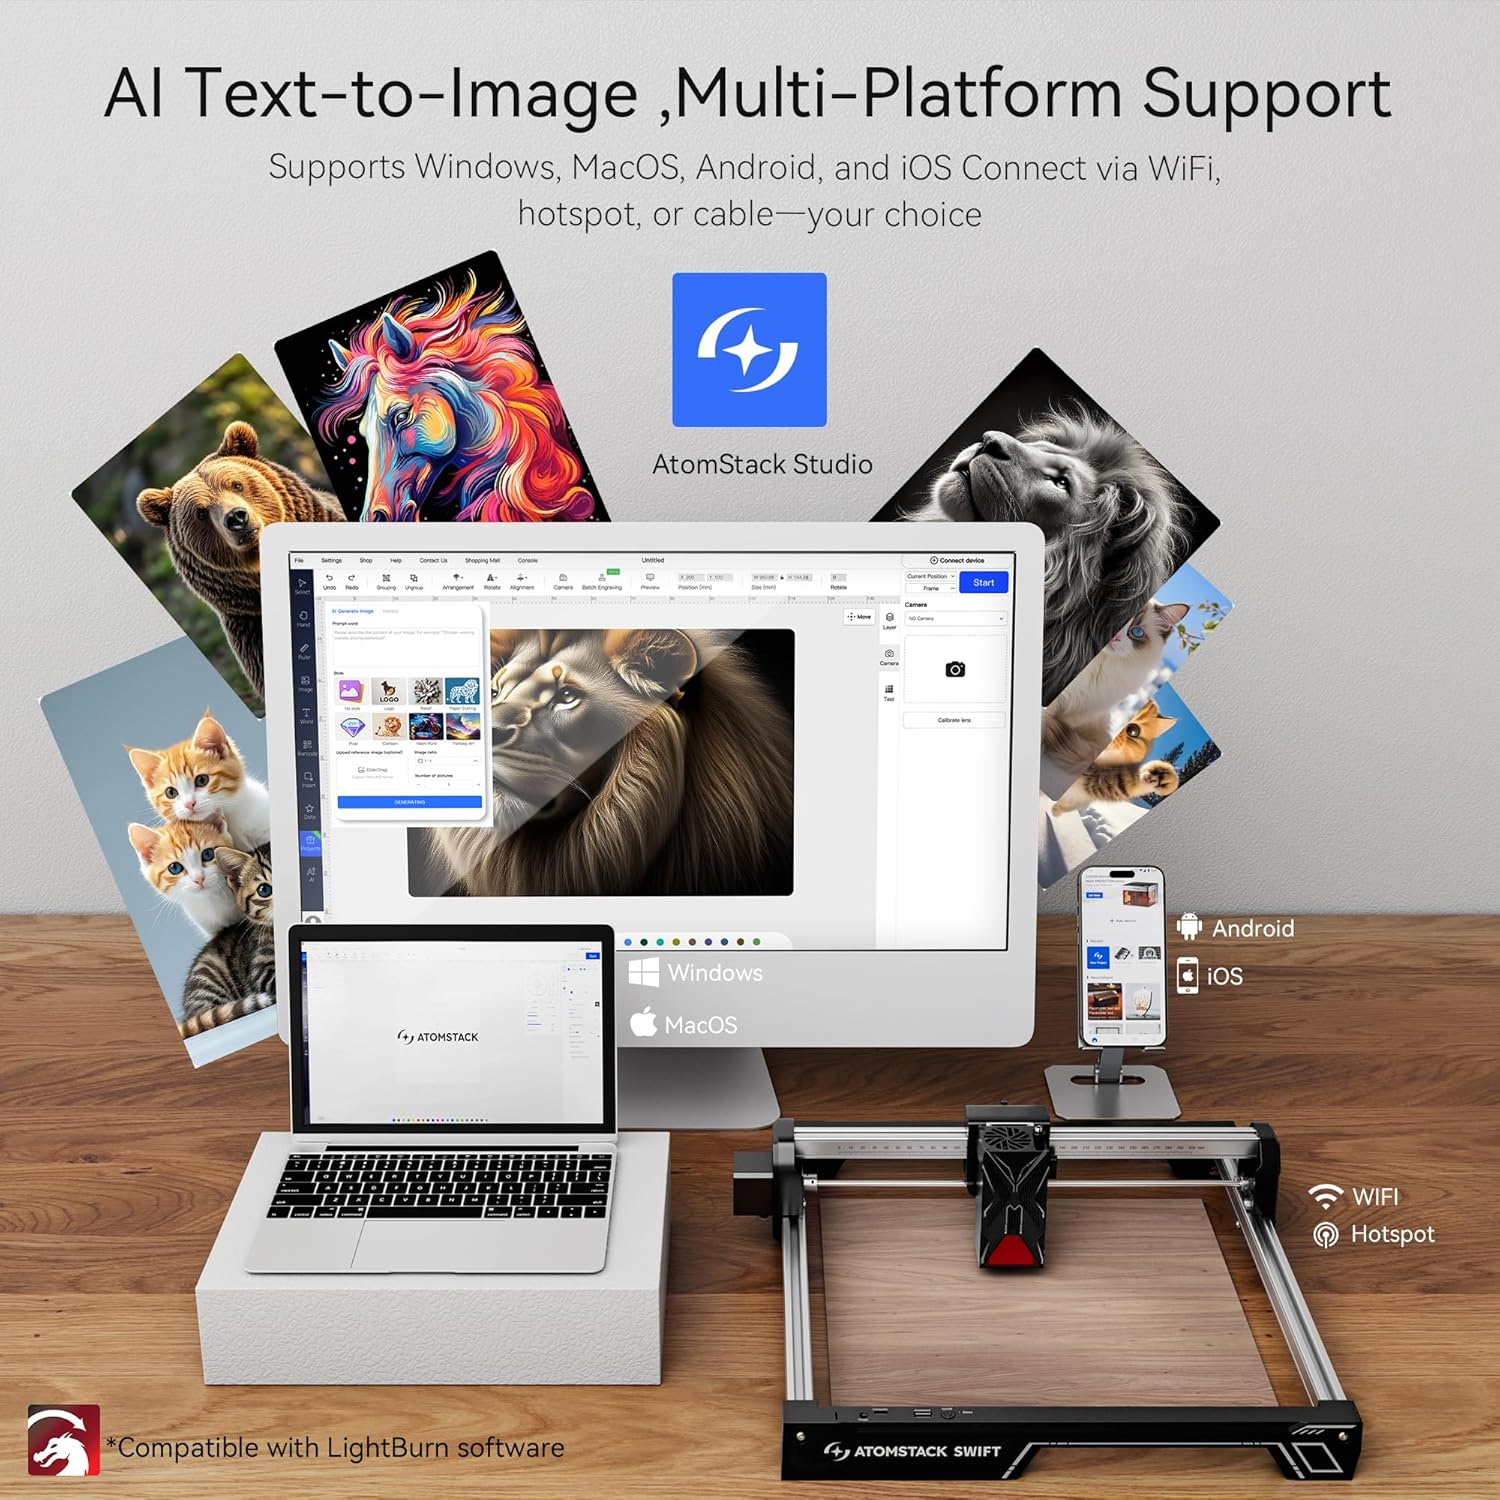
Image: Displays the ATOMSTACK Studio software interface on various devices (laptop, tablet, phone) and highlights the multiple connectivity options including WiFi and USB.
5.3. Możliwości grawerowania i cięcia
The ATOMSTACK Swift 7W features a 7W laser power with a unique point compression technology, achieving a spot size of 0.06 x 0.08 mm for high precision. It combines high-energy cutting with precise engraving, reaching speeds of up to 400 mm/s (10000 mm/min). The engraving area is 300 x 300 mm, which can be expanded.

Image: Illustrates the precision engraving and powerful cutting capabilities of the ATOMSTACK Swift 7W, showing examples of cutting 4mm black acrylic and 8mm basswood plywood.
Video: Demonstrates the ATOMSTACK Swift Laser Engraver and Cutter in action, showcasing its ability to engrave and cut various materials with precision.
5.4. Expandability and Accessories
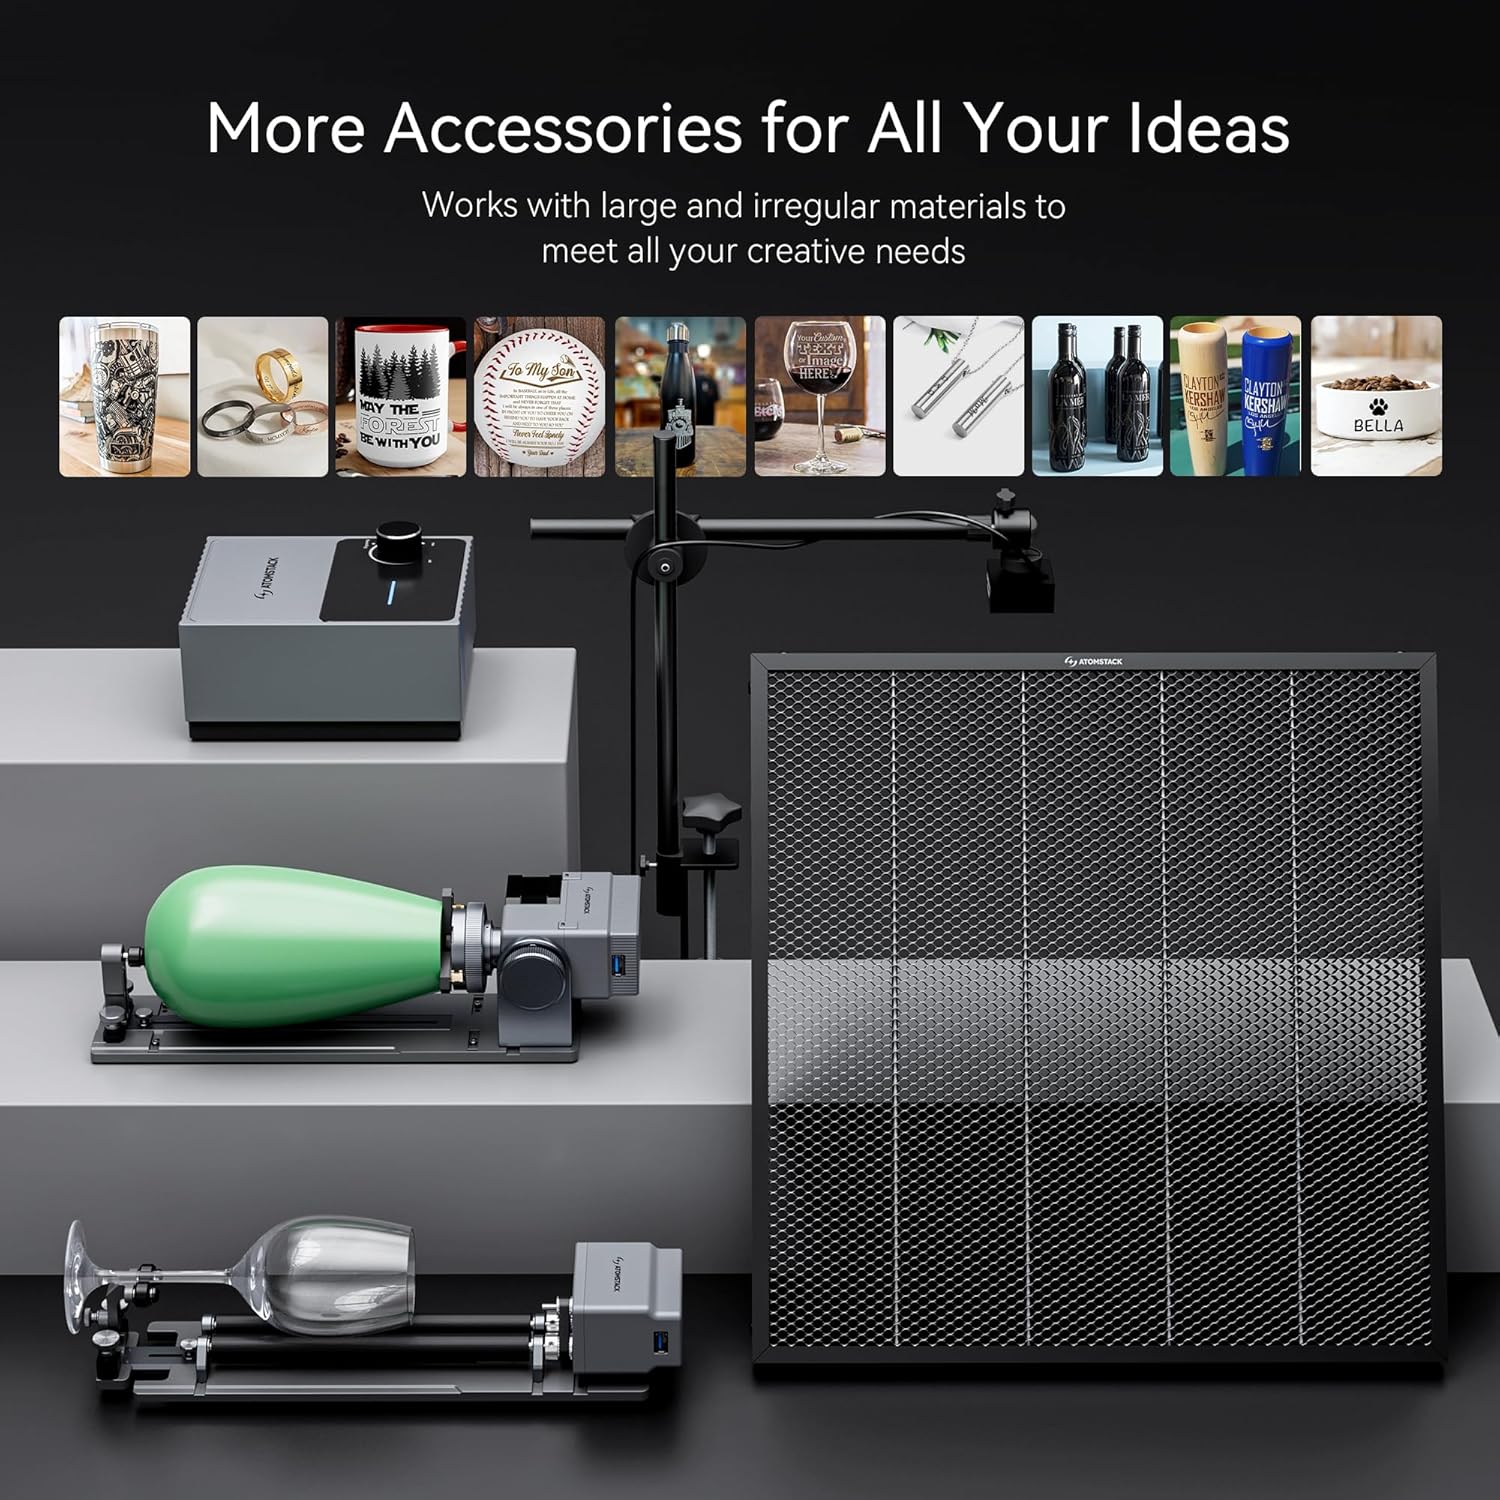
The engraving area can be expanded to accommodate larger projects. Various accessories are available to enhance functionality and meet diverse creative needs.

Image: Shows the large working area of the ATOMSTACK Swift 7W Laser Engraver, measuring 461.9mm x 459.1mm (18.1in x 18in).

Image: Highlights the safety features of the ATOMSTACK Swift 7W Laser Engraver, including a flame detector and gyroscope for secure operation.
6. Konserwacja
- Czyszczenie: Regularly clean the laser lens and the working area to prevent debris buildup, which can affect performance and accuracy. Use a soft, lint-free cloth and appropriate cleaning solutions.
- Smarowanie: Periodically lubricate the moving parts, such as the guide rails and lead screws, to ensure smooth operation.
- Kontrola kabla: Check all cables for any signs of wear or damage. Replace damaged cables immediately to prevent electrical hazards.
7. Rozwiązywanie Problemów
- Maszyna się nie włącza: Ensure the power adapter is securely connected to both the machine and a working power outlet. Check the power button.
- Laser nie działa/słaba moc: Verify the laser module is correctly installed and the thumb screw is tightened. Check the focus adjustment. Ensure the laser module cable is properly connected.
- Niedokładne grawerowanie/cięcie: Check the tightness of all screws and ensure the optical shaft is properly installed. Adjust the eccentric nut if the X-axis movement is not smooth. Ensure the workpiece is stable and not moving during operation.
- Problemy z łącznością oprogramowania: Confirm that the USB cable is properly connected or that the WiFi/hotspot connection is stable. Restart the software and the machine if necessary.
8. Specyfikacje techniczne
| Funkcja | Specyfikacja |
|---|---|
| Producent | Atomstack |
| Numer części | Szybki |
| Waga przedmiotu | 6.12 funta |
| Wymiary produktu | 9.65 x 4.72 x 19.49 cala |
| Numer modelu przedmiotu | Szybki |
| Rozmiar | Swift 7W Black |
| Kolor | Swift 7w Black |
| Cotage | 7000 Milliwatts (7W) |
| Czy baterie są w zestawie? | NIE |
| Czy potrzebne są baterie? | NIE |
| ASIN | B0FMKMK2ZB |
| Data pierwszej dostępności | 18 sierpnia 2025 r. |
9. Gwarancja i wsparcie
ATOMSTACK provides a 365-day warranty from the date of product receipt. Customer support is available 24/7. For any issues or inquiries, please contact the ATOMSTACK team directly via the Amazon platform for a solution within 24 hours.