1. Wprowadzenie
This manual provides detailed instructions for the setup, operation, maintenance, and troubleshooting of the RGBlink NDI PTZ Camera Controller (RGBBKT). This device is designed for professional video production environments, offering comprehensive control over various PTZ cameras using multiple protocols.
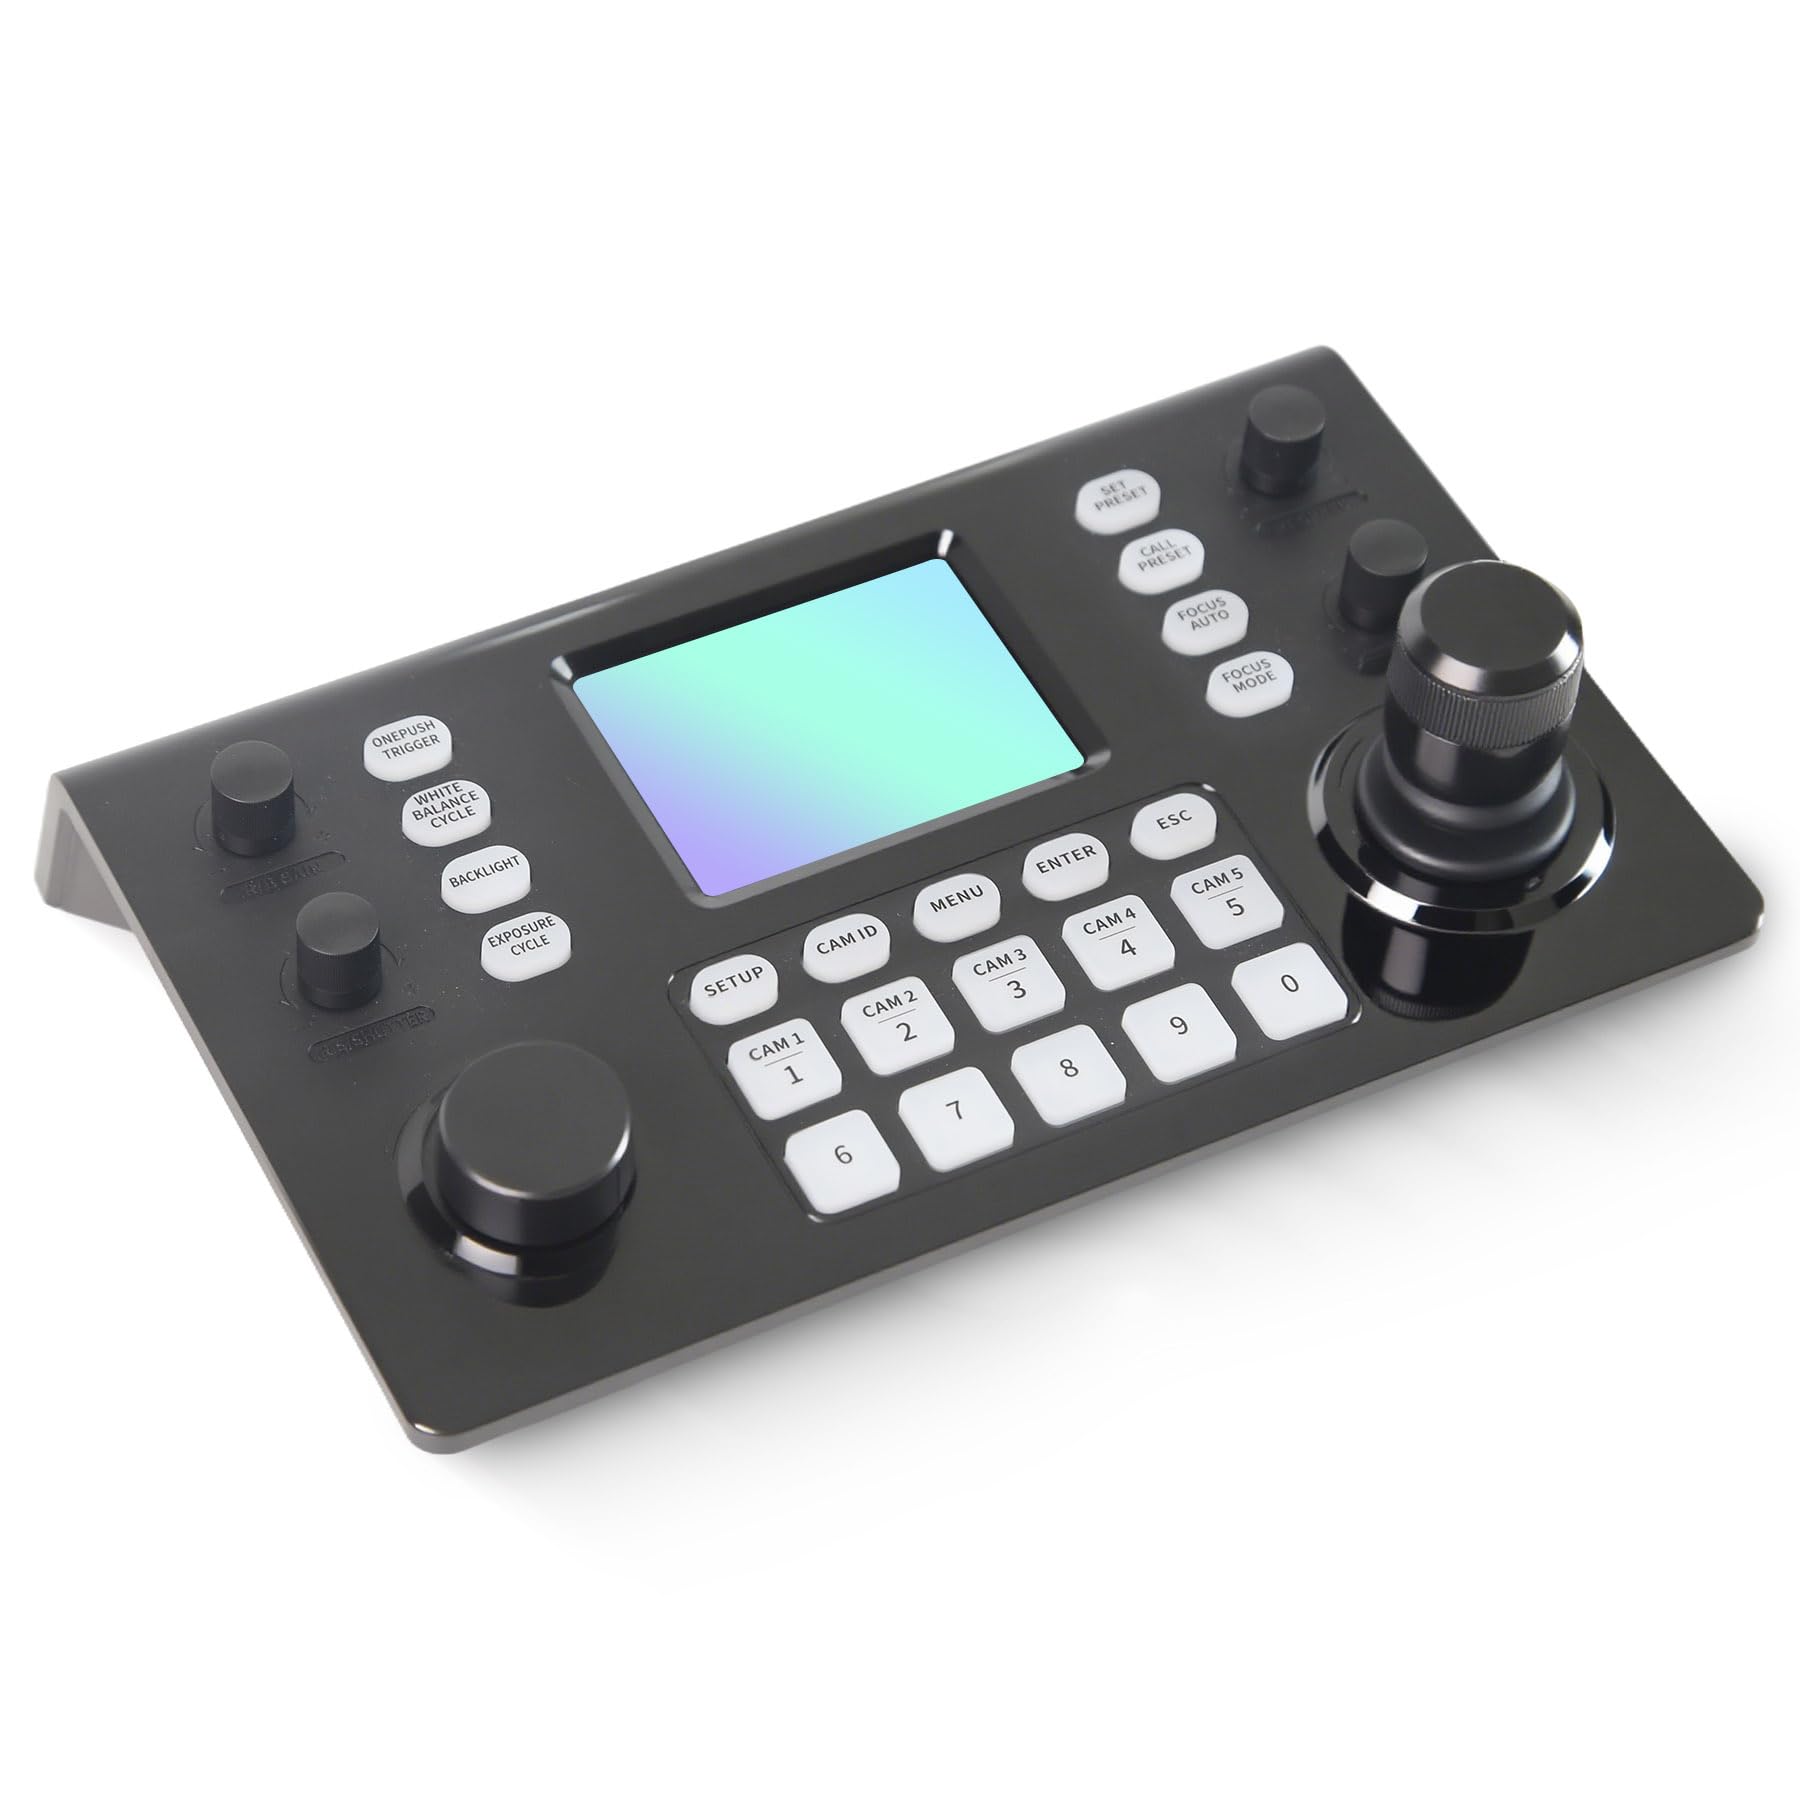
Image 1.1: RGBlink NDI PTZ Camera Controller (RGBBKT).
2. Konfiguracja
Follow these steps to set up your RGBlink NDI PTZ Camera Controller.
2.1 Rozpakowanie i wstępna kontrola
- Ostrożnie wyjąć wszystkie elementy z opakowania.
- Sprawdź, czy wszystkie elementy wymienione w liście przewozowym są obecne.
- Inspect the controller for any signs of physical damage. If damage is found, contact your dealer immediately.
2.2 Podłączanie kontrolera
The RGBlink NDI PTZ Camera Controller supports various connection methods for power and camera control.
- Zasilanie przez Ethernet (PoE): Connect a single RJ45 Ethernet cable from a PoE-enabled network switch to the controller's LAN port. This provides both power and network connectivity.
- Zewnętrzny zasilacz: If PoE is not available, connect the provided power adapter to the DC 12V input port and to a power outlet.
- Połączenia kamery:
- Ethernet (IP Control): Connect PTZ cameras to the same network as the controller via RJ45 Ethernet cables. The controller supports VISCA over IP, ONVIF v2.42, and NDI v5.5 protocols.
- Sterowanie szeregowe: For cameras supporting serial communication, use RS232, RS422, or RS485 interfaces. Connect the appropriate cables from the controller's serial ports to the cameras.

Image 2.1: Rear panel connections including RS-232, RS-422, LAN (PoE), and Power Input.

Obraz 2.2: Example connection diagram showing PTZ Controller, PoE Switch, PTZ Cameras, Audio Mixer, and Computer.

Image 2.3: Diagram illustrating IP camera connections via a network switch.
2.3 Konfiguracja sieci
For IP-based camera control, ensure the controller and cameras are on the same network segment. The controller supports automatic detection of NDI-enabled PTZ cameras.
- Access the controller's web interfejs, wprowadzając jego adres IP do pliku web browser. (Refer to the device's display or network tools to find the IP address).
- The default login credentials are typically 'admin' with a blank password. It is recommended to set a strong password immediately.
- W ramach web interface, configure camera protocols (e.g., ONVIF, VISCA over IP) and enter camera-specific user credentials if required.

Image 2.4: NDI|HX camera search and control interface on the controller.
3. Działanie
This section details the operational functions of the RGBlink NDI PTZ Camera Controller.
3.1 Ponadview kontroli
The controller features a 3.49" LCD display, a 3D joystick, various knobs, and a numeric keypad for intuitive control.

Image 3.1: The controller's 3.49-inch LCD display.

Rysunek 3.2: Szczegółowy view of the 3D joystick and multi-function knobs.

Image 3.3: Layout of the controller's buttons and numeric keypad area.
3.2 Wybór kamery
- Przyciski szybkiego wyboru: Use the dedicated CAM 1-5 buttons for quick selection of up to 5 cameras.
- Klawiatura numeryczna: For cameras beyond the quick select buttons (up to 255), press the Identyfikator CAM button, then enter the camera number using the numeric keypad, and press WCHODZIĆ.

Image 3.4: The controller's ability to manage multiple cameras.
3.3 Sterowanie PTZ
- Drążek sterowy: The 3D joystick controls pan (left/right), tilt (up/down), and zoom (rotate the joystick).
- Gałka prędkości PT: Adjusts the gimbal movement speed for pan and tilt.
- Zoom Knob: Provides precise zoom control, especially useful in preview tryb.
3.4 Image Parameter Adjustment
- IRIS/SHUTTER Knob: Rotate to adjust aperture and shutter speed. Press to switch control modes.
- R/B GAIN Knob: Rotate to adjust red and blue gain. Press to switch control modes.
- FOCUS Button: Naciśnij AUTOMATYCZNE OSTROŚĆ button to switch the camera to auto focus mode.
- EXPOSURE Button: Cycles through exposure modes (Aperture Priority, Shutter Priority, Gain Priority, Manual Exposure, Auto Exposure).
- Przycisk PODŚWIETLENIA: Toggles the camera's backlight mode.
- WHITE BALANCE CYCLE Button: Cycles through white balance modes (Indoor, Outdoor, Manual, Auto).
- ONE PUSH TRIGGER Button: When white balance is set to "One-Push White Balance", press this button to initiate a one-push white balance calibration.

Image 3.5: Functions of buttons and knobs on the left side of the controller.

Image 3.6: Functions of buttons and knobs on the right side of the controller, including preset controls.
3.5 Ustawienia wstępne
- SET PRESET Button: Press to enter preset position mode. Use the numeric keys to enter the preset number (0-9) and press WCHODZIĆ zapisać. Naciskać ESC wyjść.
- CALL PRESET Button: Press to enter preset recall mode. Use the numeric keys to enter the preset number (0-9) and press WCHODZIĆ to recall. Press ESC wyjść.
- The controller supports saving and recalling up to 255 presets per camera.
3.6 Nawigacja po menu
- Przycisk MENU: Press to open or close the camera settings menu. In menu control mode, the joystick controls navigation (up, down, left, right), WCHODZIĆ confirms selections, and ESC acts as a back button.
4. Konserwacja
Proper maintenance ensures the longevity and optimal performance of your RGBlink NDI PTZ Camera Controller.
4.1 Czyszczenie
- Use a soft, dry cloth to clean the exterior of the controller.
- W przypadku uporczywych zabrudzeń, delikatnieampWyczyść szmatkę wodą lub delikatnym, nieściernym środkiem czyszczącym.
- Avoid using harsh chemicals, solvents, or abrasive materials, as these can damage the surface and display.
- Ensure no liquids enter the device through openings or ports.
4.2 Przechowywanie
- Jeśli kontroler nie będzie używany przez dłuższy czas, należy przechowywać go w chłodnym, suchym miejscu, z dala od bezpośredniego światła słonecznego i ekstremalnych temperatur.
- Chroń urządzenie przed kurzem i wilgocią.
5. Rozwiązywanie Problemów
W tej sekcji znajdziesz rozwiązania typowych problemów, na jakie możesz natrafić.
5.1 Brak zasilania
- Sprawdź źródło zasilania: Upewnij się, że zasilacz jest solidnie podłączony do kontrolera i do sprawnego gniazdka elektrycznego.
- PoE Check: If using PoE, verify that the Ethernet cable is connected to a PoE-enabled port on your network switch and that the switch is powered on.
- Integralność kabla: Inspect the power cable and Ethernet cable for any damage.
5.2 Cannot Control Camera
- Łączność sieciowa: For IP cameras, ensure the controller and cameras are on the same network and can communicate. Check network cables and IP addresses.
- Niezgodność protokołu: Verify that the correct control protocol (e.g., VISCA over IP, ONVIF, NDI, Pelco-D/P) is selected on both the controller and the camera.
- Identyfikator kamery: Ensure the correct camera ID is selected on the controller.
- Dane logowania: If the camera requires authentication, confirm that the correct username and password are configured in the controller's web interfejs.
- Połączenie szeregowe: For serial control, check RS232/RS422/RS485 cable connections and ensure baud rates and addresses match between the controller and camera.
- Oprogramowanie sprzętowe: Ensure both the controller and cameras have the latest firmware installed. Visit the RGBlink support webwitryna do aktualizacji.
5.3 LCD Display Issues
- Brak wyświetlacza: Sprawdź, czy kontroler jest włączony.
- Przyciemniony wyświetlacz: Check if there are any brightness settings on the controller that can be adjusted.
6. Specyfikacje
| Funkcja | Szczegół |
|---|---|
| Model | RGBBKT |
| Wymiary (dł. x szer. x wys.) | 11.4 x 7.8 x 5.9 cala (ok. 290 x 200 x 150 mm) |
| Waga | 2.2 funta (ok. 1 kg) |
| Wyświetlacz | 3.49-calowy wyświetlacz LCD |
| Kontroluj protokoły | VISCA over IP, ONVIF v2.42, NDI v5.5, Pelco-D/P |
| Interfejsy | RS232, RS422, RS485, RJ45 Ethernet (PoE) |
| Camera Capacity | Up to 255 PTZ cameras |
| Moc wejściowa | PoE or DC 12V (external adapter) |
| Drążek sterowy | High-precision Hall sensor 3D joystick |

Image 6.1: Controller dimensions and typical usage environments.

Image 6.2: Visual representation of supported protocols including RJ45, RS485, RS422, RS232, ONVIF, NDI, Pelco-D, Pelco-P, and Visca.
7. Demonstracja wideo produktu
Watch the official product video for a visual demonstration of the RGBlink NDI PTZ Camera Controller's features and operation.
Video 7.1: Official demonstration of the RGBlink PTZ Camera Controller Joystick, showcasing multi-camera control and key features.
8. Gwarancja i wsparcie
For warranty information, technical support, or service inquiries, please contact RGBlink customer service or visit their official webstrona.
- Producent: Xiamen RGBlink Science & Technology Co.,Ltd.
- Urzędnik Webstrona: www.rgblink.com (Uwaga: To jest symbol zastępczy URL, please refer to your product packaging or official documentation for the correct support webstrona.)
- Informacje kontaktowe: Refer to the RGBlink official website for the most current contact details for technical support and warranty claims.