
Ważne instrukcje bezpieczeństwa
Please read these instructions carefully before using the Avtech DGM5907SVSGAT IP Dome Camera. Keep this manual for future reference.
- Ensure proper power supply (PoE or compatible adapter) to prevent damage.
- Do not expose the camera to extreme temperatures, humidity, or direct sunlight beyond its operating specifications.
- Obchodź się z aparatem ostrożnie. Unikaj upuszczania go i narażania na silne drgania.
- Installation should be performed by qualified personnel and comply with local electrical codes.
- Nie próbuj demontować ani modyfikować kamery. Spowoduje to unieważnienie gwarancji.
- Clean the camera lens and housing with a soft, dry cloth. Avoid harsh chemicals.
Produkt ponadview
The Avtech DGM5907SVSGAT is a 5MP AI IP Dome Camera designed for advanced surveillance. It features AI-based human and vehicle detection to minimize false alarms, ONVIF support for system integration, and Power-over-Ethernet (PoE) for simplified installation. The camera provides clear images with Starlight visibility, an integrated microphone for audio recording, and an effective IR range of up to 50 meters for night surveillance. Its WDR (Wide Dynamic Range) function enhances image clarity in challenging lighting conditions, and the IP66 housing ensures durability in various environments.
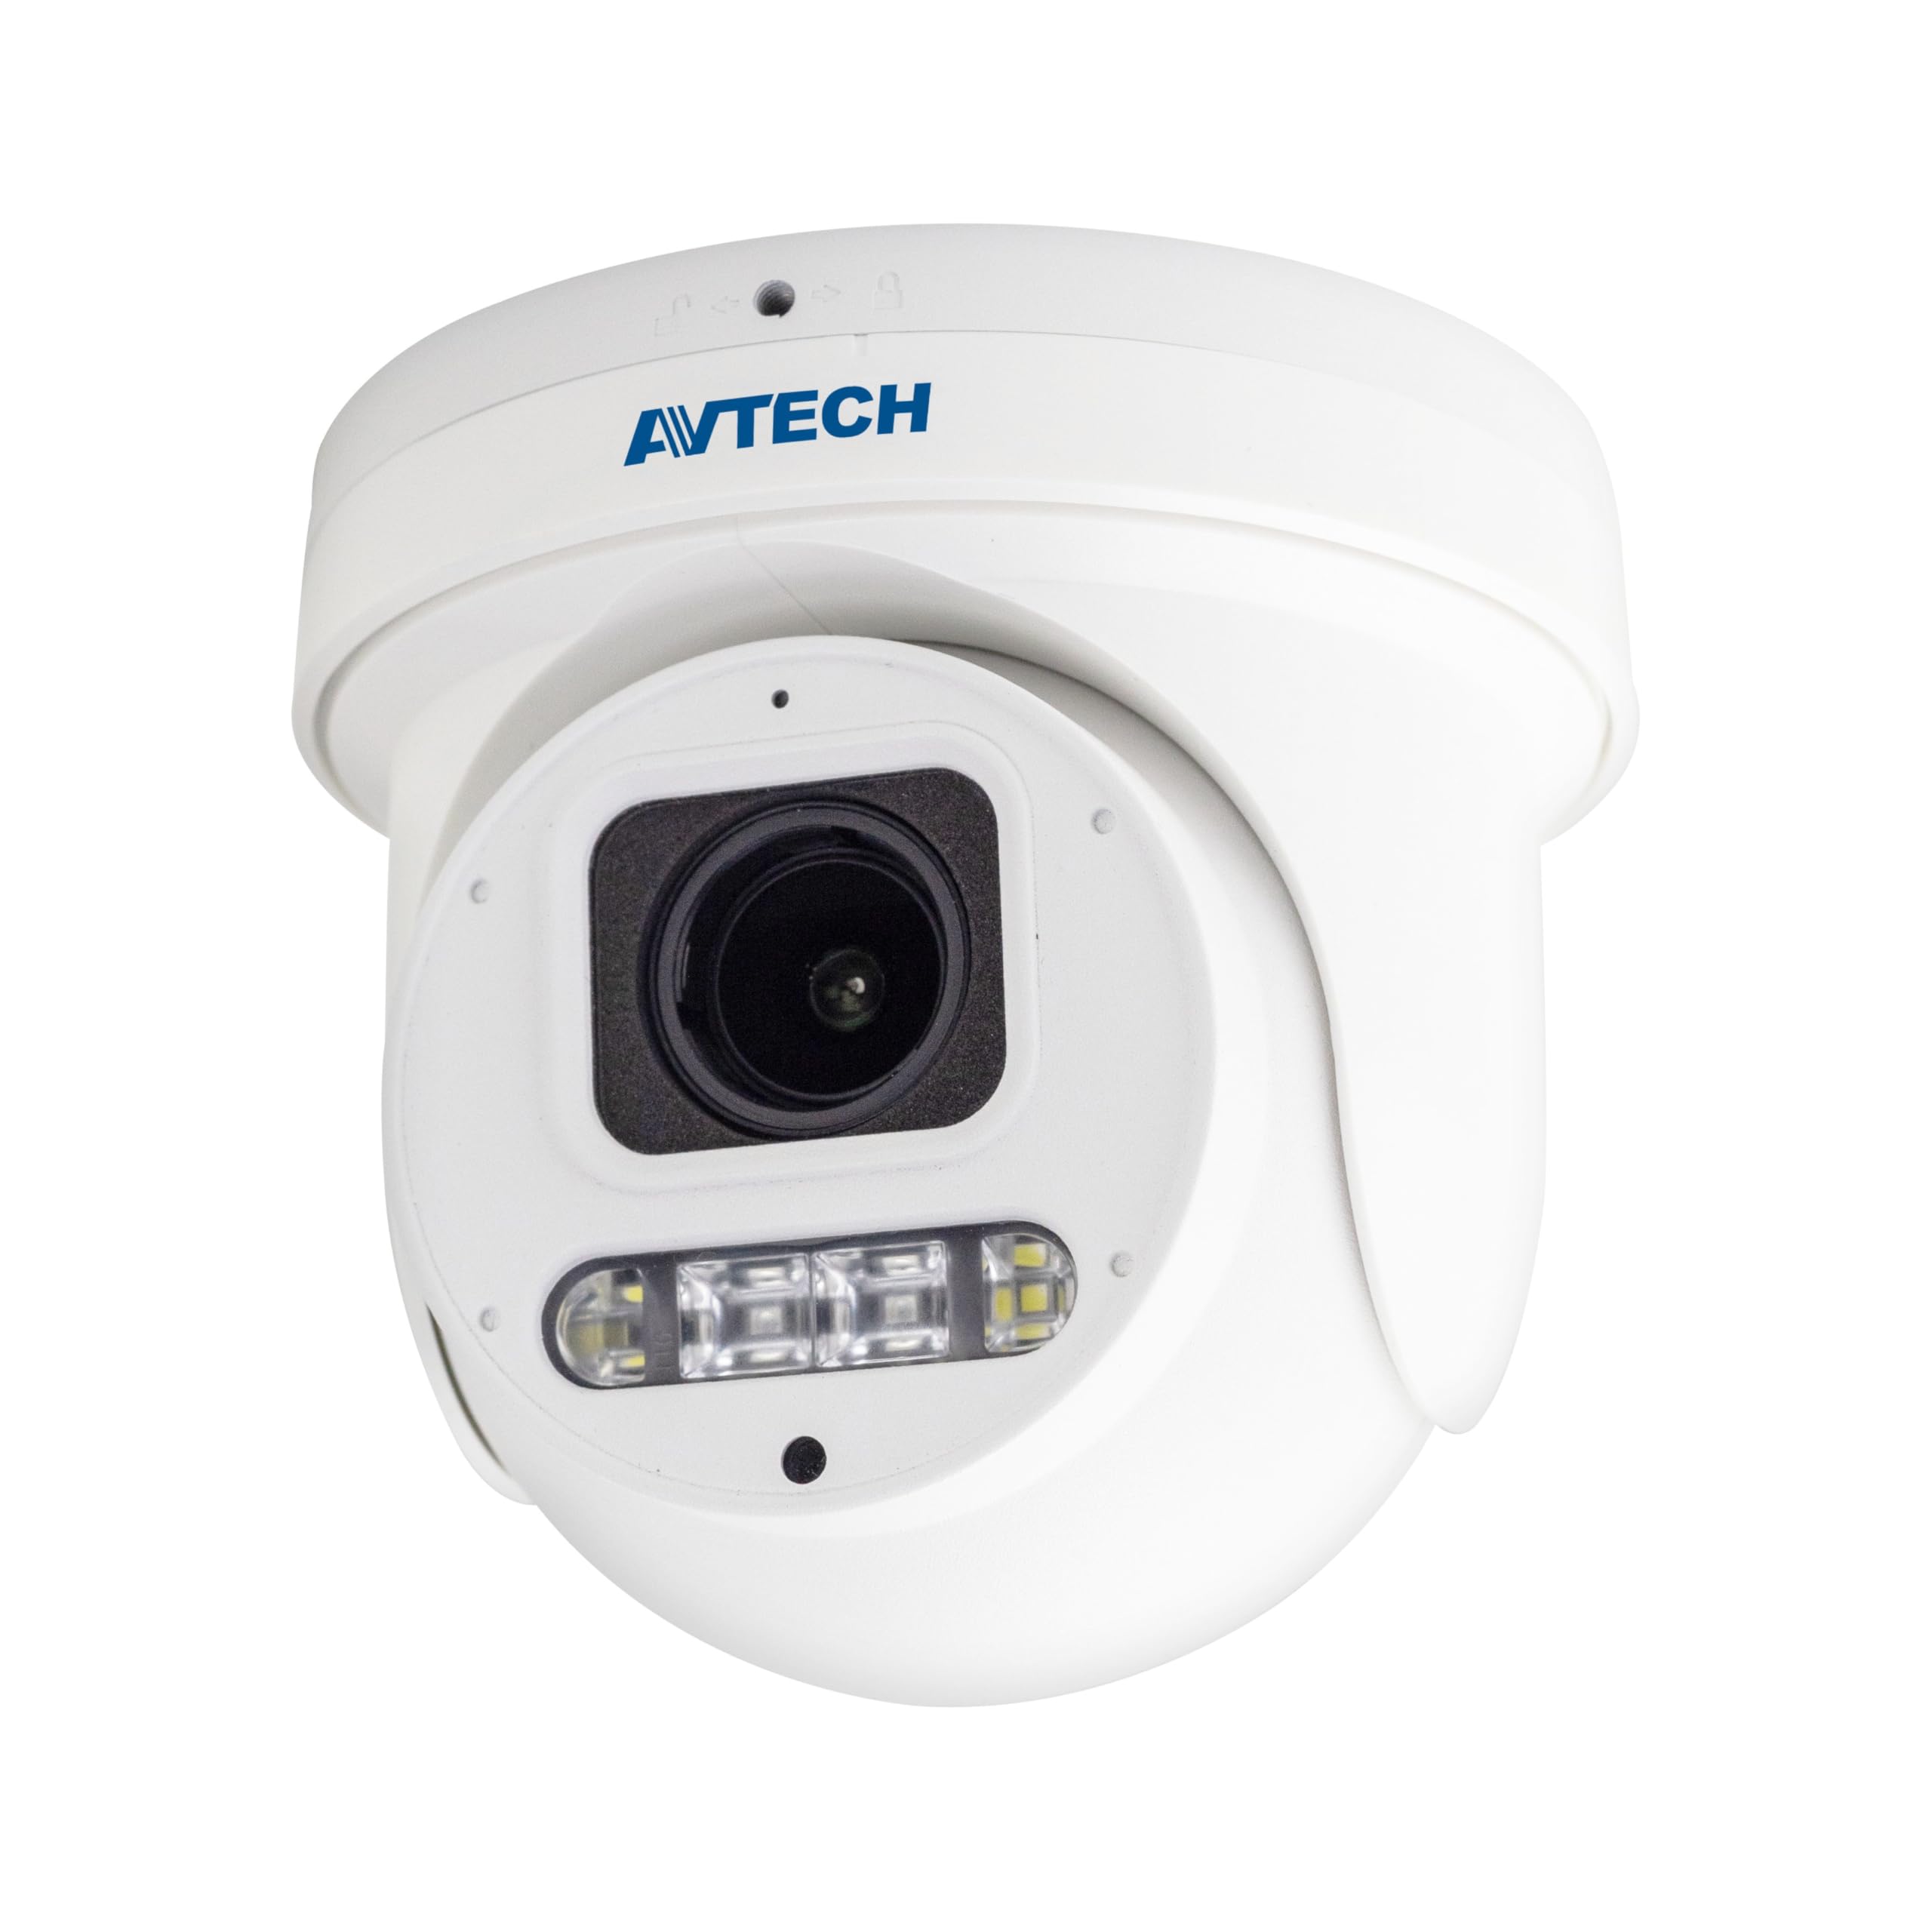
Rysunek 1: Przód view of the Avtech DGM5907SVSGAT 5MP AI IP Dome Camera. This image shows the dome-shaped camera housing, the lens assembly, and the IR LEDs visible around the lens.
Zawartość opakowania
Sprawdź, czy w opakowaniu znajdują się wszystkie elementy. Jeśli brakuje któregokolwiek z nich lub jest on uszkodzony, skontaktuj się natychmiast ze sprzedawcą.
- Avtech DGM5907SVSGAT 5MP AI IP Dome Camera
- Zestaw śrub montażowych (śruby, kotwy ścienne)
- Wodoodporne złącze do kabla Ethernet
- Szybki przewodnik
- Szablon do wiercenia
Organizować coś
1. Instalacja fizyczna
Before mounting, ensure the installation location provides a clear field of view and is within range of your network infrastructure (PoE switch/injector).
- Przygotuj powierzchnię montażową: Use the provided drilling template to mark the screw holes on the wall or ceiling.
- Wiercenie otworów: Wywierć otwory wstępne w zaznaczonych miejscach. W przypadku montażu na płycie gipsowo-kartonowej lub murze zamocuj kotwy ścienne.
- Zabezpiecz podstawę kamery: Przymocuj podstawę montażową kamery do powierzchni za pomocą dołączonych śrub.
- Podłącz kabel sieciowy: Connect an Ethernet cable (RJ-45) from your PoE switch/injector to the camera's network port. Ensure the waterproof connector is properly sealed if installing outdoors.
- Dostosuj kąt kamery: Loosen the adjustment screws on the dome to position the camera lens for the desired viewkąt nachylenia. Po ustawieniu dokręć śruby.
Rysunek 2: Illustrative diagram of the Avtech DGM5907SVSGAT camera mounting process. This image depicts the camera base being secured to a surface, with an Ethernet cable connected.
2. Konfiguracja sieci
The camera typically obtains an IP address automatically via DHCP. If your network does not use DHCP, you may need to use a discovery tool provided by Avtech or manually configure the IP address.
- Połącz z siecią: Ensure the camera is powered via PoE and connected to your local network.
- Odkryj adres IP: Use the Avtech IP Camera Utility software (available on the Avtech website) to discover the camera's IP address on your network.
- Dostęp Web Interfejs: Otwórz web browser (Internet Explorer 6+, Microsoft Edge, or Google Chrome) and enter the camera's IP address in the address bar.
- Login: Enter the default username and password (refer to the Quick Start Guide for default credentials). It is highly recommended to change the default password immediately for security.
- Kreator konfiguracji początkowej: Follow the on-screen wizard to configure basic network settings, date/time, and user accounts.
Instrukcja obsługi
1. Na żywo View i nagrywanie
Po zalogowaniu się do web interface, you can access the live video feed and manage recording settings.
- Na żywo View: Przejdź do „Na żywo” View' section to see the real-time video feed from the camera.
- Recording to MicroSD: The camera supports a MicroSD card up to 256 GB. Insert the card into the designated slot (usually accessible by opening the dome cover). Configure recording schedules and event-triggered recording (e.g., motion detection, AI detection) in the 'Storage' or 'Recording' settings.
- Kompresja wideo: The camera supports H.265 and H.264 compression. H.265 offers better compression efficiency, reducing storage and bandwidth requirements. Adjust this in the 'Video Settings'.
2. AI Detection (Human and Vehicle)
The AI detection feature helps reduce false alarms by distinguishing between humans/vehicles and other moving objects.
- Włącz wykrywanie AI: Go to 'Event' or 'AI Settings' in the web interface. Enable 'Human Detection' and/or 'Vehicle Detection'.
- Konfiguruj strefy wykrywania: Draw specific areas on the live view where you want AI detection to be active.
- Ustaw czułość: Adjust the sensitivity levels to optimize detection performance and minimize false positives.
- Configure Actions: Specify actions to be taken upon detection, such as recording, sending notifications, or triggering alarms.
3. Image Enhancement Features
- IR Night Vision: The camera automatically switches to IR mode in low light conditions, providing clear black and white images up to 50 meters. Ensure the IR LEDs are not obstructed.
- WDR (szeroki zakres dynamiki): Enable WDR in 'Image Settings' to improve image quality in scenes with both very bright and very dark areas, such as entrances or windows.
- Starlight Visibility: This feature enhances low-light performance, allowing the camera to capture color images in very dim conditions before switching to IR mode.
Konserwacja
Regularna konserwacja zapewnia optymalną wydajność i długowieczność aparatu.
- Czyszczenie: Periodically clean the camera lens and housing with a soft, lint-free cloth. For stubborn dirt, use a mild cleaning solution specifically designed for optical lenses. Do not use abrasive cleaners.
- Aktualizacje oprogramowania układowego: Check the Avtech official website regularly for firmware updates. Firmware updates can improve performance, add new features, and enhance security. Follow the instructions provided with the firmware update package carefully.
- Zarządzanie pamięcią masową: If using a MicroSD card for recording, periodically review nagrano footage and manage storage space. Format the MicroSD card occasionally to maintain performance.
- Kontrola kabla: For outdoor installations, inspect network cables and waterproof connectors for any signs of wear or damage.
Rozwiązywanie problemów
W tej sekcji omówiono typowe problemy, które mogą wystąpić podczas korzystania z aparatu.
| Problem | Możliwa przyczyna | Rozwiązanie |
|---|---|---|
| Brak obrazu/wideo | Brak zasilania; Problem z połączeniem sieciowym; Nieprawidłowy adres IP | Check PoE connection; Verify network cable; Use IP utility to find camera IP; Ensure firewall is not blocking access. |
| Kamera nieaktywna | Network cable disconnected; Router/switch issue; IP address conflict | Check physical network connections; Restart network equipment; Verify unique IP address. |
| Niska jakość obrazu | Dirty lens; Incorrect resolution settings; Insufficient lighting; WDR not enabled | Clean the lens; Adjust resolution in settings; Ensure adequate lighting or enable IR; Enable WDR for high contrast scenes. |
| Częste fałszywe alarmy | Sensitivity too high; Detection zone too wide; Environmental factors (e.g., moving branches) | Adjust AI detection sensitivity; Refine detection zones; Ensure AI detection is enabled for human/vehicle only. |
| Nie można uzyskać dostępu web interfejs | Incorrect IP address; Browser compatibility; Firewall blocking | Verify IP address; Use recommended browsers (IE, Edge, Chrome); Temporarily disable firewall for testing. |
Specyfikacje
Detailed technical specifications for the Avtech DGM5907SVSGAT IP Dome Camera.
- Czujnik obrazu: 1/2.8” CMOS
- Maksymalna rozdzielczość: 2592 x 1944 (5MP)
- Obiektyw: f2.7 ~ 13.5mm / F1.6 ~ F2.2
- Viewing Angle (Diagonal): Tele 40° ~ Wide 117°
- Minimalne oświetlenie: 0.001 Lux (IR off), 0 Lux (IR on)
- Prędkość migawki: AUTO, 1/25 s ~ 1/100000 XNUMX s
- Diody IR: 4 jednostek
- Effective IR Distance: Do 50 metrów
- Tryb dzień/noc: Automatyczny
- WDR: Tak (120dB)
- RTC (zegar czasu rzeczywistego): Tak
- Gniazdo kart microSD: Do 256 GB
- Kompresja wideo: H.265 / H.264
- Main Stream Resolution: 5MP (2592x1944) / 4MP (2560x1440) / 3MP (2304x1296) / 2MP (1080P) / 720P
- Szybkość klatek: 5MP @ 25FPS
- Multiple Video Streams: 2 strumienie
- Kontrola szybkości transmisji: 512Kbps - 12Mbps, VBR/CBR
- Ulepszanie obrazu: WDR / BLC / HLC / 2D DNR / 3D DNR
- Audio: Zintegrowany mikrofon
- Protokoły sieciowe: ONVIF supported
- Moc: PoE (Power-over-Ethernet)
- Mieszkania: IP66 atmosferyczne
- Zgodność: Internet Explorer 6+, Microsoft Edge, Google Chrome, Windows 10/8/7, DirectX 9.0+
Gwarancja i wsparcie
Avtech products are designed for reliability and performance. This product comes with a standard manufacturer's warranty against defects in materials and workmanship.
- Okres gwarancji: Please refer to your purchase documentation or the Avtech official webAby zapoznać się ze szczegółowymi warunkami gwarancji i okresem jej trwania obowiązującymi w Twoim regionie, odwiedź naszą witrynę.
- Wsparcie techniczne: For technical assistance, troubleshooting, or warranty claims, please contact Avtech customer support.
- Zasoby internetowe: Visit the official Avtech website for FAQs, driver downloads, firmware updates, and additional product information.
Informacje kontaktowe:
Webstrona: www.avtech.com.tw
E-mail: support@avtech.com
Telefon: +1-XXX-XXX-XXXX