
1. Wprowadzenie
Thank you for choosing the E-YEEGER GT830 Dual Channel Dash Camera. This device is designed to record your driving journey in high definition, providing security and peace of mind. It features 4K Ultra HD front recording, 1080P rear recording, night vision, G-sensor for collision detection, 24-hour parking monitoring, loop recording, and Wi-Fi connectivity for easy access via a mobile application. Please read this manual thoroughly before use to ensure proper installation and operation.
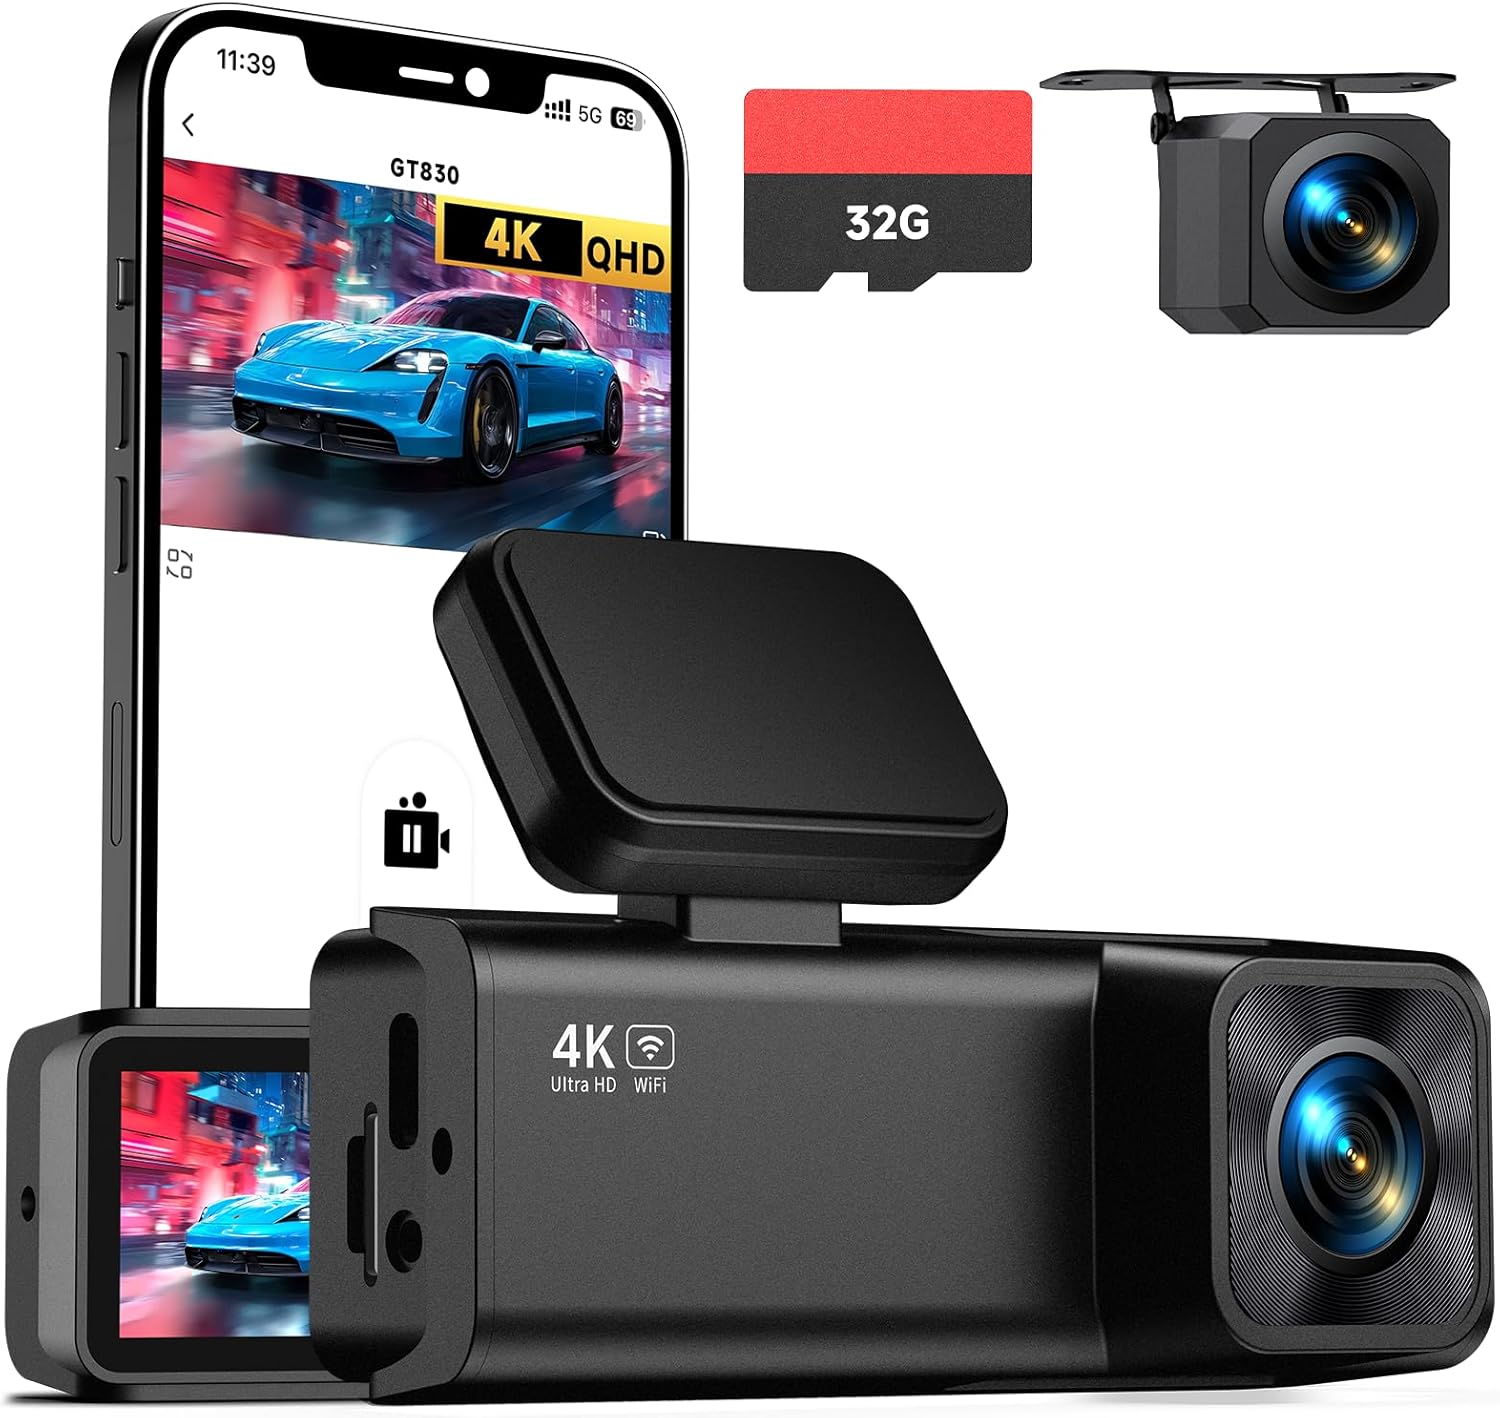
Image 1.1: E-YEEGER GT830 Dash Camera and accessories.
2. Zawartość opakowania
Sprawdź, czy w przesyłce znajdują się wszystkie elementy:
- E-YEEGER GT830 Dash Camera (Main Unit)
- Kamera tylna
- Ładowarka samochodowa (kabel 11.5 stopy)
- Karta Micro SD 32 GB (wstępnie zainstalowana)
- Instrukcja obsługi
- Szybka porada
- Zapasowa podkładka samoprzylepna 3M
- Naklejka elektrostatyczna x2
- Łatwe narzędzie do podważania

Image 2.1: Contents of the E-YEEGER GT830 package.
3. Konfiguracja i instalacja
3.1 Mounting the Front Dash Camera
- Wyczyść przednią szybę w miejscu, w którym zostanie zamontowana kamera samochodowa. Upewnij się, że jest wolna od kurzu i tłuszczu.
- Apply an electrostatic sticker to the chosen area on the windshield. This helps protect the windshield and makes removal easier.
- Peel off the protective film from the 3M adhesive pad on the dash cam mount.
- Firmly press the dash cam onto the electrostatic sticker for at least 30 seconds. Position it behind the rearview lustro, aby nie zasłaniać view.
3.2 Podłączanie tylnej kamery
- Podłącz kabel tylnej kamery do głównego urządzenia kamery samochodowej.
- Route the rear camera cable along the vehicle's headliner and trim to the rear of the vehicle. Use the included pry tool to tuck the cable neatly.
- Zamontuj tylną kamerę na tylnej szybie, aby zapewnić wyraźny obraz. view. Clean the area before applying the adhesive.
3.3 Zasilanie urządzenia
- Podłącz ładowarkę samochodową do gniazda zapalniczki w pojeździe.
- Connect the USB-C end of the car charger cable to the main dash cam unit.
- Kamera samochodowa włączy się automatycznie i rozpocznie nagrywanie po uruchomieniu pojazdu.

Image 3.1: Wiring diagram for the E-YEEGER GT830 Dash Camera.
4. Instrukcja obsługi
4.1 Podstawowe nagrywanie
Once powered on, the dash cam will automatically start recording. The front camera records in 4K UHD (3840*1080P) and the rear camera in 1080P. Recording is continuous, with older files being overwritten by new ones when the memory card is full (Loop Recording).

Image 4.1: High-resolution dual-channel recording capability.
4.2 Nagrywanie w pętli
The GT830 dash cam features intelligent loop recording. When the 32GB Micro SD card (included) is full, the camera will automatically overwrite the oldest unlocked video files to continue recording. The device supports Micro SD cards up to 256GB for extended recording time.

Image 4.2: Loop Recording function.
4.3 Czujnik G (nagrywanie awaryjne)
The built-in G-sensor detects sudden impacts or collisions. In such an event, it automatically locks and saves the current video segment, preventing it from being overwritten by loop recording. This ensures critical footage jest zachowane jako dowód.
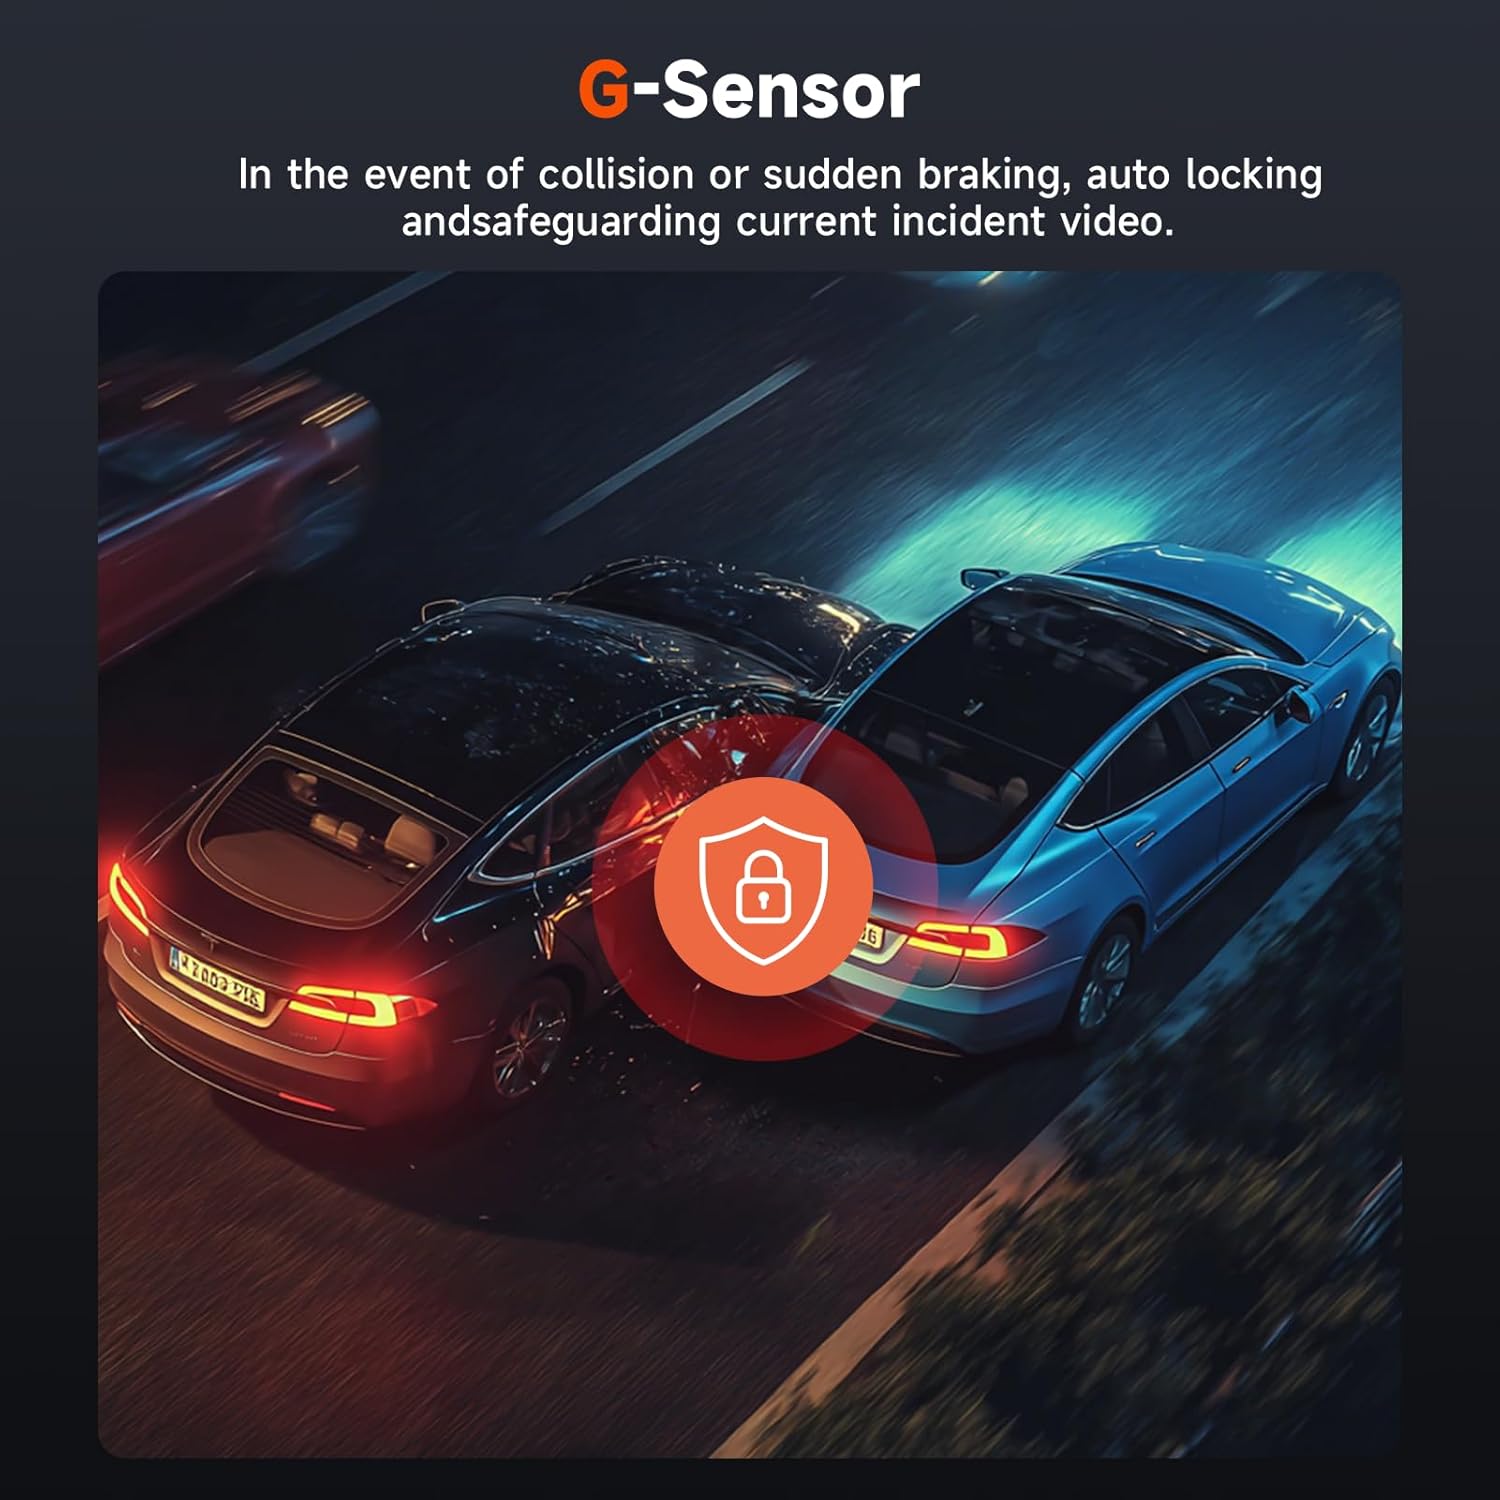
Image 4.3: G-Sensor collision detection.
4.4 24-Hour Parking Surveillance
To enable 24-hour parking monitoring, a Type-C hardwire kit (not included, ASIN: B0D93LHW94) is required. When properly installed, the dash cam will automatically record when motion or impact is detected while your vehicle is parked, protecting against scratches, theft, or vandalism.
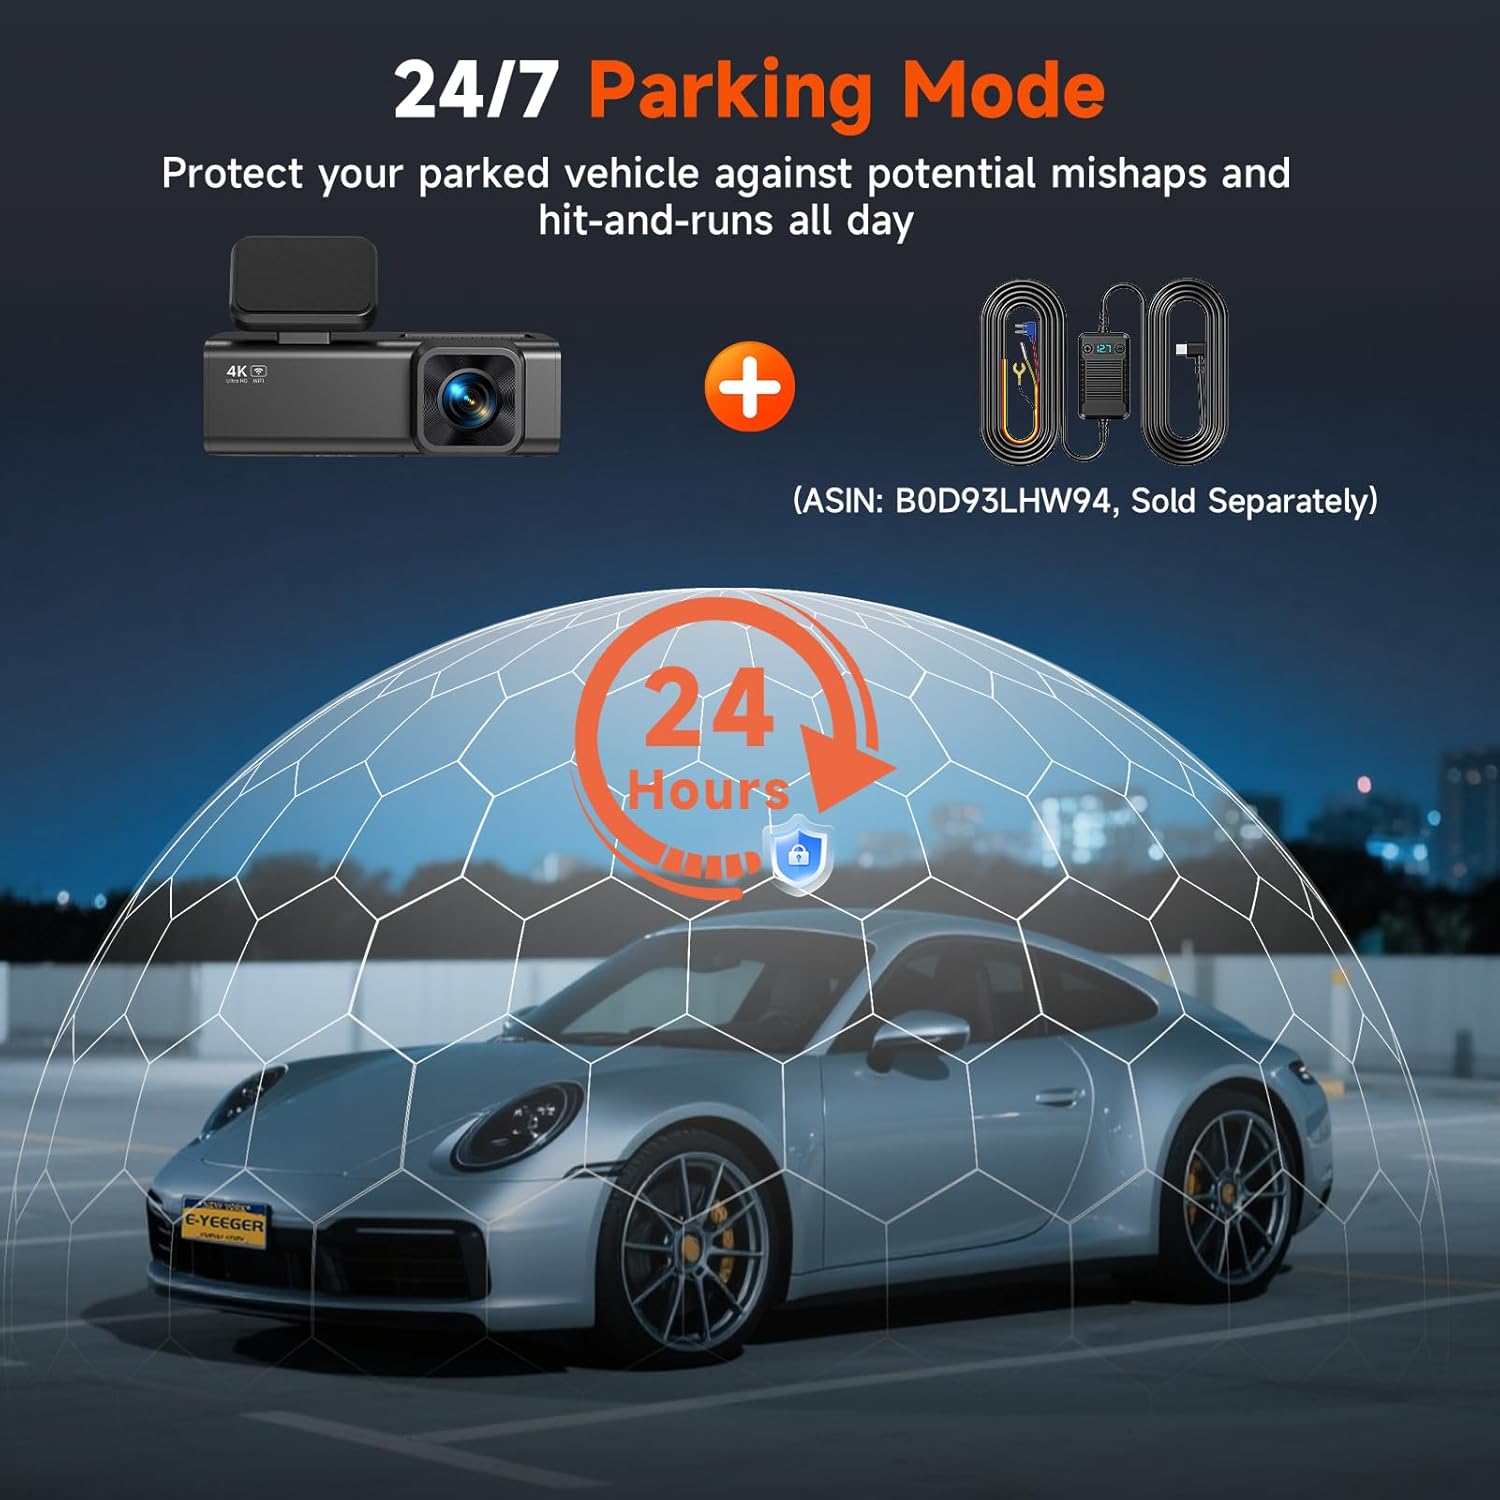
Image 4.4: 24/7 Parking Mode with optional hardwire kit.
4.5 Łączność Wi-Fi i sterowanie aplikacją
The GT830 features built-in 2.4G Wi-Fi for seamless connection to the VeeCar App (available for Android & iOS). This allows you to:
- View foo w czasie rzeczywistymtagbezpośrednio na Twoim smartfonie.
- Download recorded videos to your device.
- Dostosuj ustawienia aparatu.
- Share clips easily to social media platforms.

Image 4.5: Wi-Fi connectivity and App control interface.
Video 4.1: Demonstration of the E-YEEGER GT830 dash cam's features, including 4K recording, night vision, loop recording, and app control.
5. Zaawansowane funkcje
5.1 Super widzenie nocne
Equipped with an F1.6 large aperture and a 6-Glass lens, the GT830 enhances recording quality in low-light environments, providing clearer and brighter images during nighttime driving.

Image 5.1: Super Night Vision capability.
5.2 szerokości Viewing kąt
The front camera features an ultra-wide 170° lens, and the rear camera a 160° lens, ensuring comprehensive coverage of the road ahead and behind, minimizing blind spots.
5.3 Micro SD Card Support
The dash cam comes with a 32GB Micro SD card pre-installed. It supports expansion up to 256GB, providing ample storage for your recordings. Regularly format the SD card to maintain optimal performance.

Image 5.2: Micro SD card capacity and support.
5.4 Ekstremalna trwałość
The E-YEEGER GT830 is designed to operate reliably in a wide range of temperatures, from extreme heat (up to 160°F) to freezing cold (down to -4°F), ensuring consistent performance in various climates.

Image 5.3: Operating temperature range.
5.5 Waterproof Rear Camera
The rear camera is designed to be waterproof, allowing for reliable operation even in adverse weather conditions.

Image 5.4: Waterproof rear camera.
6. Konserwacja
6.1 Pielęgnacja karty Micro SD
- Formatowanie standardowe: It is recommended to format the Micro SD card every 2-4 weeks to prevent data corruption and ensure optimal recording performance. This can usually be done through the dash cam's settings menu or via the mobile app.
- Wymiana karty: Micro SD cards have a limited lifespan. If you experience frequent recording errors or corrupted files, consider replacing the card with a new, high-quality Class 10 (or higher) Micro SD card.
6.2 Cleaning the Dash Camera
- Use a soft, dry cloth to clean the camera lenses and the display screen.
- Avoid using abrasive cleaners or solvents, as these can damage the lens coatings or plastic components.
7. Rozwiązywanie Problemów
| Problem | Możliwa przyczyna | Rozwiązanie |
|---|---|---|
| Kamera samochodowa nie włącza się. | Brak zasilania, uszkodzona ładowarka samochodowa, luźne połączenie. | Check car charger connection and vehicle's cigarette lighter socket. Try a different power source. |
| Nagrywanie zostaje zatrzymane lub zawieszone. | SD card error; full SD card; low-quality SD card. | Format the SD card. Replace with a new Class 10 (or higher) Micro SD card if issues persist. |
| Wideotage jest niewyraźne lub niejasne. | Folia ochronna na obiektywie; brudny obiektyw; nieprawidłowa ostrość. | Remove any protective film. Clean the lenses with a soft cloth. Ensure proper mounting. |
| Problemy z połączeniem Wi-Fi. | Incorrect Wi-Fi password; distance from camera; app not updated. | Ensure correct password. Move closer to the dash cam. Update the VeeCar App. |
| Monitor parkowania nie działa. | Zestaw przewodowy nie został zainstalowany; ustawienia są nieprawidłowe. | Install a Type-C hardwire kit (sold separately). Check parking monitor settings in the app or on the device. |
8. Specyfikacje
| Funkcja | Szczegół |
|---|---|
| Nazwa modelu | GT830 |
| Rozdzielczość przedniej kamery | 4K UHD (2160p) |
| Rozdzielczość tylnej kamery | 1080P |
| Ekran wyświetlacza | Ekran IPS 1.97" |
| Łączność | Wi-Fi (2.4 G) |
| Cechy specjalne | App Control, Built-In WiFi, G-Sensor, Loop Recording, Parking Monitor, Night Vision |
| Składowanie | Obsługuje karty Micro SD do 256 GB (w zestawie 32 GB) |
| Typ montażu | Uchwyt samoprzylepny |
| Wymiary produktu | 1.25" gł. x 3.6" szer. x 1.9" wys. |
| Waga przedmiotu | 15.2 uncji |
9. Gwarancja i wsparcie
E-YEEGER provides a 24-miesięczna gwarancja for the GT830 Dash Camera, ensuring your peace of mind. We also offer dożywotnie wsparcie techniczne I Obsługa klienta 24/7 to assist you with any setup guidance, troubleshooting, or other inquiries you may have. Please refer to the contact information provided in your Quick Guide or on the official E-YEEGER webwitryna wsparcia.