
1. Wprowadzenie
This manual provides essential information for the safe and efficient use of your Cecotec Bolero DressCode 9970 Direct Drive 9 Kg Washing Machine. Please read these instructions carefully before installation and operation, and keep them for future reference.
The Cecotec Bolero DressCode 9970 is a 9 kg front-load washing machine with a Direct Drive motor, offering 1400 RPM spin speed and 11 washing programs. It features a FullColor screen, an XXL door for easy loading, and advanced functions like SteamMax, Spa Care, Soil Level, Delayed End, My Fav, internal light, Drum Clean Plus, and Stop&Go. This appliance is designed for high efficiency and quiet operation.
2. Koniec produktuview
Familiarize yourself with the key components and features of your washing machine.
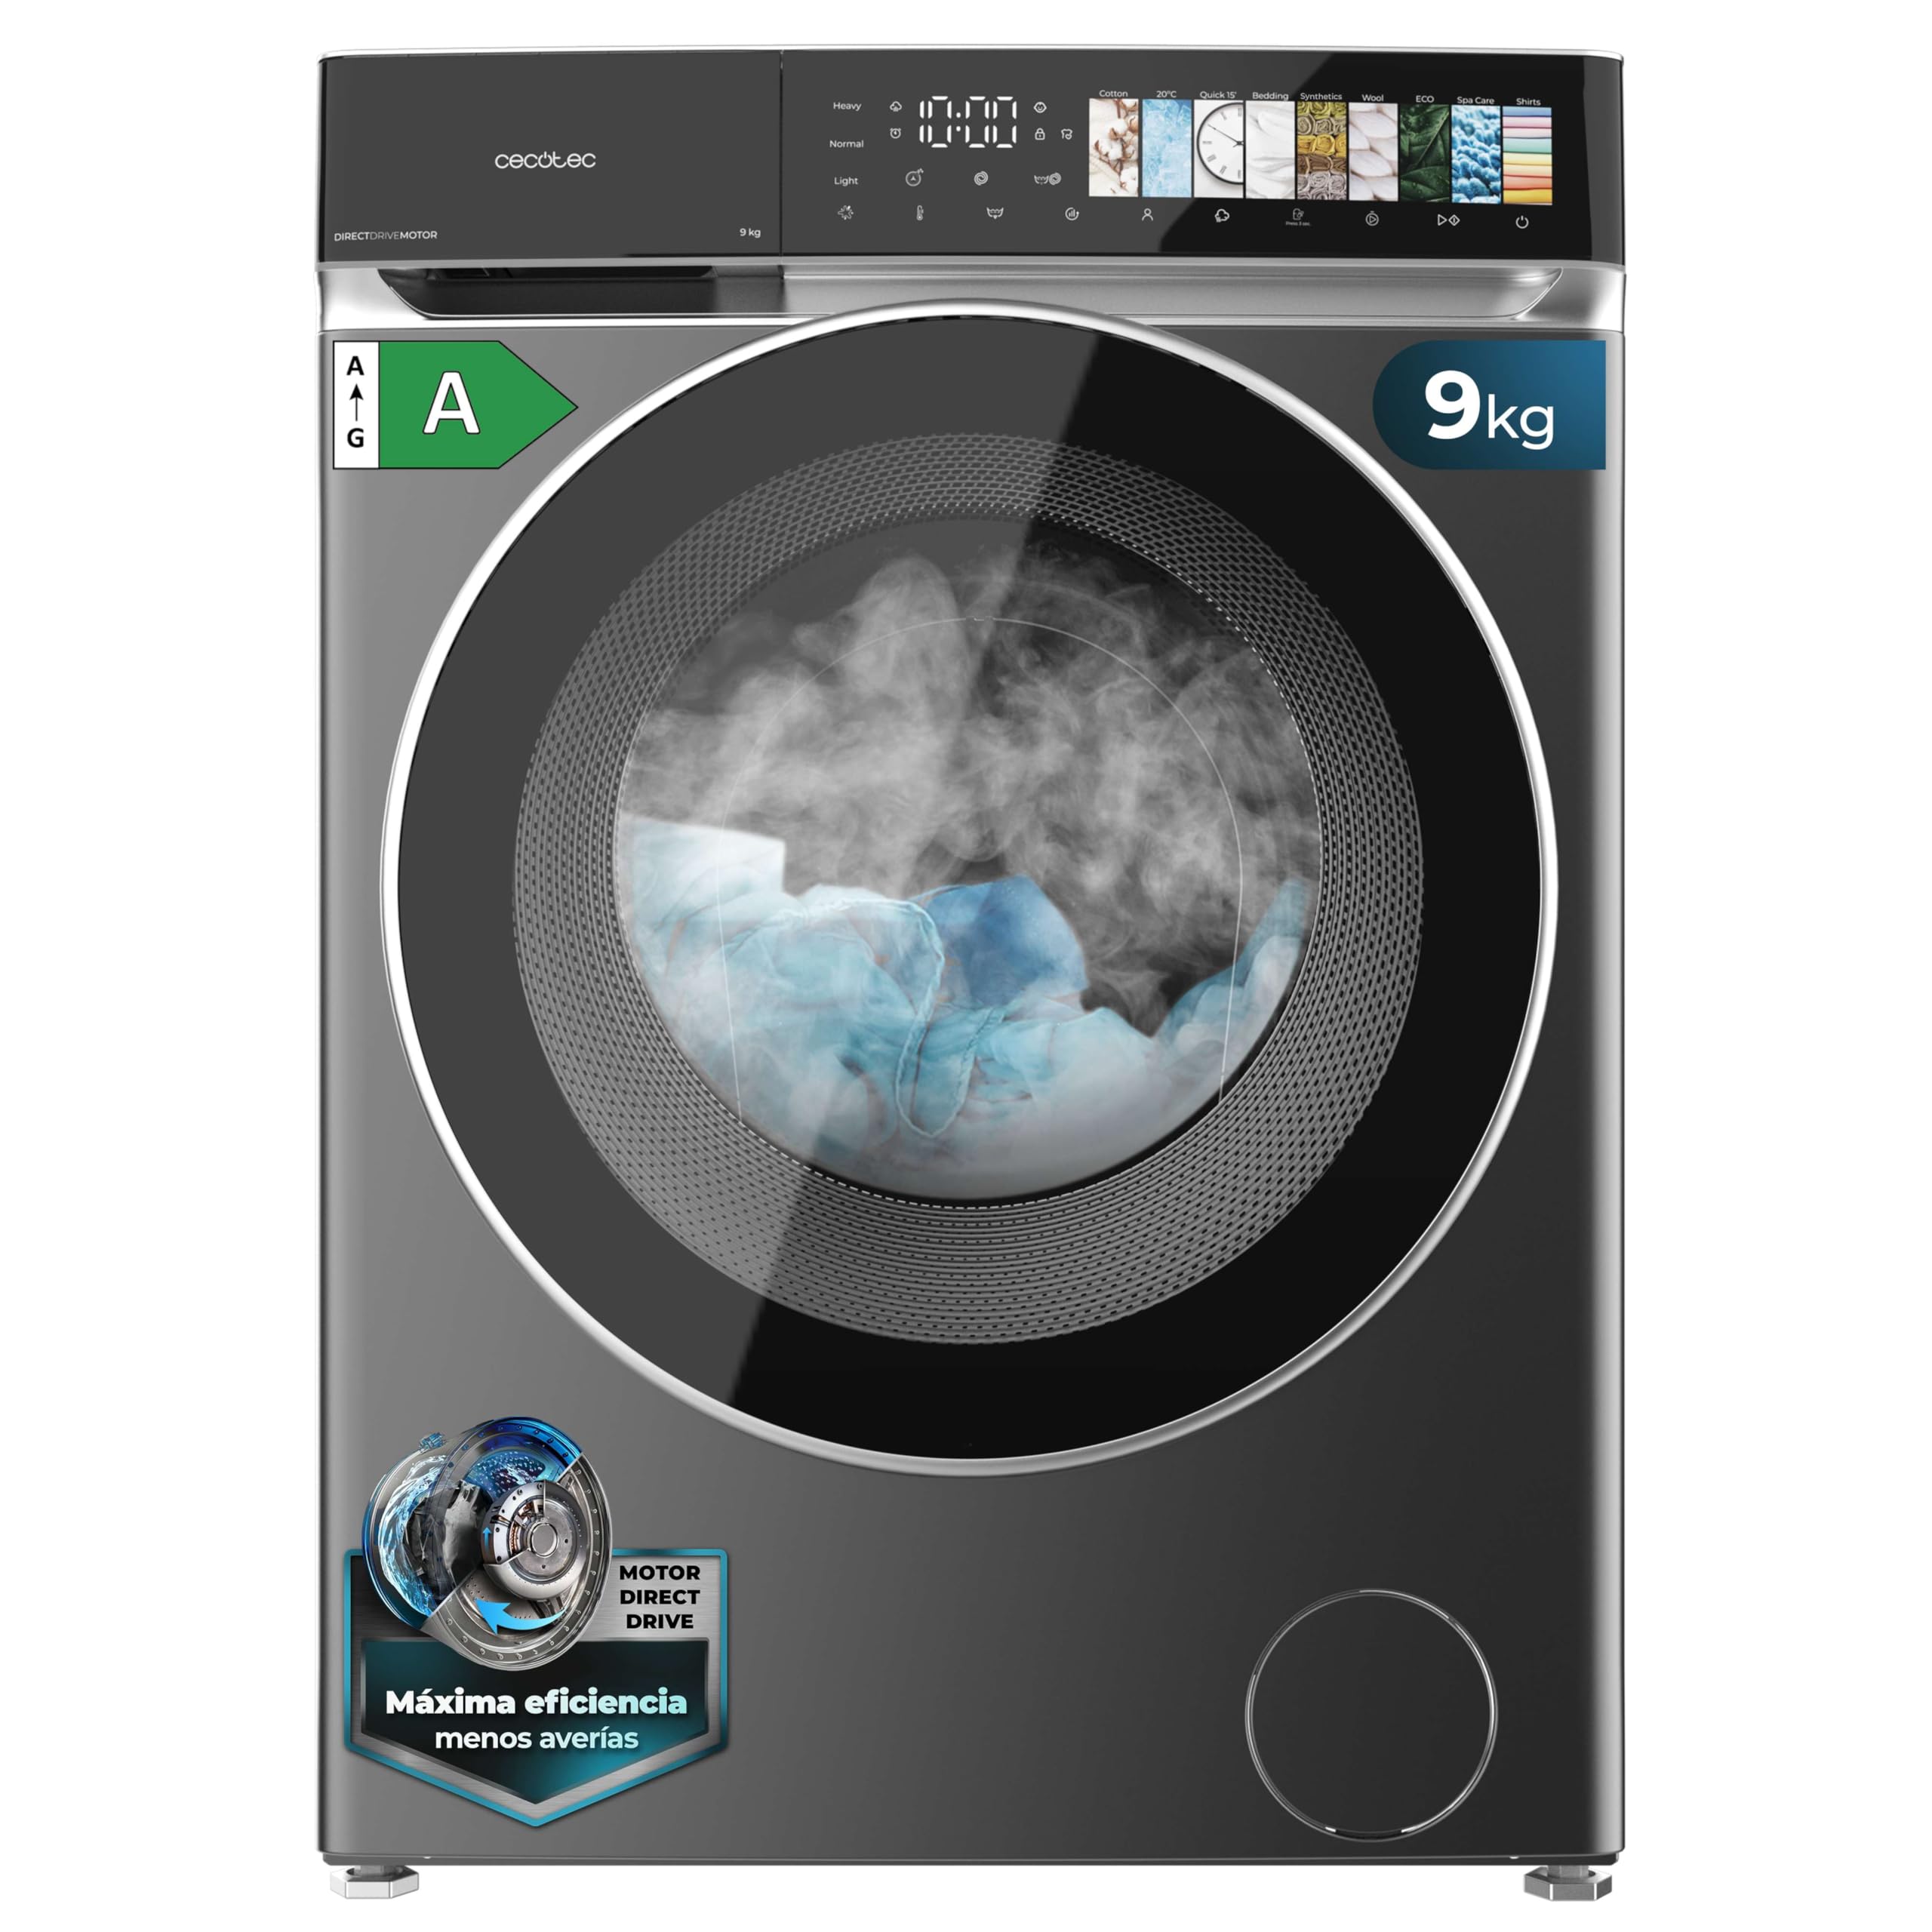
Rysunek 2.1: Przód view of the Cecotec Bolero DressCode 9970 Direct Drive Washing Machine.

Rysunek 2.2: Product dimensions: 84.5 cm (H) x 59.5 cm (W) x 61 cm (D).

Rysunek 2.3: Direct Drive motor for efficient and quiet operation.
Główne cechy:
- Silnik z napędem bezpośrednim: Ensures high efficiency, quiet operation, and durability with minimal maintenance.
- Pojemność 9 kg: Suitable for large loads, saving time and energy.
- Prędkość wirowania 1400 obr./min: Adjustable spin speed for efficient drying across various fabric types.
- 11 programów prania: Diverse programs to suit different fabrics and washing needs.
- FullColor Screen: Intuitive and modern interface for easy program selection and monitoring.
- XXL Door: Facilitates easy loading and unloading, even for bulky items.
- Funkcja SteamMax: Enhances washing with steam for deeper cleaning.
- Spa Care Program: Uses steam to sterilize clothes before washing, eliminating germs and bacteria, and softening fabrics.
- Soil Level Function: Automatically adjusts wash time based on selected dirt level.
- Opóźnione zakończenie: Allows scheduling the end of the wash cycle according to your convenience.
- My Fav Function: Saves your preferred washing program for quick access.
- Światło wewnętrzne: Improves visibility inside the drum during loading and unloading.
- Drum Clean Plus: A self-cleaning function for the drum, extending its lifespan.
- Funkcja Stop&Go: Pause the cycle to add or remove items.
3. Konfiguracja i instalacja
Proper installation is crucial for the performance and longevity of your washing machine. This is a freestanding appliance.
3.1 Rozpakowanie
Carefully remove all packaging materials. Ensure no parts are left inside the drum. Remove any transport bolts from the rear of the machine before use. Keep packaging materials out of reach of children.
3.2 Lokalizacja
- Ustaw pralkę na stabilnej i równej powierzchni.
- Upewnij się, że wokół maszyny jest wystarczająco dużo miejsca, aby umożliwić wentylację i konserwację.
- Unikaj bezpośredniego światła słonecznego i ekstremalnych temperatur.
- The product dimensions are 61 cm (depth) x 59.5 cm (width) x 84.5 cm (height).
3.3 Poziomowanie
Wyreguluj nóżki na spodzie maszyny, aby zapewnić jej idealne wypoziomowanie. Wypoziomowana maszyna redukuje wibracje i hałas podczas pracy.
3.4 Podłączenie wody
- Podłącz wąż doprowadzający wodę do kranu z zimną wodą za pomocą gwintu 3/4 cala.
- Sprawdź, czy wszystkie połączenia są szczelne, aby zapobiec wyciekom.
- Do not use old hoses; always use the new hoses supplied with the appliance.
3.5 Podłączenie odpływu
Securely place the drain hose into a standpipe or over the edge of a sink, ensuring it is properly fixed to prevent it from falling out during drainage.
3.6 Podłączenie elektryczne
- Podłącz przewód zasilający do uziemionego gniazdka elektrycznego.
- Upewnij się, że objętośćtage (240 Volts) matches your household supply.
- Nie należy używać przedłużaczy ani adapterów.
4. Instrukcja obsługi
Operating your Cecotec washing machine is straightforward with its intuitive FullColor touchscreen interface.

Rysunek 4.1: Loading laundry through the XXL door.
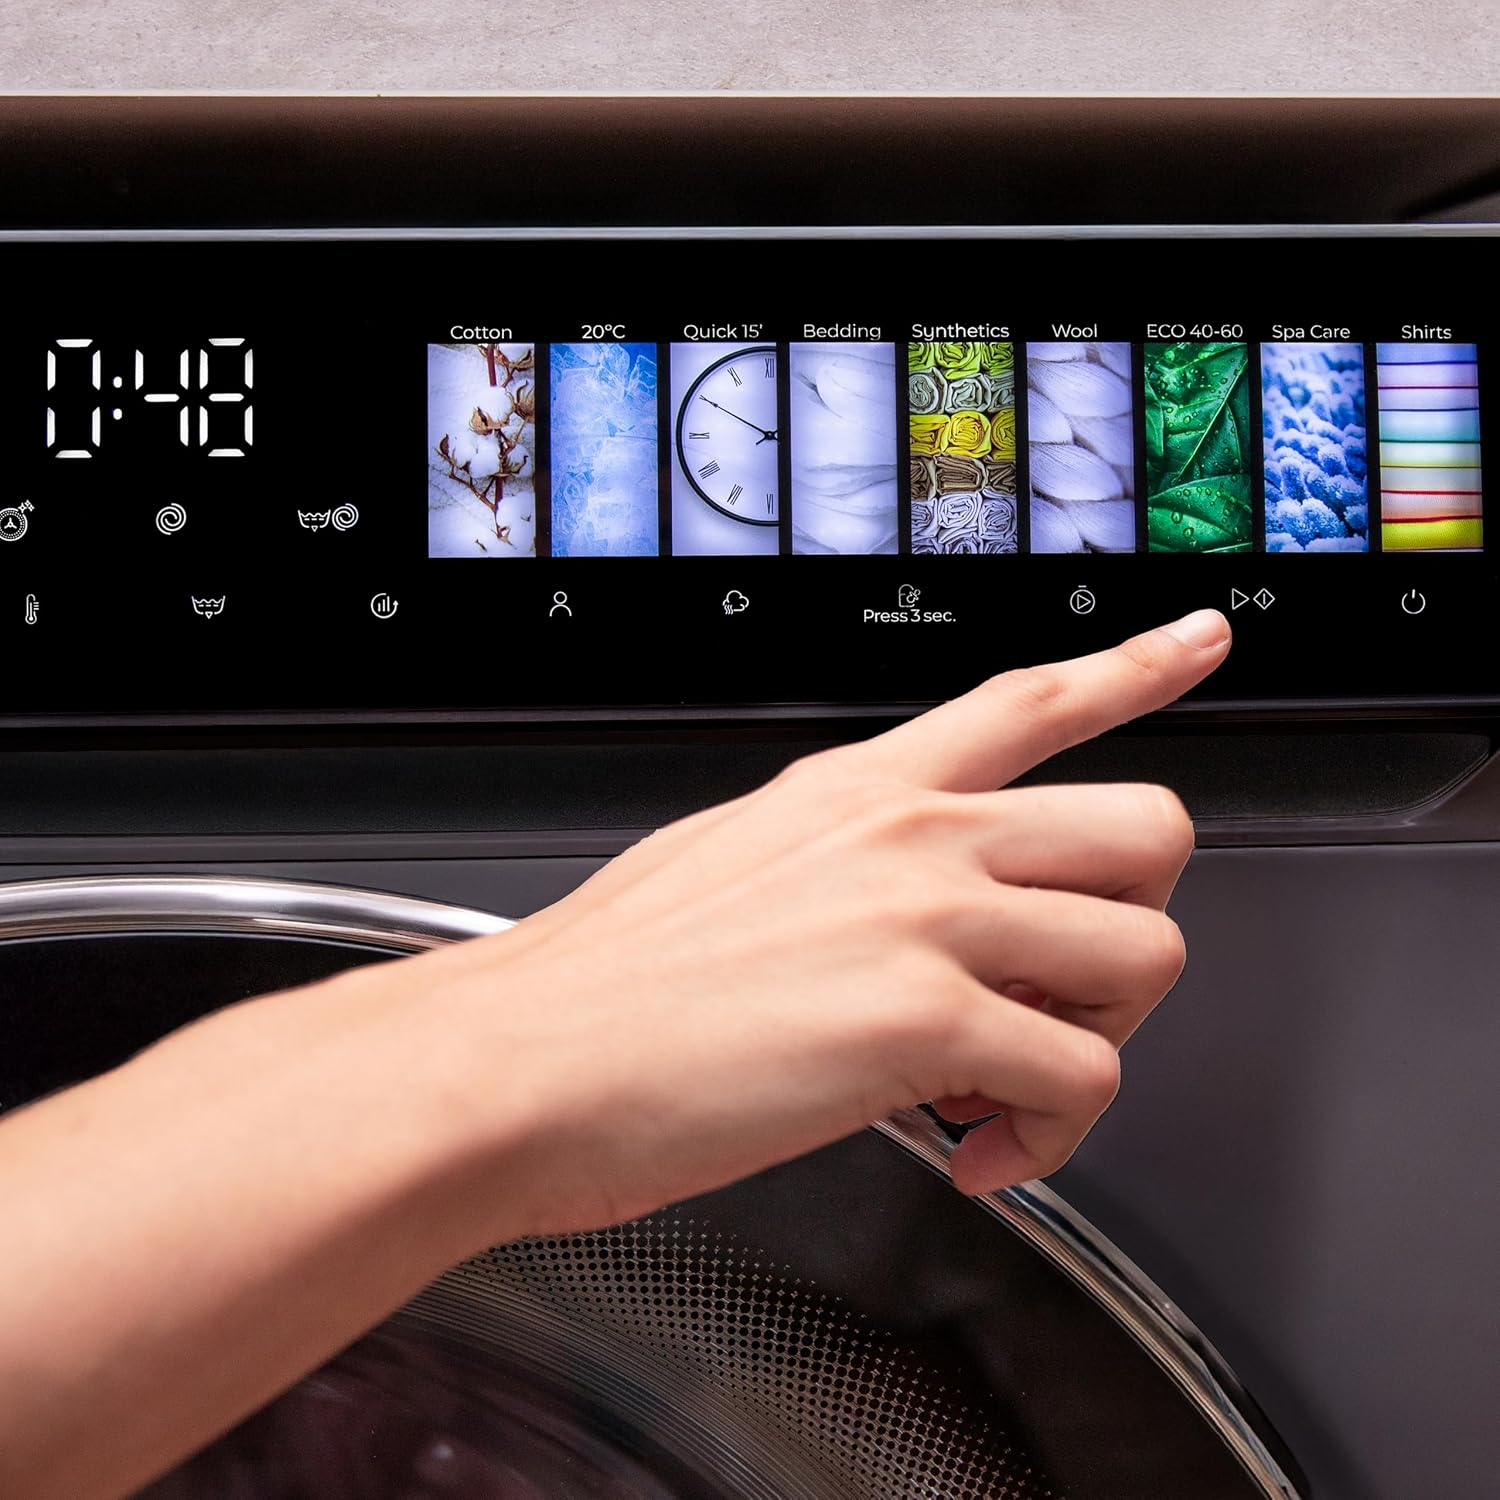
Rysunek 4.2: FullColor touchscreen control panel for program selection.

Rysunek 4.3: Steam function in action, ideal for Spa Care or SteamMax programs.

Rysunek 4.4: Loading stained clothes, where the Soil Level function can be utilized.
4.1 Załadunek prania
- Open the XXL door and load clothes, ensuring not to overload the drum. The 9 kg capacity allows for substantial loads.
- Zamknij drzwi dokładnie.
4.2 Dodawanie detergentu
Wsyp odpowiednią ilość detergentu i płynu do płukania tkanin do szufladek dozownika. Zalecane dawki znajdziesz na opakowaniu detergentu.
4.3 Wybór programu
- Włącz pralkę.
- Use the FullColor touchscreen to select one of the 11 available washing programs (e.g., Cotton, Synthetics, Wool, Quick 15', ECO 40-60).
- Rozważ użycie Opieka uzdrowiskowa program for steam sterilization or SteamMax do głębszego czyszczenia.
4.4 Dostosowywanie ustawień
- Kontrola temperatury: Adjust the wash water temperature as needed.
- Prędkość wirowania: Zmień prędkość wirowania do 1400 obr./min.
- Poziom gleby: Select the dirt level (e.g., light, normal, heavy) to optimize wash duration.
- Opóźnione zakończenie: Set a specific time for the wash cycle to finish.
- My Fav: Save your frequently used program and settings for quick recall.
4.5 Uruchamianie i wstrzymywanie
- Naciśnij przycisk Start/Pauza, aby rozpocząć cykl.
- To add or remove items during a cycle, use the Zatrzymaj się i jedź function. Press the Start/Pause button, wait for the door to unlock, add/remove items, then close the door and press Start/Pause again to resume.
5. Konserwacja i czyszczenie
Regularna konserwacja zapewnia optymalną wydajność i wydłuża żywotność pralki.
5.1 Drum Cleaning (Drum Clean Plus)
Wykorzystaj Czyszczenie bębna Plus function periodically to clean the drum and remove any residue or odors. Follow the instructions on the FullColor screen for this program.
5.2 Dozownik detergentu
Remove and clean the detergent dispenser drawer regularly to prevent buildup of detergent and softener residues.
5.3 Uszczelka drzwi
Wipe the rubber door seal after each wash to remove lint, hair, and moisture, preventing mold and unpleasant odors.
5.4 Drain Filter
Periodically check and clean the drain filter, usually located at the bottom front of the machine. This prevents blockages and ensures proper drainage.
5.5 Czyszczenie zewnętrzne
Wytrzyj obudowę urządzenia miękką, damp szmatką. Unikaj środków czyszczących o działaniu ściernym i rozpuszczalników.
6. Rozwiązywanie Problemów
Przed skontaktowaniem się z obsługą klienta prosimy o zapoznanie się z poniższymi typowymi problemami i ich rozwiązaniami.
| Problem | Możliwa przyczyna | Rozwiązanie |
|---|---|---|
| Maszyna się nie uruchamia | Power cord unplugged, door not closed properly, program not selected, child lock active. | Check power connection, ensure door is latched, select a program, deactivate child lock. |
| Nadmierne wibracje/hałas | Maszyna nie jest wypoziomowana, śruby transportowe nie zostały usunięte, nierównomierne obciążenie. | Adjust leveling feet, ensure transport bolts are removed, redistribute laundry evenly. |
| Woda nie spływa | Wąż spustowy jest zagięty lub zablokowany, filtr spustowy jest zatkany. | Check drain hose for kinks, clean the drain filter. |
| Wyciek wody | Hose connections loose, detergent dispenser overflowing, door seal damaged. | Tighten hose connections, do not overfill detergent dispenser, inspect door seal for damage. |
| Ubrania nie czyste | Overloading, insufficient detergent, incorrect program selection. | Reduce load size, use correct detergent amount, select appropriate program for fabric type and soil level. |
Jeśli po wypróbowaniu tych rozwiązań problem nadal występuje, skontaktuj się z obsługą klienta Cecotec.
7. Specyfikacje
Detailed technical specifications for the Cecotec Bolero DressCode 9970 Direct Drive Washing Machine.
| Funkcja | Szczegół |
|---|---|
| Marka | Cecotec |
| Nazwa modelu | Bolero DressCode 9970 Direct Drive Steel |
| Numer modelu | A01_EU01_104030 |
| Typ produktu | Pralka ładowana od przodu |
| Pojemność | 9 kilogramów |
| Wymiary (gł. x szer. x wys.) | Wymiary: 61 cm x 59.5 cm x 84.5 cm |
| Waga przedmiotu | 71 kilogramów |
| Kolor | Stal |
| Materiał (bęben) | Stal |
| Skończyć | Stal nierdzewna |
| Typ silnika | Napęd bezpośredni |
| Maksymalna prędkość wirowania | 1400 obr./min. |
| Liczba programów | 11 |
| Typ sterowania | Ekran dotykowy |
| Cechy specjalne | Child Lock, Temperature Control, SteamMax, Spa Care, Soil Level, Delayed End, My Fav, Internal Light, Drum Clean Plus, Stop&Go |
| Typ instalacji | Wolnostojące |
| Tomtage | 240 wolty |
| Kraj pochodzenia | Hiszpania |
| Zawarte komponenty | 1 x Washing Machine; 1 x Instruction Manual |
Informacje dotyczące efektywności energetycznej:

Rysunek 7.1: EU Energy Label for the appliance.
Więcej szczegółów znajdziesz na stronie Baza danych EPREL.
8. Gwarancja i pomoc techniczna
Your Cecotec Bolero DressCode 9970 Direct Drive Washing Machine comes with comprehensive warranty and support.
8.1 Gwarancja na produkt
Produkt jest objęty gwarancją 3-letnia gwarancja od daty zakupu. Zachowaj dowód zakupu na wypadek roszczeń gwarancyjnych.
8.2 Dostępność części zamiennych
Spare parts for this appliance are available for a duration of 10 lata w obrębie UE, zapewniając długoterminową użyteczność.
8.3 Obsługa klienta
For any technical assistance, warranty claims, or inquiries, please contact Cecotec customer support. Refer to the contact information provided in your purchase documentation or visit the official Cecotec webstrona.
The Cecotec team is dedicated to providing support and assistance whenever needed.