
1. Wprowadzenie
Thank you for choosing the Caupureye HDV900pro 4K 48MP Camcorder. This device is designed to capture high-quality video and images, offering a range of features for both beginners and enthusiasts. With 4K video resolution, 48.0MP image resolution, and 21x digital zoom, it's ideal for vlogging, travel, and capturing everyday moments. The 270° rotatable screen provides flexible shooting angles, and included accessories like an external microphone and 64GB SD card enhance your recording experience.
Wideo: Ponadview of the Caupureye 4K 48MP Camcorder, showcasinjego projekt i kluczowe cechy.
2. Co znajduje się w pudełku
Your Caupureye HDV900pro package includes the following items:
- 1 x Camcorder Video Camera
- 2 baterii litowo-jonowych
- Karta SD 1 x 64GB
- 1 x Mikrofon zewnętrzny
- 1 x kabel HDMI
- 1 x kabel USB
- 1 x Pilot zdalnego sterowania
- 1 x torba na aparat
- 1 x Instrukcja obsługi
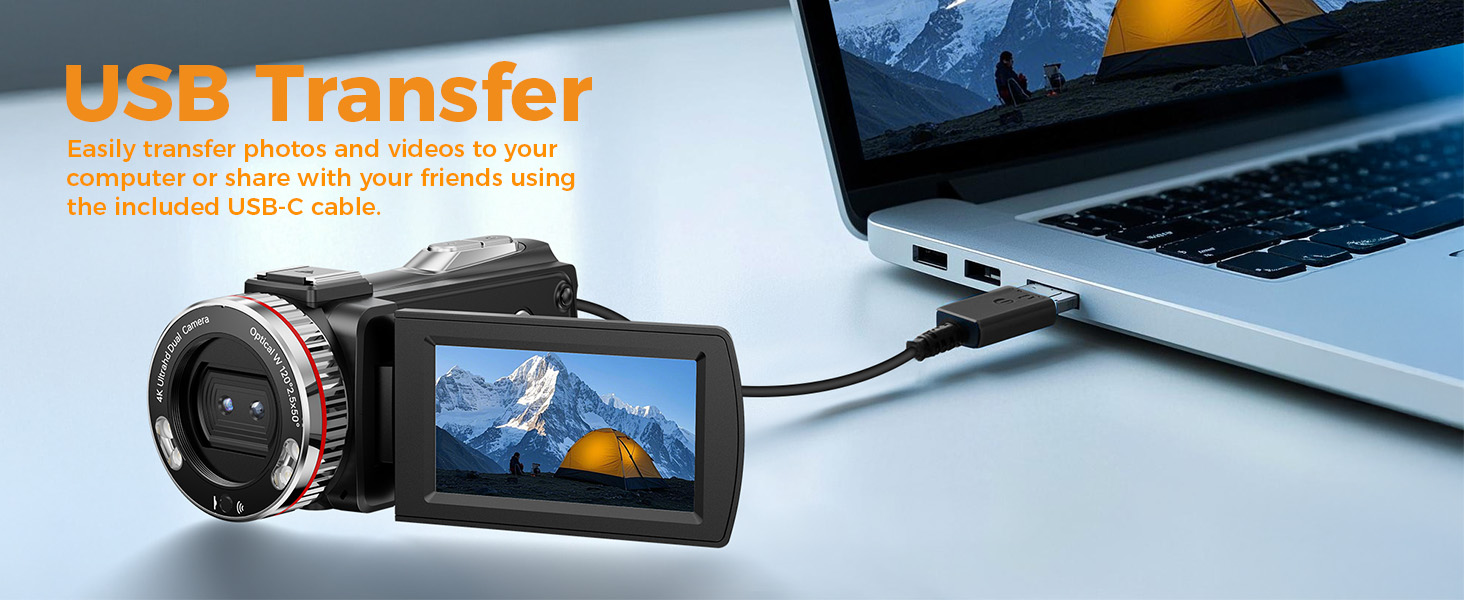
Image: A visual representation of all items included in the Caupureye HDV900pro Camcorder package.
3. Koniec produktuview
The Caupureye HDV900pro camcorder features a compact design with a 3.0-inch 270° rotatable screen for versatile shooting. It supports 4K video and 48MP photos, with 21x digital zoom. The camera includes a built-in fill light for low-light conditions and dual lenses (wide-angle and narrow) for various scenarios.

Image: The camcorder capturing a scene, highlighting its 4K 48MP capabilities and rotatable screen.
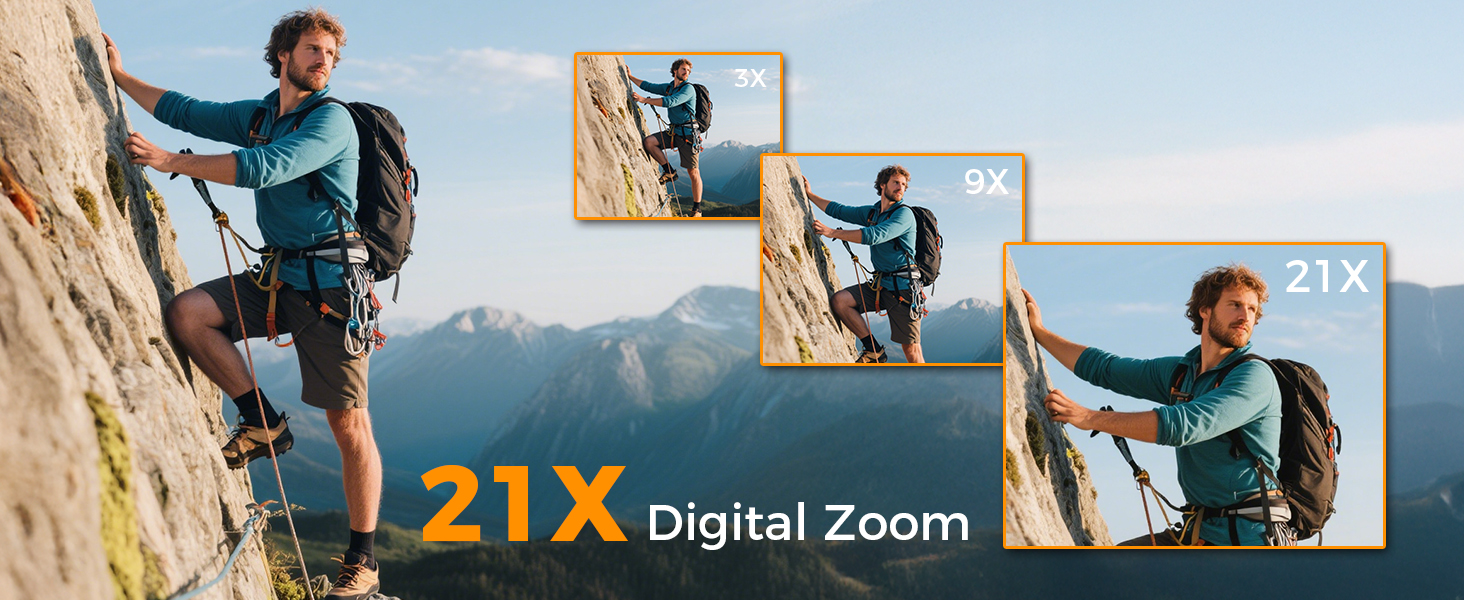
Image: Visual comparison of 3x, 9x, and 21x digital zoom, and the difference between normal and 120° wide-angle views.

Image: The LED Fill Light in action, demonstrating its ability to enhance image quality in low-light conditions.
4. Konfiguracja
4.1 Instalacja i ładowanie akumulatora
Insert one of the provided Li-ion batteries into the battery compartment. The camcorder supports recording while charging, ensuring you don't miss any moments. Use the included USB cable to charge the batteries.
4.2 Wkładanie karty SD
Insert the 64GB SD card (or your own U3 class 10 memory card up to 512GB) into the designated slot. Ensure it clicks into place.
4.3 External Microphone Attachment
Attach the external microphone to the camcorder's hot shoe mount and plug it into the microphone input for enhanced audio recording.
5. Podstawowa obsługa
5.1 Włączanie/wyłączanie zasilania
Open the 270° rotatable screen to power on the camcorder. Close the screen to power it off.
5.2 Nagrywanie wideo i robienie zdjęć
To record video or take photos, follow these steps:
- Naciśnij TRYB button to select your desired mode (video or photo).
- Naciśnij MIGAWKA button to start/stop recording or take a photo.
- Użyj W/T button to zoom in/out.
- Naciśnij WYPEŁNIJ ŚWIATŁO button to activate the LED light in dark areas.

Image: Step-by-step guide on using the camcorder's buttons for recording and photography.
6. Zaawansowane funkcje
6.1 Webcam and HDMI Output
Connect the camcorder to your computer via USB and select "PC Camera" mode to use it as a webcam for live streaming. For an immersive viewing experience, connect the camcorder to a TV using the HDMI cable.

Image: The camcorder functioning as a webcam and connected to a TV via HDMI.
6.2 Specjalne tryby nagrywania
The camcorder offers various modes to enhance your creativity:
- Funkcja pauzy: Pause and resume recording without creating multiple files.
- Slow-Motion Recording: Capture detailed slow-motion video.
- Nagrywanie poklatkowe: Skróć długie wydarzenia do krótkich, angażujących filmów.
- Selfie: Use the rotatable screen to frame yourself perfectly.
- Ciągłe strzelanie: Wykonaj szybką serię zdjęć.
- Night Vision (LED Fill Light): Improve visibility in dark environments.

Obraz: Byłyamples of different recording modes, including pause, slow-motion, and time-lapse.
7. Podłączanie do komputera
Use the provided USB cable to connect your camcorder to a computer. This allows for easy transfer of photos and videos for editing or sharing.

Image: The camcorder connected to a laptop, illustrating the USB transfer function.
8. Odtwarzanie
Aby ponownieview your recorded videos and photos:
- Naciśnij PLAY/RIGHT aby przejść do trybu odtwarzania.
- Użyj GÓRA/DÓŁ button to select the clip you wish to view.
- Naciśnij OK button to play or stop the video.
- Naciśnij MENU/LEFT button to delete a clip or return to the gallery.

Image: Step-by-step guide on how to access and control media playback on the camcorder.
9. Rozwiązywanie Problemów
- Kamera nie włącza się: Upewnij się, że baterie są prawidłowo włożone i całkowicie naładowane.
- Słaba jakość obrazu/wideo: Check lighting conditions, adjust exposure settings, or ensure the lens is clean.
- Mikrofon nie nagrywa dźwięku: Ensure the external microphone is securely plugged in and powered on (if applicable).
- Błąd karty SD: Ensure the SD card is correctly inserted and not full. Try formatting the card (this will erase all data).
- Pilot nie działa: Ensure the battery in the remote is functional and there are no obstructions between the remote and the camcorder.
Jeśli potrzebujesz dalszej pomocy, skontaktuj się z obsługą klienta.
10. Specyfikacje
| Funkcja | Szczegół |
|---|---|
| Marka | Caupureye |
| Numer modelu | HDV900pro |
| Rozdzielczość przechwytywania wideo | 4K |
| Technologia czujnika fotograficznego | CMOS |
| Maksymalna apertura | 2 stopnia |
| Rozmiar ekranu | 3 cali |
| Technologia łączności | USB |
| Waga przedmiotu | 1.41 funta |
11. Gwarancja i wsparcie
For warranty information or technical support, please refer to the contact details provided in your product packaging or visit the official Caupureye webStrona internetowa. Nasz zespół obsługi klienta jest do Państwa dyspozycji i chętnie odpowie na wszelkie pytania lub wątpliwości.