
1. Informacje dotyczące bezpieczeństwa
Please read all safety instructions carefully before installing and operating the AUTO-VOX Solar5 Wireless Backup Camera. Failure to follow these instructions may result in product damage, property damage, or personal injury.
- Instalacja: Ensure the camera and monitor are securely mounted to prevent detachment during vehicle operation. Do not obstruct the driver's view lub zakłócać sterowanie pojazdem.
- Źródło zasilania: Use only the provided power cable and connect to a compatible 12V vehicle power outlet.
- Wodoodporność: The camera is designed for outdoor use and is waterproof. However, avoid submerging the camera in water or exposing it to high-pressure water jets.
- Temperatura: Operate and store the device within the specified temperature range to prevent damage.
- Czyszczenie: Użyj miękkiego, damp Do czyszczenia należy używać ściereczki. Unikać stosowania środków czyszczących o działaniu ściernym i rozpuszczalników.
- Zastrzeżenie: This device is an aid for safe driving and parking. It does not replace the driver's responsibility to operate the vehicle safely and observe surroundings.
2. Zawartość opakowania
Sprawdź, czy w przesyłce znajdują się wszystkie elementy:
- AUTO-VOX Solar5 Wireless Backup Camera (with integrated solar panel)
- 7.2-calowy monitor bezprzewodowy
- Car Charger (for monitor power)
- Uchwyt montażowy do monitora
- Magnetic Mounting Plate for Camera (for non-magnetic surfaces)
- Screws and Tools for Installation
- Instrukcja obsługi

Image: AUTO-VOX Solar5 Wireless Backup Camera and Monitor with accessories.
3. Koniec produktuview
3.1. Elementy aparatu
- Obiektyw aparatu: Złap tył view.
- Panel słoneczny: Ładuje wewnętrzną baterię.
- Antena: Do bezprzewodowej transmisji sygnału.
- Przycisk/wskaźnik zasilania: Turns the camera on/off and shows status.
- Podstawa magnetyczna: Umożliwia łatwe mocowanie do powierzchni metalowych.
3.2. Monitor Components
- Ekran wyświetlacza: Shows the camera feed.
- Anteny: Do odbioru sygnału bezprzewodowego.
- Przyciski sterujące: Do nawigacji po menu i zmiany ustawień.
- Pobór mocy: Łączy się z ładowarką samochodową.
- Gniazdo montażowe: For attaching the monitor to its bracket.
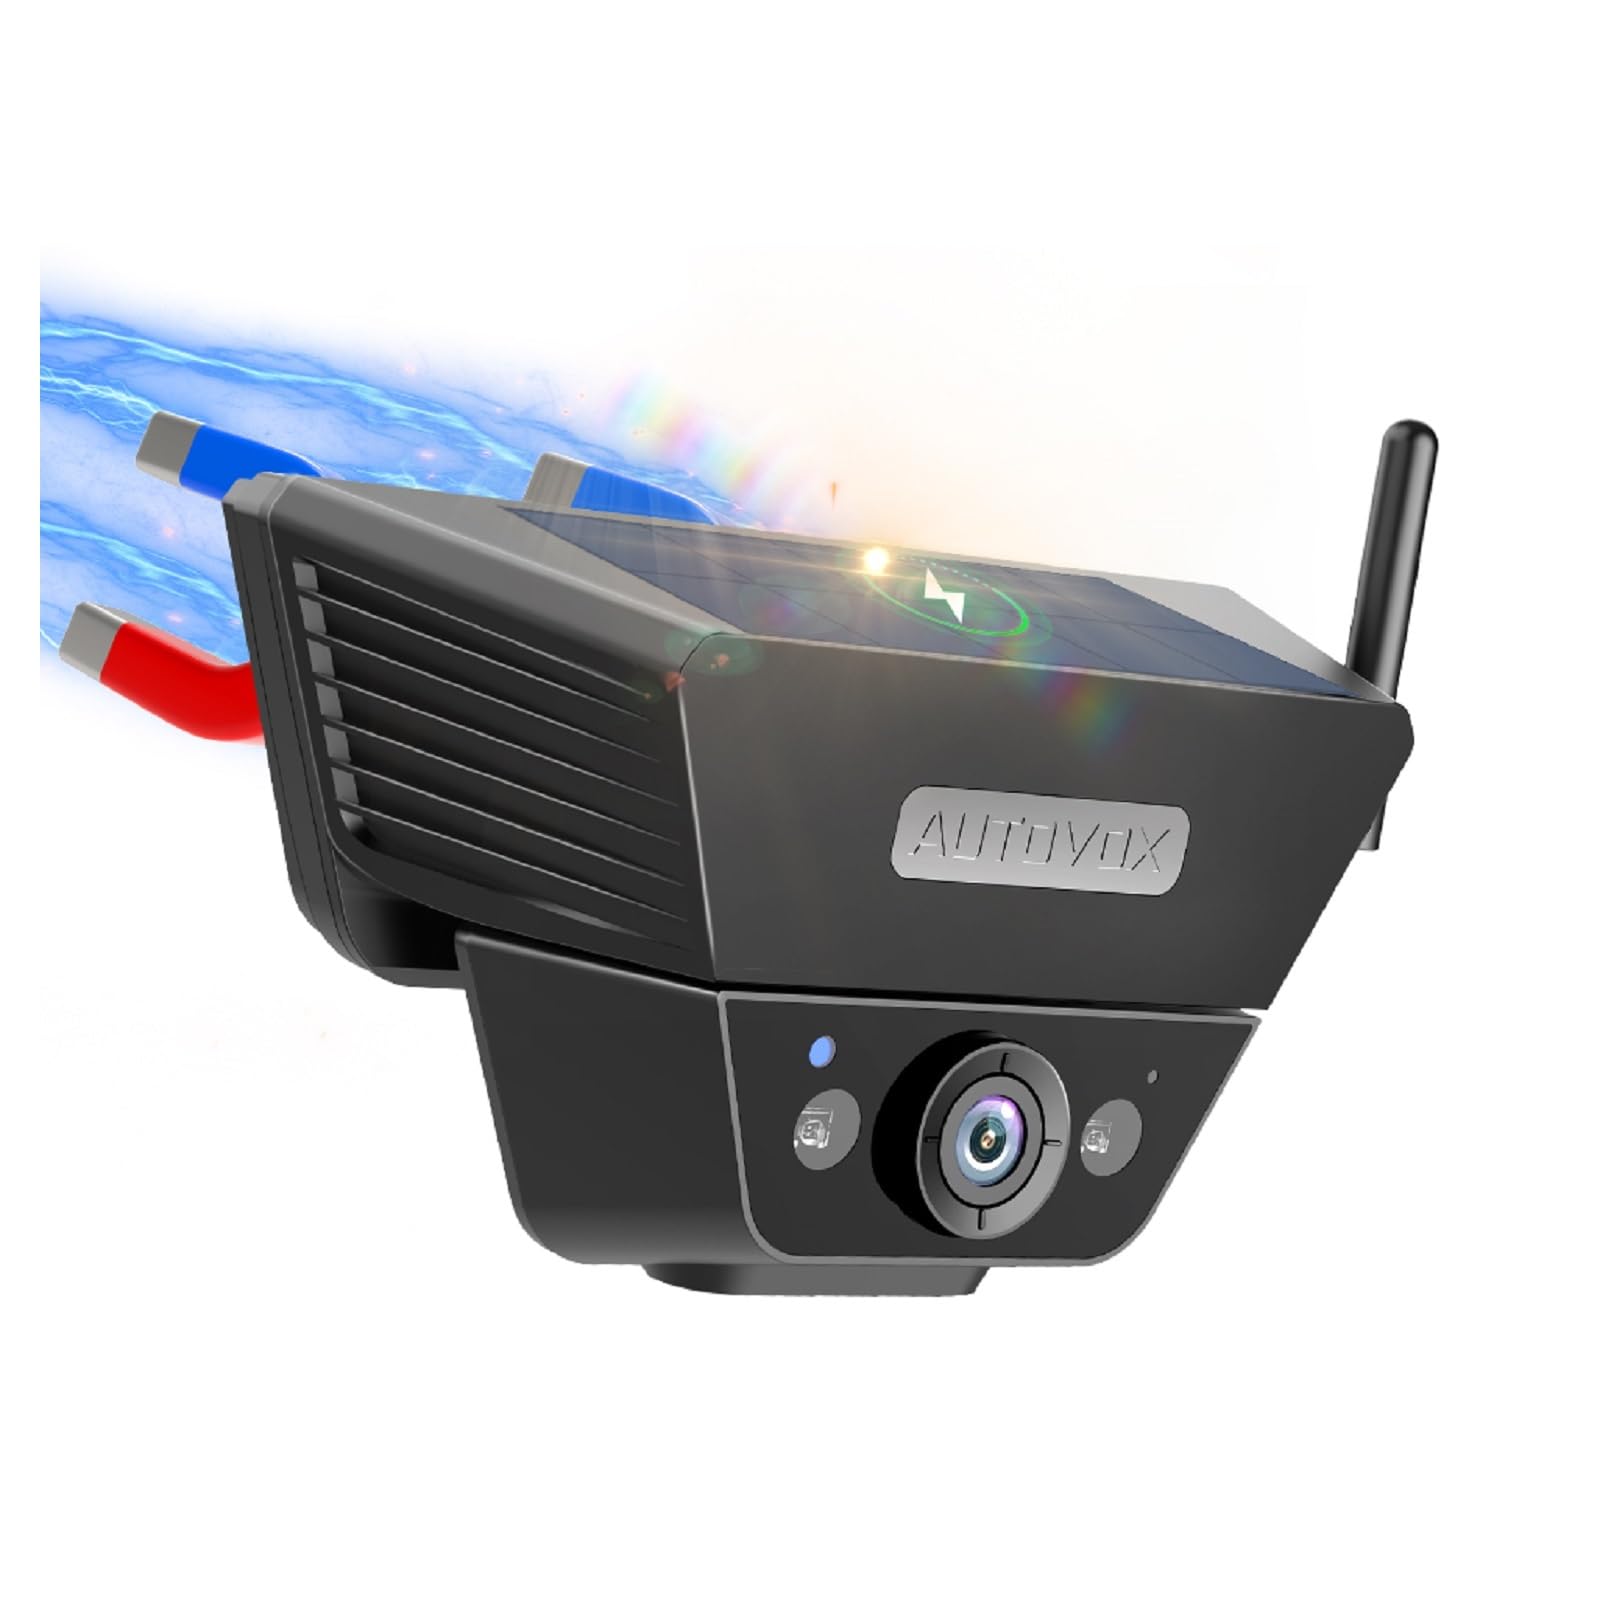
Image: The AUTO-VOX Solar5 wireless backup camera and its monitor, showcasing their design and key features.
4. Instalacja
4.1. Instalacja kamery
The Solar5 camera features a strong magnetic base for easy attachment to metal surfaces on your vehicle, such as the license plate area or the rear of a trailer. If your desired mounting location is not magnetic, use the provided magnetic mounting plate and screws to create a secure attachment point.
- Wybierz lokacje: Select a suitable location at the rear of your vehicle that provides a clear view and does not obstruct the license plate or other essential components.
- Mocowanie magnetyczne: If the surface is metal, simply place the camera onto it. The strong magnet will hold it in place.
- Non-Magnetic Mount (Optional): If the surface is not magnetic, attach the magnetic mounting plate using the provided screws. Then, attach the camera to this plate.
- Dostosuj kąt: Dostosuj kąt kamery, aby uzyskać pożądany efekt viewperspektywa.
- Włącz kamerę: Press and hold the power button on the camera for 3 seconds until the green indicator light illuminates.
Video: This video demonstrates the simple installation process of the AUTO-VOX Solar5 wireless backup camera, including magnetic attachment and angle adjustment.

Image: A blue car with the AUTO-VOX Solar5 camera mounted, illustrating its discreet and secure placement.
4.2. Instalacja monitora
The monitor can be easily mounted on your dashboard using the provided bracket.
- Zamocuj wspornik: Secure the mounting bracket to the back of the monitor.
- Wybierz lokacje: Wybierz płaską i stabilną powierzchnię na desce rozdzielczej, która nie będzie przeszkadzać. view drogi.
- Bezpieczny monitor: Peel off the protective film from the adhesive base of the bracket and firmly press it onto the dashboard. Lock the monitor into position.
- Podłącz zasilanie: Insert the car charger into your vehicle's 12V power outlet (cigarette lighter socket) and connect the other end to the monitor's power input.
- Włącz monitor: The monitor should automatically power on when the vehicle's ignition is turned on. If not, press the power button on the monitor.
Video: This video demonstrates the setup of the AUTO-VOX Solar5 monitor, including mounting on the dashboard and connecting to the car's power supply.
5. Instrukcja obsługi
5.1. Włączanie/wyłączanie zasilania
- Kamera: Press and hold the power button for 3 seconds to turn on or off. The green light indicates it's on.
- Monitor: The monitor typically powers on automatically with the vehicle's ignition. Press the power button briefly to turn the screen on/off manually.
5.2. Viewwłączanie kanału kamery
- Once both the camera and monitor are powered on, the monitor will automatically display the live feed from the backup camera.
- When the vehicle is put into reverse gear, the monitor will prioritize the camera view.
5.3. Ustawienia monitora
Use the buttons on the monitor to navigate the menu and adjust settings such as brightness, contrast, and parking guidelines.
- Przycisk menu: Uzyskaj dostęp do głównego menu ustawień.
- Przyciski w górę/w dół: Poruszaj się po opcjach menu i dostosuj wartości.
- Przycisk OK/Wybierz: Potwierdź wybór.
- Wytyczne dotyczące parkowania: Enable or disable parking lines, and adjust their position or width if supported by the model.
6. Konserwacja
- Obiektyw aparatu: Regularly clean the camera lens with a soft, lint-free cloth to ensure a clear image. Avoid scratching the lens.
- Panel słoneczny: Keep the solar panel clean and free from dirt, dust, or snow to maximize charging efficiency.
- Ekran monitora: Clean the monitor screen with a soft, dry cloth. Do not use harsh chemicals.
- Ładowanie akumulatora: While the camera is solar-powered, occasional direct charging via USB may be necessary during prolonged periods of low sunlight or heavy use.
- Bezpieczne mocowanie: Periodically check that both the camera and monitor are securely mounted and that all cables are properly connected.
7. Rozwiązywanie Problemów
| Problem | Możliwa przyczyna | Rozwiązanie |
|---|---|---|
| Brak obrazu na monitorze | Camera or monitor not powered on; poor wireless connection; damaged cable. | Ensure both camera and monitor are powered on. Check all cable connections. Re-pair the camera and monitor if necessary (refer to pairing instructions in full manual). Move closer if range is an issue. |
| Obraz jest niewyraźny lub zniekształcony | Dirty camera lens; condensation; interference. | Clean the camera lens. Allow time for condensation to clear. Check for sources of electromagnetic interference. |
| Bateria aparatu szybko się rozładowuje | Insufficient sunlight for solar charging; frequent use in low-light conditions. | Ensure solar panel is clean and exposed to direct sunlight. Charge the camera directly via USB if needed. |
| Monitor not turning on automatically | Car charger not receiving power; faulty connection. | Check the vehicle's 12V power outlet. Ensure the car charger is fully inserted and functional. |
8. Specyfikacje
- Model: Solar5
- Marka: AUTO-VOX
- Łączność: Bezprzewodowy
- Funkcje aparatu: Solar power, strong magnetic mount, night vision, waterproof
- Rozmiar monitora: 7.2 cale (wyświetlacz)
- Pobór mocy: 12V (for monitor)
- Bateria: Rechargeable (for camera)
- Pole View: 180 stopnia
- Środowisko użytkowania: Plenerowy
- Zawartość zestawu: Backup camera cam7
9. Gwarancja i wsparcie
The AUTO-VOX Solar5 Wireless Backup Camera comes with an 18-miesięczna gwarancja od daty zakupu. Niniejsza gwarancja obejmuje wady produkcyjne i usterki powstałe podczas normalnego użytkowania.
For technical support, warranty claims, or any questions regarding your product, please contact AUTO-VOX customer service:
- Webstrona: www.auto-vox.com
- E-mail: Refer to your product packaging or the official AUTO-VOX webodwiedź witrynę, aby uzyskać najnowszy adres e-mail pomocy technicznej.
Please have your purchase receipt and product model number (Solar5) ready when contacting support.

Image: An illustration representing customer support, encouraging users to reach out for assistance.