
1. Wprowadzenie
The eRapta AWTCM501 Magnetic Solar Wireless Backup Camera system provides enhanced visibility and safety for various vehicles, including trailers, trucks, RVs, campers, and tractors. Featuring a 5-inch HD1080P touchscreen monitor, a magnetic solar-powered camera, and advanced features like Blind Spot Detection (BSD) and Loop DVR, this system offers a convenient and reliable solution for reversing and monitoring.
2. Co znajduje się w pudełku
- 5-calowy monitor
- Magnetic Solar Backup Camera
- Antenna (x3, 2 for monitor, 1 for camera)
- Wspornik przyssawki
- Type-C Charger & Car Charger
- 32GB SD Card (pre-installed in DVR)
- Steel Plate (for non-magnetic surfaces)
- Śruby montażowe

Image: All components included in the eRapta AWTCM501 package, neatly arranged.
3. Konfiguracja
3.1 Camera Installation (1-Minute Install-Free)
- Naładuj aparat: Fully charge the camera's built-in Li-ion battery using the provided Type-C charger before first use. The solar panel will maintain the charge during daylight.
- Podłącz antenę: Screw the provided antenna onto the designated port on the camera.
- Zamontuj kamerę:
- Mocowanie magnetyczne: Attach the strong magnetic base of the camera to any metal surface at the rear of your vehicle (trailer, truck, RV, etc.). Ensure the surface is clean and flat for optimal adhesion.
- Non-Magnetic Surfaces: If your desired mounting location is not metal, use the included steel plate. Secure the steel plate to the vehicle using the provided screws or adhesive, then attach the magnetic camera to the plate.
- Dostosuj kąt kamery: The camera features an adjustable head. Loosen the side screws, position the camera for the desired view, and then tighten the screws to secure it.

Image: The magnetic solar backup camera attached to the rear of a vehicle, demonstrating its easy, wire-free installation.

Obraz: szczegółowy view of the camera's solar panel and adjustable mounting mechanism, highlighting its robust design.
3.2 Instalacja monitora
- Podłącz antenę: Screw the two remaining antennas onto the designated ports on the monitor.
- Monitor montażowy: Attach the suction cup bracket to the monitor. Clean the desired area on your windshield or dashboard thoroughly. Press the suction cup firmly against the surface and engage the lever to secure it.
- Włączanie: Plug the car charger into your vehicle's 12V power outlet (cigarette lighter). Connect the other end to the monitor. The monitor will power on automatically or by pressing the power button.
- Łączenie w pary: The camera and monitor should auto-pair upon powering on. If no signal is detected, refer to the troubleshooting section or the monitor's settings menu for manual pairing options.
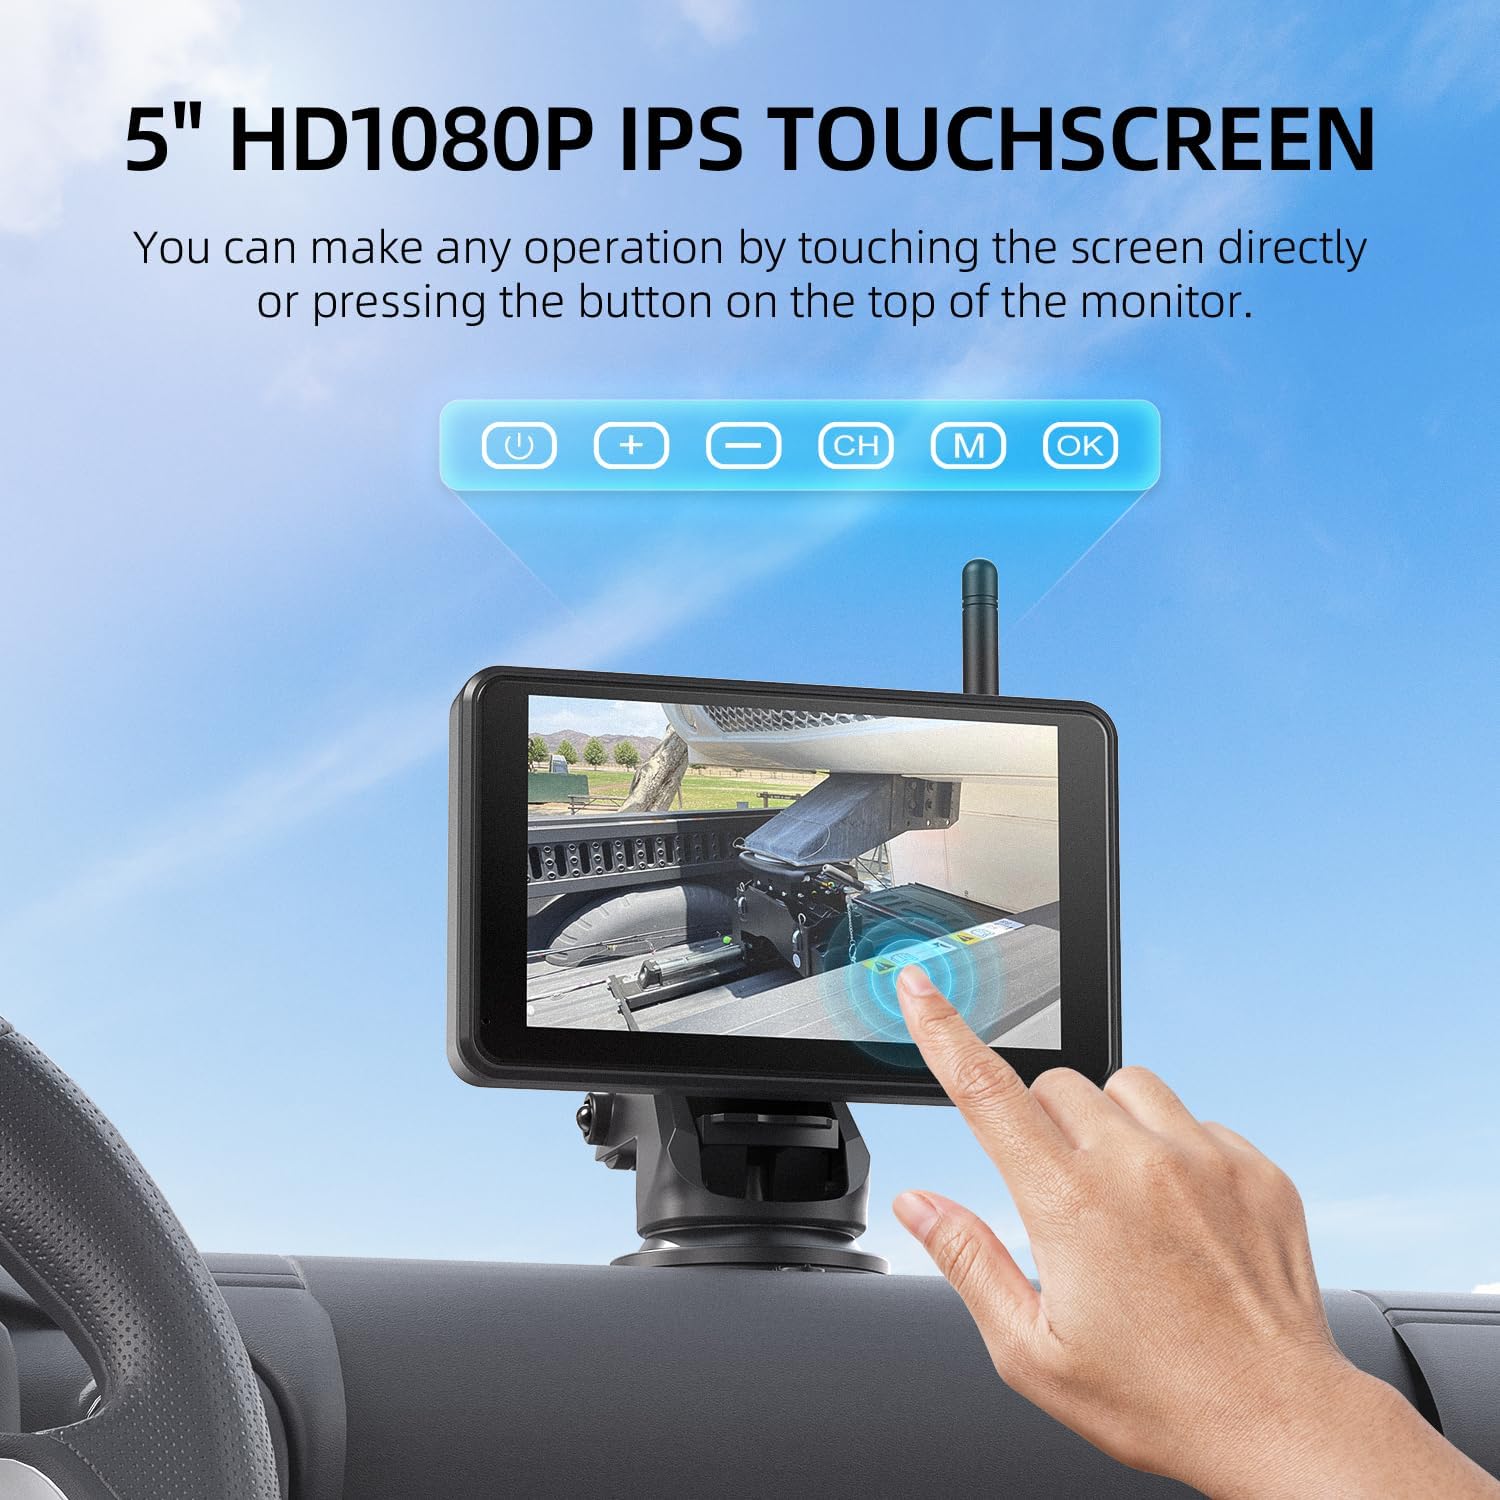
Image: The 5-inch HD touchscreen monitor securely mounted on a vehicle's dashboard, displaying the camera feed.
4. Instrukcja obsługi
4.1 Sterowanie za pomocą ekranu dotykowego
The 5-inch HD1080P IPS touchscreen allows for intuitive control of the system. Simply touch and click on the screen to access various functions.

Image: A hand demonstrating interaction with the touchscreen monitor, showing the ease of use for various settings.
4.2 Blind Spot Detection (BSD)
Enhance driving safety with the integrated BSD feature. Once customized in the settings, the AI system will provide visual alarms on the screen and audio warnings if obstacles or people are detected near the parking lines.
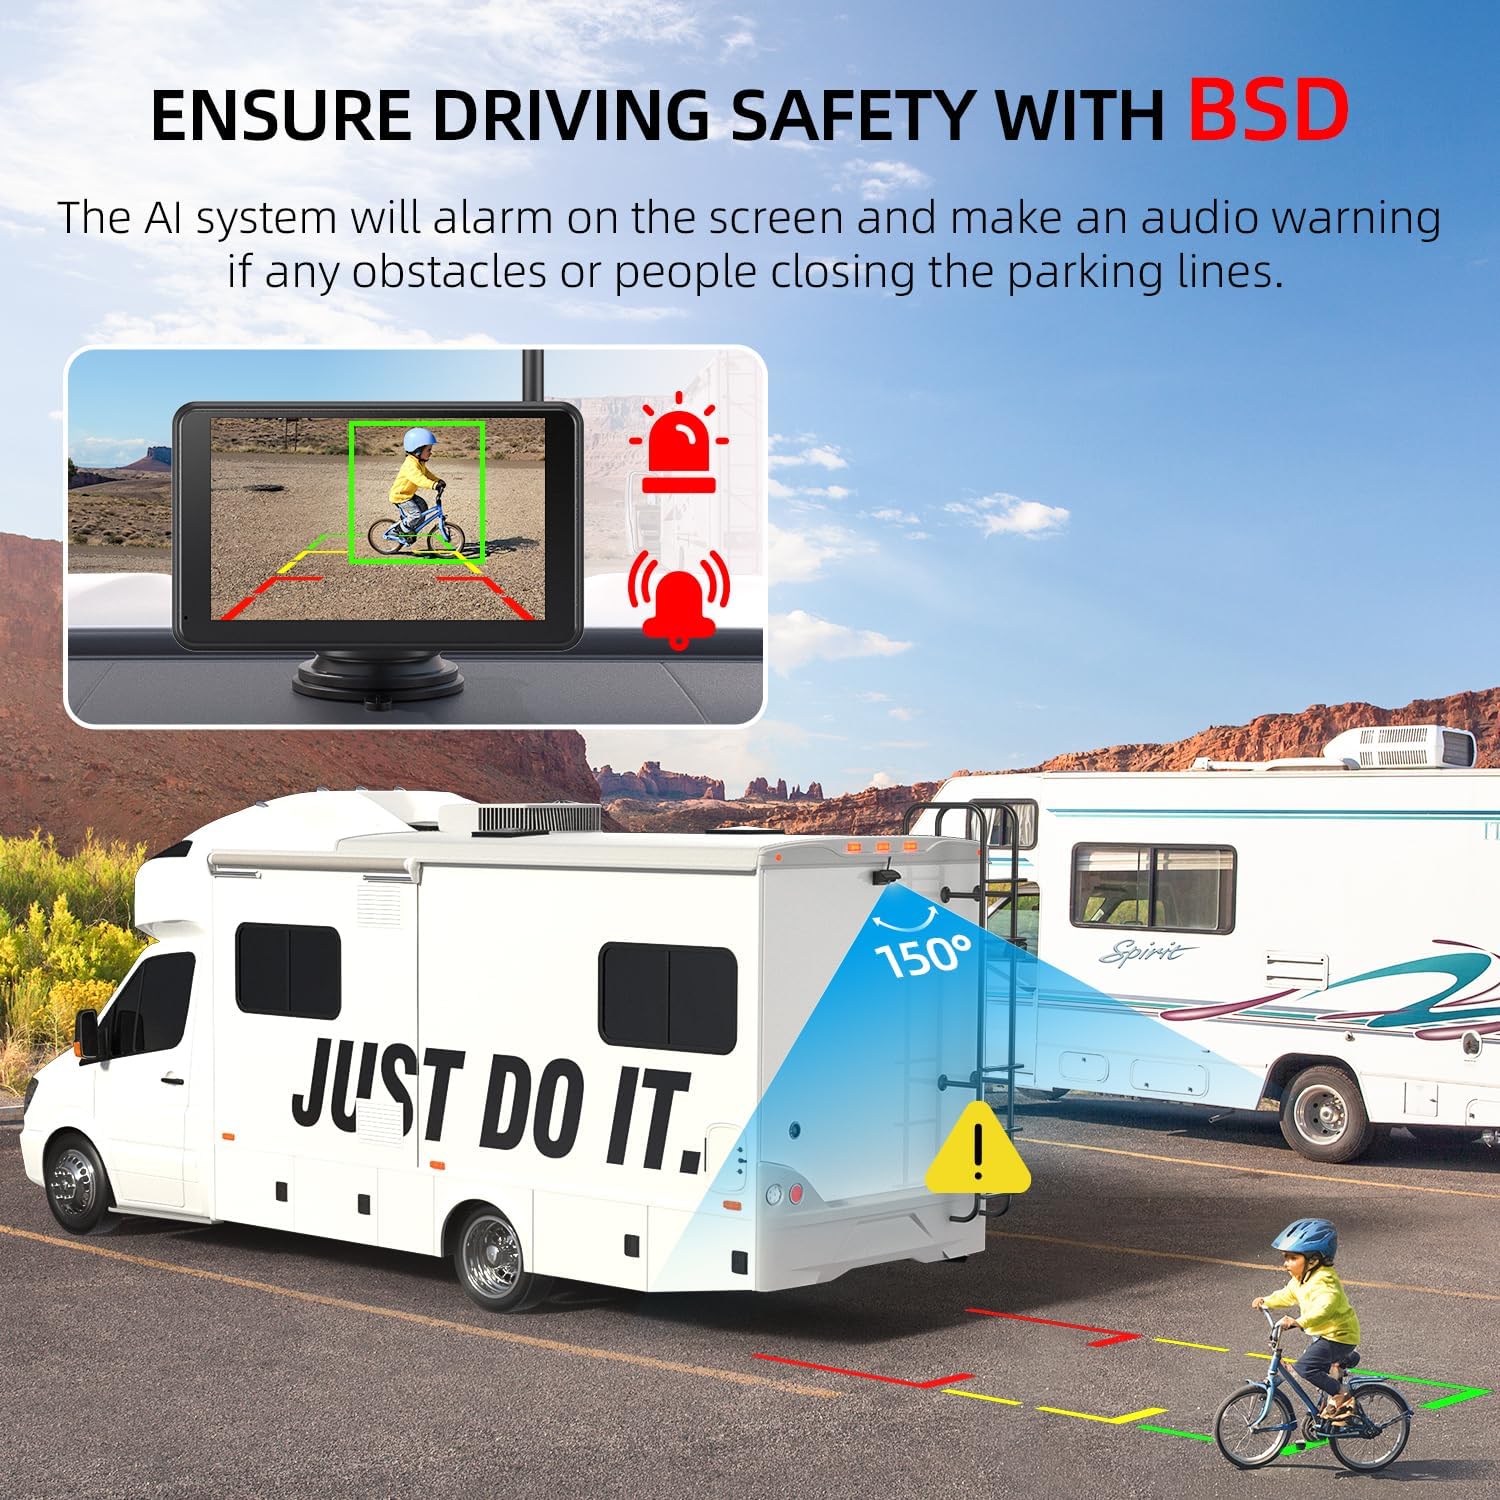
Image: The monitor displaying the Blind Spot Detection (BSD) system, highlighting obstacles with visual and audio alerts for enhanced safety.
4.3 Loop DVR with SD Card
The system includes a 32GB SD card for automatic video recording. When the memory card is full, it will automatically loop over the oldest videos. You can also manually edit or delete videos directly from the monitor.
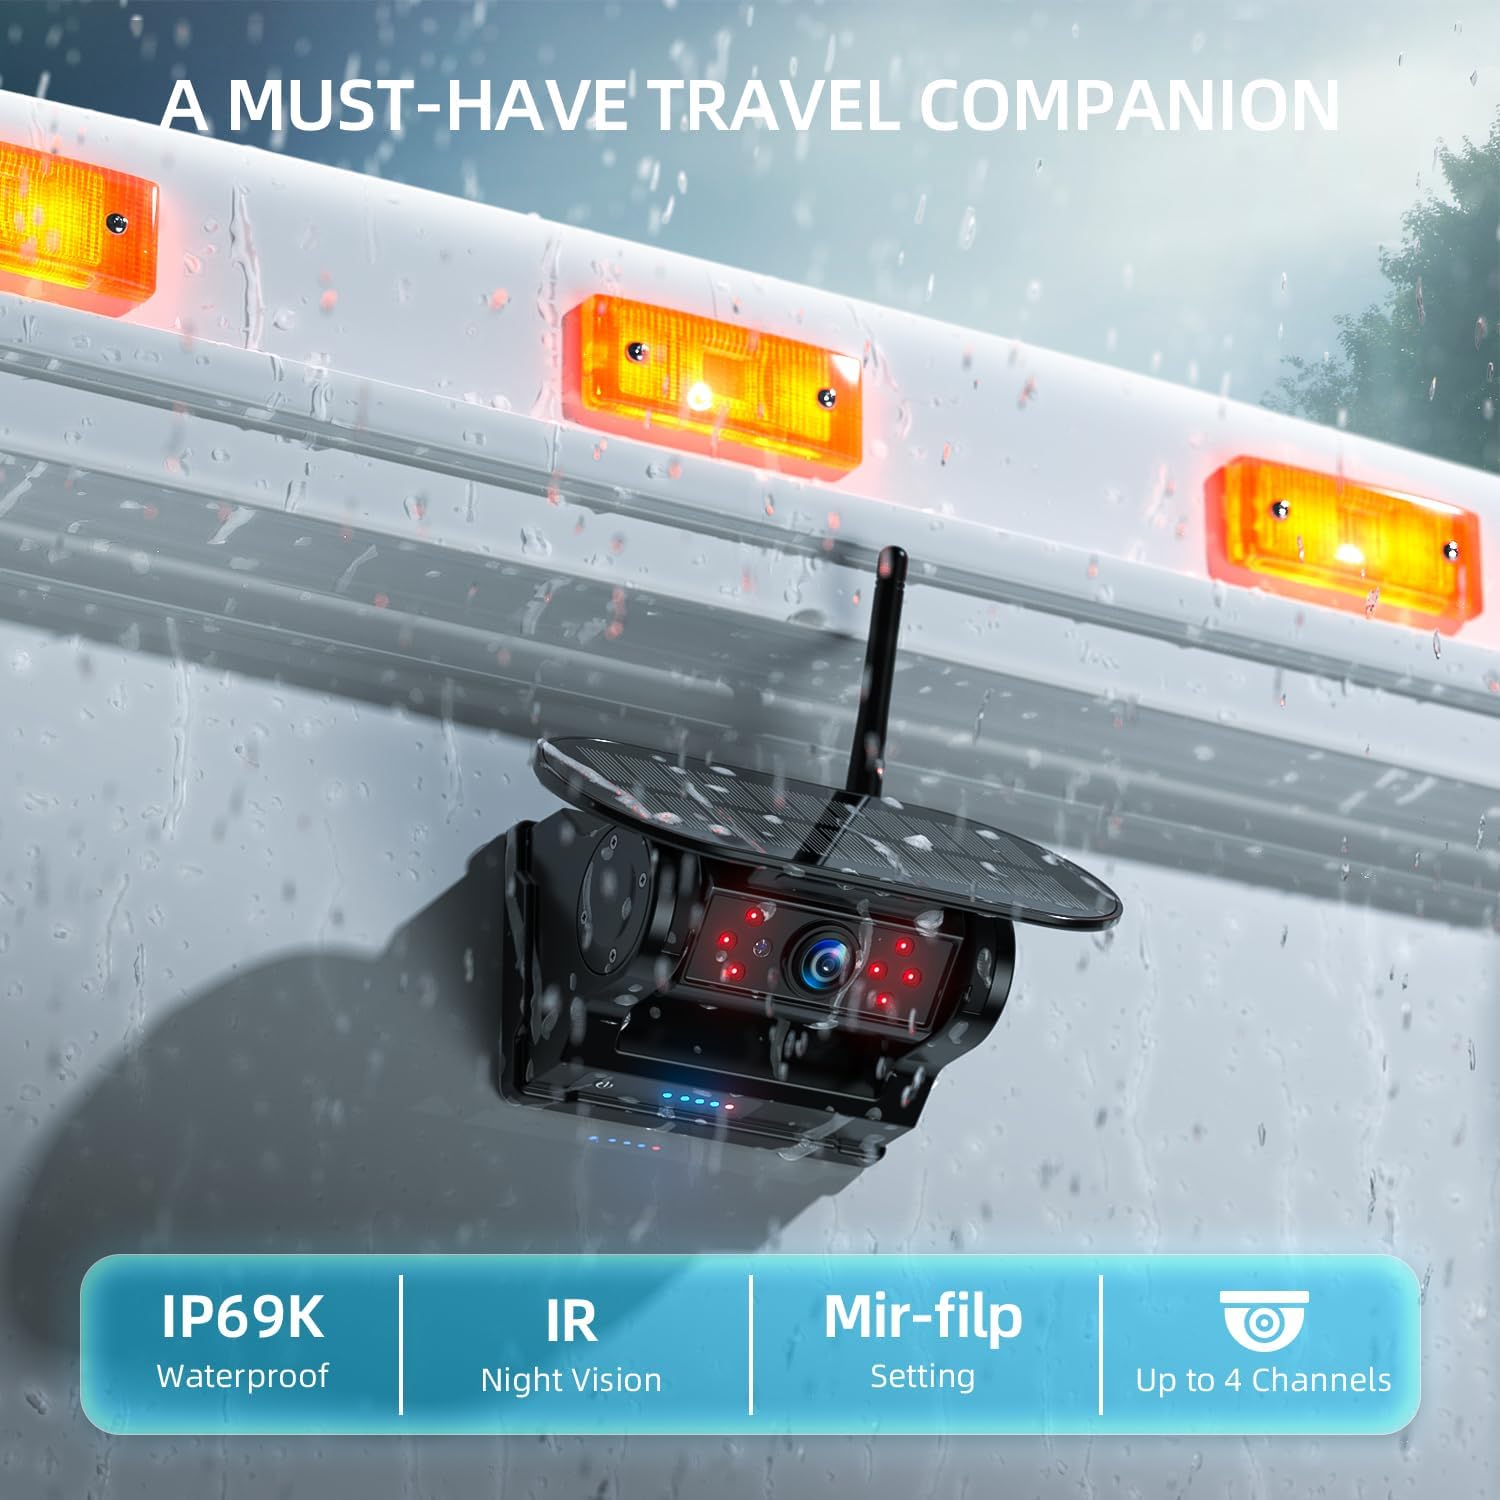
Image: The monitor illustrating the loop recording function, showing video playback and storage capabilities with the included 32GB SD card.
4.4 Multi-Channel Setting
The touchscreen monitor supports multi-channel settings, allowing connection of up to 4 cameras (1 camera included). This enables full-screen, split-screen, or quad-screen views do kompleksowego monitorowania.

Obraz: Wyświetlacz monitoraasing various multi-channel display options, including full-screen, split-screen, and quad-screen views for multiple cameras.
4.5 Mirror-Flip Setting
Dostosuj aparat view with the mirror-flip setting to suit different mounting locations and preferences, ensuring correct orientation of the image.

Image: The monitor demonstrating the mirror-flip setting, allowing users to adjust the camera's image orientation as needed.
4.6 Wireless Signal Transmission
The system utilizes 2.4G wireless digital transmission for a fast and stable connection, minimizing frame drops and image delays. Signal transmission distances are up to 40ft in continuous vehicles and up to 320ft in open spaces without obstacles.

Image: A visual representation of the 2.4G wireless signal transmission range between the camera and monitor, showing effective distances for various vehicle types.
4.7 Widzenie nocne IR
Eight infrared lights on the camera ensure clear visibility even in low-light conditions or complete darkness, aiding in night vision for safer operation.

Image: The camera's infrared night vision feature, showing its ability to provide clear images in dark conditions.
5. Konserwacja
5.1 Ładowanie
The camera features dual charging methods: a built-in Li-ion battery and a larger solar panel. The solar panel continuously charges the camera during daylight. For additional charging or in low-light conditions, use the provided Type-C charger. The battery level is visually displayed on both the camera and the monitor.
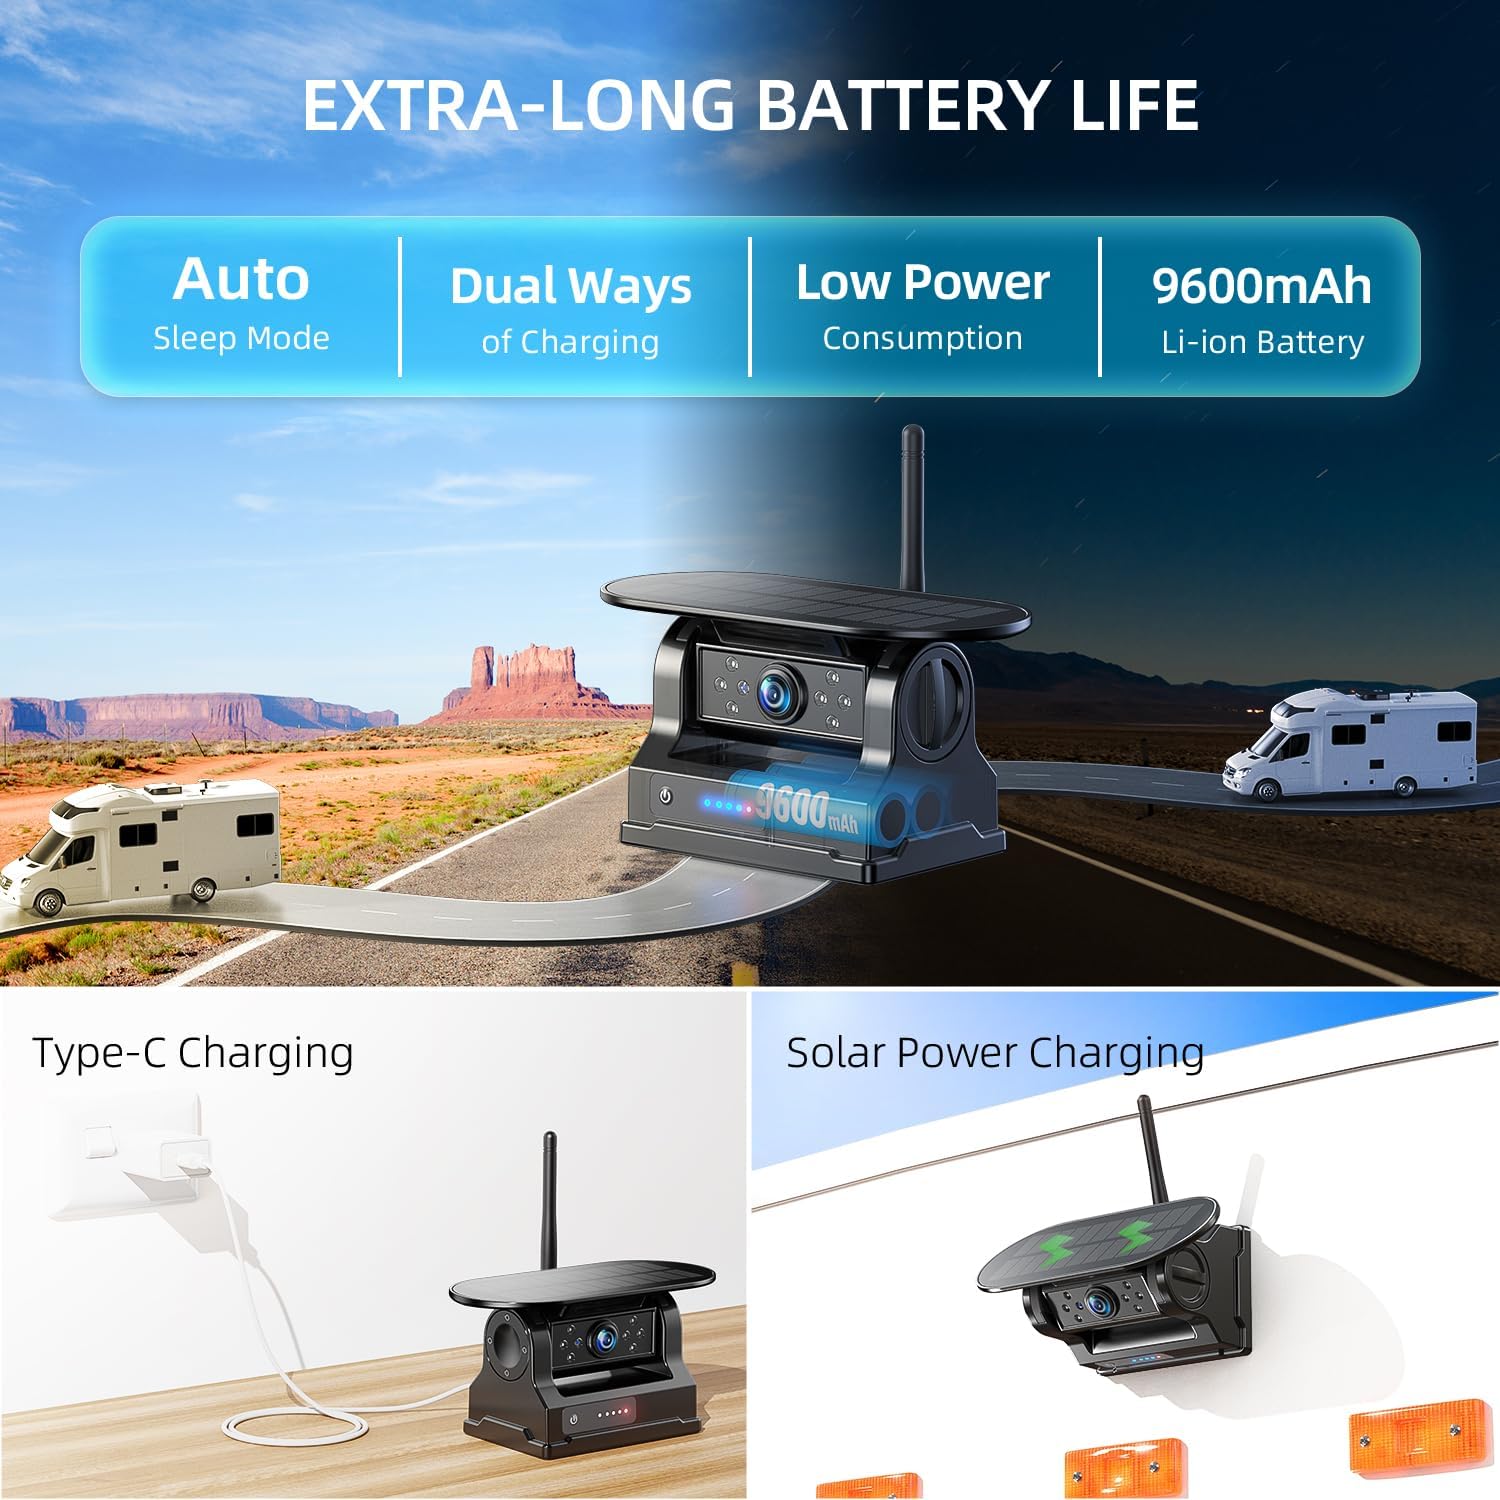
Image: The camera illustrating its dual charging capabilities, including solar power and Type-C USB charging, ensuring extended battery life.
5.2 Stopień wodoodporności
The camera is designed with an IP69K waterproof rating, making it durable enough to operate reliably in various weather conditions, including heavy rain and pressure washing.

Image: The camera shown in a rainy environment, emphasizing its IP69K waterproof rating for all-weather durability.
6. Rozwiązywanie Problemów
- Brak sygnału:
- Ensure both the camera and monitor are powered on and fully charged.
- Check that antennas are securely attached to both devices.
- Verify that the camera and monitor are within effective transmission range (40ft in continuous vehicles, 320ft in open space).
- Attempt manual pairing through the monitor's settings menu.
- Problemy z jakością obrazu:
- Clean the camera lens to remove any dirt or obstructions.
- Adjust brightness, contrast, and hue settings on the monitor.
- Upewnij się, że kamera jest solidnie zamontowana i nie wibruje.
- BSD Alarms Incorrectly:
- Review BSD settings in the monitor's menu and adjust sensitivity if necessary.
- Ensure the camera is clean and has an unobstructed view.
7. Specyfikacje
| Funkcja | Szczegół |
|---|---|
| Numer modelu | AWTCM501 |
| Wymiary produktu | 6.4 x 4 x 3.3 cala |
| Waga przedmiotu | 2.86 funta |
| Rozmiar ekranu | 5 cali |
| Rozdzielczość wideo | HD1080P |
| Transmisja bezprzewodowa | 2.4G Digital Wireless (Up to 320ft open space, 40ft continuous vehicles) |
| Stopień wodoodporności | IP69K |
| Metody ładowania | Solar Panel, Type-C USB |
| Pojemność baterii | 9600mAh Li-ion (Camera) |
| Technologia czujnika optycznego | Infrared (IR Night Vision) |
| Kąt rzeczywisty View | 150 stopni |
| Kompatybilne urządzenia | Monitor Included |
| Typ instalacji | Monitor plug and play + camera wireless magnetic adsorption |
| Tomtage | 5 wolty |
8. Gwarancja i pomoc techniczna
For warranty information, technical support, or any inquiries regarding your eRapta AWTCM501 Magnetic Solar Wireless Backup Camera, please refer to the contact information provided in your product packaging or visit the official eRapta webstrona.
Dodatkowe wsparcie i zasoby można znaleźć również na stronie eRapta Brand Store on Amazon.
9. Oficjalne filmy o produktach
Experience a game-changer backup camera in eRapta
Video: An official eRapta video showcasing the features and benefits of the backup camera system, demonstrating its ease of use and advanced functionalities.
Super strong attachment, and super handy, good viewzakres.
Video: A seller-provided video demonstrating the strong magnetic attachment of the camera and its wide viewing range, highlighting its practical applications.