
DatsenAAA KMCS 1024A-03 / KMCS 1024B-03
DatsenAAA 6-inch Chainsaw Chain Instruction Manual
For KOBALT KMCS 1024A-03 and KMCS 1024B-03 Chain Saws
1. Wprowadzenie
This manual provides important information for the safe and effective use of your DatsenAAA 6-inch chainsaw chain. This chain is specifically designed for compatibility with KOBALT KMCS 1024A-03 and KMCS 1024B-03 chain saws. Please read these instructions thoroughly before installation and operation to ensure proper performance and safety.
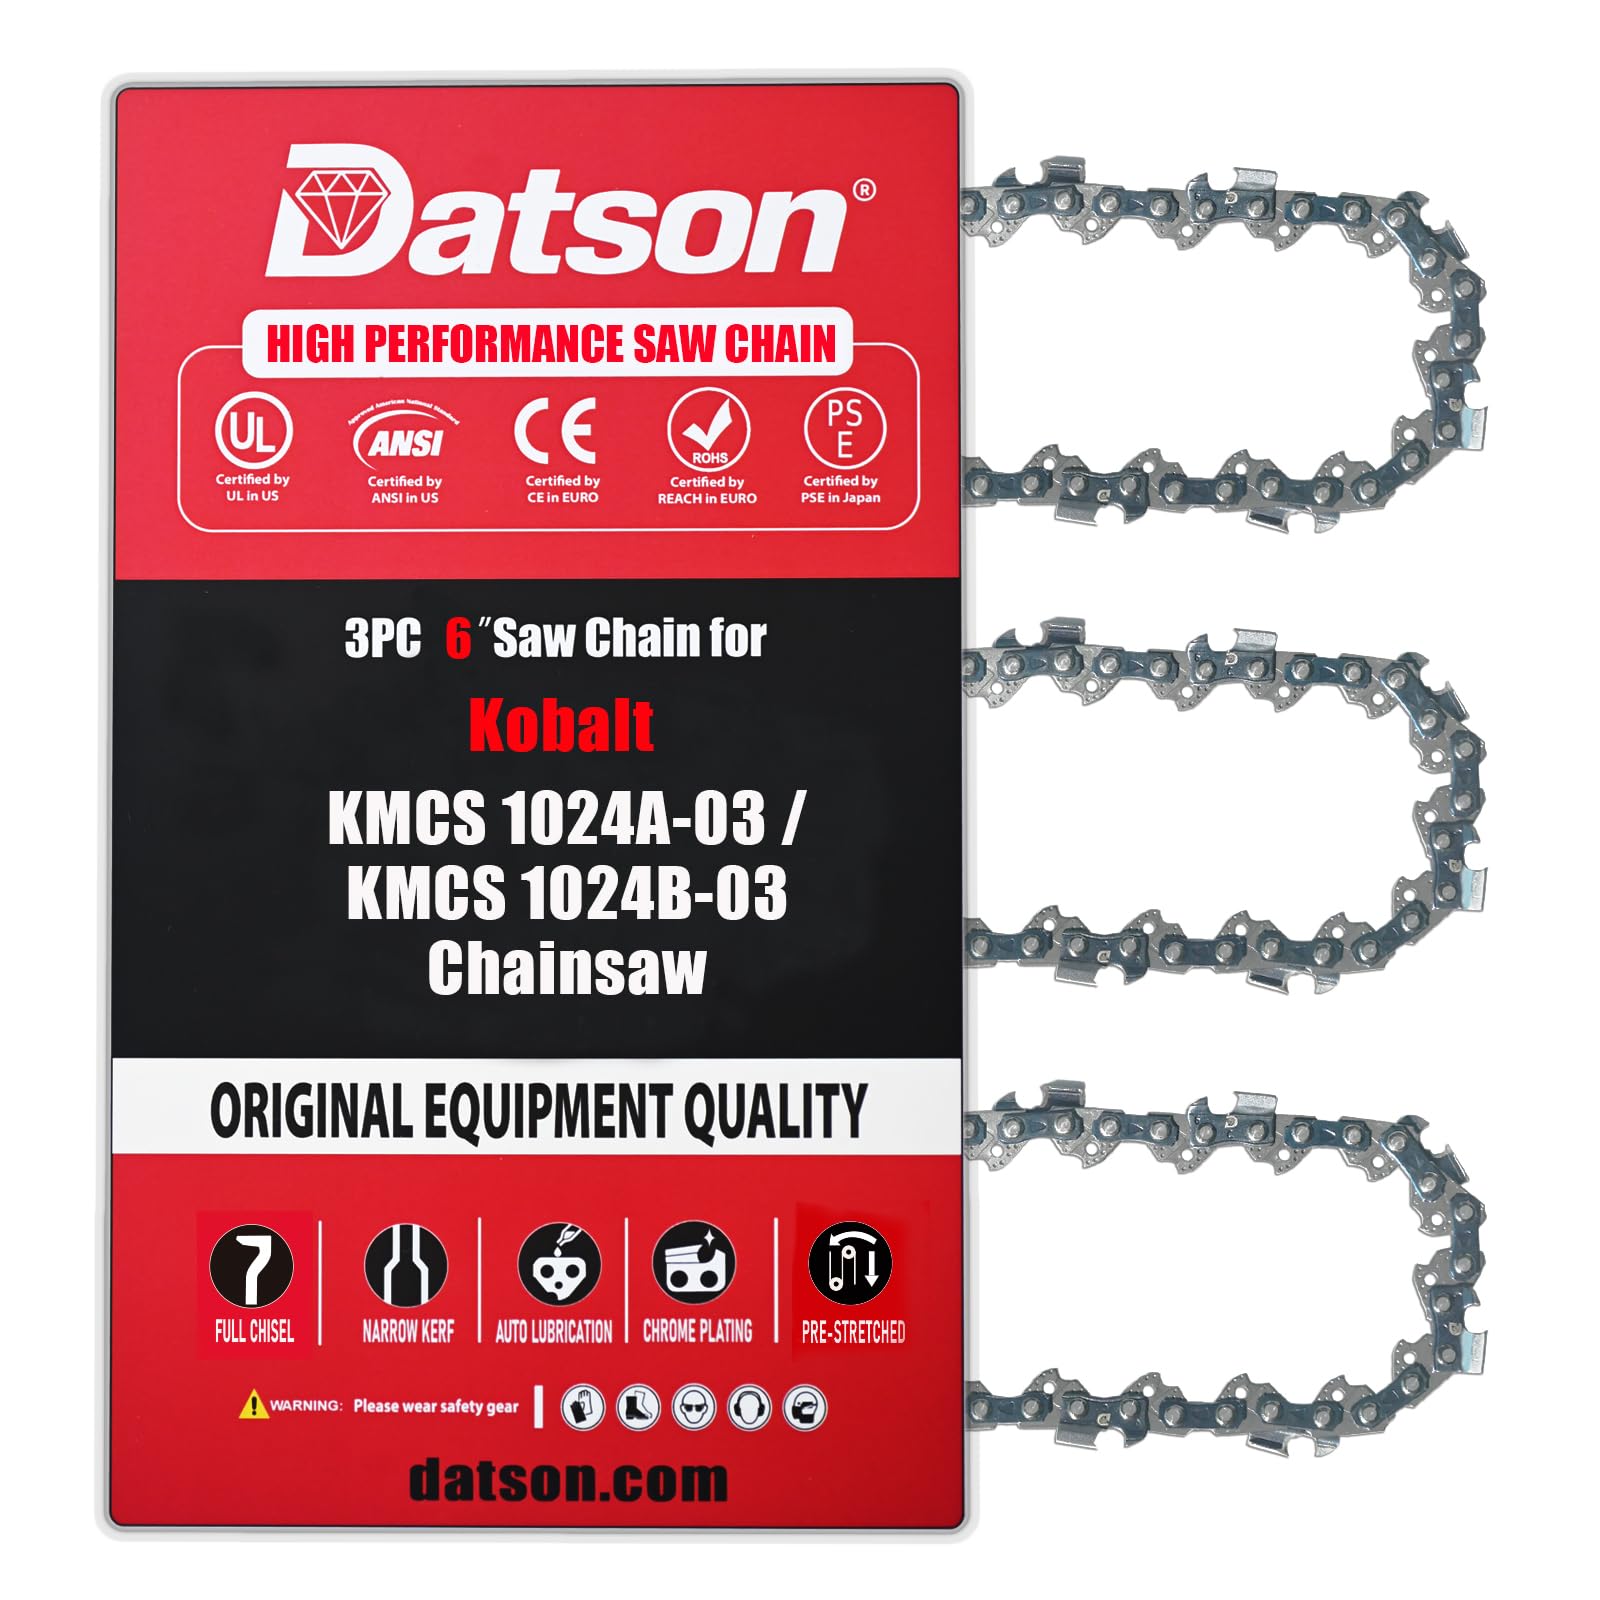
Image 1.1: DatsenAAA 6-inch Chainsaw Chain (3-pack)
2. Informacje dotyczące bezpieczeństwa
Always prioritize safety when working with chainsaws and their components. Failure to follow safety guidelines can result in serious injury.
- Przeczytaj instrukcję obsługi piły łańcuchowej: Always refer to your chainsaw's original instruction manual for specific safety procedures, installation, and operation guidelines.
- Środki ochrony osobistej (PPE): Wear appropriate PPE, including safety glasses, gloves, hearing protection, and sturdy footwear, when handling or installing the chain.
- Odłączenie zasilania: Ensure the chainsaw is turned off and the battery (if applicable) is removed or the spark plug wire is disconnected before performing any maintenance or chain installation.
- Ostre krawędzie: Łańcuchy pił łańcuchowych mają ostre krawędzie tnące. Zachowaj ostrożność, aby uniknąć skaleczeń.
- Prawidłowe napięcie: Incorrect chain tension can lead to chain derailment or breakage. Always ensure the chain is tensioned correctly according to your chainsaw's manual.
3. Compatibility and Specifications
This DatsenAAA 6-inch chainsaw chain is compatible with the following KOBALT models:
- KOBALT KMCS 1024A-03
- KOBALT KMCS 1024B-03

Image 3.1: DatsenAAA chain shown with a compatible Kobalt chainsaw model.
Chain Parameters:

Image 3.2: Diagram illustrating key chainsaw chain parameters.
- Poziom: Half the distance between 3 rivets of the chain. (e.g., 3/8" LP)
- Linki do napędów: The quantity of chain links.
- Miernik: Thickness of the drive link.
Please verify these parameters against your existing chain or chainsaw specifications to ensure correct fitment.
4. Instalacja
Installing a new chainsaw chain requires careful attention to detail. Always consult your chainsaw's specific manual for detailed instructions, as procedures may vary slightly between models.
- Przygotuj piłę łańcuchową: Ensure the chainsaw is off, unplugged (if electric), or the battery is removed (if cordless). Engage the chain brake.
- Zdejmij osłonę paska: Odkręć nakrętki prowadnicy i zdejmij boczną osłonę mocującą prowadnicę na miejscu.
- Usuń stary łańcuch (jeśli dotyczy): Ostrożnie zdejmij stary łańcuch z prowadnicy i zębatki.
- Pozycja nowego łańcucha: Place the new DatsenAAA chain around the sprocket and then guide it into the groove of the guide bar. Ensure the cutting edges of the chain are facing the correct direction (usually forward on the top of the bar).
- Ponowna instalacja osłony paska: Slide the guide bar back into position, ensuring the chain tensioner pin engages with the hole in the bar. Replace the side cover and hand-tighten the bar nuts.
- Regulacja napięcia łańcucha: Adjust the chain tension screw until the chain is snug against the bottom of the guide bar, but can still be pulled freely by hand. The chain should not sag, but also not be overly tight. Refer to your chainsaw manual for precise tensioning instructions.
- Dokręć nakrętki prętowe: Once tension is correct, fully tighten the bar nuts. Recheck tension after tightening, as it can change.
- Początkowy bieg: Briefly run the chainsaw at low speed to allow the chain to seat properly. Recheck chain tension after this initial run and adjust if necessary. New chains may stretch slightly during initial use.

Obraz 4.1: Zbliżenie view of the DatsenAAA chainsaw chain.
5. Wytyczne operacyjne
Once the DatsenAAA chain is correctly installed and tensioned, operate your chainsaw according to the manufacturer's instructions. Key considerations include:
- Smarowanie: Ensure your chainsaw's automatic oiling system is functioning correctly and the oil reservoir is filled with appropriate bar and chain oil. The DatsenAAA chain features a built-in lubrication system to extend its life.
- Technika cięcia: Use proper cutting techniques to avoid kickback and ensure efficient cutting.
- Ostrość łańcucha: A sharp chain cuts efficiently and safely. Do not force a dull chain through wood.
- Warunki środowiskowe: Be aware of your surroundings and avoid cutting near obstacles or in adverse weather conditions.

Image 5.1: The DatsenAAA chain's patented lubrication system with L-shaped and dot-shaped oil grooves.
This system ensures continuous lubrication and cooling, reducing friction and heat-induced deformation.
6. Konserwacja
Regular maintenance will prolong the life of your DatsenAAA chainsaw chain and ensure optimal performance.
- Ostrzenie: Sharpen the chain cutters regularly. A sharp chain produces fine wood chips; a dull chain produces sawdust. Refer to your chainsaw manual or a professional for correct sharpening angles and techniques.
- Czyszczenie: After each use, clean the chain and guide bar to remove sawdust, sap, and debris. This prevents buildup that can hinder performance and lubrication.
- Smarowanie: Always ensure adequate bar and chain oil is used. The DatsenAAA chain's design with L-shaped and dot-shaped oil grooves helps distribute oil effectively.
- Kontrola: Periodically inspect the chain for damaged or worn cutters, cracked links, or loose rivets. Replace the chain if significant damage is found.
- Kontrola napięcia: Recheck chain tension frequently, especially during the first few hours of use and before each cutting session.
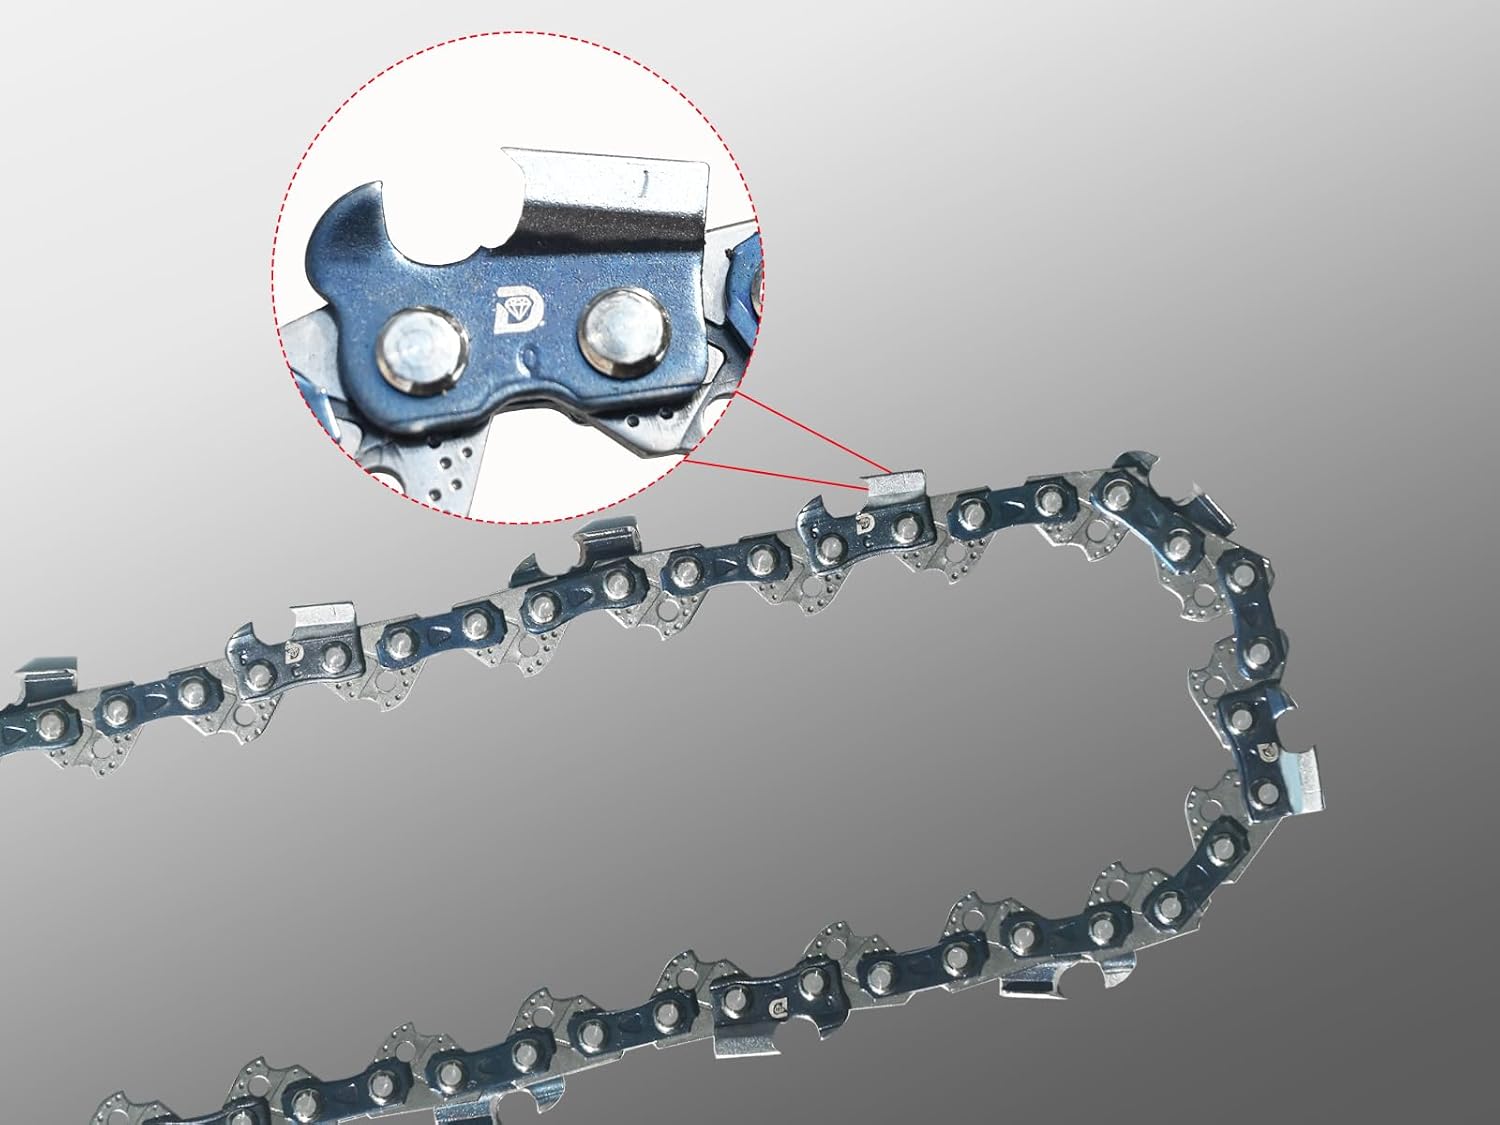
Image 6.1: Detail of a DatsenAAA chain cutter, designed for sharpness and durability.

Image 6.2: Features like hardened rivets contribute to wear resistance and reduced chain stretch.
7. Rozwiązywanie Problemów
W tej sekcji omówiono typowe problemy, jakie mogą wystąpić w przypadku łańcucha pilarki łańcuchowej.
| Problem | Możliwa przyczyna | Rozwiązanie |
|---|---|---|
| Łańcuch nie przecina się wydajnie | Dull chain, incorrect sharpening angle, improper chain tension. | Sharpen the chain, verify sharpening angles, adjust chain tension. |
| Palenie tytoniu lub przegrzewanie się | Insufficient lubrication, dull chain, incorrect chain tension (too tight). | Check oil reservoir and oiler function, sharpen chain, adjust chain tension. |
| Łańcuch zsunął się z drążka | Loose chain tension, worn guide bar, damaged drive links. | Adjust chain tension, inspect guide bar for wear, replace chain if damaged. |
| Nadmierne wibracje | Damaged chain, bent guide bar, loose components. | Inspect chain and bar for damage, ensure all components are secure. DatsenAAA chains are designed for low vibration. |
8. Gwarancja i wsparcie
For warranty information or technical support regarding your DatsenAAA chainsaw chain, please refer to the packaging or contact the manufacturer directly. Keep your purchase receipt as proof of purchase.
Manufacturer: DatsenAAA
For further assistance, you may visit the DatsenAAA store on Amazon: DatsenAAA Store
Ask a question about this manual
Ask about setup, troubleshooting, compatibility, parts, safety, or missing instructions. Manuals+ will review the question and use this page’s manual context to help answer it.