Wstęp
Thank you for choosing the Junsun 2G+64G Car Stereo Radio. This manual provides essential information for the proper installation, operation, and maintenance of your new car stereo. Designed for Dodge Ram 1500, 2500, and 3500 models from 2013 to 2019, this unit features a 9-inch IPS HD touchscreen, wireless/wired CarPlay and Android Auto, 5G WiFi, Bluetooth 5.0, GPS navigation, steering wheel control (SWC), DSP, and AM/FM radio. Please read this manual thoroughly before use to ensure optimal performance and safety.
Informacje dotyczące bezpieczeństwa
- Zalecana profesjonalna instalacja: Ze względu na złożoność układów elektrycznych w samochodach, zaleca się zlecenie montażu profesjonalnemu instalatorowi, aby zapobiec uszkodzeniu urządzenia lub pojazdu.
- Odłącz akumulator: Przed rozpoczęciem jakichkolwiek prac elektrycznych należy zawsze odłączyć ujemny zacisk akumulatora pojazdu, aby zapobiec zwarciom i zagrożeniom elektrycznym.
- Sprawdź zgodność: Przed zakupemasing and installation, ensure the unit is compatible with your vehicle's specific model, year, and AC type (manual AC).
- Bezpieczne okablowanie: Ensure all wiring is properly connected, insulated, and secured to prevent interference, short circuits, or accidental disconnections.
- Unikaj rozpraszaczy: Do not operate the unit or watch videos while driving. Always prioritize safe driving.
Zawartość opakowania
Sprawdź, czy w przesyłce znajdują się wszystkie elementy wymienione poniżej:
- Head Unit (with 9-inch IPS HD Touchscreen)
- Frame (pre-installed on head unit)
- Wire Cables (main power harness, RCA cables, USB cables)
- Łom (narzędzie instalacyjne)
- Speaker (external)
- Kabel USB (x2)
- Kable zasilające
- Kabel RCA
- Mikrofon zewnętrzny
- Dekoder Canbus
- Kabel adaptera antenowego
- RCA Cable to connect rear camera
- Moduł GPS

Konfiguracja i instalacja
The installation process involves removing the original factory radio and fascia, connecting the new head unit, and securing it in place. It is a plug-and-play design, but careful attention to detail is required.
1. Demontaż oryginalnej jednostki
- Remove Top Dash Panel: Use the provided crowbar tool to gently pry up and remove the top dash panel above the factory radio. This panel is typically held by clips.
- Unscrew Top Screws: Once the top panel is removed, locate and unscrew the two screws securing the top of the factory radio assembly.
- Zdejmij panele boczne: Carefully pry off the side trim panels of the radio assembly. These are also typically held by clips.
- Unscrew Main Unit: Locate and unscrew the main bolts/screws holding the factory radio unit in place. There are usually four larger bolts.
- Odłącz kable: Gently pull the factory radio unit forward and disconnect all electrical connectors from the back. Be careful not to damage any wires or connectors.
2. Instalacja nowego urządzenia Junsun
- Prepare New Unit: The Junsun head unit comes pre-installed in a new fascia designed for your Dodge Ram.
- Podłącz wiązkę przewodów: Connect the provided main wiring harness to the corresponding ports on the back of the Junsun head unit.
- Connect CANBUS Decoder: Connect the CANBUS decoder to the main wiring harness. This is crucial for retaining steering wheel controls and other vehicle data.
- Podłącz antenę GPS: Connect the GPS antenna to the designated port on the head unit. Route the antenna cable to a location on the dashboard or A-pillar with a clear view nieba w celu optymalnego odbioru sygnału.
- Podłącz kable USB: Connect the two USB cables. These can be routed to the glove compartment or a custom-drilled hole for easy access.
- Podłącz zewnętrzny mikrofon: Connect the external microphone for improved call quality. Route it to a suitable location, such as near the rearview lusterku lub na słupku A.
- Podłącz tyłview Aparat (opcjonalnie): W przypadku montażu tylnego zderzaka innego producentaview camera, connect its RCA cable to the 'Rear CAM In' port on the head unit. Ensure the reverse trigger wire is connected to the vehicle's reverse light signal.
- Connect Original Vehicle Connectors: Connect the new wiring harness to the original vehicle connectors that were previously attached to the factory radio.
- Funkcjonalność testu: Before fully reassembling, turn on the vehicle and test all functions of the new stereo: power, audio, CarPlay/Android Auto, Bluetooth, GPS, steering wheel controls, and rearview kamera.
- Zabezpiecz nową jednostkę: Carefully slide the new head unit assembly into the dashboard opening. Secure it with the screws removed earlier.
- Reinstall Panels: Reattach the side trim panels and the top dash panel, ensuring all clips snap securely into place.


Filmy instalacyjne
Video: Installation guide for Dodge Ram 2013-2019 Aftermarket Radio. This video demonstrates the step-by-step process of removing the old unit and installing the new one.
Video: Installation video specifically for Dodge Ram radio with Auto AC. Provides visual instructions for the installation process.
Instrukcja obsługi
1. Bezprzewodowy/przewodowy CarPlay i Android Auto
- Bezprzewodowa funkcja CarPlay: Connect your iPhone via Bluetooth. Once paired, CarPlay will launch automatically, allowing access to navigation, music, calls, and messages.
- Przewodowy/bezprzewodowy Android Auto: Connect your Android device via Bluetooth or USB. Android Auto provides a simplified interface for essential apps while driving.
- Dublowanie ekranu: Project your phone's screen onto the head unit for movies, games, or other content.

2. Nawigacja GPS
- The unit comes with built-in navigation software supporting online and offline maps.
- Connect to 5G WiFi to download map updates and access real-time traffic information.
- Use the touchscreen to input destinations and follow turn-by-turn directions.

3. Sterowanie z kierownicy (SWC)
- The unit retains your original steering wheel controls.
- Use SWC buttons to adjust volume, change tracks, answer/end calls, and navigate menus without taking your hands off the wheel.

4.Bluetooth 5.0
- Pair your smartphone for hands-free calling and seamless music streaming.
- The external microphone ensures clear audio during calls.
5. Radio AM/FM
- Access high-quality FM/AM radio stations.
- Stay updated with traffic news and weather forecasts.
6. Cyfrowy procesor dźwięku (DSP)
- Customize your audio experience with the built-in 16-band EQ DSP sound effect.
- Adjust sound settings for optimal clarity and bass.
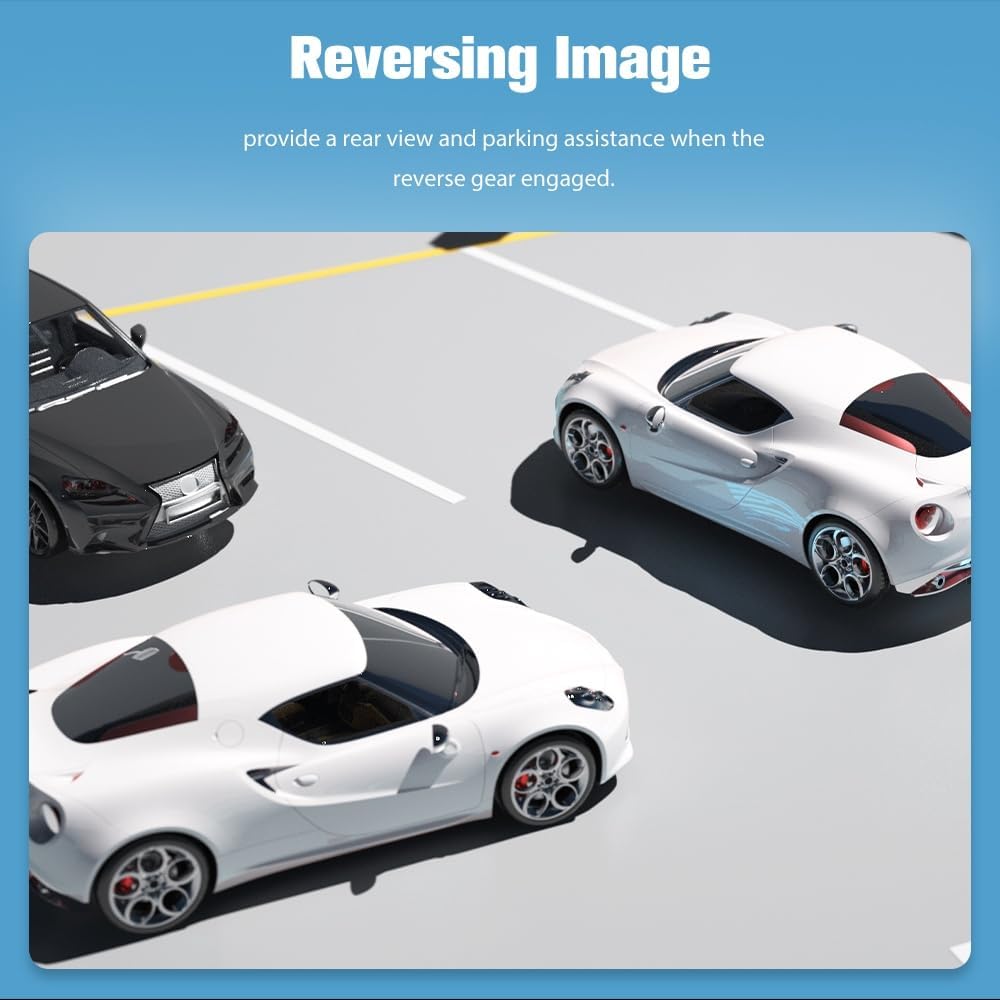
7. Tyłview Kamera
- When the vehicle is in reverse, the rearview image will automatically display on the screen.
- Provides parking assistance with guidelines.
8. Funkcja podzielonego ekranu
- Wykonuj wiele zadań jednocześnie, uruchamiając na ekranie dwie aplikacje.
- Na przykładampnp. korzystaj z nawigacji po jednej stronie i odtwarzania muzyki po drugiej.
Łączność Wi-Fi 9 GHz
- Connect to a WiFi hotspot for internet access, app downloads, and online navigation.
Filmy instruktażowe
Video: Demonstration of various features including reverse camera, voice commands, navigation, DSP, and video playback on the car stereo.
Konserwacja
- Czyszczenie: Use a soft, dry cloth to clean the touchscreen and exterior of the unit. Avoid abrasive cleaners or solvents.
- Aktualizacje oprogramowania: The unit supports wireless software updates to address bugs and enhance security. Access the update feature through the system settings. Note that these updates improve software usability and do not upgrade the Android version.
- Temperatura: Unikaj wystawiania urządzenia na działanie ekstremalnych temperatur.
Rozwiązywanie problemów
| Wydanie | Rozwiązanie |
|---|---|
| Android Auto shows loading but can't connect | Ensure your phone's WiFi is on. If your phone's Android version is higher than supported, contact customer support for an update method. |
| Sterowanie na kierownicy nie działa | Ensure the CANBUS TX/RX cables are correctly connected. Incorrect connection will prevent SWC functionality. |
| Loss of reverse warning or turn signal tone | Ensure the external speaker is connected. If not connected, these warning tones may disappear. |
Specyfikacje
- Marka: Junsun
- Rodzaj serwisu pojazdu: Truck (Dodge Ram 1500, 2500, 3500, 2013-2019)
- Rozmiar ekranu: 9 cali
- Typ wyświetlacza: IPS HD Touchscreen (1280x720 pixels)
- System operacyjny: Android 13
- Pamięć: 2GB RAM, ROM 64GB
- Technologia łączności: Bluetooth 5.0, Wi-Fi 5G, USB
- Cechy szczególne: Wireless/Wired CarPlay, Android Auto, Screen Mirroring, GPS Navigation (North America maps), Steering Wheel Control (SWC), DSP, AM/FM Radio, Rearview Obsługa aparatu.
- Metoda sterowania: Dotyk, głos
- Zawartość zestawu: Head unit, Frame, Wire cables, Crowbar, External Speaker, USB cables, RCA cables, Canbus, Antenna Adapter, GPS Module.
- Waga przedmiotu: 1.7 kilograma
Gwarancja i wsparcie
Your Junsun Car Stereo Radio comes with a 1-letnia gwarancja producenta. For any inquiries, technical assistance, or issues, please contact our professional after-sales support team. They are available 24/7 to provide quick responses and product knowledge assistance.
Skontaktuj się z pomocą techniczną: Junsun-US@outlook.com