
1. Wprowadzenie i produkt końcowyview
This manual provides detailed instructions for the installation, operation, and maintenance of your WALI Vertical Dual Monitor Wall Mount, Model 012ARMV-49. This mount is designed to support two monitors in a stacked configuration, optimizing desk space and providing ergonomic viewkąty.
The mount supports displays from 17 to 49 inches, with a maximum weight capacity of 44 lbs (20 kg) per arm. It is compatible with VESA 75x75mm and 100x100mm mounting patterns. Key features include flexible tilt, swivel, and height adjustments, along with 360-degree rotation for versatile screen positioning.
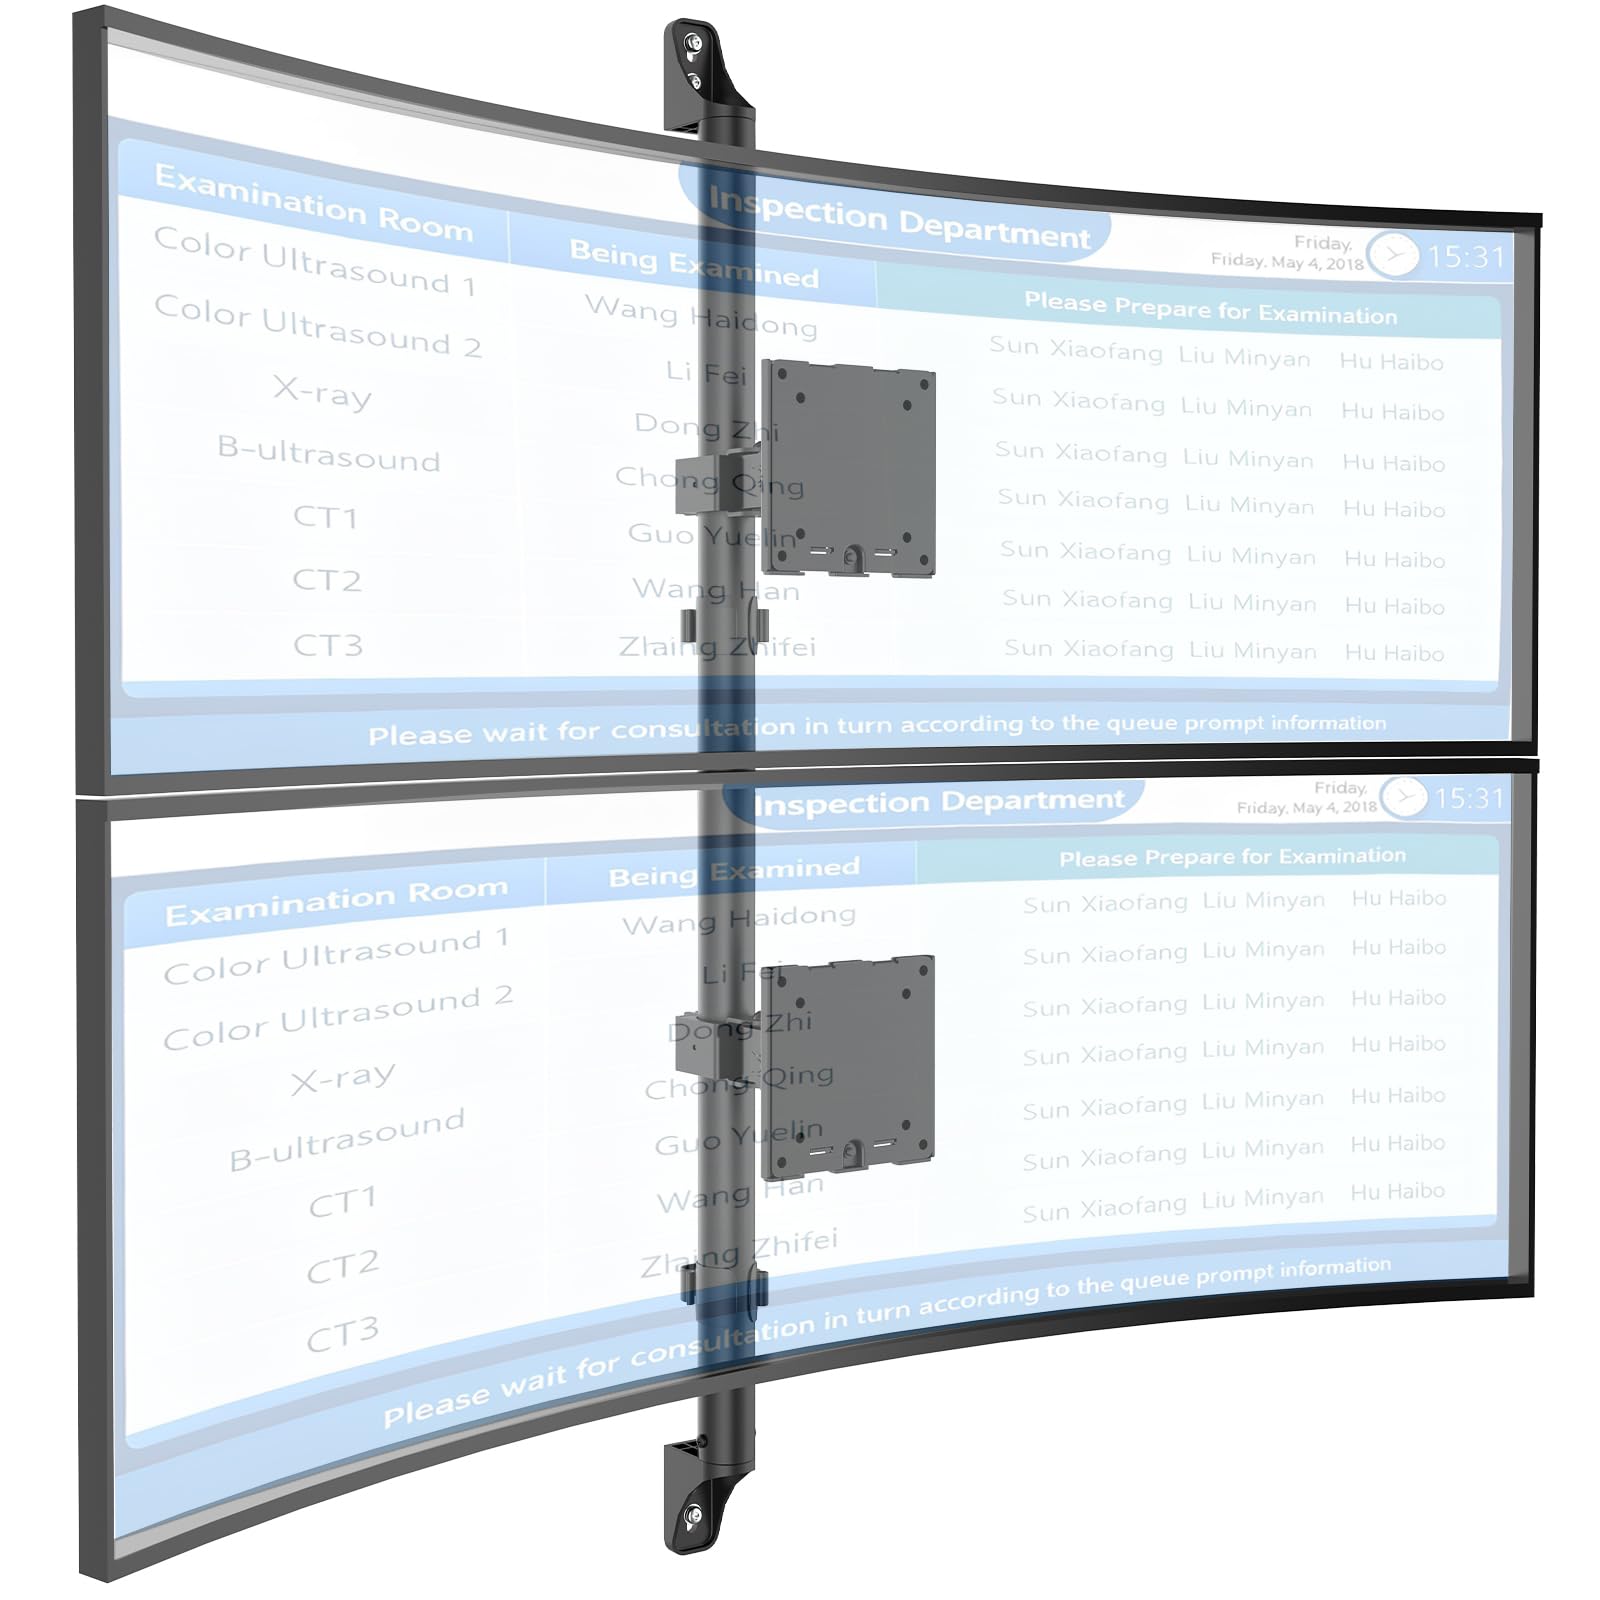
Figure 1: WALI Vertical Dual Monitor Wall Mount with two curved monitors.
2. Informacje dotyczące bezpieczeństwa
Please read and understand all instructions before installation and use. Failure to do so may result in personal injury or property damage. Keep this manual for future reference.
- Nośność: Do not exceed the maximum weight capacity of 44 lbs (20 kg) per monitor. Exceeding this limit can result in serious injury or product failure.
- Rozmiar monitora: Ensure your monitors are within the supported size range of 17-49 inches.
- Zgodność z VESA: Verify your monitor's VESA mounting pattern (75x75mm or 100x100mm) before installation.
- Typ ściany: This mount is designed for installation on concrete/brick walls or wooden studs. Do not install on drywall alone.
- Profesjonalna instalacja: Jeśli nie masz pewności co do procesu instalacji lub rodzaju ściany, skonsultuj się z wykwalifikowanym specjalistą.
- Ruchome części: Podczas regulacji trzymaj dłonie i palce z dala od ruchomych części, aby zapobiec przytrzaśnięciu.
- Dzieci: Keep small parts and packaging materials away from children, as they may pose a choking hazard.
3. Zawartość opakowania
Verify that all components are present and undamaged. If any parts are missing or damaged, contact WALI customer support.
- 1 x WALI Vertical Dual Monitor Wall Mount (Black)
- Mounting Hardware Kit (includes screws, washers, wall anchors for masonry, and self-tapping screws for wood)
- Instrukcja obsługi
4. Specyfikacje
| Funkcja | Specyfikacja |
|---|---|
| Typ montażu | Montaż ścienny |
| Typ ruchu | Artykułowanie |
| Marka | WALI |
| Tworzywo | Dual aerospace-grade aluminum mounting brackets, High-strength steel pole |
| Kolor | Czarny |
| Kompatybilne urządzenia | Monitor, Telewizor |
| Maksymalny kąt pochylenia | 20 stopni |
| Minimum Supported Screen Size | 17 cali |
| Maximum Supported Screen Size | 49 cali |
| Numer modelu | 012ARMV-49 |
| Zgodność ze standardem VESA | 75x75mm, 100x100mm |
| Nośność | 44 funty (20 kg) na ramię |
5. Konfiguracja i instalacja
Follow these steps carefully to install your WALI Vertical Dual Monitor Wall Mount.
5.1 Przygotowanie ściany
- Zidentyfikuj typ ściany: This mount is suitable for wooden studs, solid concrete walls, and brick walls.
- Locate Studs (for wood walls): Use a stud finder to locate the center of a wooden stud. Mark the drilling locations.
- Zaznacz miejsca wierceń: Hold the wall plate against the wall at your desired height and mark the screw holes. Ensure it is level.

Figure 2: Wall compatibility for installation.
5.2 Attaching the Wall Plate
- Wywierć otwory pilotażowe: Drill pilot holes at the marked locations. The size of the drill bit will depend on your wall type and the provided hardware.
- Bezpieczna płyta ścienna: Attach the wall plate to the wall using the appropriate screws and anchors for your wall type. Ensure it is firmly secured.

Figure 3: Securing the wall mount plate.
5.3 Attaching VESA Plates to Monitors
- Remove Original Stand: Carefully remove the original stand from your monitors.
- Zamontuj płytkę VESA: Align the VESA plate with the mounting holes on the back of your monitor. Use the provided screws to secure the plate. Ensure the plate is oriented correctly for vertical stacking.
5.4 Mounting Monitors to the Arm
- Slide Arm onto Wall Base: Carefully slide the monitor arm assembly onto the secured wall base.
- Attach Monitors: With assistance, carefully lift each monitor and slide its VESA plate onto the corresponding arm bracket. Ensure it clicks securely into place.
- Secure Monitors: Use the safety screws or clips to prevent accidental dislodgement of the monitors from the arms.

Figure 4: Monitor arm assembly and attachment points.
5.5 Zarządzanie kablami
- Trasa kabli: Utilize the integrated cable management system to route monitor cables neatly along the arm and down the wall pole.
- Bezpieczne kable: Use the provided clips or ties to secure the cables, preventing clutter and ensuring a clean setup.

Rysunek 5: Zintegrowany system zarządzania okablowaniem.
6. Instrukcja obsługi (regulacja)
The WALI Vertical Dual Monitor Wall Mount offers various adjustments for optimal viewkomfort.
- Regulacja wysokości: The monitors can be adjusted vertically along the main pole. Loosen the adjustment screws on the arm brackets, slide the monitors to the desired height, and then re-tighten the screws. The maximum height adjustment is 28.74 inches.
- Regulacja nachylenia: Tilt the monitors up to +50 degrees or down to -20 degrees to reduce glare and find your preferred viewkąt.
- Regulacja obrotu: Swivel the monitors up to +/-90 degrees horizontally for collaborative work or to adjust the viewkierunku.
- Obrót: Rotate the monitors 360 degrees to switch between landscape and portrait orientations.

Figure 6: Tilt, Swivel, and Rotation adjustments.

Figure 7: Full motion adjustment range and dimensions.
7. Konserwacja
Regularna konserwacja zapewnia długowieczność i bezpieczne działanie uchwytu monitora.
- Czyszczenie: Przetrzyj uchwyt miękką ściereczką.amp szmatką. Unikaj środków czyszczących o działaniu ściernym i rozpuszczalników.
- Sprawdź szczelność: Okresowo sprawdzaj wszystkie śruby i połączenia, aby upewnić się, że są dobrze dokręcone i zabezpieczone. W razie potrzeby dokręć je ponownie.
- Sprawdź, czy nie ma uszkodzeń: Regularly inspect the mount for any signs of wear, damage, or corrosion. Discontinue use and contact support if any issues are found.
8. Rozwiązywanie Problemów
If you encounter issues with your WALI Vertical Dual Monitor Wall Mount, refer to the following common problems and solutions:
- Monitor opada lub nie utrzymuje pozycji:
- Ensure the monitor weight is within the 44 lbs (20 kg) per arm limit.
- Tighten the tension adjustment screws on the arm joints using the included tool.
- Mount Feels Unstable:
- Verify that the wall plate is securely fastened to the wall with appropriate anchors for your wall type.
- Check that all connections between the arm and the VESA plates are tight.
- Trudności w regulacji położenia monitora:
- Loosen the tension adjustment screws slightly if the movement is too stiff.
- Ensure no cables are obstructing the movement of the arms.
9. Gwarancja i wsparcie
Your WALI Vertical Dual Monitor Wall Mount comes with a 10-letnia gwarancja, obejmująca wady materiałów i wykonania powstałe w normalnych warunkach użytkowania.
For technical assistance, missing parts, or warranty claims, please contact WALI customer support. Our experienced and friendly US-based customer support team is available to assist you 7 days a week.
Informacje kontaktowe: Refer to the WALI webna stronie internetowej lub opakowaniu produktu, aby uzyskać najaktualniejsze dane kontaktowe.