
1. Wprowadzenie
The ASMAX T20 is a versatile and essential tool designed for automotive and outdoor use. It integrates a powerful 4000A peak current jump starter, a 150 PSI air compressor, a 12000mAh power bank, and an emergency LED flashlight. This manual provides detailed instructions for the safe and effective operation, maintenance, and troubleshooting of your ASMAX T20 device. Please read this manual thoroughly before first use and retain it for future reference.
2. Informacje dotyczące bezpieczeństwa
Aby zapobiec obrażeniom ciała lub uszkodzeniu urządzenia, należy zawsze przestrzegać poniższych środków ostrożności.
- Ogólne bezpieczeństwo: Keep the device away from children. Do not operate in explosive atmospheres, such as in the presence of flammable liquids, gases, or dust. Store in a cool, dry place.
- Jump Starting Safety:
- Podczas podłączania cl należy zwrócić uwagę na prawidłową biegunowość.amps (red to positive, black to negative). Incorrect connection can cause sparks or damage.
- Wear eye protection and gloves when jump starting.
- Nie pozwól, aby czerwony i czarny klamps to touch each other, as this can cause a short circuit.
- Nie próbuj uruchamiać zamarzniętego akumulatora.
- Przed podłączeniem rozrusznika należy upewnić się, że zapłon pojazdu jest wyłączony.
- Air Compressor Safety:
- Do not overinflate tires or other items. Always check the recommended pressure for the item being inflated.
- Monitor the pressure gauge during inflation to avoid exceeding the maximum pressure.
- The air hose may become hot during prolonged use. Handle with care.
- Bezpieczeństwo baterii:
- Do not disassemble, modify, or immerse the device in water.
- Charge the device only with the provided USB-C cable.
- Unikaj wystawiania urządzenia na działanie ekstremalnych temperatur (poniżej -20°C i powyżej 45°C).
- If the battery swells, leaks, or emits an odor, discontinue use immediately.
The ASMAX T20 incorporates 10 levels of safety protection, including spark-proof, reverse polarity, short circuit, overload, over-voltage, over-current, high/low temperature, overcharge, and reverse charge protection, ensuring safe operation.

Image: The ASMAX T20 features 10 integrated safety protections for secure operation.
3. Zawartość opakowania
Sprawdź, czy w opakowaniu znajdują się wszystkie elementy:
- Arrancador con Compresor de Aire T20 (Jump Starter with Air Compressor T20)
- Válvula Schrader Extendida (Extended Schrader Valve)
- Aguja para Inflar Balones (Ball Inflation Needle)
- Válvula Schrader (Schrader Valve)
- Válvula Presta (Presta Valve)
- Cable de Carga USB-C (USB-C Charging Cable)
- Manguera de Aire Inflable (Inflatable Air Hose)
- Cable de Puente de 12V con Pinzas (12V Jumper Cable with Clamps)
- Bolsa de Almacenamiento (Storage Bag)
- Manual de Usuario (User Manual)

Image: All components included in the ASMAX T20 product box.
4. Koniec produktuview
The ASMAX T20 features a compact design with an intuitive interface. Familiarize yourself with the device's components and controls.

Image: The ASMAX T20 device and its accessories.
4.1. Główne cechy jednostki
- Duży wyświetlacz LCD: Shows real-time tire pressure, battery level, and selected modes.
- Przyciski sterujące: Intuicyjne przyciski do sterowania zasilaniem, wyborem trybu i regulacją ciśnienia.
- Port rozruchowy: Connects to the 12V jumper cables.
- Port węża pneumatycznego: Connects the inflatable air hose.
- Port wyjściowy USB-A: Do ładowania urządzeń zewnętrznych (funkcja power banku).
- Port wejściowy USB-C: For charging the ASMAX T20 device.
- Latarka LED: Integrated high-intensity LED light with multiple modes.

Image: The high-definition LCD screen provides clear information.

Image: The ASMAX T20 functions as a 12000mAh power bank.

Image: The device includes a powerful LED emergency light.
5. Specyfikacje
| Funkcja | Specyfikacja |
|---|---|
| Maksymalny prąd | 4000A |
| Zakres ciśnienia | 2-150 PSI / 0.1-10.3 BAR |
| Przepływ powietrza | 28 l/min |
| Zakres temperatur pracy | -20°C do 45°C (-4°F do 113°F) |
| Pojemność baterii | 12000mAh / 44.4Wh |
| Wejście Voltage | 5 V (USB-C) |
| Engine Support (Gasoline) | Do 9.0L |
| Engine Support (Diesel) | Do 8.0L |
| Zgodność typu pojazdu | All 12V vehicles (motorcycles, cars, SUVs, ATVs, vans, trucks, lawnmowers) |
| Wymiary | Wymiary 5 x 7.1 x 9 cm |
| Waga | 700 gramów |

Image: Comprehensive specifications of the ASMAX T20.
6. Konfiguracja
6.1. Ładowanie początkowe
Before first use, fully charge the ASMAX T20. Connect the provided USB-C charging cable to the device's USB-C input port and a compatible 5V USB power adapter (not included). The LCD display will indicate the charging status. A full charge typically takes 3-4 hours.
7. Instrukcja obsługi
7.1. Rozruch pojazdu za pomocą kabli rozruchowych
The ASMAX T20 can jump start 12V gasoline vehicles up to 9.0L and diesel vehicles up to 8.0L.
- Przygotuj pojazd: Upewnij się, że zapłon pojazdu jest wyłączony, a hamulec postojowy zaciągnięty.
- Connect the Booster: Insert the 12V jumper cable with clamps into the jump start port on the ASMAX T20.
- Podłącz do akumulatora: Podłącz czerwony (dodatni, +) przewódamp to the positive terminal of the vehicle's battery. Attach the black (negative, -) clamp do ujemnego bieguna akumulatora pojazdu. Upewnij się, że połączenie jest bezpieczne.
- Pojazd startowy: Once connected, the green light on the jumper cable connector will illuminate, indicating a ready state. Start the vehicle's engine. If it doesn't start immediately, wait 30 seconds before trying again. Do not crank for more than 3 seconds per attempt.
- Odłączyć: Po uruchomieniu pojazdu natychmiast odłącz czarny (ujemny) przewód.amp najpierw czerwony (dodatni) clamp. Remove the jumper cable from the ASMAX T20.

Image: Steps for instant vehicle restart using the ASMAX T20.
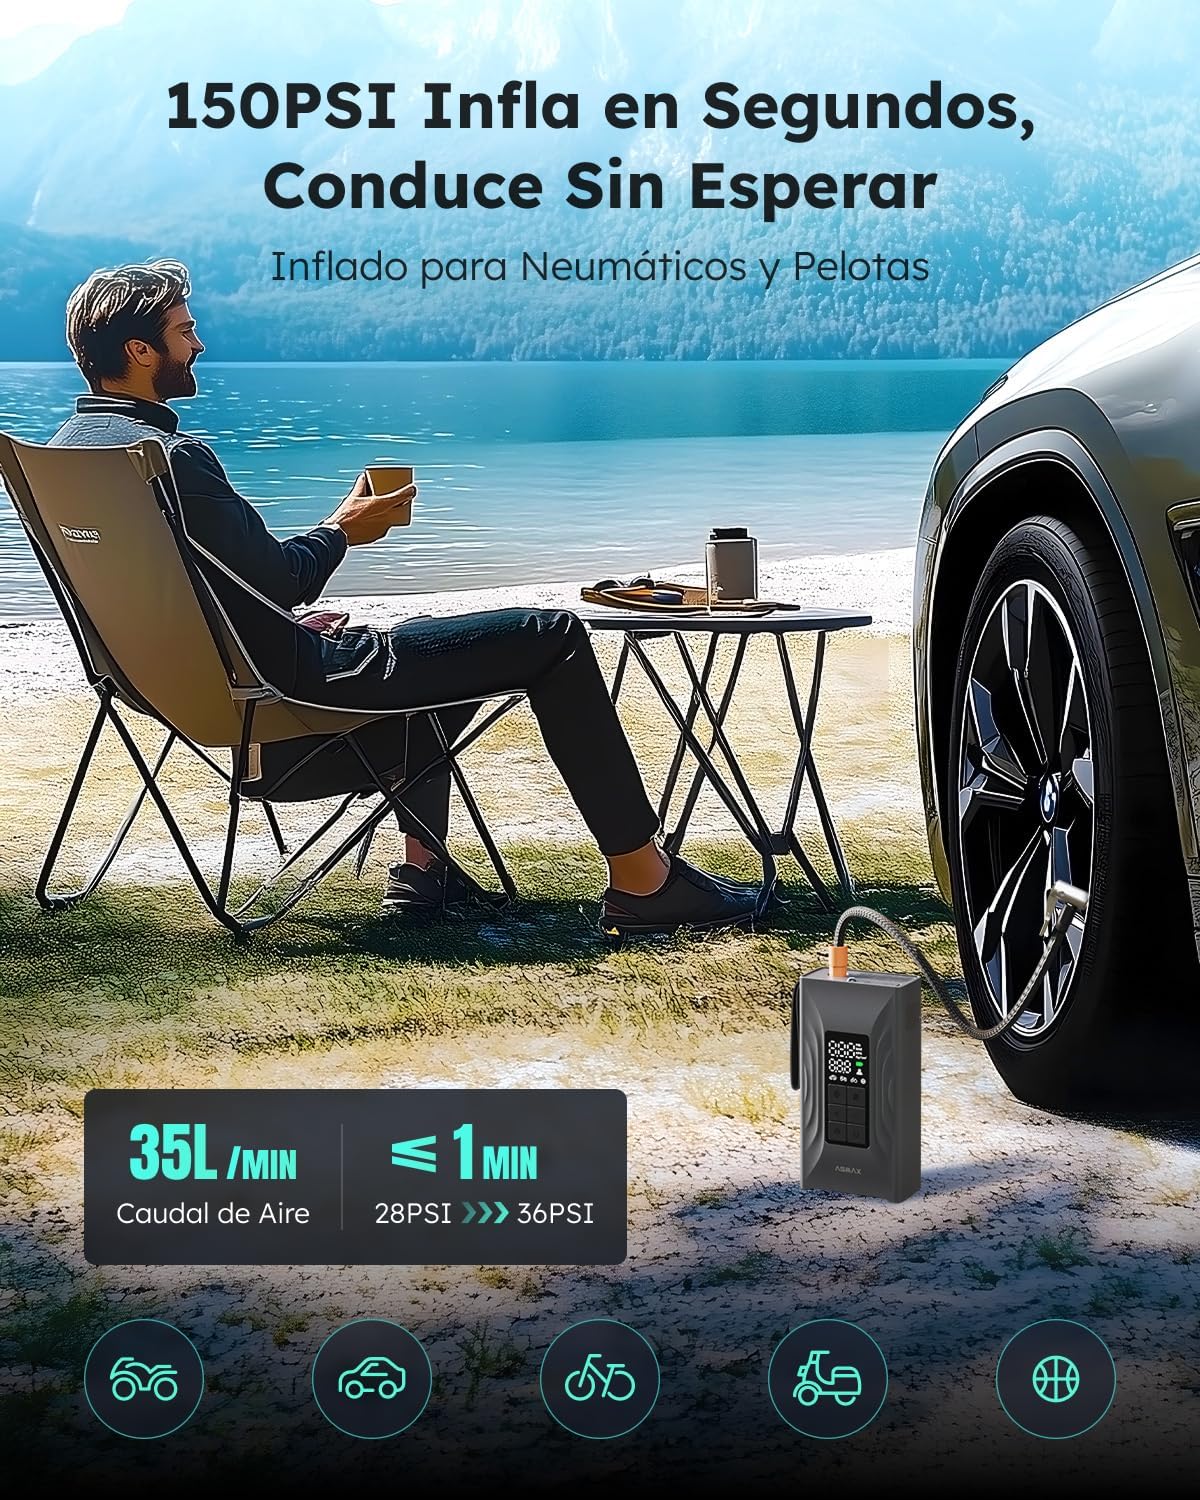
Image: Proper connection of jumper clampdo akumulatora samochodowego.
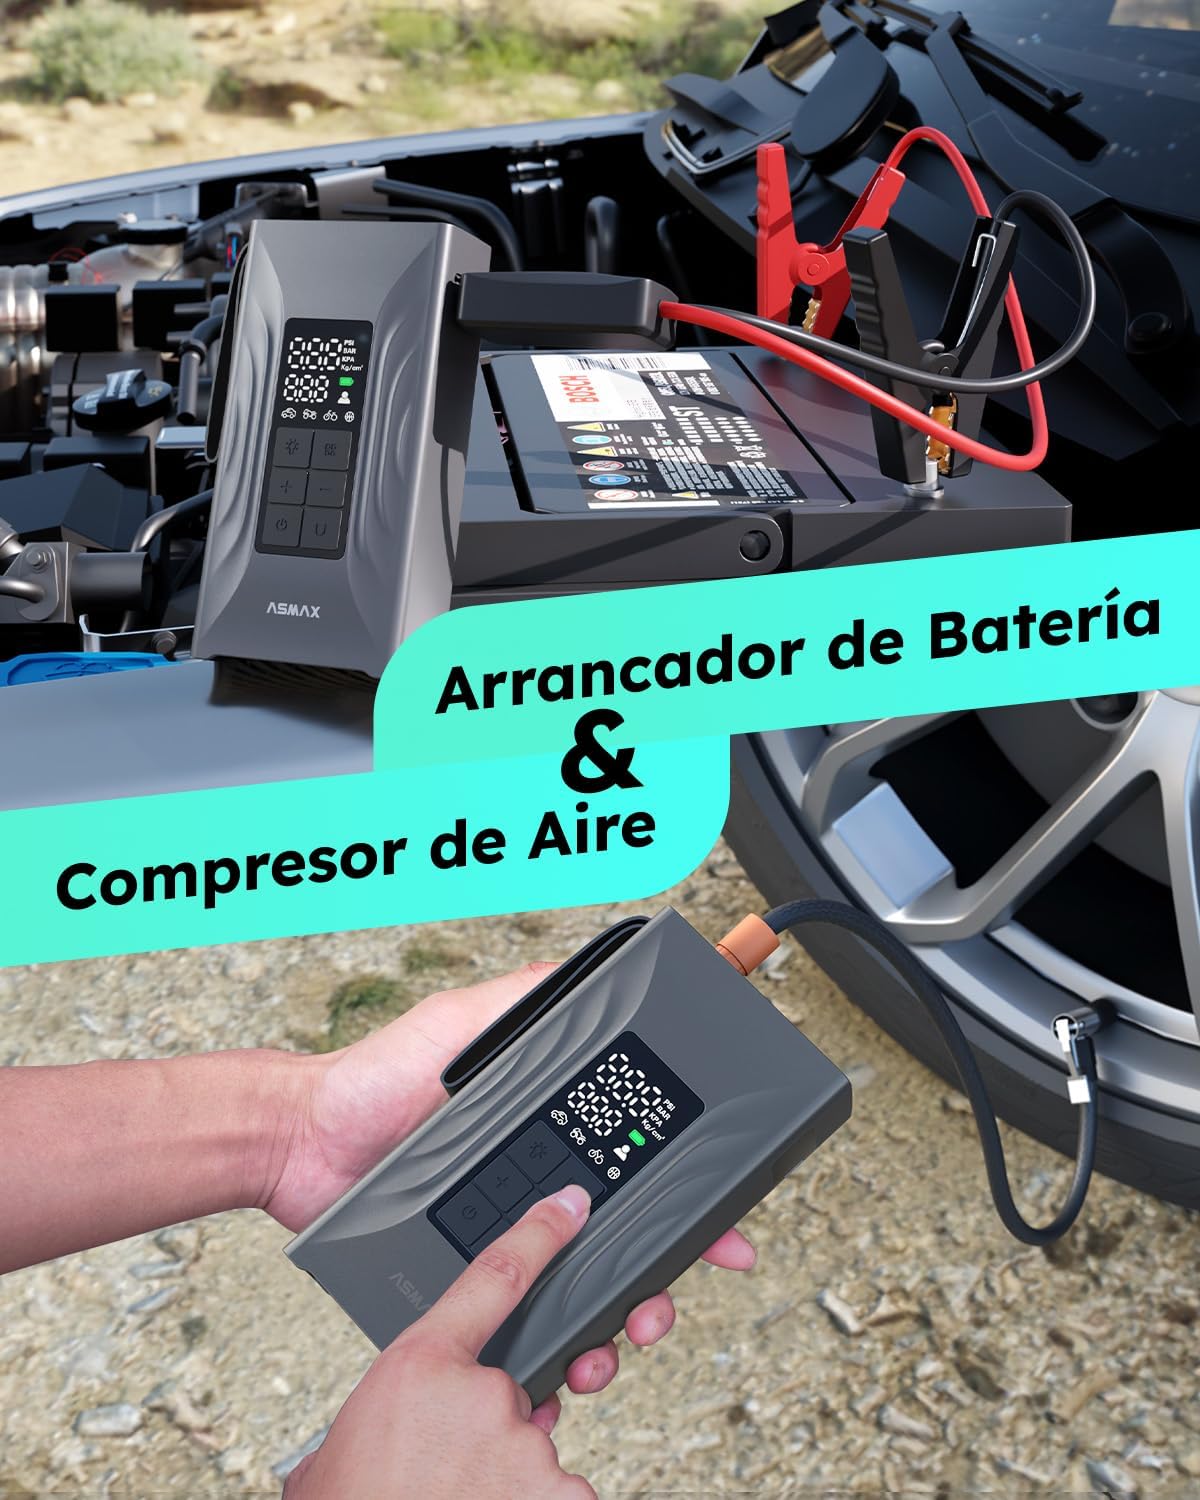
Image: The ASMAX T20 in use for both jump starting and tire inflation.
7.2. Korzystanie ze sprężarki powietrza
The 150 PSI air compressor can inflate tires, balls, and other inflatables quickly.
- Podłącz dyszę: Select the appropriate nozzle for your item and securely attach it to the inflatable air hose. Connect the air hose to the air hose port on the ASMAX T20.
- Wybierz tryb i ustaw ciśnienie: Turn on the device. Long press the mode button to select from 5 preset modes (balls, bicycles, motorcycles, cars, custom). Use the '+' and '-' buttons to adjust the target pressure. The LCD screen will display the current and target pressure.
- Rozpocznij inflację: Connect the nozzle to the item to be inflated. Press the power button to start inflation. The compressor will automatically stop once the preset pressure is reached.
- Odłączyć: Disconnect the nozzle from the item and the air hose from the device.

Image: Steps for effortless inflation using the ASMAX T20.
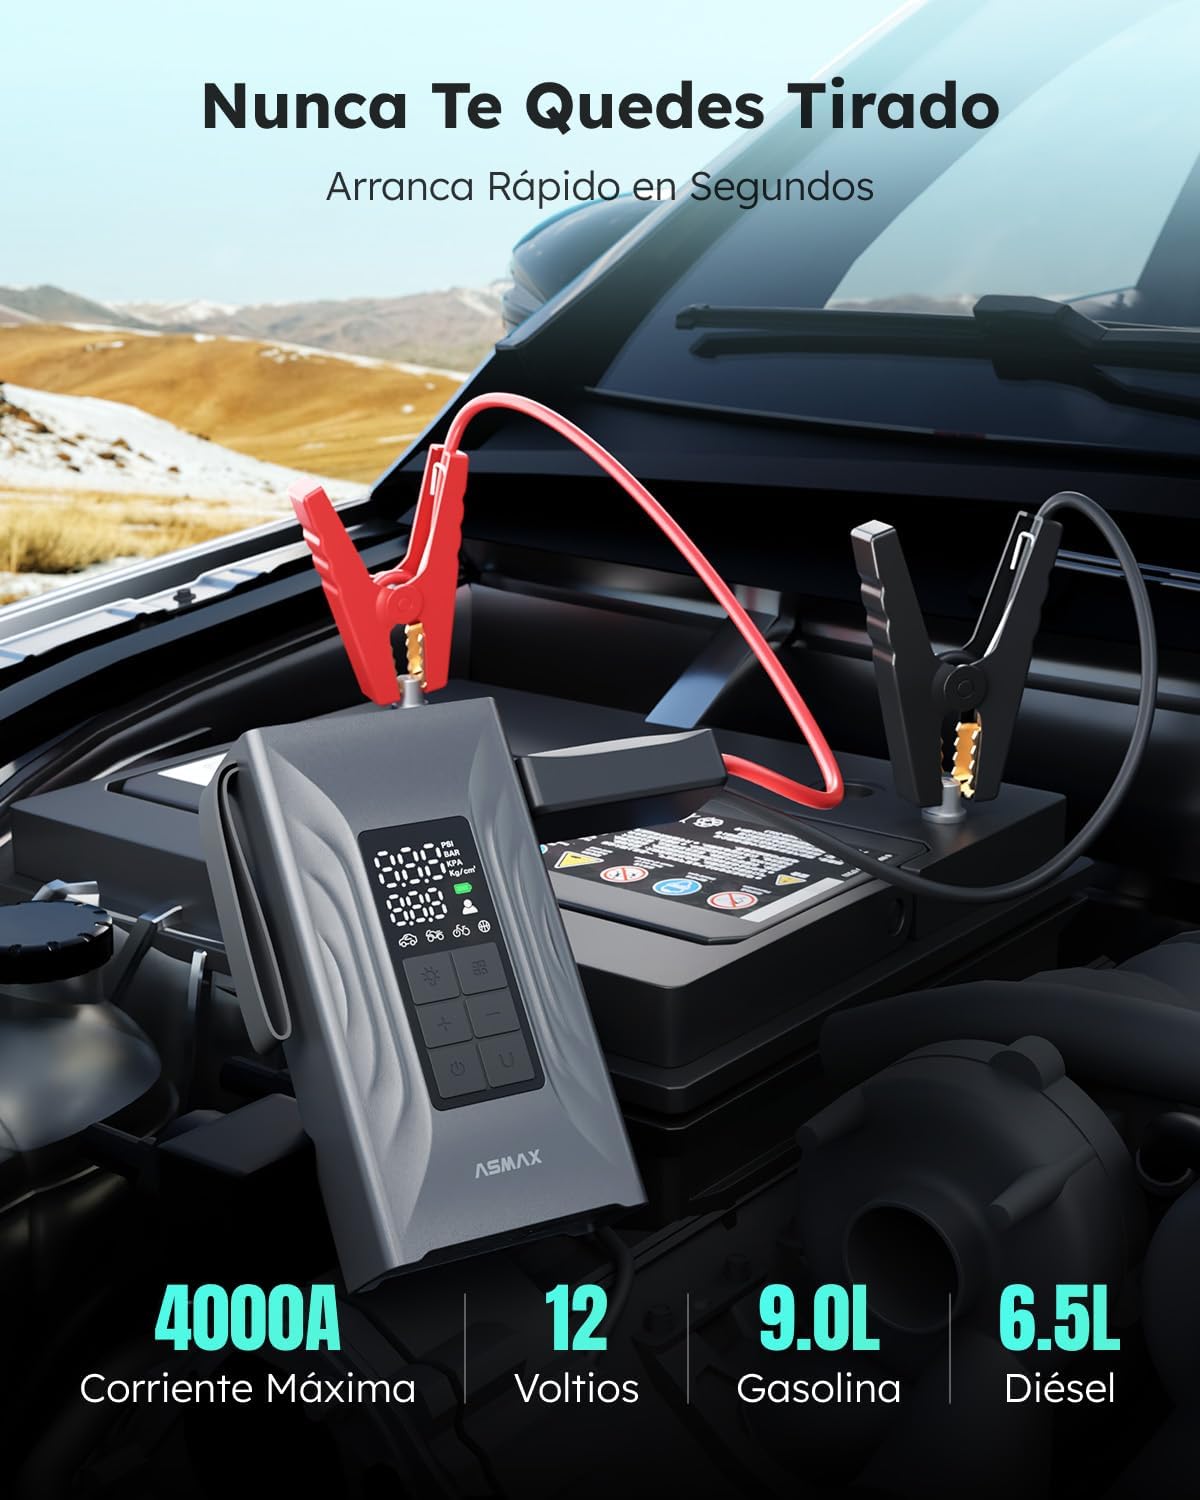
Image: The ASMAX T20 air compressor in use, inflating a tire quickly.
7.3. Używanie jako powerbanku
The 12000mAh battery can charge mobile phones, tablets, and other USB-powered devices.
- Podłącz urządzenie: Connect your electronic device to the USB-A output port of the ASMAX T20 using a compatible USB cable.
- Ładowanie: The ASMAX T20 will automatically begin charging your device. Monitor the charging status on your device's screen.
7.4. Korzystanie z latarki LED
Zintegrowana latarka LED zapewnia oświetlenie w różnych sytuacjach.
- Włącz/Wyłącz: Naciśnij przycisk latarki, aby włączyć lub wyłączyć światło.
- Zmień tryby: Press the flashlight button repeatedly to cycle through the modes: Constant Illumination, Intermittent (Strobe) Mode, and SOS Warning Mode.
8. Konserwacja
Proper maintenance ensures the longevity and optimal performance of your ASMAX T20.
- Czyszczenie: Przetrzyj urządzenie miękką, suchą ściereczką. Nie używaj silnych środków chemicznych ani ściernych środków czyszczących. Upewnij się, że wszystkie porty są wolne od kurzu i zanieczyszczeń.
- Składowanie: Store the device in a cool, dry place, away from direct sunlight and extreme temperatures. The ideal storage temperature range is between -20°C and 45°C.
- Pielęgnacja baterii: To maintain battery health, it is recommended to fully charge the device every 3-6 months, even if not in use. Do not store the device with a completely depleted battery.
- Pielęgnacja akcesoriów: Keep the jumper cables, air hose, and nozzles clean and free from damage. Store them in the provided storage bag.
9. Rozwiązywanie Problemów
If you encounter issues with your ASMAX T20, refer to the following common problems and solutions:
| Problem | Możliwa przyczyna | Rozwiązanie |
|---|---|---|
| Urządzenie się nie włącza. | Bateria jest rozładowana. | Naładuj urządzenie w pełni za pomocą kabla USB-C. |
| Pojazd nie uruchamia się. | Niepoprawny klamp połączenie. Device battery too low. Vehicle battery completely dead (below 50% charge on device required). Vehicle issue not related to battery. | Zapewnij clampsą podłączone prawidłowo (czerwony do +, czarny do -). Ensure device is sufficiently charged (above 50%). For completely dead batteries, ensure device is fully charged and try again. If still no start, consult a mechanic. Check other vehicle systems. |
| Kompresor powietrza nie pompuje. | Hose not securely connected. Nozzle not properly attached. Target pressure not set. Device battery too low. | Ensure air hose is securely screwed into the device and nozzle. Ensure nozzle is firmly attached to the item. Set a target pressure on the display. Naładuj urządzenie. |
| Wyświetlacz LCD nie działa. | Device is off or battery is depleted. | Press the power button to turn on. Charge the device if necessary. |
| Urządzenie nagrzewa się podczas użytkowania. | Normal operation during high load (e.g., prolonged inflation or multiple jump starts). | Allow the device to cool down before continued use. If overheating persists or is excessive, discontinue use and contact support. |
If the problem persists after attempting these solutions, please contact ASMAX customer support for assistance.
10. Gwarancja i wsparcie
The ASMAX T20 is designed and manufactured to high-quality standards. For information regarding warranty coverage, please refer to the warranty card included with your product or visit the official ASMAX website. For technical support, troubleshooting assistance beyond this manual, or to inquire about replacement parts, please contact ASMAX customer service through the contact information provided on the product packaging or the official brand webstrona.