
Ortur OLM2S2
Instrukcja obsługi grawerki laserowej na podczerwień Ortur Laser Master 2 S2 1064 nm
Model: OLM2S2
1. Wprowadzenie
This manual provides essential information for the safe and effective operation of your Ortur Laser Master 2 S2 1064nm Infrared Laser Engraver. Please read this manual thoroughly before assembly and operation to ensure proper usage and to prevent damage or injury. This device is designed for precise engraving on various materials, including metals, plastics, and acrylics.

Image 1.1: The Ortur Laser Master 2 S2 1064nm Infrared Laser Engraver, showcasing jego projekt i examples of engraved items like cutlery, a flask, and a mug.
2. Informacje dotyczące bezpieczeństwa
The Ortur Laser Master 2 S2 is a Class 4 laser product. Improper use can result in serious injury, including eye damage, skin burns, and fire. Always adhere to the following safety guidelines:
- Ochrona oczu: Always wear appropriate laser safety goggles designed for the 1064nm wavelength during operation. Never look directly at the laser beam or its reflection.
- Obszar roboczy: Operate the engraver in a well-ventilated area. Ensure the work area is free of flammable materials.
- Nadzór: Nigdy nie pozostawiaj maszyny bez nadzoru podczas pracy.
- Bezpieczeństwo materiałów: Engrave only approved materials. Some materials can produce hazardous fumes when engraved.
- Awaryjny postój: Zapoznaj się z lokalizacją i funkcją przycisku zatrzymania awaryjnego.
- Dzieci i zwierzęta: Trzymaj dzieci i zwierzęta domowe z dala od obszaru operacyjnego.
- Zasilanie: Używaj wyłącznie dołączonego zasilacza.

Obraz 2.1: Koniecview of the four main safety features integrated into the Ortur Laser Master 2 S2 design.
3. Koniec produktuview
3.1 Składniki
The Ortur Laser Master 2 S2 consists of a robust frame, a 1064nm infrared laser module, and control electronics. Key components include:
- Moduł laserowy: 1000mW (1W) 1064nm Infrared Laser.
- Rama: Industrial-grade full metal structure for stability and precision.
- Tablica sterowania: Manages laser operations and communication.
- Silniki krokowe: Drive the X and Y axes for precise movement.
- Wyłączniki krańcowe: Define the engraving area boundaries.
3.2 Główne cechy
- Multi-Material Compatibility: Capable of engraving various metals (gold, silver, platinum, copper, aluminum, stainless steel), leathers, plastics, acrylics, glass, and stones.
- Wysoka precyzja: Motion accuracy up to 0.03mm for detailed engravings.
- Duży obszar grawerowania: 390 x 410 mm (approximately 15.35" x 16.14").
- Wysoka prędkość: Engraving speeds up to 10000mm/min.
- Kompatybilność oprogramowania: Supports LaserGRBL and LightBurn.
- Obsługa systemu operacyjnego: Compatible with Windows 7/8/XP/10/11 and Mac systems (via LightBurn).
- File Obsługiwane formaty: SVG, DXF, JPG, JPEG, PNG, BMP, TIF, CR2, itd.
- Konstrukcja modułowa: Facilitates easy assembly, repair, and upgrades.

Image 3.1: The powerful 1064nm 1W infrared laser module with dual fan cooling, designed for long operational life.

Image 3.2: The generous 390 x 410 mm (15.35" x 16.14") engraving area of the OLM2S2.
4. Konfiguracja
4.1 Rozpakowanie i kontrola
Carefully unpack all components. Verify that all parts listed in the packing list are present and undamaged. If any parts are missing or damaged, contact customer support immediately.
4.2 Montaż
The Ortur Laser Master 2 S2 features a modular design for straightforward assembly. Typical assembly time is 10-15 minutes. Follow the detailed assembly instructions provided in the separate assembly guide or refer to official Ortur assembly videos. Ensure all connections are secure and the frame is rigid.
- Assemble the frame components according to the diagrams.
- Mount the laser module onto the gantry.
- Connect all cables (power, USB, motor cables) securely.
- Ensure the timing belts are properly tensioned.
4.3 Instalacja oprogramowania
Download the latest version of your preferred engraving software (LaserGRBL or LightBurn) from their official websites. Install the software on your computer and follow the on-screen instructions for driver installation and initial setup.
5. Instrukcja obsługi
5.1 Przygotowanie do grawerowania
- Miejsce materiału: Position the material to be engraved on the work surface.
- Skupienie lasera: Adjust the laser module height to achieve the optimal focal point on the material surface. Refer to the laser module's specific focusing instructions.
- Połącz z komputerem: Podłącz grawerkę do komputera przez USB.
- Uruchom oprogramowanie: Open LaserGRBL or LightBurn.
- Projekt obciążenia: Import your desired engraving design (SVG, DXF, JPG, etc.).
- Ustaw parametry: Configure engraving parameters such as speed, power, and number of passes based on the material type and desired effect.
5.2 Proces grawerowania
- Noś okulary ochronne: Ensure all individuals in the vicinity are wearing appropriate laser safety goggles.
- Rozpocznij grawerowanie: Initiate the engraving process through the software.
- Działanie monitora: Continuously monitor the engraving process. Be prepared to use the emergency stop if any issues arise.
- Ukończenie: Once engraving is complete, the laser will stop. Wait for any fumes to clear before removing the engraved item.
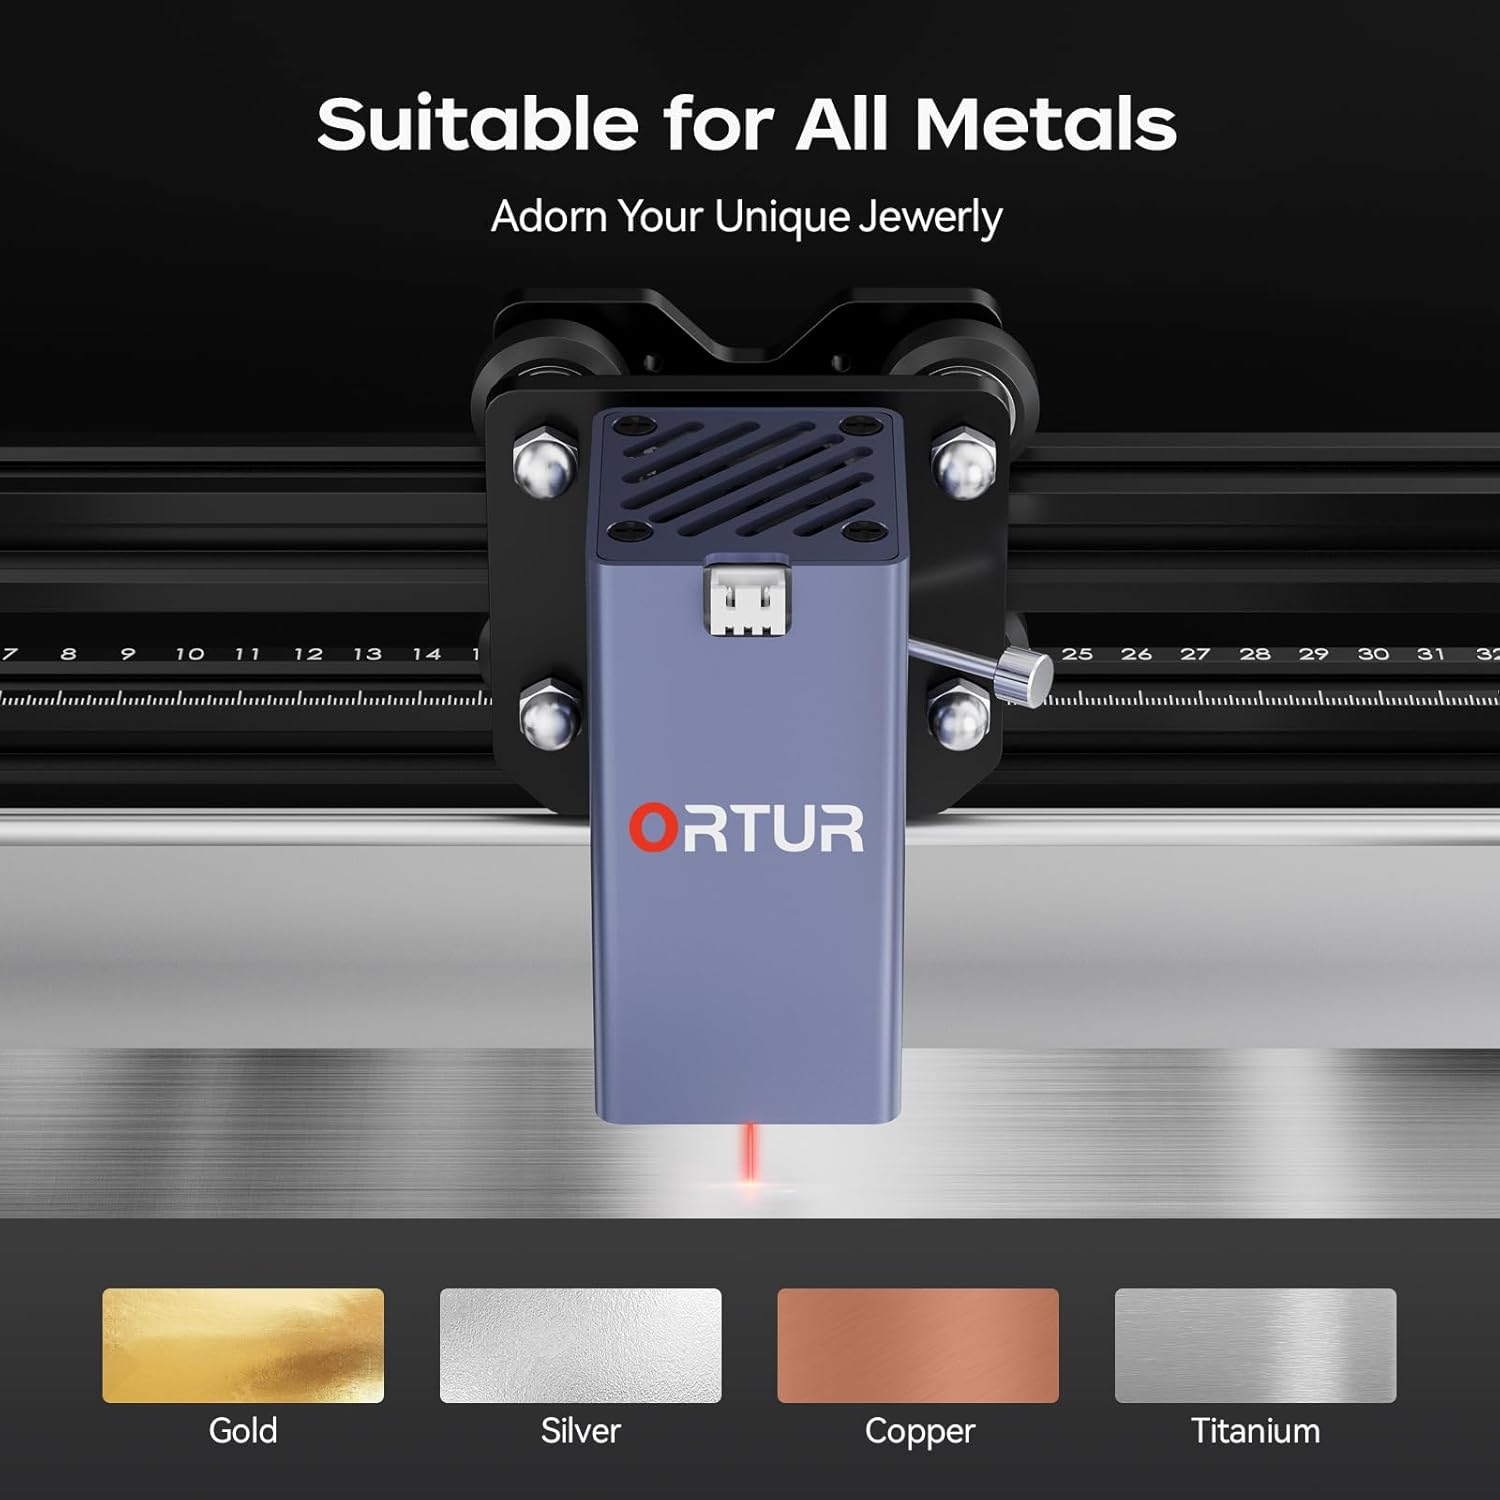
Image 5.1: The Ortur Laser Master 2 S2 is suitable for engraving on various metals, including gold, silver, copper, and titanium.

Obraz 5.2: Examples of materials that can be engraved, such as various metals, plastics, and acrylics.
6. Zgodność oprogramowania
The Ortur Laser Master 2 S2 is compatible with widely used laser engraving software:
- LaserGRBL: A free, open-source software primarily for Windows users. It is suitable for basic engraving tasks and image processing.
- LightBurn: A powerful, paid software compatible with Windows, Mac, and Linux. It offers advanced features for design, layout, and control, making it suitable for more complex projects.
Ensure your software is updated to the latest version for optimal performance and compatibility.

Image 6.1: The laser engraver adapts to common software like LightBurn and LaserGRBL.
7. Konserwacja
Regularna konserwacja zapewnia długowieczność i optymalną wydajność grawerki laserowej.
- Czyszczenie: Regularly clean the lens of the laser module with a lint-free cloth and isopropyl alcohol. Keep the rails and belts free of dust and debris.
- Smarowanie: Periodically apply a small amount of lubricant to the linear rails to ensure smooth movement.
- Napięcie pasa: Check and adjust the tension of the timing belts as needed to prevent skipping or inaccurate engraving.
- Aktualizacje oprogramowania układowego: Sprawdź oficjalny Ortur website for any firmware updates for your machine.
8. Rozwiązywanie Problemów
W tej sekcji omówiono typowe problemy, na które możesz natrafić.
| Problem | Możliwa przyczyna | Rozwiązanie |
|---|---|---|
| Laser nie działa lub jego moc jest słaba. | Incorrect focus, dirty lens, low power setting, faulty laser module. | Adjust focus, clean lens, increase power in software, contact support if module is faulty. |
| Engraving is inaccurate or distorted. | Loose belts, loose frame components, incorrect software settings, material movement. | Check and tighten belts, ensure frame is rigid, verify software settings, secure material. |
| Urządzenie nie łączy się z komputerem. | Problem z kablem USB, sterownik nie został zainstalowany, wybrano niewłaściwy port COM. | Try a different USB port/cable, reinstall drivers, select correct COM port in software. |
| Machine powers on but does not move. | Motor cables disconnected, emergency stop engaged, software error. | Check motor connections, disengage emergency stop, restart software and machine. |
9. Specyfikacje
| Funkcja | Szczegół |
|---|---|
| Marka | Ortur |
| Model | OLM2S2 |
| Moduł laserowy | 1000mW (1W) 1064nm Infrared Laser |
| Obszar grawerowania | 390 x 410 mm (15.35" x 16.14") |
| Prędkość grawerowania | Do 10 000 mm/min |
| Dokładność ruchu | 0.03mm |
| Obsługiwane oprogramowanie | LaserGRBL, LightBurn |
| Obsługiwany system operacyjny | Windows 7/8/XP/10/11, Mac (LightBurn) |
| Utrzymany File Formaty | SVG, DXF, JPG, JPEG, PNG, BMP, TIF, CR2, itd. |
| Wymiary produktu | 22.4 x 9 x 5.1 cala |
| Waga przedmiotu | 8.67 funta |

Image 9.1: The motion accuracy of 0.03mm ensures clear and detailed engraving patterns.
10. Gwarancja i wsparcie
Ortur is committed to providing high-quality after-sales service. If you encounter any problems with your product, please contact our customer support team.
- Obsługa klienta: Professional technicians are available to provide solutions and assistance.
- Informacje kontaktowe: Refer to the official Ortur website or product packaging for current contact methods (email, live chat, Facebook support).

Image 10.1: Ortur offers round-the-clock support via email, live chat, and Facebook.
Ask a question about this manual
Ask about setup, troubleshooting, compatibility, parts, safety, or missing instructions. Manuals+ will review the question and use this page’s manual context to help answer it.