Wstęp
Thank you for choosing the BoxWave AccuPoint Active Stylus. This electronic stylus is designed to provide precise and natural interaction with your touchscreen devices, such as the Diebold Nixdorf DN Series 250H (19 in). This manual provides essential information on setting up, operating, maintaining, and troubleshooting your stylus. Please read it thoroughly before use.
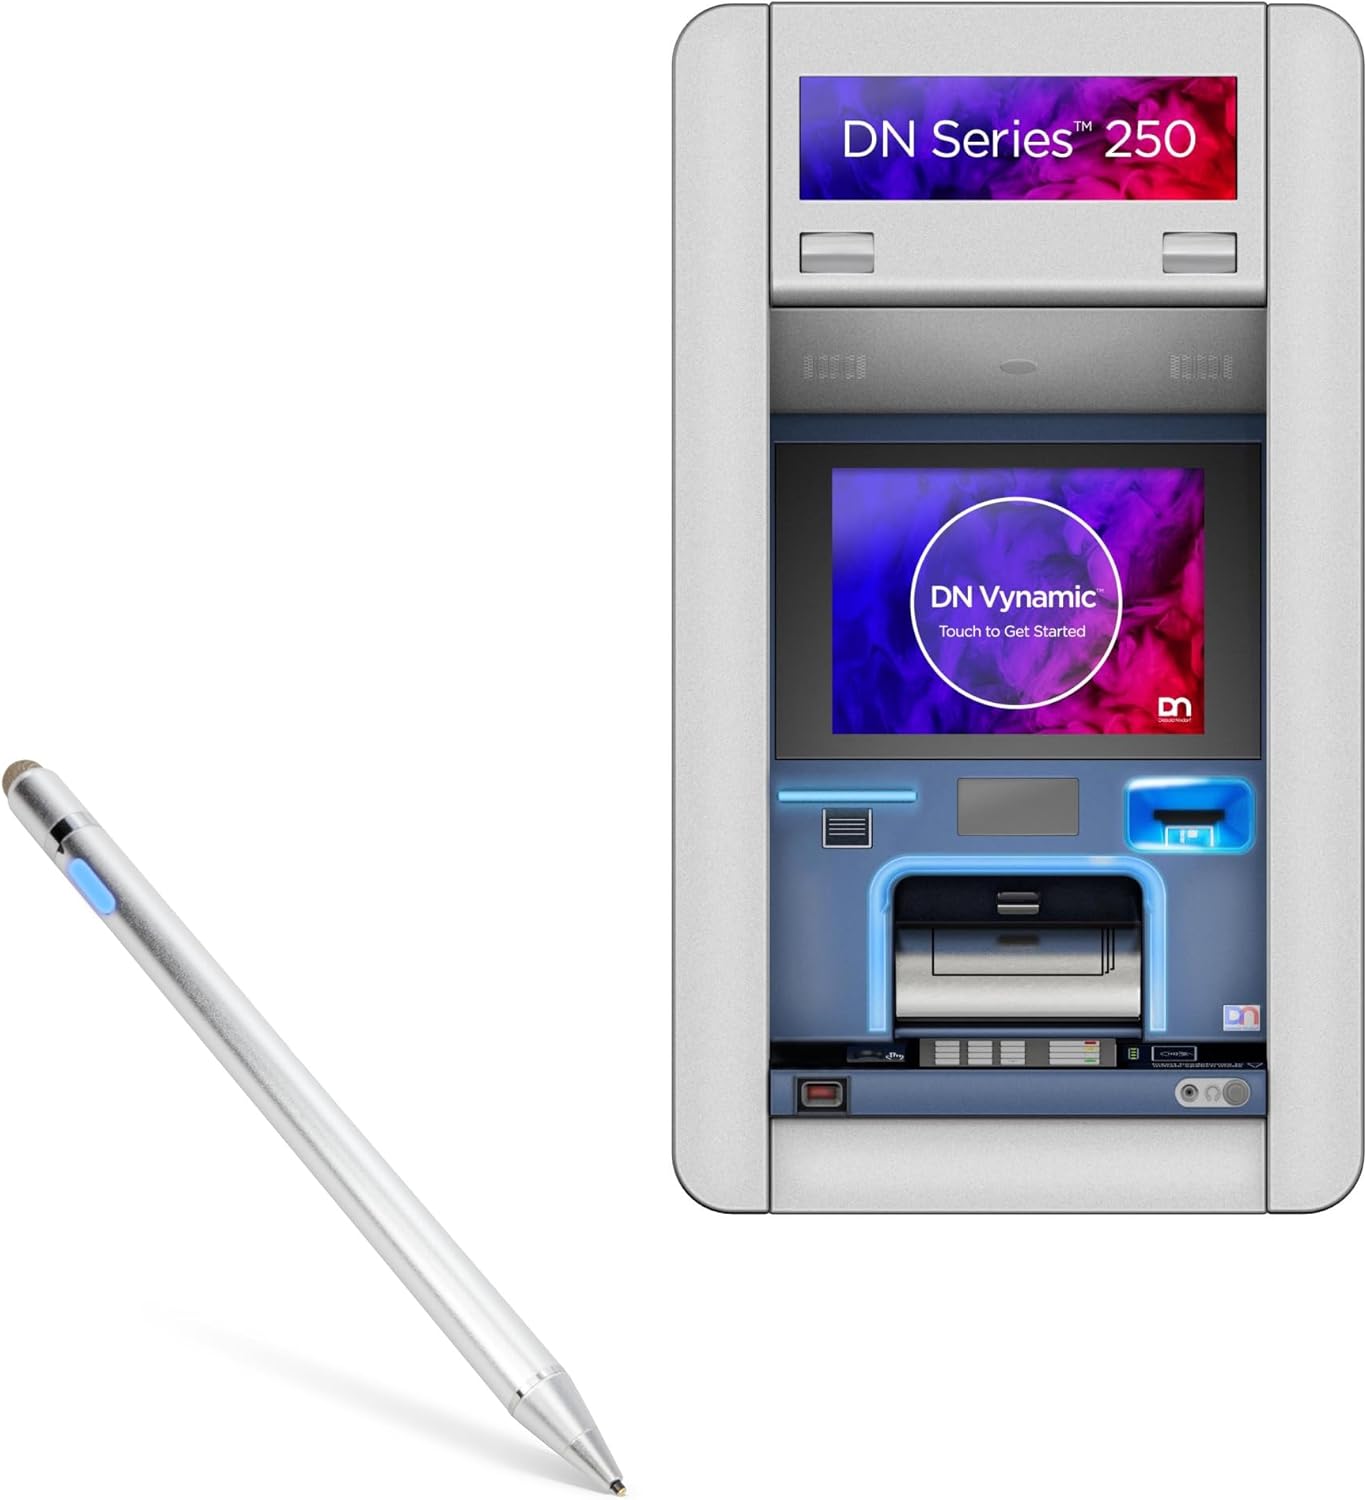
Image: The BoxWave AccuPoint Active Stylus shown alongside a Diebold Nixdorf DN Series 250H terminal, illustrating its intended use with compatible touchscreen devices.
Produkt ponadview i komponenty
The AccuPoint Active Stylus features a sleek, durable design with an ultra-fine tip for accurate input. It operates without the need for Bluetooth pairing, simplifying its use.

Image: A detailed diagram highlighting the key components of the AccuPoint Active Stylus, including the built-in charging port, indicator light, 1.9mm extra fine tip, and FiberMesh tip. It also notes that no Bluetooth is required for operation.
Główne cechy:
- Ultra Fine Tip: A 2mm (or 1.9mm as per diagram) tip for precise tapping, swiping, and drawing.
- No Pairing Required: Simply press the power button to activate.
- Electronic Pulses: Emits quick electronic pulses to interact with the screen.
- Długa żywotność baterii: Provides up to 12 hours of continuous use on a full charge.
- Trwała konstrukcja: Solid brushed aluminum barrel for strength and stability.
- Dual Tip Design: Includes both a precise active tip and a FiberMesh tip for versatile use.
Notatka: The AccuPoint Active Stylus does not support Palm Rejection or Pressure Sensitivity.
Organizować coś
The AccuPoint Active Stylus is designed for immediate use with minimal setup.
Opłata początkowa:
Before first use, it is recommended to fully charge the stylus.
- Locate the MicroUSB charging port on the stylus (refer to Product Overview obraz).
- Connect the included MicroUSB cable to the stylus and to any standard USB power source (e.g., computer USB port, USB wall adapter).
- The indicator light will illuminate during charging. Refer to the "Charging and Battery" section for light indicators.
- Po całkowitym naładowaniu odłącz kabel.
Włączanie/wyłączanie:
- To turn on the stylus, simply press the power button located on the barrel. The indicator light will turn blue.
- To turn off the stylus, press the power button again. The indicator light will turn off.
No Bluetooth pairing is required for the stylus to function with your touchscreen device.
Działanie
The AccuPoint Active Stylus provides a natural writing and interaction experience on compatible touchscreens.
Using the Active Tip:
- Sprawdź, czy rysik jest włączony (niebieska kontrolka).
- Hold the stylus as you would a regular pen.
- Gently touch the active tip to your device's screen to tap, swipe, draw, or write. The stylus emits electronic pulses to interact with the screen.

Image: A hand demonstrating the use of the AccuPoint Active Stylus on a tablet, showing how to interact with applications and the screen.
Using the FiberMesh Tip:
The FiberMesh tip, located at the opposite end of the active tip, can be used for general navigation or when a broader touch area is preferred. It functions like a standard capacitive stylus.
- Simply use the FiberMesh tip directly on the screen without powering on the stylus.
Ładowanie i bateria
The AccuPoint Active Stylus is powered by a built-in rechargeable battery, providing approximately 12 hours of use on a full charge.
Procedura ładowania:
- Connect the MicroUSB cable to the stylus's charging port.
- Podłącz drugi koniec kabla do źródła zasilania USB (np. komputera, zasilacza sieciowego, power banku).

Image: The AccuPoint Active Stylus shown connected via its MicroUSB cable to a laptop's USB port, illustrating the convenient charging method.
Stan lampki kontrolnej:
- Niebieskie światło: Stylus is powered on and ready for use.
- Czerwone światło: Stylus is currently charging.
- Zielone światło: Stylus is fully charged.
- Brak światła: Stylus is powered off or battery is depleted.

Image: A visual guide to the LED indicator light on the stylus, showing blue for 'Power On', red for 'Charging', and green for 'Full Charge'.
Konserwacja i pielęgnacja
Proper care will extend the life and performance of your AccuPoint Active Stylus.
- Czyszczenie: Use a soft, dry, lint-free cloth to clean the stylus body. Do not use harsh chemicals or abrasive materials.
- Pielęgnacja napiwków: Avoid applying excessive pressure to the active tip. If the FiberMesh tip becomes worn, it can be replaced (replacement tips sold separately, if available).
- Składowanie: Store the stylus in a cool, dry place away from direct sunlight and extreme temperatures.
- Unikaj kropli: While durable, dropping the stylus on hard surfaces can damage internal components or the tips.
- Narażenie na działanie wody: The stylus is not waterproof. Avoid exposure to liquids.
Rozwiązywanie problemów
If you encounter issues with your AccuPoint Active Stylus, refer to the following common problems and solutions.
| Problem | Możliwa przyczyna | Rozwiązanie |
|---|---|---|
| Rysik nie reaguje. | Battery is depleted or stylus is off. | Ensure the stylus is charged and powered on (blue indicator light). |
| Inaccurate or inconsistent response. | Screen protector interference, dirty screen, or worn tip. | Clean your device's screen. Ensure screen protector is properly installed or try removing it temporarily. Check if the active tip is damaged. |
| Stylus not charging. | Wadliwy kabel, źródło zasilania lub port ładowania. | Try a different MicroUSB cable and/or a different USB power source. Ensure the cable is fully inserted into the stylus. |
| Kontrolka nie działa. | Stylus is off, battery is dead, or internal issue. | Power on the stylus. Charge the stylus. If the issue persists, contact support. |
If the problem persists after trying these solutions, please contact BoxWave customer support for further assistance.
Specyfikacje
Detailed technical specifications for the BoxWave AccuPoint Active Stylus.
| Funkcja | Szczegół |
|---|---|
| Nazwa modelu | AccuPoint Active Stylus |
| Producent | Fala pudełkowa |
| Zgodność | Capacitive touchscreens, including Diebold Nixdorf DN Series 250H (19 in) |
| Rozmiar końcówki | 1.9mm / 2mm Ultra Fine Tip |
| Żywotność baterii | Do 12 godzin ciągłego użytkowania |
| Port ładowania | MikroUSB |
| Tworzywo | Brushed Aluminum Barrel |
| Waga | 1.3 uncji (około 36.85 gramów) |
| ASIN | B0F8PNDMX7 |

Image: A visual summary of the AccuPoint Active Stylus's features and specifications, including protected charging port, 9mm fingerprint-proof brushed aluminum, 1.9mm tip, removable FiberMesh tip, easy-on LED button and power indicator, and no pairing required.
Gwarancja i wsparcie
BoxWave stands behind the quality of its products.
Informacje o gwarancji:
For specific warranty details regarding your AccuPoint Active Stylus, please refer to the warranty card included with your product or visit the official BoxWave webWarunki gwarancji zazwyczaj obejmują wady produkcyjne.
Obsługa klienta:
If you have any questions, require technical assistance, or need to report an issue, please contact BoxWave customer support.
- Webstrona: www.boxwave.com (Sprawdź dane kontaktowe pomocy technicznej)
- E-mail: Refer to the BoxWave webodwiedź witrynę, aby uzyskać najnowszy adres e-mail pomocy technicznej.
- Telefon: Refer to the BoxWave webstrona z najnowszym numerem telefonu pomocy technicznej.
When contacting support, please have your product model (AccuPoint Active Stylus) and ASIN (B0F8PNDMX7) ready.


