
Wstęp
Thank you for choosing the Wheatronic 20-Inch Caged Ceiling Fan with Lights and Remote. This fan combines a farmhouse-inspired design with modern functionality, providing both air circulation and illumination for your living space. Designed for flush mounting, it is suitable for various rooms including bedrooms, kitchens, and living rooms. This manual provides essential information for safe installation, operation, and maintenance of your new ceiling fan.
Informacje dotyczące bezpieczeństwa
Przed rozpoczęciem instalacji prosimy o dokładne zapoznanie się z instrukcją. Nieprzestrzeganie jej może spowodować porażenie prądem, pożar lub obrażenia ciała.
- Bezpieczeństwo elektryczne: Always disconnect power at the circuit breaker or fuse box before installation or servicing. Ensure all electrical connections comply with local codes and ordinances. If you are unfamiliar with electrical wiring, consult a qualified electrician.
- Montowanie: The mounting structure must be capable of supporting the weight of the fan. Ensure the outlet box is securely attached to the building structure.
- Prześwit ostrza: Zachowaj minimalny odstęp 7 stóp od podłogi do łopatek wentylatora i 24 cali od ściany do końcówek łopatek.
- Wymagania dotyczące żarówki: Stosuj wyłącznie żarówki z gwintem E26 o maksymalnej mocy 60 W na żarówkę. Nie przekraczaj zalecanej mocy.tage.
- Zdalne sterowanie: Trzymaj pilota z dala od wody i ekstremalnych temperatur.
- Czyszczenie: Always turn off the power before cleaning the fan. Use a soft, damp szmatka; unikaj silnych środków chemicznych.
Zawartość opakowania
Przed rozpoczęciem instalacji sprawdź, czy wszystkie komponenty są obecne:
- Łopatki wentylatora
- Zdalne sterowanie
- Sprzęt montażowy
- Instrukcja obsługi (ten dokument)
- Ceiling Fan Unit (with integrated light fixture and cage)
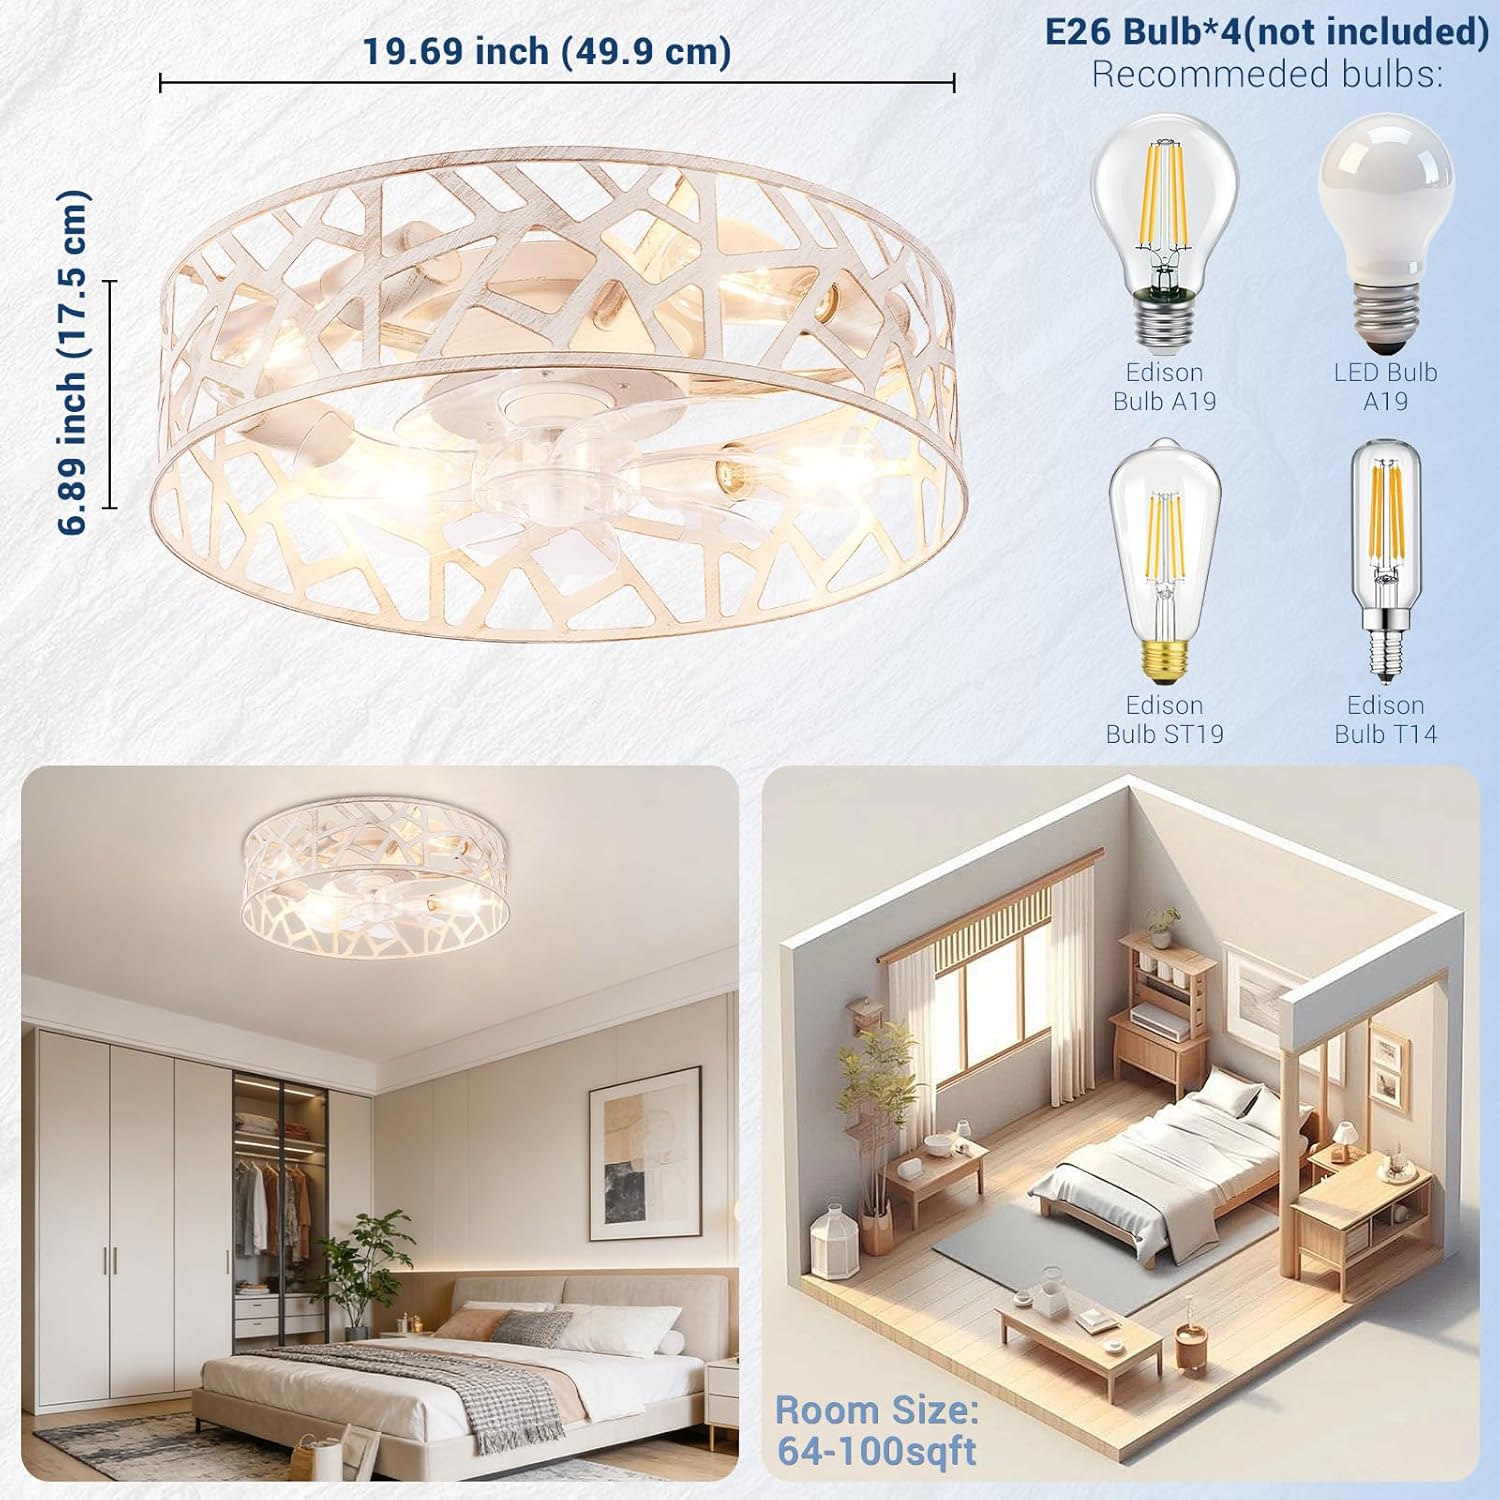
Obraz: Ponadview of the Wheatronic 20-inch Caged Ceiling Fan, showing its dimensions (19.69 inches diameter, 6.89 inches height) and examples of compatible E26 bulbs (Edison Bulb A19, LED Bulb A19, Edison Bulb ST19, Edison Bulb T14).
Specyfikacje
| Marka | Wheattronic |
| Numer modelu | CF8 |
| Nazwa modelu | CF820w |
| Kolor | Biały |
| Tworzywo | Metal |
| Styl | Dom wiejski |
| Formularz oprawy oświetleniowej | Blisko sufitu / montaż na równi z powierzchnią |
| Typ pokoju | Sypialnia, pokój dzienny, jadalnia, kuchnia, dzieci, przedszkole, łazienka, biuro domowe |
| Źródło zasilania | AC |
| Metoda kontroli | Zdalny |
| Źródło światła | Bulb (E26 base) |
| Liczba źródeł światła | 4 (żarówki nie są dołączone) |
| Tomtage | 120 V (AC) |
| Cotage | Max 60 watts per bulb |
| Pozycja Wymiary (dł. x szer. x wys.) | 20" dł. x 20" szer. x 6" wys. |
| Wymagany montaż | Tak |
| Zastosowanie wewnątrz/na zewnątrz | Wnętrz |
Konfiguracja i instalacja
Installation requires basic electrical knowledge. If you are unsure, consult a qualified electrician. Ensure power is OFF at the circuit breaker before starting.
- Przygotuj miejsce montażu: Ensure the ceiling electrical box is securely mounted and capable of supporting the fan's weight.
- Złóż wentylator: Follow the detailed assembly instructions provided in the included manual for attaching fan blades and any decorative elements to the main unit.
- Połączenia elektryczne: Connect the fan's electrical wires to the household wiring according to the wiring diagram in the full instruction manual. Typically, this involves connecting live, neutral, and ground wires.
- Zamontuj wentylator: Secure the fan unit to the ceiling electrical box using the provided mounting hardware. Ensure all screws are tightened securely.
- Zainstaluj żarówki: Screw four E26 base bulbs (not included) into the light sockets.
- Przywróć zasilanie: Po zakończeniu instalacji i zabezpieczeniu wszystkich połączeń należy przywrócić zasilanie za pomocą wyłącznika automatycznego.

Image: An illustrative diagram of the fan's internal structure and components, indicating the general assembly process.
Instrukcja obsługi
Your Wheatronic ceiling fan is operated using the included remote control.
Funkcje pilota zdalnego sterowania:

Obraz: Szczegółowy view of the remote control, highlighting buttons for General Off/Right Code, Light On/Off, Fan On/Off, Fan Speed (1-6 gears), Timing (1-2-4 hours), Silencer, Auxiliary Switch, and Fan Forward/Reverse.
- Włączanie/wyłączanie: Press the "Fan On/Off" button to turn the fan on or off. Use "Light On/Off" for the light.
- Regulacja prędkości wentylatora: Use the "Fan 1-6 gears" buttons to select desired fan speed. Speed 1-2 is Low Wind, 3-4 is Medium Wind, and 5-6 is High Wind.
- Funkcja timera: Press the "Timing" buttons (1H, 2H, 4H) to set the fan to automatically turn off after 1, 2, or 4 hours.
- Funkcja do przodu/do tyłu: Press the "Fan Forward / Reverse" button to change the direction of the fan blades.
- Tryb letni (przepływ powietrza w dół): Łopatki obracają się przeciwnie do ruchu wskazówek zegara, wytwarzając chłodną bryzę.
- Tryb zimowy (przepływ powietrza w górę): Łopatki obracają się zgodnie z ruchem wskazówek zegara, aby rozprowadzać ciepłe powietrze zgromadzone pod sufitem.
- Tłumik: This function may mute remote beeps or provide a quieter operation mode.
- Przełącznik pomocniczy: Refer to the full manual for specific functions of this button, if any.

Image: The ceiling fan operating in a bedroom, demonstrating the downward airflow for cooling during warmer seasons.

Image: A visual representation of the fan's summer mode (downward airflow for cooling) and winter mode (upward airflow for heat circulation).
Konserwacja
Regularna konserwacja zapewnia optymalną wydajność i długowieczność wentylatora sufitowego.
- Czyszczenie: Turn off power before cleaning. Use a soft, lint-free cloth to wipe down the fan housing and blades. Do not use abrasive cleaners or solvents.
- Wymiana żarówki: Ensure power is off before replacing bulbs. Allow bulbs to cool completely. Replace with E26 base bulbs, maximum 60 watts.
- Dokręć elementy złączne: Periodically check and tighten all screws and fasteners on the fan and mounting hardware to prevent wobbling or noise.
Rozwiązywanie problemów
W tej sekcji znajdziesz informacje o typowych problemach i ich rozwiązaniach.
| Problem | Możliwa przyczyna | Rozwiązanie |
|---|---|---|
| Wentylator się nie uruchamia | Brak zasilania, luźne okablowanie, słaba bateria pilota. | Sprawdź wyłącznik automatyczny. Upewnij się, że wszystkie połączenia przewodów są bezpieczne. Wymień baterie w pilocie. |
| Światło się nie włącza | Bulbs faulty or loose; no power; remote control issue. | Check bulbs and tighten if loose, replace if faulty. Verify power supply. Check remote control battery. |
| Wentylator się chwieje | Luźne śruby montażowe; niewyważone ostrza. | Ensure mounting bracket and fan screws are tight. Check if blades are securely attached. |
| Wentylator jest głośny | Loose screws; internal components rubbing. | Tighten all screws. Ensure no wires are touching the fan blades or motor housing. |
| Światła nie są ściemnialne | The product description may have been misinterpreted; this model's lights are not designed to be dimmable via the remote. | This model does not support dimming functionality through the remote control. Ensure compatible non-dimmable E26 bulbs are used. |
| Fan requires remote to turn on | This is standard operation for the fan. | The fan function is exclusively controlled by the remote. It does not have a memory function to automatically turn on with a wall switch. |
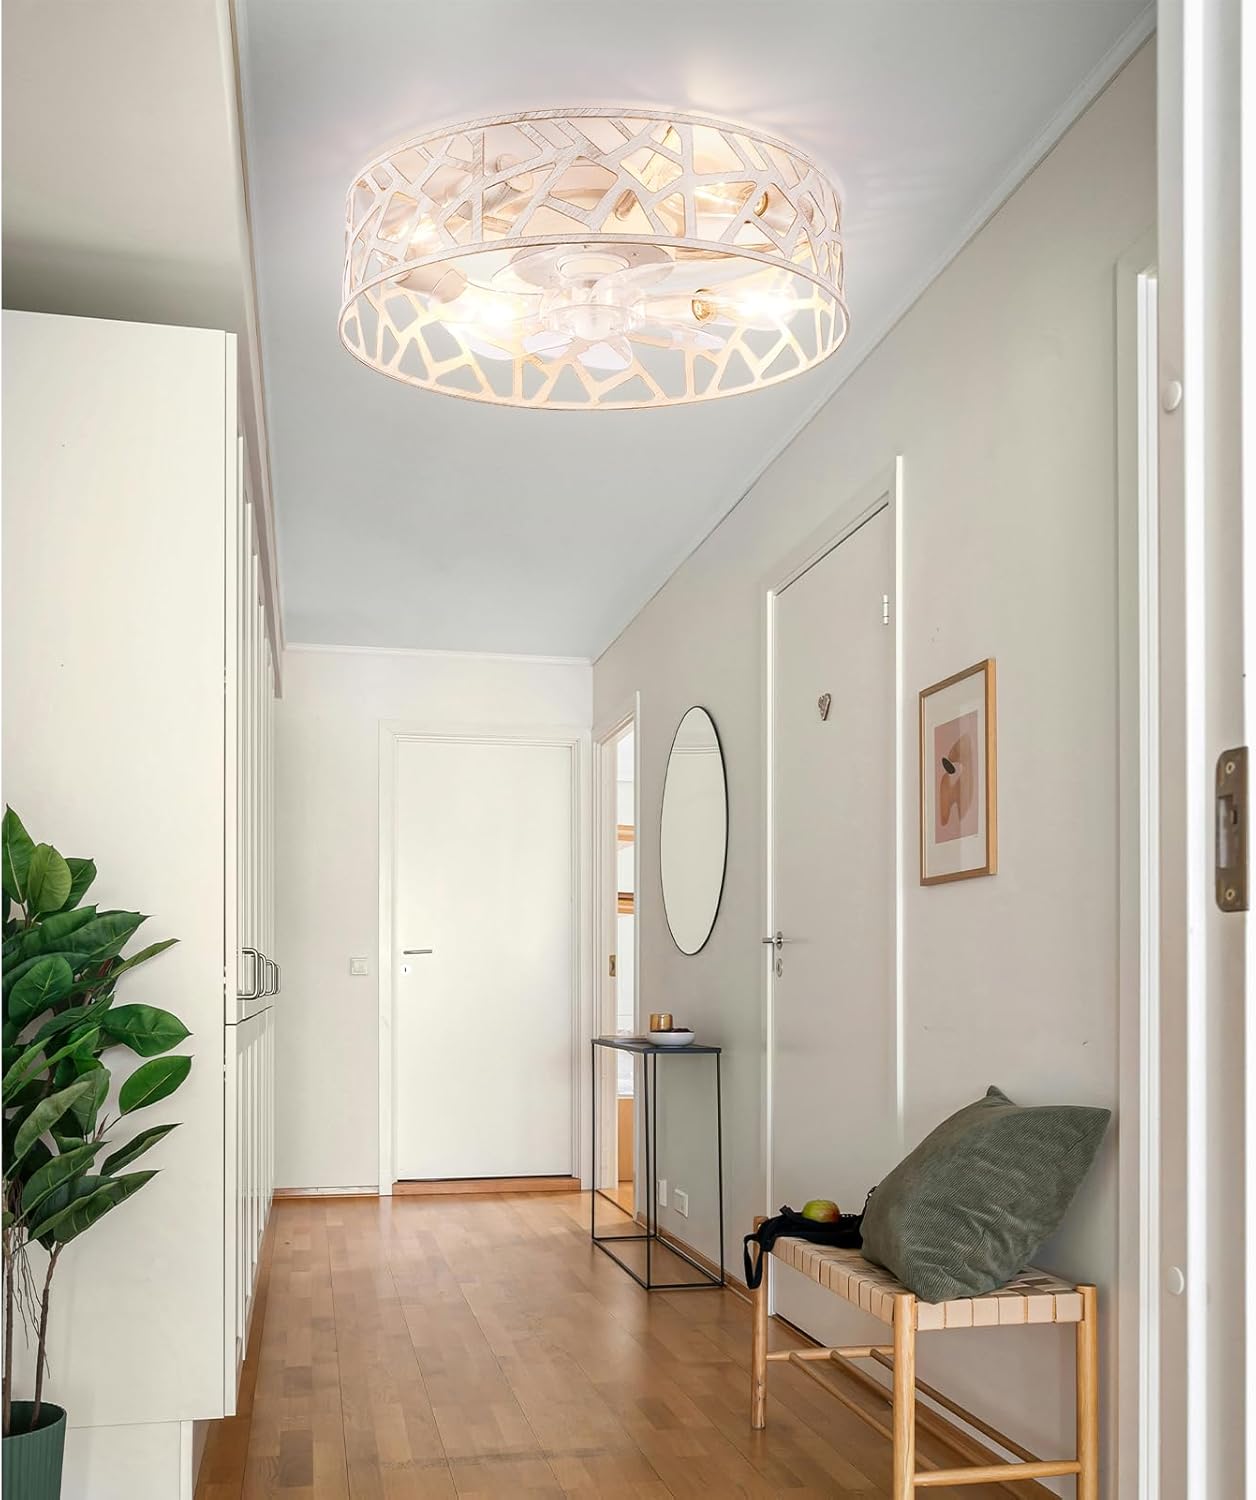
Image: A visual representation of the fan's quiet operation, suitable for bedrooms, with a noise level of approximately 45 dB, comparable to a whisper.
Gwarancja i wsparcie
Wheatronic provides a 12-miesięczna gwarancja na produkt for this ceiling fan. This warranty covers manufacturing defects and ensures reliable performance.
For any inquiries, issues, or warranty-related concerns, please contact our dedicated 24-hour customer service team. Refer to the contact information provided with your purchase or visit the official Wheatronic webwitryna wsparcia.
Manufacturer Warranty Description: 1 rok.