Wstęp
This manual provides comprehensive instructions for the installation, operation, and maintenance of your new Refrigerator Ice Maker Assembly. This replacement part is designed to restore or enhance ice production in compatible refrigerator models. Please read this manual thoroughly before installation and operation to ensure proper function and safety.
This ice maker assembly is compatible with various models, including those from Whirlpool, Kenmore, KitchenAid, and Maytag. Refer to your refrigerator's specific service manual for detailed compatibility and installation procedures.
Ważne informacje dotyczące bezpieczeństwa
- Odłącz zasilanie: Always disconnect power to the refrigerator before attempting any installation, maintenance, or repair. Failure to do so can result in electric shock or serious injury.
- Zalecana profesjonalna instalacja: Installation of this part may require specialized tools and knowledge. If you are not comfortable performing the installation yourself, it is highly recommended to seek assistance from a qualified appliance technician.
- Ostre krawędzie: Be aware of potential sharp edges on the appliance or the new part during handling and installation. Wear appropriate protective gloves.
- Podłączenie wody: Ensure all water connections are properly sealed to prevent leaks. Check for leaks after installation.
- Połączenia elektryczne: Verify that all electrical connections are secure and correctly matched. Do not force connectors.
- Do Not Manually Rotate: The internal mechanism of the ice maker should not be manually rotated. This can damage the motor or gears.
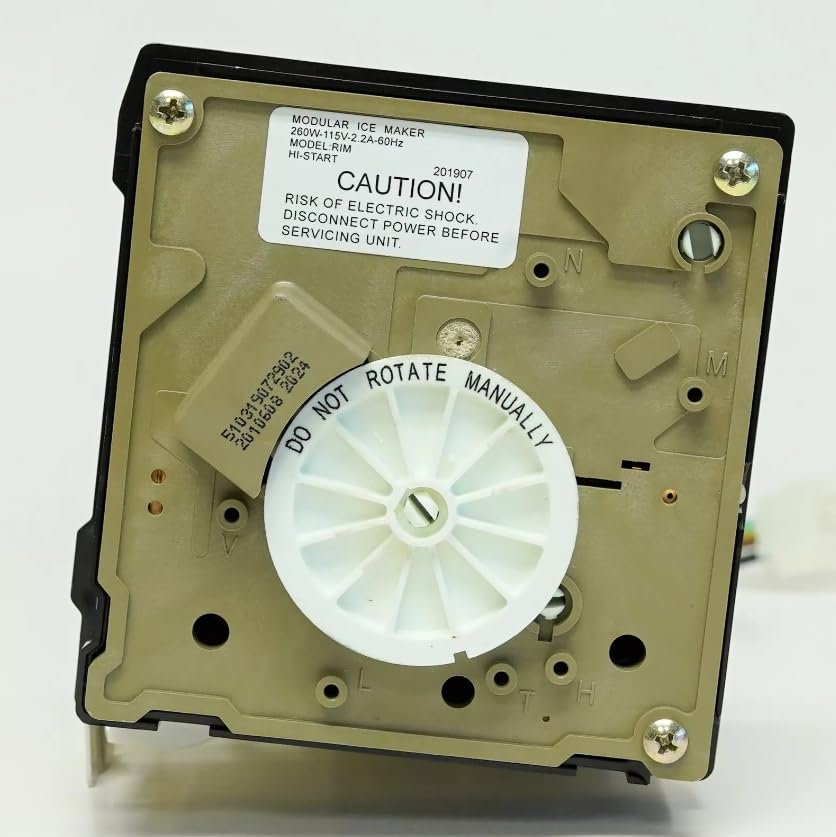
Obraz: Tył view of the ice maker assembly, showing the motor and a caution label warning against manual rotation and advising power disconnection before servicing.
Co jest w pudełku
Twój pakiet powinien zawierać następujące elementy:
- Ice Maker Assembly: The main unit responsible for freezing water and ejecting ice cubes.
- Wire Bail Arm: A metal arm that signals the ice maker when the ice bin is full.
- Złącze elektryczne: Pre-attached wiring harness for connecting to the refrigerator's power supply.
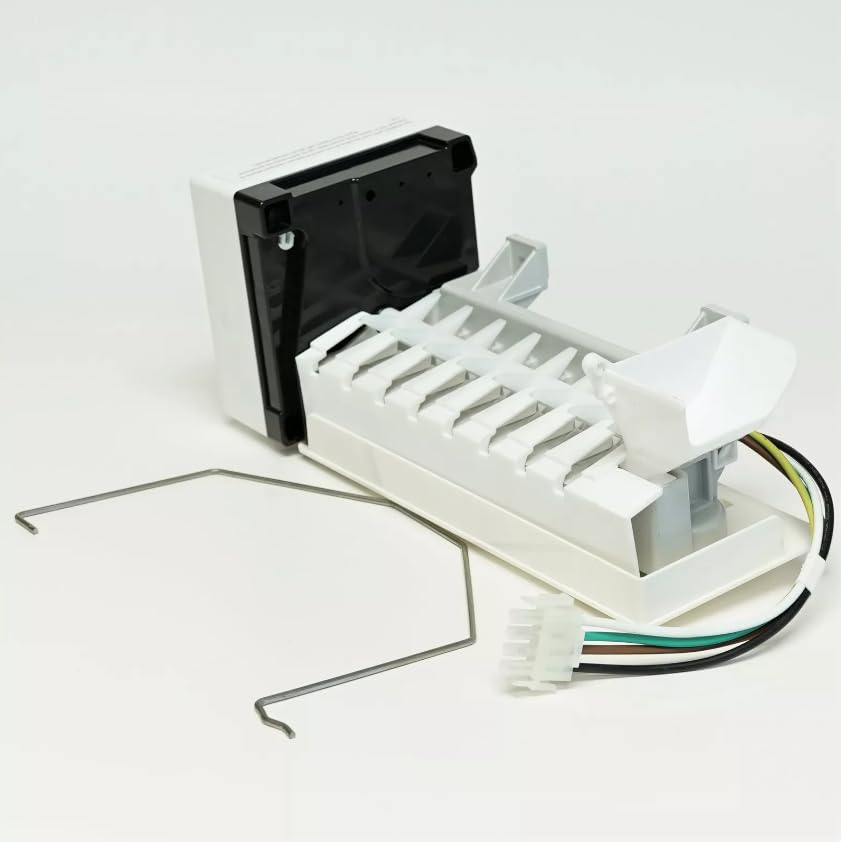
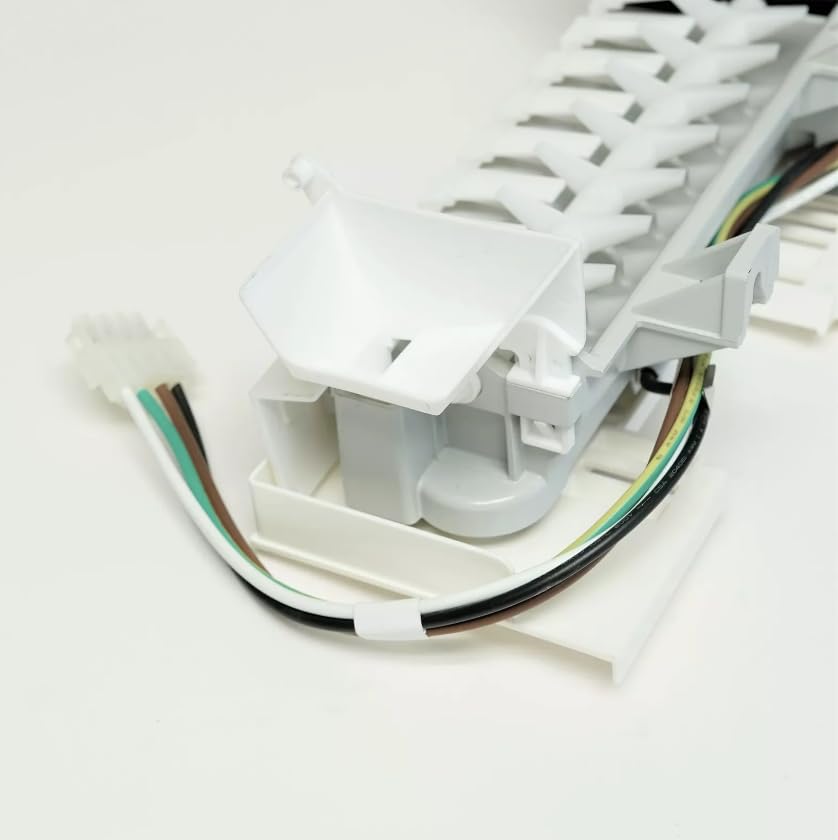
Image: The complete Refrigerator Ice Maker Assembly, including the main unit, wire bail arm, and electrical connector.

Image: A close-up of the metal wire bail arm, which is used to detect the ice level in the bin.
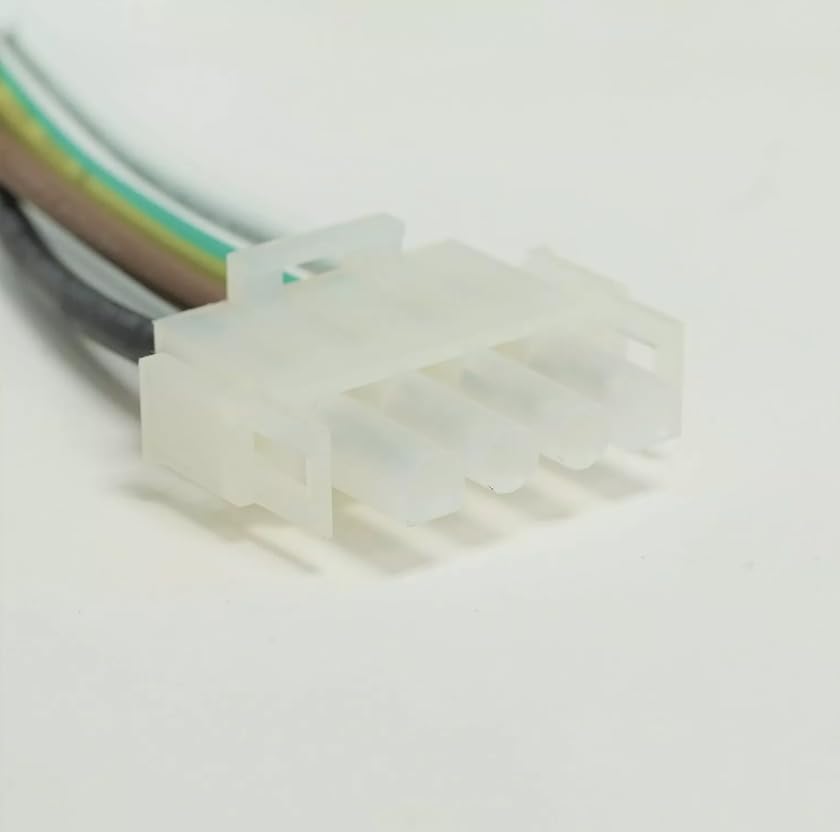
Obraz: szczegółowy view of the multi-pin electrical connector, part of the wiring harness for the ice maker.
Instrukcje instalacji
Zanim zaczniesz
- Upewnij się, że lodówka jest odłączona od gniazdka elektrycznego.
- Zakręć dopływ wody do lodówki.
- Remove any existing ice maker components and the ice bin from the freezer compartment.
- Have basic tools ready, such as a screwdriver (Phillips or flathead, depending on your refrigerator model).
Instalacja krok po kroku
- Znajdź pozycję montażu: Identify the designated mounting brackets or slots for the ice maker within your freezer compartment.
- Attach Wire Bail Arm: If the wire bail arm is not pre-attached, carefully insert its ends into the designated slots on the ice maker assembly. Ensure it can move freely up and down.
Image: The wire bail arm, which needs to be correctly attached to the ice maker.
- Mount the Ice Maker: Carefully slide the new ice maker assembly onto the mounting brackets or into the slots. Secure it with screws if required by your refrigerator model. Ensure it is firmly in place.
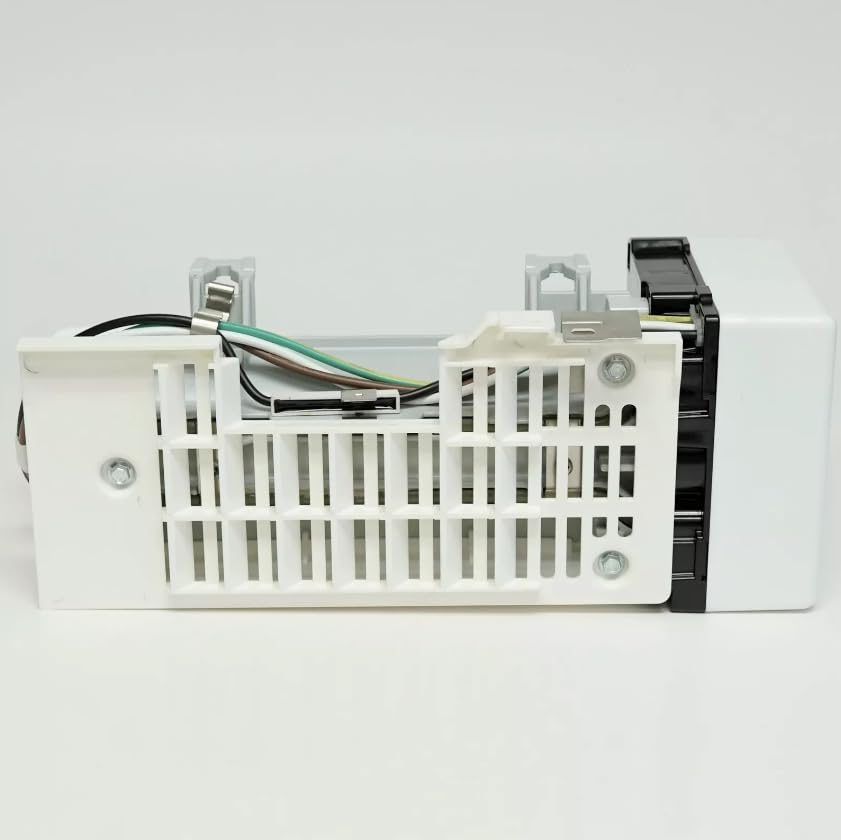
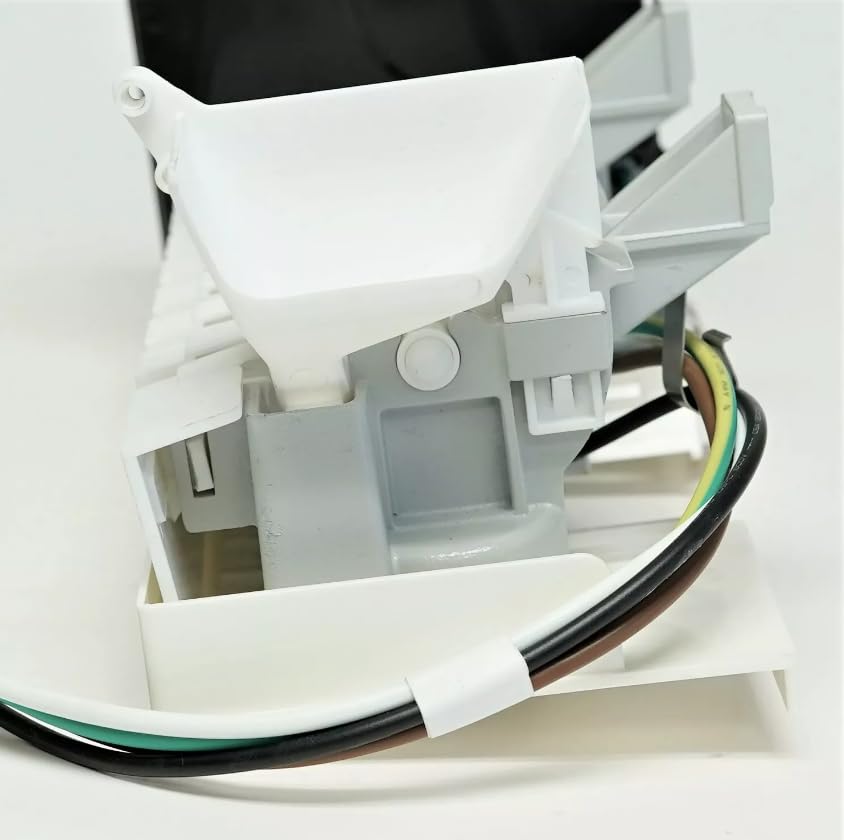
Obraz: Bok view of the ice maker assembly, showing the mounting points and ice mold structure.
- Connect Electrical Harness: Locate the corresponding electrical receptacle in the freezer compartment. Align the pins of the ice maker's electrical connector with the receptacle and push firmly until it clicks into place.
Obraz: Zbliżenie views of the electrical connector, illustrating the connection points for the wiring harness.
- Przywróć wodę i prąd: Once the ice maker is securely mounted and electrically connected, turn the water supply back on to the refrigerator. Then, plug the refrigerator back into the power outlet.
- Kontrola wstępna: Listen for the water fill cycle (it may take a few minutes). Place the ice bin back into position.
Działanie
After installation, the ice maker will begin its cycle. It typically takes 12 to 24 hours for the ice maker to produce its first full batch of ice, as the freezer compartment needs to reach the optimal temperature for ice production.
- Produkcja lodu: The ice maker will automatically fill with water, freeze it into cubes, and then eject them into the ice bin.
- Wire Bail Arm Function: The wire bail arm acts as a sensor. When the ice in the bin reaches a certain level and pushes the arm up, the ice maker will stop producing ice. Once ice is removed and the arm drops, production will resume.
- Wyrzuć pierwsze partie: It is recommended to discard the first two to three batches of ice to ensure any impurities from the new water lines or manufacturing process are flushed out.
Konserwacja i pielęgnacja
- Regularne czyszczenie: Okresowo wyjmuj pojemnik na lód i myj go łagodnym mydłem i ciepłą wodą. Dokładnie opłucz i osusz przed ponownym włożeniem do zamrażarki.
- Ice Maker Unit: The ice maker unit itself generally does not require extensive cleaning. If necessary, wipe down visible surfaces with a damp ściereczka. Nie należy używać środków czyszczących o właściwościach ściernych ani rozpuszczalników.
- Filtr wody: Ensure your refrigerator's water filter is replaced regularly according to the manufacturer's recommendations to maintain ice quality and prevent mineral buildup in the ice maker.
- Sprawdź, czy nie ma wycieków: Occasionally check the water line connections for any signs of leaks.
Rozwiązywanie problemów
| Problem | Możliwa przyczyna | Rozwiązanie |
|---|---|---|
| Kostkarka do lodu nie produkuje lodu. |
|
|
| Kostki lodu są małe i puste. |
|
|
| Ice maker making unusual noises. |
|
|
Specyfikacja produktu
| Funkcja | Szczegół |
|---|---|
| Numer modelu | GX2FHDXVQ05 |
| Producent | Ogólny |
| Kraj pochodzenia | Chiny |
| Typ produktu | Refrigerator Ice Maker Assembly |
| Zgodność | Replaces various models for Whirlpool, Kenmore, KitchenAid, Maytag, and others. Refer to product listing for full compatibility list. |
Gwarancja i obsługa klienta
As a generic replacement part, specific warranty details may vary. Please refer to the original retailer or manufacturer of this specific replacement part for warranty information.
For technical assistance or questions regarding installation and compatibility, please contact the seller or a qualified appliance repair professional.
