
1. Wprowadzenie
Thank you for choosing the Codnida Cell 2T 4G LTE Solar Security Camera. This device provides reliable outdoor surveillance with its 4G LTE connectivity, solar power capabilities, and advanced features like 2K color night vision and intelligent motion detection. This manual will guide you through the setup, operation, and maintenance of your camera to ensure optimal performance.

Obraz 1.1: Koniecview of the Codnida Cell 2T 4G LTE Solar Security Camera.
2. Co znajduje się w pudełku
Przed przystąpieniem do instalacji należy sprawdzić, czy wszystkie komponenty są obecne.
- 1 x Codnida Cell 2T Camera
- 1 x Panel słoneczny
- 1 x SIM Card (with free trial data)
- 1 x Screw Kit for mounting
- 1 x Instrukcja obsługi (ten dokument)
- 1 x kabel ładujący USB

Image 2.1: All included components in the Codnida Cell 2T package.
3. Funkcje produktu
- Łączność 4G LTE: Operates independently without Wi-Fi, ideal for remote locations. Includes a trial SIM card.
- Solar Powered & Long-Life Battery: Equipped with a high-efficiency solar panel and a built-in 10400mAh battery for continuous operation.
- 2K HD Resolution & Color Night Vision: Captures clear 2K video with three night vision modes (color, black & white, smart).
- Obrót w poziomie/pochyleniu 355°: Offers wide area coverage with remote control via the app.
- Intelligent PIR Motion Detection: Detects human movement and sends instant notifications. Customizable detection zones and sensitivity.
- Dwukierunkowy dźwięk: Wbudowany mikrofon i głośnik umożliwiające komunikację w czasie rzeczywistym.
- Alarm dźwiękowy i świetlny: Deters intruders with an audible alarm and flashing LED lights upon detection.
- Odporność na warunki atmosferyczne IP65: Designed for outdoor use, resistant to rain, humidity, and dust.
- Elastyczne przechowywanie: Supports cloud storage and local Micro SD card storage up to 256GB.
4. Przewodnik konfiguracji
4.1. Ładowanie początkowe
Przed pierwszym użyciem należy w pełni naładować wewnętrzną baterię aparatu za pomocą dołączonego kabla USB i zasilacza 5 V/2 A (brak w zestawie). Po pełnym naładowaniu kontrolka ładowania zaświeci się na niebiesko.
4.2. Instalacja karty SIM i karty Micro SD
- Locate the SIM card and Micro SD card slot on the camera, usually protected by a rubber cover.
- Ostrożnie otwórz pokrywę.
- Insert the provided 4G SIM card into the SIM card slot with the gold contacts facing down and the notched corner aligned correctly. Push until it clicks into place.
- If using a Micro SD card for local storage (up to 256GB, not included), insert it into the Micro SD card slot with the gold contacts facing down.
- Ensure both cards are securely seated. Close the rubber cover firmly to maintain IP65 weather resistance.

Image 4.2: Illustration of SIM card insertion into the camera.
4.3. Podłączenie panelu słonecznego
Connect the solar panel cable to the designated charging port on the camera. Ensure the connection is secure and the rubber seal is properly seated to prevent water ingress. Position the solar panel in an area that receives maximum direct sunlight throughout the day for optimal charging.
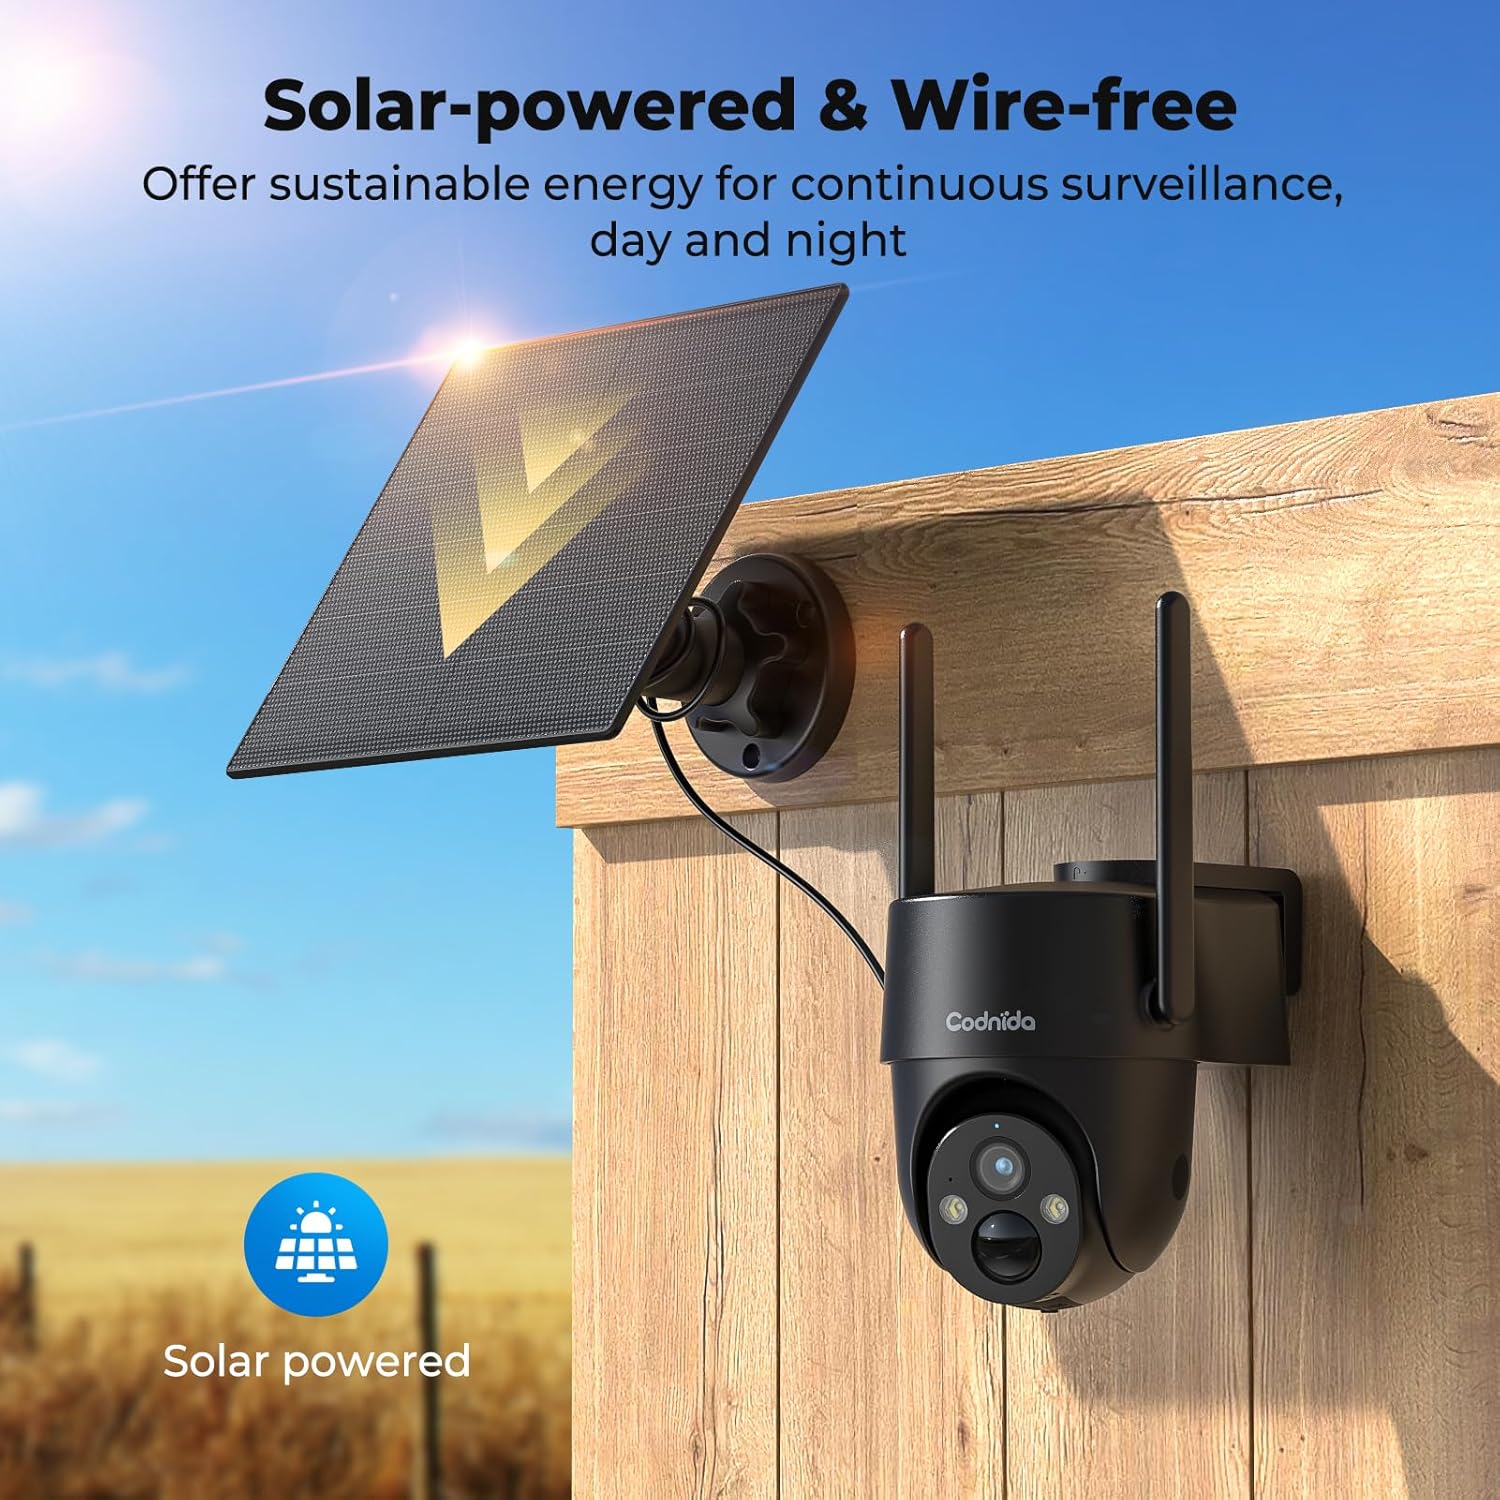
Image 4.3: The camera and solar panel installed, demonstrating wire-free operation.
4.4. Montaż kamery
- Choose a suitable outdoor location that provides the desired surveillance view and allows the solar panel to receive ampświatło słoneczne.
- Use the provided screw kit to securely mount the camera bracket to a wall or pole.
- Attach the camera to the mounted bracket. Adjust the angle for optimal coverage.
- Ensure the camera is within a good 4G signal range.
4.5. Instalacja i parowanie aplikacji
- Pobierz CloudEdge aplikację ze sklepu z aplikacjami na Twoim smartfonie (iOS lub Android).
- Zarejestruj nowe konto lub zaloguj się, jeśli już je posiadasz.
- Turn on the camera by pressing the power button. The indicator light will flash.
- W aplikacji CloudEdge dotknij ikony „+”, aby dodać nowe urządzenie.
- Select the appropriate camera model or scan the QR code on the camera if available.
- Follow the on-screen instructions to complete the pairing process. Ensure your phone's Bluetooth and location services are enabled during pairing.
5. Instrukcja obsługi
5.1. Na żywo View
Otwórz aplikację CloudEdge i wybierz kamerę z listy urządzeń, aby uzyskać dostęp do transmisji wideo na żywo. Możesz view foo w czasie rzeczywistymtage from your camera anytime, anywhere with 4G connectivity.
5.2. Sterowanie Pan/Tilt
Z koncertu view interface in the CloudEdge app, use the directional controls to remotely pan (horizontal) and tilt (vertical) the camera lens. The camera supports 355° PTZ rotation for comprehensive coverage.

Image 5.2: The camera's 360° pan/tilt capability for wide area surveillance.
5.3. Ustawienia wykrywania ruchu
The camera features PIR human motion detection. In the app settings, you can:
- Enable/Disable motion detection.
- Adjust sensitivity levels (low, medium, high).
- Set detection zones to focus on specific areas and reduce false alarms.
- Schedule detection times.
When motion is detected, the camera will record a clip and send a notification to your smartphone.

Image 5.3: The camera's PIR human motion detection accurately identifies people.
5.4. Tryby widzenia nocnego
The camera offers three night vision modes, configurable in the app:
- Kolorowe widzenie nocne: Utilizes built-in spotlights to provide full-color images in low light.
- Czarno-biały obraz nocny: Uses infrared (IR) LEDs for clear black and white images in complete darkness.
- Inteligentne widzenie w nocy: Automatyczne przełączanie między trybem czarno-białym i kolorowym w nocy po wykryciu ruchu.

Image 5.4: Demonstrating the camera's 2K color night vision capability.
5.5. Dźwięk dwukierunkowy
Kliknij ikonę mikrofonu na żywo view to speak through the camera's speaker. This allows for communication with visitors or to deter unwanted individuals.
5.6. Alarm dźwiękowy i świetlny
When motion is detected at night, the camera can automatically activate a loud siren and flash its LED spotlights to warn off intruders. This feature can be configured in the app's alarm settings.

Image 5.6: The camera's sound and light alarm system deterring an intruder.
5.7. Zarządzanie magazynem
Recorded videos can be stored in two ways:
- Przechowywanie w chmurze: Subscribe to a CloudEdge cloud plan for secure online storage.
- Karta micro sd: If an SD card is installed, recordings will be saved locally. You can view and manage these recordings through the app.
6. Konserwacja
- Czyszczenie: Okresowo czyść obiektyw aparatu i panel słoneczny miękką, miękką szmatką.amp cloth to ensure clear images and efficient solar charging. Do not use harsh chemicals.
- Pielęgnacja baterii: While solar-powered, ensure the camera receives adequate sunlight. If the battery level drops significantly, consider temporarily charging it via USB. Avoid prolonged exposure to extreme temperatures.
- Aktualizacje oprogramowania układowego: Check the CloudEdge app regularly for firmware updates. Keeping the firmware updated ensures optimal performance and access to new features.
- Dane karty SIM: Monitor your SIM card data usage to ensure continuous connectivity, especially after the trial period.
7. Rozwiązywanie Problemów
| Problem | Rozwiązanie |
|---|---|
| Kamera nie łączy się z siecią 4G. |
|
| Akumulator nie ładuje się przez panel słoneczny. |
|
| Detekcja ruchu nie działa lub zbyt wiele fałszywych alarmów. |
|
| Cannot access live view. |
|
8. Specyfikacje
| Funkcja | Szczegół |
|---|---|
| Model | Cell 2T |
| Łączność | 4G LTE (sieć komórkowa) |
| Źródło zasilania | Solar Powered, 10400mAh Rechargeable Battery |
| Rozdzielczość wideo | 2K (1440p) |
| Efektywna rozdzielczość obrazu nieruchomego | 3 MP |
| Wizja nocna | Color Night Vision, Black & White IR Night Vision, Smart Mode (up to 10 meters) |
| Pan / Tilt Angle | Obrót o 355°, pochylenie o 90° |
| Wykrywanie ruchu | PIR Human Motion Detection |
| Audio | Dwukierunkowa transmisja dźwięku (wbudowany mikrofon i głośnik) |
| Alarm | Alarm dźwiękowy i świetlny |
| Odporność na warunki atmosferyczne | IP65 |
| Składowanie | Przechowywanie w chmurze, karta Micro SD (do 256 GB) |
| Metoda kontroli | Aplikacja CloudEdge |
| Wymiary (dł. x szer. x wys.) | Wymiary 6 x 6 x 6 cm |
| Waga | 1.31 kilogramów |
| Tworzywo | Plastikowy |
| Tomtage | 5 wolty |
| Cotage | 4.5 watów |
9. Gwarancja i wsparcie
Codnida products typically come with a standard manufacturer's warranty. Please refer to the warranty card included in your package or visit the official Codnida webSzczegółowe warunki gwarancji można znaleźć na naszej stronie.
For technical support, troubleshooting assistance, or any product-related inquiries, please contact Codnida customer service through the contact information provided on the official website or within the CloudEdge app. When contacting support, please have your product model (Cell 2T) and purchase details ready.