1. Wprowadzenie
This manual provides essential information for the safe and efficient operation of your WORKPRO Air Tacker W181008AJ. Please read these instructions thoroughly before use and retain them for future reference. This air tacker is designed for various woodworking and carpentry applications, offering a lightweight and compact solution for fastening tasks.
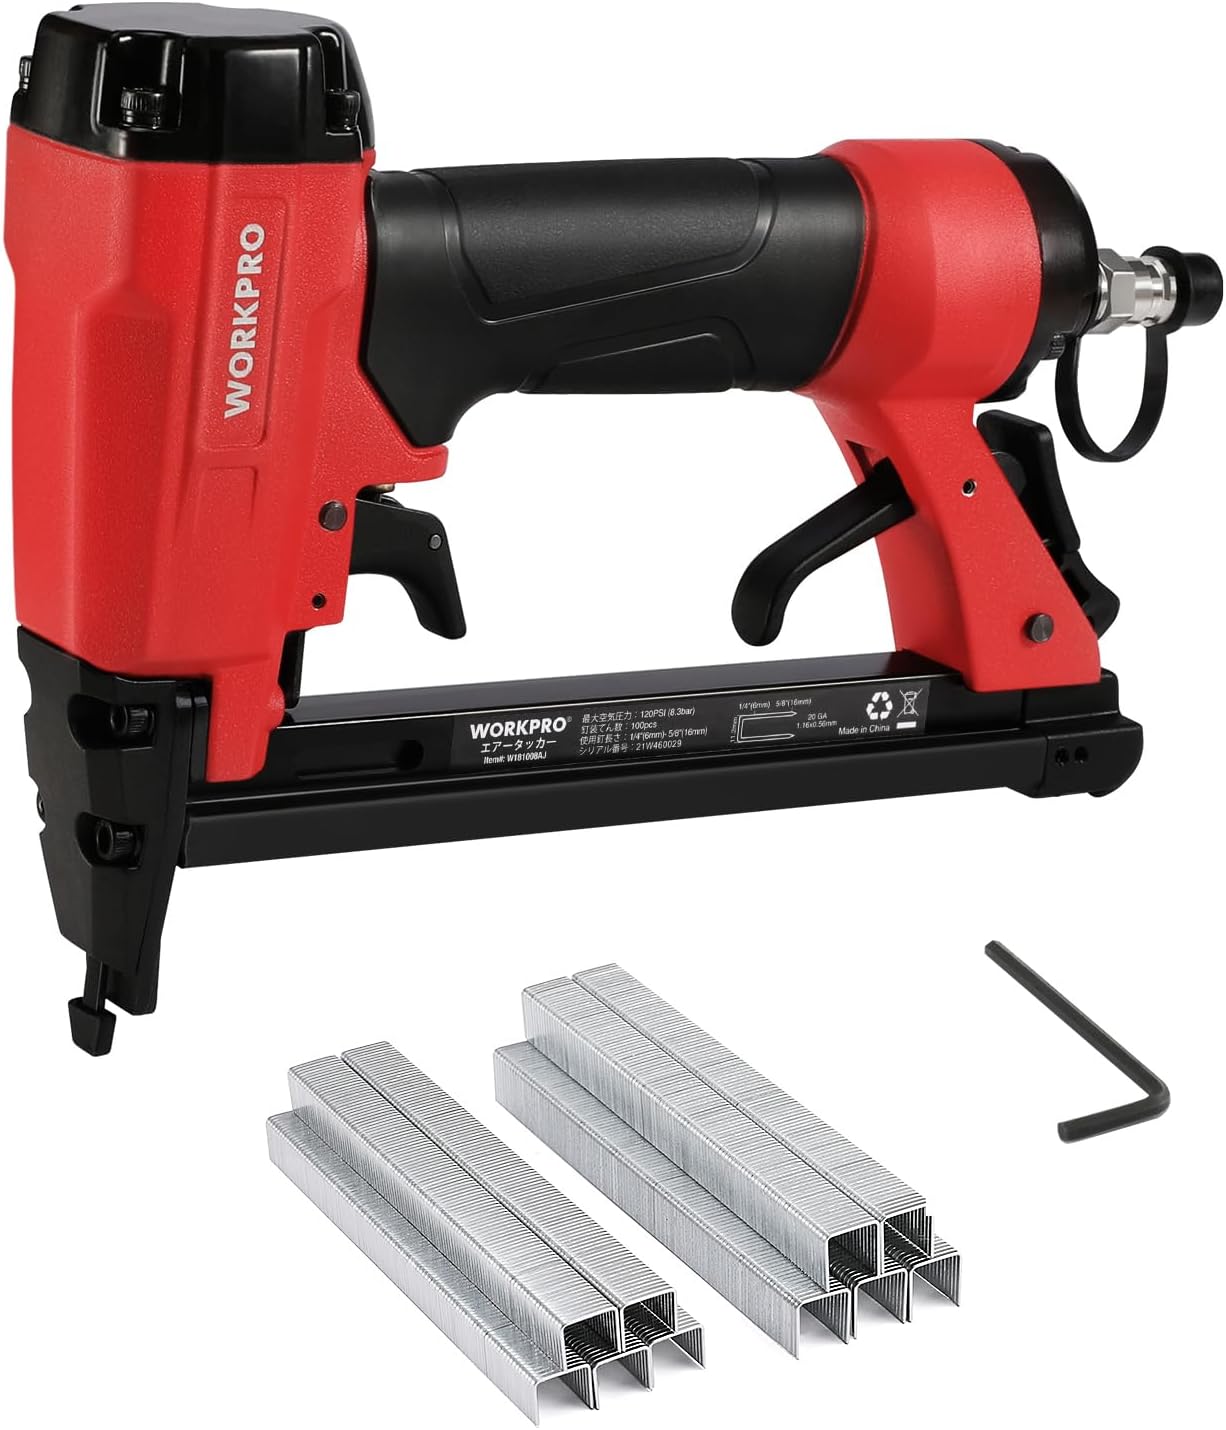
Image 1.1: WORKPRO Air Tacker W181008AJ with included staples and hex wrench.
2. Informacje dotyczące bezpieczeństwa
Zawsze priorytetowo traktuj bezpieczeństwo podczas obsługi elektronarzędzi. Nieprzestrzeganie zasad bezpieczeństwa może skutkować poważnymi obrażeniami.
- Należy nosić odpowiedni sprzęt ochrony osobistej (PPE), obejmujący okulary ochronne, ochronniki słuchu i rękawice.
- Ensure the workpiece is stable and secured before fastening.
- Nigdy nie kieruj narzędzia w swoją stronę ani w stronę innych osób.
- Przed przystąpieniem do jakichkolwiek regulacji, konserwacji lub usuwania zacięć należy odłączyć dopływ powietrza.
- Trzymaj ręce i części ciała z dala od obszaru strzelania.
- Używaj narzędzia w dobrze wentylowanym pomieszczeniu.
- Nie używaj narzędzia, jeśli jest uszkodzone lub działa nieprawidłowo.
2.1 Mis-fire Prevention Safety Lock
The WORKPRO Air Tacker W181008AJ is equipped with a safety device that prevents accidental firing. The stapler will not fire unless the safety nose is firmly pressed against the workpiece. This design minimizes the risk of unintended staple discharge, enhancing user safety during operation.

Image 2.1: Safety lock function, preventing firing unless the nose is pressed against the workpiece.
3. Składniki produktu
Familiarize yourself with the various parts of your air tacker:

Image 3.1: Main components of the WORKPRO Air Tacker.
- Spust: Aktywuje mechanizm zszywający.
- Safety Nose: Must be pressed against the workpiece for the tool to fire.
- Staple Quantity Indicator: A display window to check the remaining staple quantity.
- Magazyn: Holds the staples.
- Zatrzask magazynka: Used to open the magazine for loading staples.
- Wlot powietrza: Punkt podłączenia węża powietrznego.
- Tylny wydech: Expels air during operation.
4. Specyfikacje
| Funkcja | Specyfikacja |
|---|---|
| Model | W181008AJ |
| Body Size (L×W×H) | Wymiary: 221 × 51 × 166 mm |
| Waga | 950 gramów |
| Operating Air Pressure Range | 0.4~0.7 MPa (approx. 4~7 kgf/cm²) / 60-100 PSI |
| Staple Loading Capacity | 100 zszywek |
| Compatible Staple Leg Length | 6 ~ 16 mm |
| Compatible Staple Shoulder Width | 11.2 mm (outer), 10 mm (inner) |
| Staple Cross-section | Wymiary: 0.56 × 1.16 mm |
| Recommended Air Hose Inner Diameter | 6 mm lub więcej |
| Rozmiar zapięcia | 20GA |

Image 4.1: Detailed specifications and compatible staple types.
5. Konfiguracja
5.1 Ładowanie zszywek
Follow these steps to load staples into the magazine:
- Press the magazine release latch to unlock the magazine.
- Slide open the magazine cover.
- Włóż pasek pasujących zszywek do magazynka, upewniając się, że są prawidłowo zorientowane.
- Close the staple magazine cover until it locks securely.

Image 5.1: Staple loading procedure.
5.2 Podłączanie dopływu powietrza
- Ensure your air compressor is set to the recommended operating pressure (0.4-0.7 MPa / 60-100 PSI).
- Connect an air hose with an inner diameter of 6mm or more to the air inlet of the tacker.
- Sprawdź, czy wszystkie połączenia są solidne, aby zapobiec wyciekom powietrza.
6. Instrukcja obsługi
6.1 Ogólne zasady działania
- After connecting the air supply and loading staples, position the safety nose firmly against the workpiece where you intend to fasten.
- Press the trigger to drive a staple. The safety mechanism ensures the tool will only fire when properly engaged with the surface.
- Release the trigger after each staple.
6.2 360° Exhaust Adjustment
The rear exhaust port can be rotated 360 degrees. This allows you to direct the expelled air away from your face or the workpiece, improving comfort and visibility during operation, regardless of your working posture.

Image 6.1: 360° adjustable exhaust for user comfort.
6.3 Zastosowania
This air tacker is suitable for a wide range of applications, including:
- Re-upholstering furniture (e.g., motorcycle seats, chairs)
- Furniture woodworking
- Interior finishing tasks
- Exterior light-duty fastening
- Crafts and DIY projects (e.g., building wooden boxes, pet houses, picture frames, bookshelves)

Obraz 6.2: Examples of DIY projects.
7. Konserwacja
Regular maintenance ensures the longevity and optimal performance of your air tacker:
- Smarowanie: Apply a few drops of pneumatic tool oil into the air inlet before each use or after extended periods of non-use.
- Czyszczenie: Keep the tool clean and free from dust and debris. Wipe down the exterior with a clean cloth.
- Filtr powietrza: Regularly check and clean the air filter on your compressor to ensure a clean air supply to the tool.
- Składowanie: Store the tool in a dry, clean environment away from direct sunlight and extreme temperatures. Disconnect the air hose before storage.
- Kontrola elementów złącznych: Ensure only compatible staples are used. Using incorrect staples can cause jams and damage the tool.
8. Rozwiązywanie Problemów
If you encounter issues with your air tacker, refer to the following common problems and solutions:
| Problem | Możliwa przyczyna | Rozwiązanie |
|---|---|---|
| Zszywki nie strzelają | No air pressure; Safety nose not fully depressed; Empty magazine; Jammed staples | Check air supply and pressure; Ensure safety nose is pressed against workpiece; Reload staples; Clear staple jam (disconnect air first) |
| Staples not fully driven | Low air pressure; Incorrect staple length for material; Worn driver blade | Increase air pressure; Use shorter staples or adjust depth (if applicable); Contact service for blade replacement |
| Wycieki powietrza | Luźne połączenia; uszkodzone pierścienie uszczelniające/uszczelki | Tighten connections; Replace damaged O-rings/seals |
| Narzędzie często się zacina | Incorrect staple size; Damaged staples; Dirty magazine | Use correct staples; Inspect staples for damage; Clean magazine thoroughly |
9. Gwarancja i wsparcie
Informacje dotyczące gwarancji produktu i obsługi klienta nie są dostępne w niniejszej instrukcji. Prosimy o zapoznanie się z opakowaniem produktu lub oficjalną instrukcją producenta. webWięcej szczegółów na temat gwarancji i sposobu skontaktowania się z obsługą klienta w celu uzyskania pomocy znajdziesz na tej stronie.