Wstęp
This user manual provides comprehensive instructions for the Aquarium Chiller Water Cooler, a system designed to optimize and maintain stable water temperatures in small fish tanks up to 60 liters (16 gallons). Utilizing electronic cooling, this chiller offers moderate cooling speed and energy efficiency, making it ideal for household aquariums. It features intelligent constant temperature control, effective heat dissipation, and low noise operation to ensure a comfortable and stable living environment for your aquatic plants and fish.

Figure 1: The Aquarium Chiller Water Cooler, designed to maintain optimal water temperatures for aquatic environments.
Zawartość opakowania
Po otwarciu opakowania należy sprawdzić, czy znajdują się w nim wszystkie poniższe elementy:
- 1 x Aquarium Chiller
- 1 x Pompa
- 1 x fajka wodna
- 1 x kabel zasilający
- 1 x Instrukcja obsługi
Specyfikacje
| Funkcja | Szczegół |
|---|---|
| Pojemność | 60 l / 16 galona |
| Moc | 180 W |
| Przepływ wody | 1-3 l/min |
| Compatible Water Pipe Diameter | 8 mm (inner) |
| Waga | 4 kilogramów |
| Wymiary (dł. x szer. x wys.) | 17.5 x 25 x 16 cm / 6.89 x 9.84 x 6.30 cala |
| Numer modelu | A-1 |
| Producent | Ogólny |
| Kraj pochodzenia | Chiny |
| Wymagane baterie | NIE |

Figure 2: The chiller unit with its approximate dimensions shown.
Instrukcje konfiguracji
Follow these steps to properly set up your Aquarium Chiller:
- Rozpakowywanie: Ostrożnie wyjmij wszystkie elementy z opakowania. Sprawdź, czy nie mają widocznych uszkodzeń.
- Umieszczenie: Position the chiller on a stable, flat surface near your aquarium. Ensure there is at least 6 inches (15 cm) of clear space around all sides of the chiller for optimal air circulation and cooling efficiency. This allows for proper heat dissipation.
- Podłączenie rury wodnej: Connect the provided water pipe to the chiller's inlet and outlet ports. The compatible inner diameter for the water pipe is 8 mm.
- Podłączenie pompy: Connect the pump to the water pipe system. Ensure the pump is submerged in the aquarium water and properly connected to circulate water through the chiller.
- Podłączenie zasilania: Once all water connections are secure and the pump is in place, connect the power cable to the chiller and then plug it into a standard electrical outlet.

Figure 3: Diagram illustrating the water pump directly connected for circulating refrigeration.
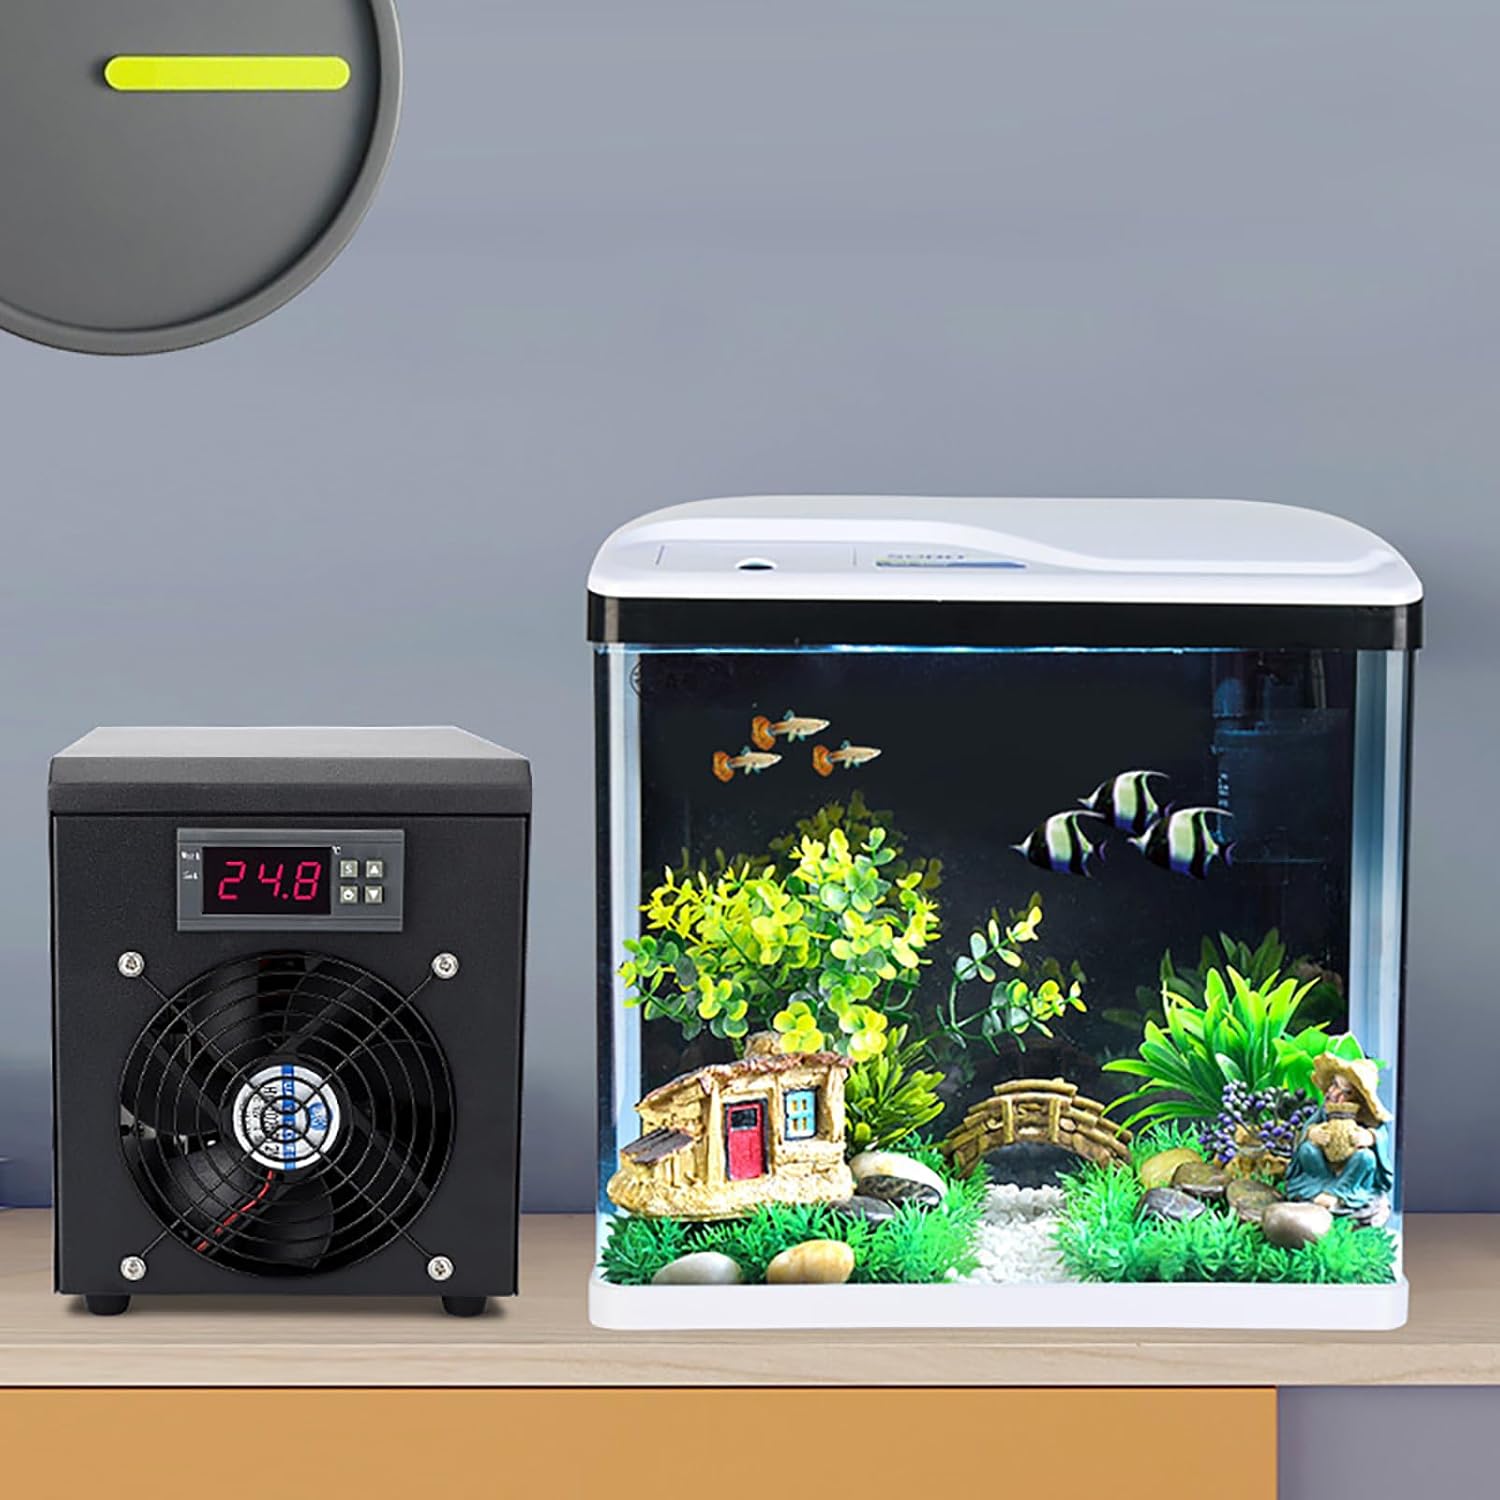
Figure 4: Proper placement of the chiller unit adjacent to an aquarium.
Instrukcja obsługi
The Aquarium Chiller features intelligent temperature control for a stable aquatic environment.
- Włączanie: After setup, turn on the chiller using the power switch. The digital display will illuminate, showing the current water temperature.
- Kontrola temperatury: The chiller is equipped with an intelligent constant temperature feature, automatically maintaining water temperature between 65-75 °F (approximately 18-24 °C). A temperature probe on the back of the chiller monitors the water temperature in real-time.
- Regulacja temperatury (jeśli dotyczy): While the chiller is designed for automatic constant temperature, some models may allow minor adjustments. Refer to the control panel (Figure 5) for 'Work' and 'Set' indicators and arrow buttons. Press the 'Set' button to enter temperature setting mode, use the up/down arrows to adjust, and press 'Set' again to confirm.
- Wydajność chłodzenia: The cooling effectiveness is influenced by ambient temperature and tank size. For faster temperature reduction, consider temporarily reducing the water volume in the tank; less water generally leads to better cooling results.
- Rozpraszanie ciepła: The chiller features 3-side ventilation and a front fan for powerful heat dissipation, ensuring efficient operation throughout the day.
- Praca o niskim poziomie hałasu: The design incorporates a quiet front fan and no compressor, resulting in significantly lower noise levels compared to compressor-based chillers. This ensures minimal disturbance to your household.

Figure 5: The easy-to-operate control panel with digital display and adjustment buttons.

Figure 6: Illustration of the chiller's efficient heat dissipation system with airflow indicators.

Rysunek 7: Tył view of the chiller, highlighting the built-in fan for quick cooling and power input.
Konserwacja
Regular maintenance ensures the longevity and optimal performance of your chiller:
- Otwory wentylacyjne czystego powietrza: Periodically check and clean the air vents on all sides of the chiller to prevent dust and debris buildup. Blocked vents can impede heat dissipation and reduce efficiency. Use a soft brush or vacuum cleaner to gently remove dust.
- Water Pipe Inspection: Regularly inspect the water pipes for any kinks, blockages, or signs of wear. Ensure water flows freely through the system.
- Konserwacja pompy: Follow the pump manufacturer's instructions for cleaning and maintaining the pump to ensure consistent water flow.
- Sonda temperatury: Ensure the temperature probe is clean and free from algae or mineral buildup, which could affect its accuracy.
- Ogólne sprzątanie: Wipe down the exterior of the chiller with a soft, damp płótno. Nie używaj ostrych środków chemicznych ani ściernych środków czyszczących.
Rozwiązywanie problemów
If you encounter issues with your Aquarium Chiller, refer to the following common problems and solutions:
| Problem | Możliwa przyczyna | Rozwiązanie |
|---|---|---|
| Chłodziarka się nie włącza | No power supply; Loose power cable | Check if the power cable is securely plugged into the chiller and the wall outlet. Test the outlet with another device. |
| Niewystarczające chłodzenie | Restricted airflow; Tank size too large for chiller capacity; High ambient temperature; Clogged water pipes/pump | Ensure 6 inches (15 cm) clearance around the chiller. Verify tank capacity is within 60L. Reduce room temperature if possible. Check and clean water pipes and pump. Consider reducing water volume for faster cooling. |
| Niezwykły hałas | Zablokowanie wentylatora; Luźne elementy | Check if anything is obstructing the fan. Ensure the chiller is on a stable, flat surface. If noise persists, contact customer support. |
| Woda nie krąży | Pump not working; Kinked or blocked water pipe | Check if the pump is powered on and functioning. Inspect water pipes for any kinks or blockages and clear them. |
| Niedokładny odczyt temperatury | Dirty temperature probe | Clean the temperature probe located on the back of the chiller. |
Gwarancja i wsparcie
For warranty information or technical support, please contact the manufacturer or your retailer. Keep your purchase receipt as proof of purchase.
Manufacturer: Generic
Model Number: A-1
ASIN: B0F3XLGCVS


