Wstęp
Thank you for choosing the Generic WiFi Video Peephole Doorbell Viewer Camera. This device provides enhanced home security by allowing you to monitor your doorstep, communicate with visitors, and record events directly from your smartphone or the integrated display. This manual will guide you through the installation, operation, and maintenance of your new peephole doorbell system.
Informacje dotyczące bezpieczeństwa
- Nie wystawiaj urządzenia na działanie ekstremalnych temperatur, bezpośredniego światła słonecznego ani nadmiernej wilgoci.
- Use only the specified power supply and charging methods.
- Przechowywać urządzenie w miejscu niedostępnym dla dzieci.
- Nie próbuj samodzielnie demontować ani naprawiać urządzenia. W celu uzyskania pomocy skontaktuj się z wykwalifikowanym personelem.
- Podczas pracy urządzenia należy zapewnić odpowiednią wentylację.
Zawartość opakowania
Sprawdź zawartość paczki, aby upewnić się, że znajdują się w niej wszystkie elementy:
- Peephole Doorbell Camera (Outdoor Unit)
- 4.3-inch TFT Color LCD Screen (Indoor Unit)
- Uchwyt montażowy
- Śruby i elementy złączne
- Kabel ładujący USB
- Instrukcja obsługi (ten dokument)
- Optional: Micro SD Card (if purchased with the device)
Produkt ponadview
Familiarize yourself with the components of your WiFi Video Peephole Doorbell Viewer Camera.
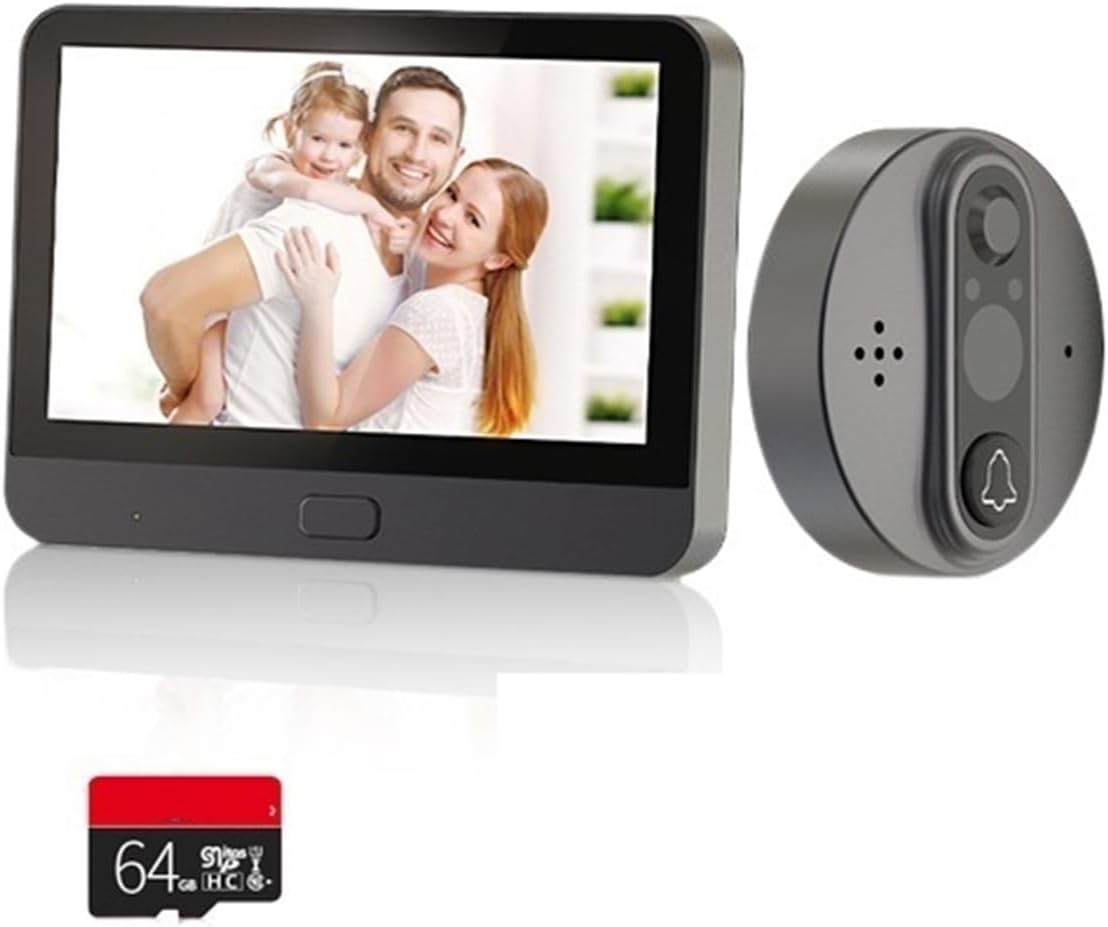
Image: The complete WiFi Video Peephole Doorbell system, showing the outdoor camera unit, the indoor display monitor, and an optional 64GB Micro SD card.

Image: An illustrative diagram highlighting key features such as 2-way audio, low power consumption, video recording, automatic wake-up, HD imaging, motion detection, and night vision capabilities.
Jednostka wewnętrzna (monitor)
- Ekran TFT LCD o przekątnej 4.3 cala: Wyświetla na żywo view from the outdoor camera.
- Przycisk zasilania: Turns the device on/off and wakes up the screen.
- Gniazdo kart Micro SD: For local storage of recorded videos and photos (supports up to 128GB).
- Port ładowania: USB port for charging the built-in 5000mAh lithium-ion battery.
Outdoor Unit (Camera)
- Obiektyw kamery HD: Captures video and images (1 Million/2 Million pixels, 120-degree wide angle).
- Czujnik ruchu PIR: Detects movement outside the door.
- Światła podczerwone (IR): Do funkcji widzenia w nocy.
- Przycisk dzwonka: Activates the indoor monitor and sends notifications.
- Mikrofon i głośnik: Do dwukierunkowej komunikacji audio.
Konfiguracja i instalacja
1. Kontrole przed instalacją
- Grubość drzwi: Upewnij się, że grubość drzwi wynosi od 35 mm do 130 mm.
- Średnica otworu widokowego: Ensure your existing peephole diameter is between 15mm and 60mm.
- Naładuj baterię: Fully charge the indoor unit's built-in battery before installation.

Image: Detailed dimensions of both the indoor display unit (132.80mm x 95.00mm x 17.00mm) and the outdoor camera unit (58.00mm x 58.00mm x 20.00mm), crucial for installation planning.
2. Instalacja fizyczna
- Remove your existing peephole from the door.
- Insert the outdoor camera unit through the peephole from the outside of the door. Ensure the camera is facing straight forward.
- From the inside of the door, attach the mounting bracket to the outdoor unit's threaded tube. Secure it firmly with the provided screws.
- Connect the cable from the outdoor unit to the corresponding port on the indoor monitor unit.
- Align the indoor monitor unit with the mounting bracket and slide it down to secure it in place.
3. Instalacja i parowanie aplikacji
The device supports "Watch Home" or "Tuya Smart" APP. Download one of these apps from your smartphone's app store (Google Play Store for Android, Apple App Store for iOS).
- Open the chosen app and register for an account if you don't have one.
- Follow the in-app instructions to add a new device. Select "Video Doorbell" or "Smart Camera" category.
- Power on the indoor monitor unit. The device will enter pairing mode (usually indicated by a flashing light or prompt on the screen).
- Connect your smartphone to a 2.4GHz Wi-Fi network (5GHz networks are not supported).
- Wprowadź hasło Wi-Fi w aplikacji. Aplikacja wygeneruje kod QR.
- Hold your smartphone with the QR code in front of the outdoor camera lens until you hear a confirmation sound from the doorbell.
- Once paired, you can name your device in the app and begin using its smart features.
Instrukcja obsługi
1. Podstawowa obsługa
- Na żywo View: Press the power button on the indoor unit to wake up the screen and view żyćtage from the outdoor camera. You can also access live view via the mobile app.
- Domofon dwukierunkowy: When a visitor presses the doorbell button, the indoor unit will ring, and your smartphone will receive a notification. You can answer the call from either the indoor unit or the app to speak with the visitor.
- Nagrywanie zdjęć/wideo: The device automatically records video when motion is detected or the doorbell is pressed. You can also manually capture photos or record videos from the live view interface on the indoor unit or app. Recordings are saved to the Micro SD card (if installed) or cloud service (if subscribed).
2. Detekcja ruchu
The built-in PIR motion sensor detects movement outside your door. When motion is detected, the device will:
- Automatically record a video clip.
- Send an alarm notification to your linked mobile app.
You can adjust the motion sensor sensitivity (low, middle, high) within the mobile app settings to minimize false alarms.

Image: Illustrates the 24-hour Wi-Fi connection monitoring capability, showing an alarm notification on a smartphone, indicating enhanced security and real-time alerts.
3. Wizja nocna
The device is equipped with infrared (IR) lights that automatically activate in low-light conditions, providing clear black-and-white video footagnawet w całkowitej ciemności.

Image: A visual comparison demonstrating the doorbell's 120-degree wide-angle view during both day and night, alongside a smartphone display showing a visitor notification.
4. Sharing Device Access
You can share access to your doorbell with up to 4 other mobile app users, allowing family members to view the outdoor situation and receive notifications.
- In the mobile app, navigate to the device settings.
- Look for the "Share Device" or "Device Sharing" option.
- Enter the account details (e.g., email or phone number) of the person you wish to share with. They must also have an account on the same app.
- The invited user will receive a notification and can accept the invitation to gain access.

Image: Depicts various individuals and families simultaneously viewing the doorbell's live feed on their mobile phones, showcasing the convenient device sharing functionality.
Konserwacja
1. Ładowanie baterii
The indoor unit has a built-in 5000mAh rechargeable lithium-ion battery. Under normal use (3-5 times a day), it provides approximately 30 days of standby time. The mobile app will provide real-time reminders when the battery power is less than 5%, indicating it's time to recharge.
- Connect the provided USB charging cable to the charging port on the indoor unit.
- Podłącz drugi koniec kabla USB do standardowego zasilacza USB (nie ma go w zestawie) lub do portu USB komputera.
- Kontrolka ładowania (jeśli jest dostępna) pokaże stan ładowania.
2. Czyszczenie
To ensure optimal performance, periodically clean the camera lens and the display screen.
- Use a soft, dry, lint-free cloth to gently wipe the camera lens and screen.
- Nie należy używać płynnych środków czyszczących, aerozoli ani rozpuszczalników ściernych.
Rozwiązywanie problemów
| Problem | Możliwa przyczyna | Rozwiązanie |
|---|---|---|
| Urządzenie nie włącza się. | Niski poziom naładowania baterii. | Charge the indoor unit's battery for several hours. |
| Nie można połączyć się z siecią Wi-Fi. | Nieprawidłowe hasło Wi-Fi; sieć Wi-Fi 5 GHz; zbyt duża odległość od routera. | Ensure correct 2.4GHz Wi-Fi password. Move closer to router. Restart router and device. |
| Brak alertów o wykryciu ruchu. | Motion detection disabled; sensitivity too low; network issues. | Enable motion detection in app settings. Increase sensitivity. Check Wi-Fi connection. |
| Słaba jakość wideo. | Dirty camera lens; poor lighting; weak Wi-Fi signal. | Clean the camera lens. Ensure adequate lighting. Improve Wi-Fi signal strength. |
| App cannot link device (low battery). | Battery power is critically low (less than 5%). | Immediately charge the indoor unit. The app will regain connection once sufficient power is restored. |
Specyfikacje
| Zasilacz | Rechargeable 5000mAh lithium-ion battery (built-in) |
| Rozdzielczość kamery | HD 1 Million pixels / FHD 2 Million pixels |
| Rozdzielczość wyświetlacza | 1280x720 |
| Kamera View Kąt | 120 stopnia |
| Ekran wyświetlacza | 4.3-calowy kolorowy ekran LCD TFT |
| Kompatybilna aplikacja | Watch Home / Tuya Smart |
| Motion Sensor Reaction Time | 1 to 3 seconds delay (high sensitivity) |
| Format zdjęcia | Plik JPG |
| Format wideo | .avi (requires TF card or cloud service) |
| Obsługa kart pamięci | Do 128 GB (Micro SD) |
| Motion Sensor Detect Distance | Około 2 metrów |
| Zgodność grubości drzwi | 35 mm - 130 mm |
| Zgodność średnicy wizjera | 15 mm - 60 mm |
| Temperatura pracy | -20°C do 55°C (-4°F do 131°F) |
| Kolor modelu | R10 |
| Producent | YUD5DAS |
| Kraj pochodzenia | Chiny |
Gwarancja i wsparcie
Informacje o gwarancji
Ten produkt jest dostarczany z 3-miesięczna gwarancja od daty zakupu. Gwarancja obejmuje wady produkcyjne i usterki powstałe w wyniku normalnego użytkowania. Nie obejmuje uszkodzeń spowodowanych niewłaściwym użytkowaniem, wypadkami, nieautoryzowanymi modyfikacjami lub nieprawidłową instalacją.
Obsługa klienta
If you encounter any issues or have questions regarding your WiFi Video Peephole Doorbell Viewer Camera, please contact your retailer or the manufacturer's customer support. Please have your product model (R10) and purchase details ready when contacting support.
Aby uzyskać dalszą pomoc, możesz zapoznać się z oficjalnymi informacjami website of the "Watch Home" or "Tuya Smart" app for FAQs and community support.


