1. Wprowadzenie
This manual provides instructions for the safe and effective operation of the Landtek MILA48500 Digital Illuminance Lux Light Meter Datalogger. This device is designed for measuring illuminance (brightness) in various environments, offering a wide measurement range, data logging capabilities, and Bluetooth connectivity for real-time monitoring.
Przed użyciem urządzenia należy dokładnie przeczytać instrukcję, aby mieć pewność, że będzie ono działać prawidłowo i uniknąć uszkodzeń.
2. Informacje dotyczące bezpieczeństwa
- Nie próbuj otwierać ani modyfikować urządzenia. Wszelkie prace serwisowe zlecaj wykwalifikowanemu personelowi.
- Trzymaj urządzenie z dala od wody, wilgoci i ekstremalnych temperatur.
- Aby zapobiec wyciekowi baterii, wyjmij je, jeśli urządzenie nie będzie używane przez dłuższy czas.
- Zużyte baterie i urządzenie należy utylizować zgodnie z lokalnymi przepisami.
- Avoid pointing the light sensor directly at extremely bright light sources for prolonged periods, as this may affect sensor longevity.
3. Zawartość opakowania
Sprawdź, czy po rozpakowaniu znajdują się wszystkie elementy:
- Digital Illuminance Lux Light Meter Datalogger (MILA48500)
- Torba transportowa
- Instrukcja obsługi w języku angielskim
- 2 x 1.5V AAA Batteries (pre-installed or included separately)

Rysunek 3.1: The Landtek MILA48500 Lux Meter package contents, showing the meter, a black protective pouch, and the instruction manual.
4. Urządzenie ponadview
Familiarize yourself with the components of the Landtek MILA48500 Lux Meter:

Rysunek 4.1: Przód i tył view of the Landtek MILA48500 Lux Meter with labeled components. Key parts include the light sensor, LCD screen, various function buttons (MAX/MIN, HOLD, UNIT, Power), and the battery compartment.
- Czujnik światła: Wykrywa światło otoczenia.
- Ekran LCD: Displays measurement readings, units, and status indicators. Features a backlight for low-light conditions.
- Przycisk MAX/MIN: Toggles between maximum and minimum recorded values.
- Przytrzymaj przycisk: Freezes the current reading on the display. Also activates Bluetooth when pressed for 2 seconds.
- Przycisk JEDNOSTKA: Switches between LUX and FC measurement units. Also activates the backlight when pressed for 2 seconds.
- Przycisk zasilania: Włącza lub wyłącza urządzenie.
- Komora baterii: Located on the rear, houses two AAA batteries.
5. Konfiguracja
5.1 Instalacja baterii
- Znajdź pokrywę komory baterii z tyłu urządzenia.
- Aby otworzyć pokrywę, przesuń ją lub odepnij.
- Włóż dwie baterie AAA 1.5 V, zwracając uwagę na prawidłową biegunowość (+/-), zgodnie ze wskazaniami wewnątrz komory.
- Dokładnie załóż pokrywę komory baterii.
5.2 Włączanie/wyłączanie
- Włączanie: Naciśnij Przycisk zasilania (). The LCD screen will illuminate.
- Aby wyłączyć: Naciśnij Przycisk zasilania again. The device also features an automatic power-off function to conserve battery life.
6. Instrukcja obsługi
6.1 Pomiar podstawowy
After powering on, the device will immediately begin measuring illuminance. Point the light sensor towards the light source or area you wish to measure.
6.2 Unit Selection (LUX / FC)
Naciśnij Przycisk JEDNOSTKA to toggle between LUX (lux) and FC (foot-candle) measurement units. The selected unit will be displayed on the LCD screen.

Rysunek 6.1: The meter's display showing measurements in FC (left) and LUX (right) units.
6.3 Funkcja zatrzymania danych
Naciśnij Przytrzymaj przycisk briefly to freeze the current reading on the display. Press it again to release the hold and resume live measurement.
6.4 MAX / MIN Display
Naciśnij Przycisk MAX/MIN to cycle through the maximum, minimum, and current readings recorded since the device was powered on or the function was reset. The display will indicate 'MAX' or 'MIN' accordingly.
6.5 Funkcja podświetlenia
Naciśnij i przytrzymaj Przycisk JEDNOSTKA for approximately 2 seconds to turn the LCD backlight on or off.
6.6 Measurement Range Multipliers
The meter automatically adjusts its measurement range. When 'X10' or 'X100' appears on the display, the displayed reading must be multiplied by that factor to obtain the actual illuminance value.
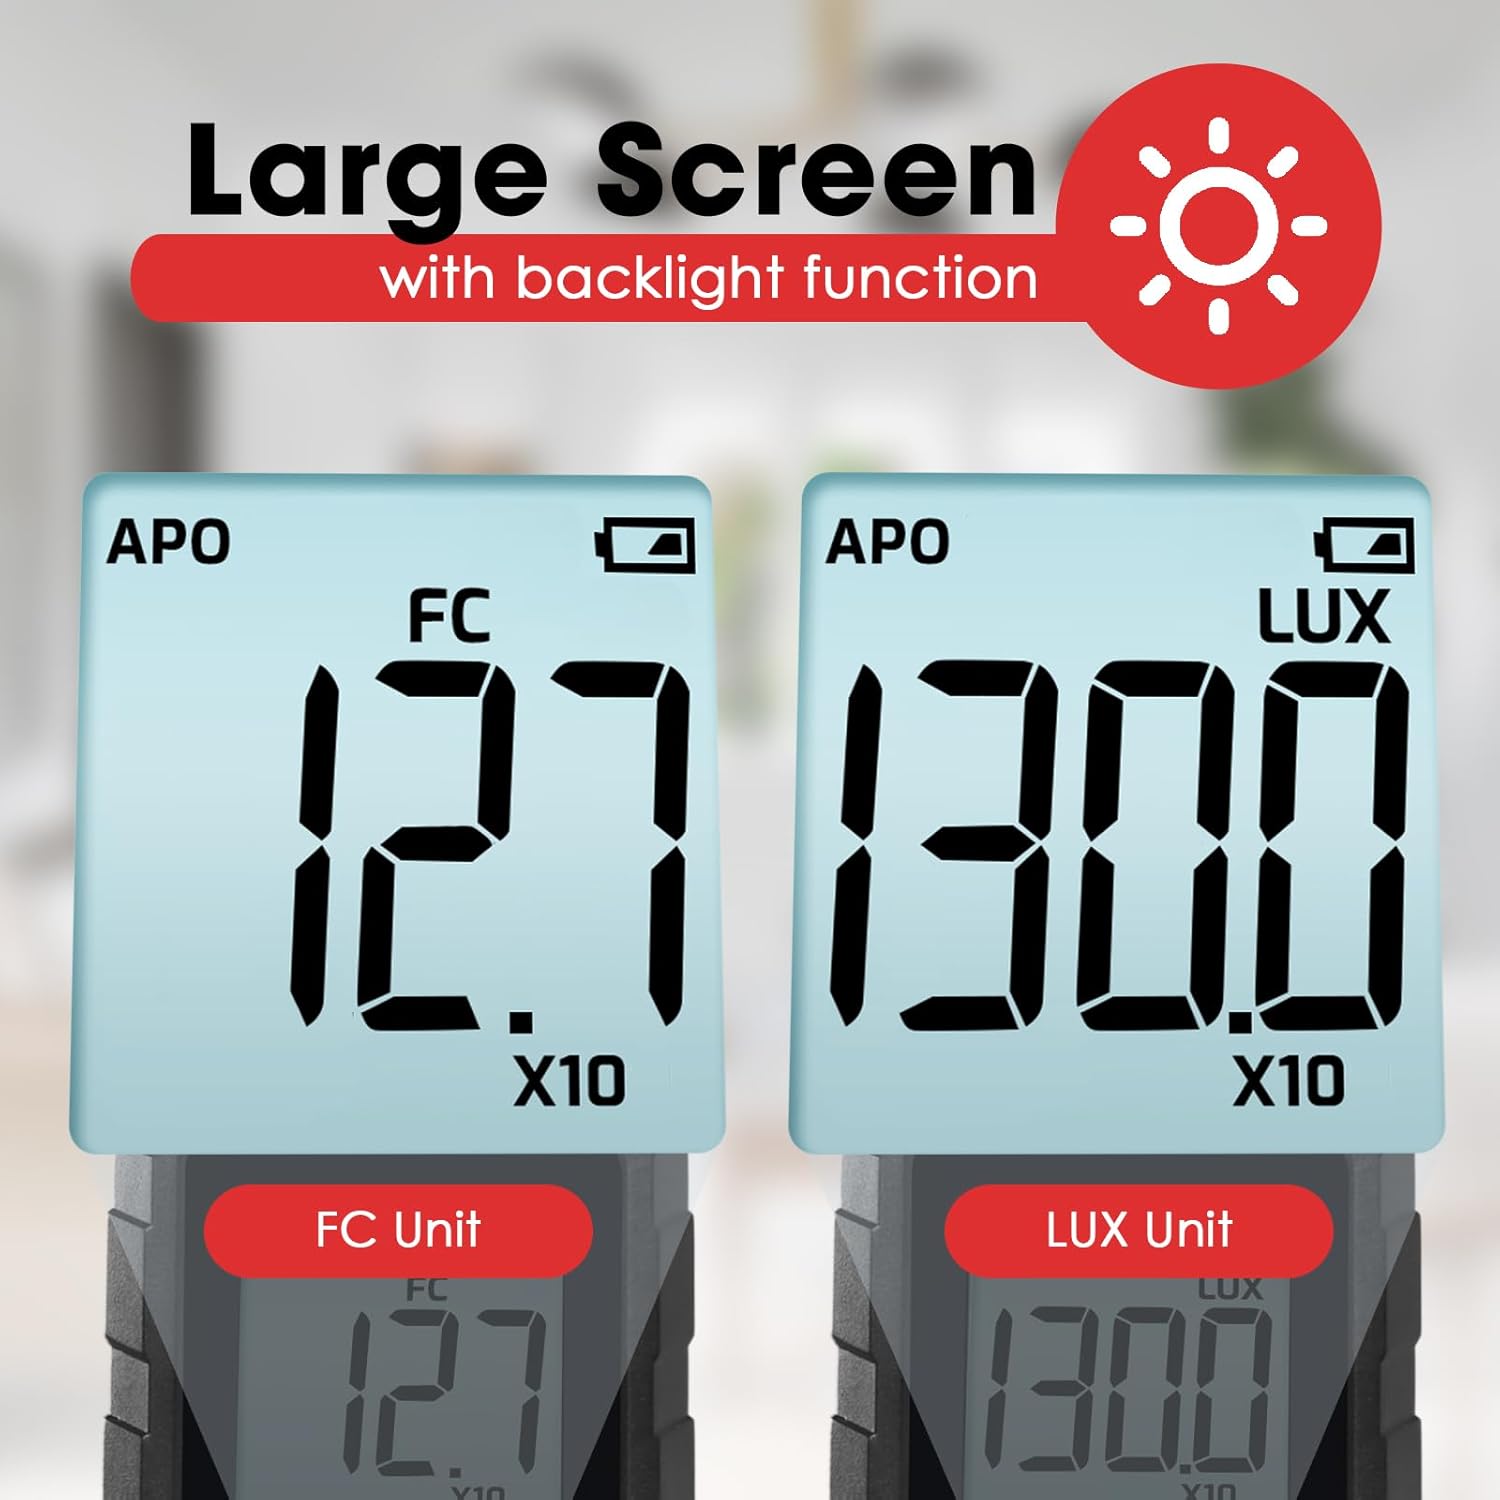
Rysunek 6.2: Explanation of how to interpret readings when 'X10' or 'X100' multipliers are active on the display.
- If 'X10' is displayed, multiply the reading by 10. For example, a display of 16.47 with 'X10' means 164.7 LUX.
- If 'X100' is displayed, multiply the reading by 100. For example, a display of 16.47 with 'X100' means 1647 LUX.
6.7 Bluetooth Connectivity and Data Logging
The device supports Bluetooth connectivity for real-time monitoring and data logging via a compatible smartphone application.
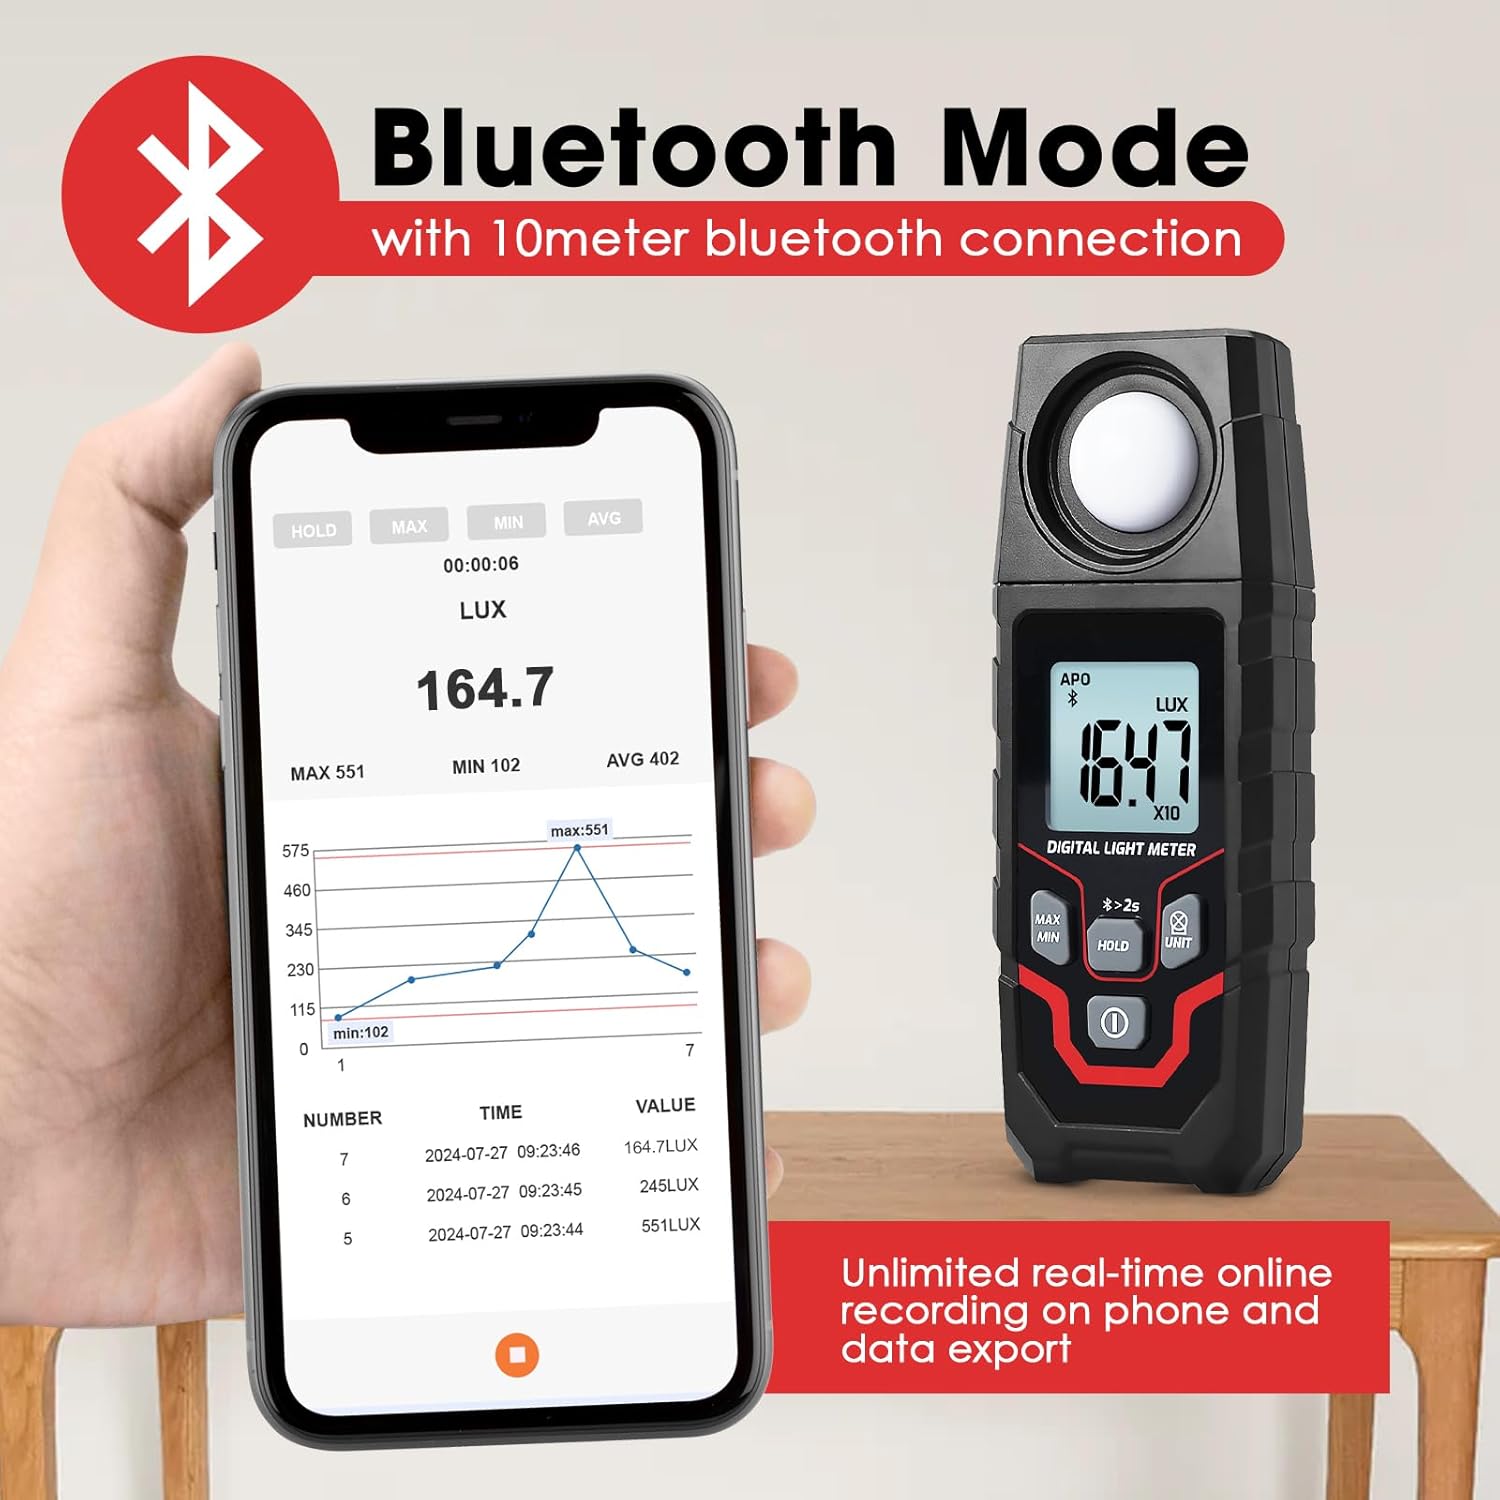
Rysunek 6.3: The Lux Meter connected to a smartphone via Bluetooth, displaying real-time data and a historical graph.
- Aktywuj Bluetooth: Naciśnij i przytrzymaj Przytrzymaj przycisk for approximately 2 seconds. A Bluetooth icon will appear on the meter's display.
- Pobierz aplikację: Download the official Landtek application from your smartphone's app store.
- Łączyć: Open the app on your smartphone and follow the instructions to pair with the MILA48500 device. The Bluetooth range is up to 10 meters.
- Rejestrowanie danych: The app allows for unlimited real-time online recording and data export. The meter can also store up to 2000 groups of data for offline recording, which can be downloaded to the app later.
7. Konserwacja
- Czyszczenie: Use a soft, dry cloth to clean the device. Do not use abrasive cleaners or solvents. Ensure the light sensor is kept clean and free of dust.
- Składowanie: Przechowuj urządzenie w chłodnym, suchym miejscu, z dala od bezpośredniego światła słonecznego i ekstremalnych temperatur. W przypadku dłuższego przechowywania wyjmij baterie.
- Wymiana baterii: Wymień baterie, gdy na wyświetlaczu pojawi się wskaźnik niskiego poziomu naładowania baterii, aby zapewnić dokładne odczyty.
8. Rozwiązywanie Problemów
| Problem | Możliwa przyczyna | Rozwiązanie |
|---|---|---|
| Urządzenie nie włącza się. | Rozładowane lub nieprawidłowo zainstalowane baterie. | Sprawdź biegunowość baterii. Wymień baterie na nowe baterie AAA. |
| Niedokładne odczyty. | Dirty light sensor; low battery; incorrect unit/multiplier interpretation. | Clean the light sensor. Replace batteries. Ensure correct interpretation of LUX/FC units and X10/X100 multipliers. |
| Połączenie Bluetooth nie powiodło się. | Bluetooth not activated on meter; app issue; out of range. | Press and hold HOLD button for 2s to activate Bluetooth. Restart app/phone. Ensure meter is within 10m of phone. |
| Wyświetlacz jest przyciemniony lub migocze. | Niski poziom naładowania baterii. | Wymień baterie. |
9. Specyfikacje
| Funkcja | Specyfikacja |
|---|---|
| Metoda pomiaru | Typ całkowy |
| Zakres | 0.1~200000 LUX / 0.01~20000 FC |
| Measuring Levels (LUX) | 200 / 2,000 / 20,000 / 200,000 |
| Measuring Levels (FC) | 20 / 200 / 2,000 / 20,000 |
| Dokładność | ±(4% + 10 digits) (calibrated under standard incandescent lamp 2856°K) |
| Resolution (LUX) | <200: 0.1; ≥200: 1 |
| Resolution (FC) | <20: 0.01; 20≤FC<200: 0.1; ≥200: 1 |
| Wyświetlacz | 4-digit LCD, max 1999 |
| Rozmiar ekranu | 34 x 31mm |
| Czujnik światła | Fotodioda krzemowa z filtrem |
| Sampling Oceń | Około. 2 razy na sekundę |
| Kąt padania | 120° |
| Repeatability Deviation | ±2% |
| Zakres widmowy | 400~700nm |
| Zasięg Bluetooth | Up to 10 meters proximity |
| Warunki pracy | -10 ~ 50°C, maks. 80% wilgotności względnej, wysokość w pomieszczeniu <2000 m |
| Warunki przechowywania | -10~50°C, max 70% RH (with battery removed) |
| Zasilacz | 2 baterie AAA 1.5 V |
| Wymiary | 150x56x28mm |
| Waga | Około 150 g (bez baterii) |

Rysunek 9.1: Physical dimensions and weight of the Landtek MILA48500 Lux Meter.
10. Gwarancja i wsparcie
This product is covered by a manufacturer's warranty. Please refer to the warranty card included in your package or contact Landtek customer support for detailed warranty terms and conditions.
For technical assistance, troubleshooting, or service inquiries, please contact your local distributor or the manufacturer directly. Contact information can typically be found on the manufacturer's webmiejscu lub na opakowaniu produktu.


