1. Wprowadzenie
The LOFOV X13 Hidden Camera Detector is a portable, multi-functional device designed to help users detect various hidden surveillance equipment, including wireless cameras, listening devices, and GPS trackers. Utilizing advanced technology, it offers enhanced anti-interference capabilities and a broad detection range to safeguard your privacy in diverse environments such as hotels, offices, bathrooms, and vehicles.
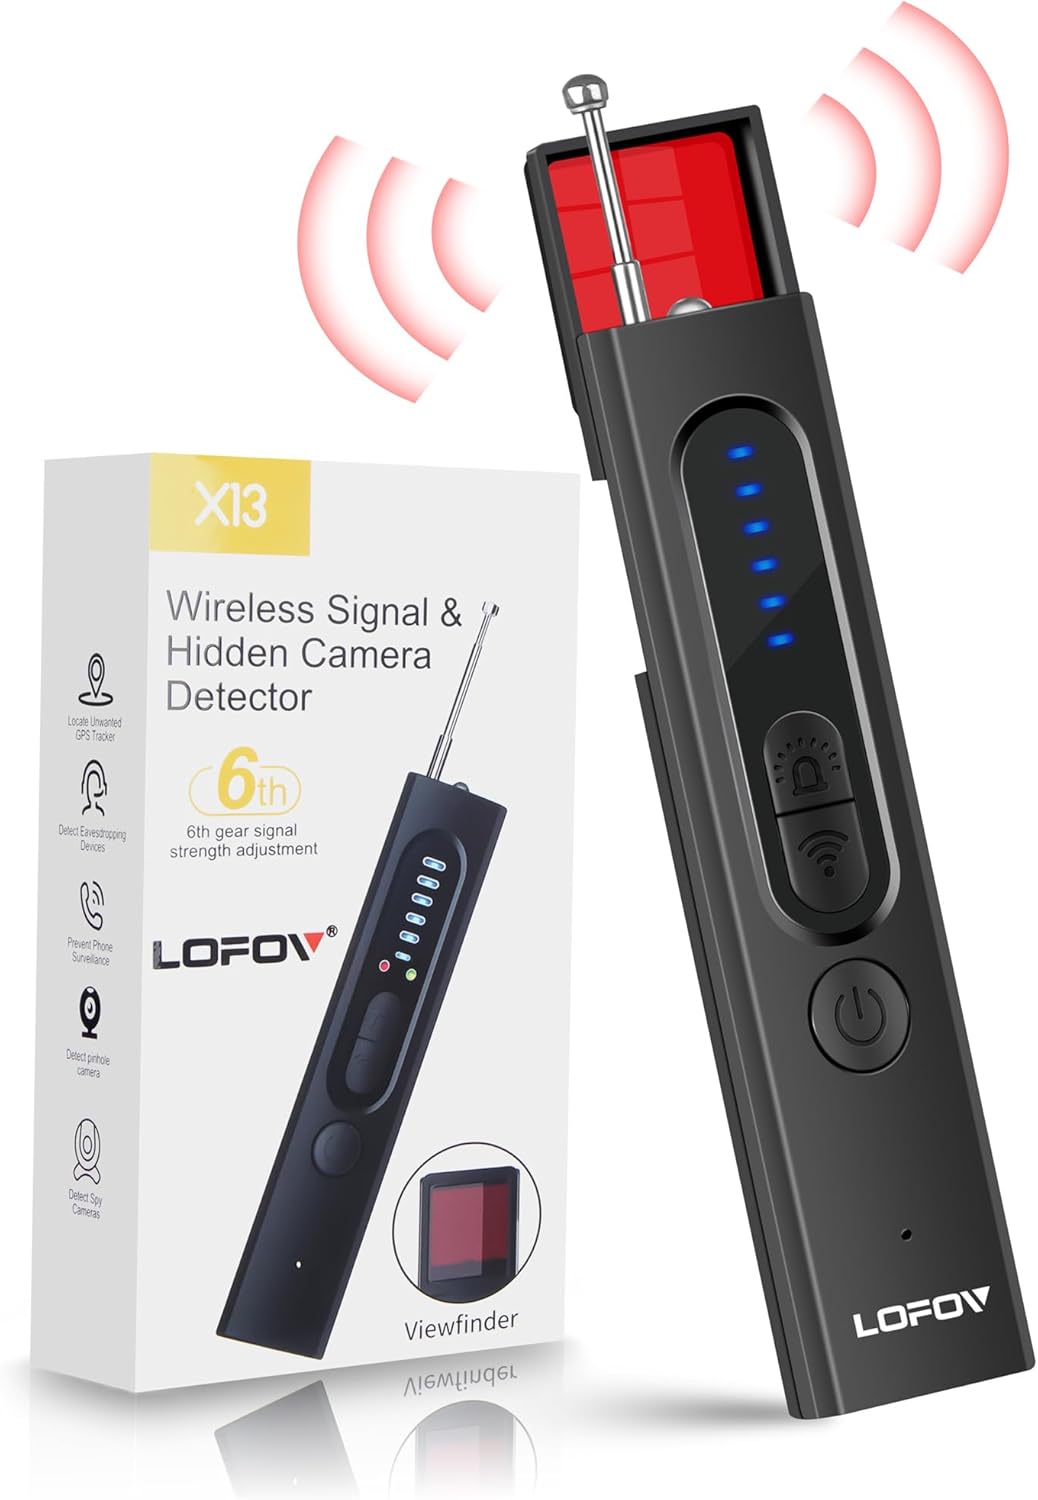
Image 1.1: LOFOV X13 Hidden Camera Detector and its retail packaging.
2. Koniec produktuview i funkcje
The LOFOV X13 detector incorporates a 3rd generation intelligent chip, extending its detection range from 1MHz to 6.5GHz. It is capable of identifying 2G/3G/4G/5G/6G/GSM signals and features multiple detection modes for comprehensive surveillance protection.
Główne cechy:
- Upgraded Anti-Spy Detector: Expands detection range to 1Mhz-6.5Ghz, enhancing anti-interference for quick detection of 2G/3G/4G/5G/6G/GSM signals.
- Professional Bug Detector with 4 Modes:
- Wireless WiFi Signal Detection
- Magnetic GPS Detection
- Red Infrared Light Detection
- Flesz
- Regulowana czułość: Features 6 levels of adjustable sensitivity for varied detection scenarios.
- Tryby alarmowe: Offers both beep sound and vibration alarming modes.
- Przenośny i trwały: Constructed from advanced PC material, compact (0.8 * 0.6 * 4.3 inch) and lightweight (21g).
- Długa żywotność baterii: Built-in rechargeable lithium battery provides up to 30 days standby time or 25 hours of continuous use after a 1-hour charge.

Obraz 2.1: Koniecview of the LOFOV X13's detection capabilities.
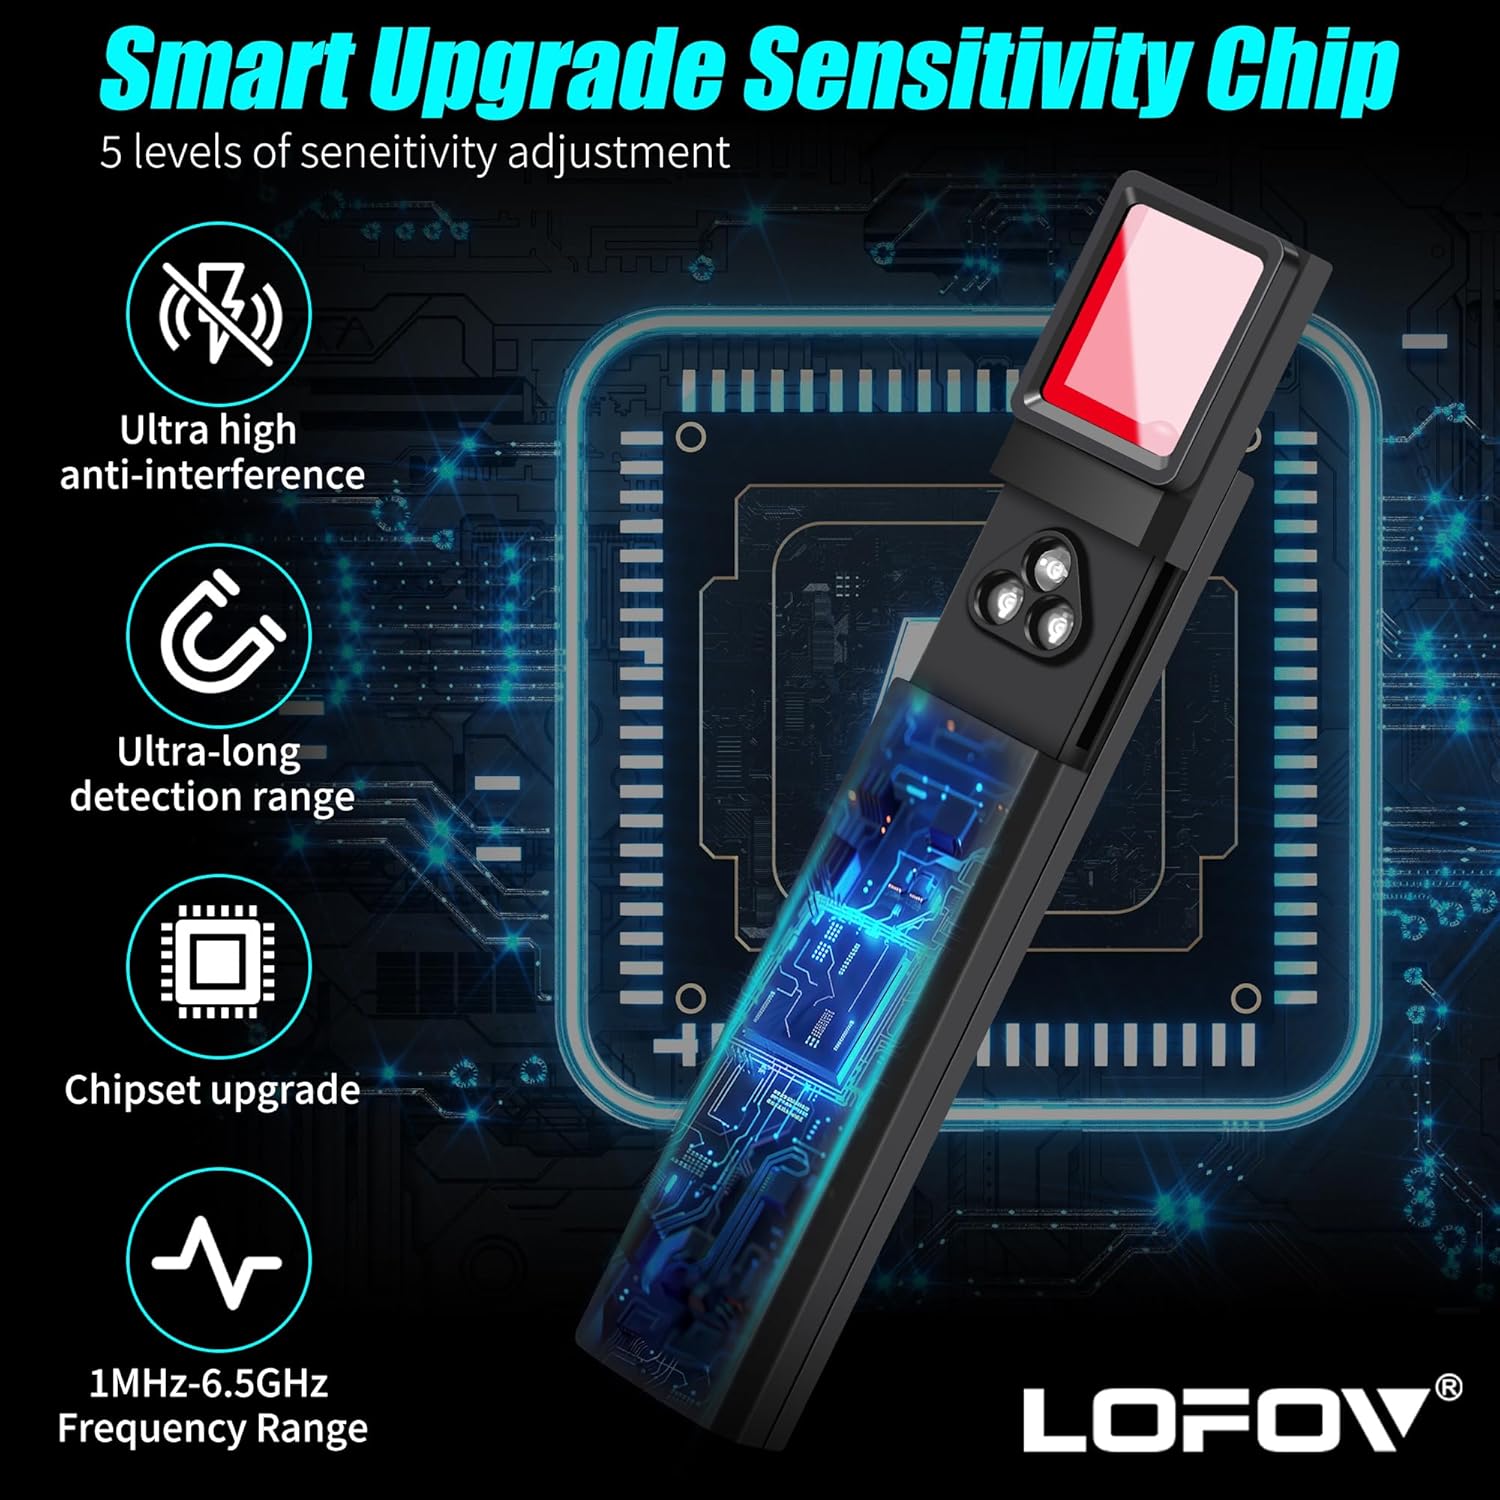
Image 2.2: Illustration of the X13's smart upgrade sensitivity chip and frequency range.
3. Zawartość opakowania
Proszę sprawdzić, czy po otwarciu paczki znajdują się wszystkie elementy:
- LOFOV X13 Hidden Camera Detector
- Kabel ładujący USB
- Instrukcja obsługi
4. Komponenty urządzenia
Familiarize yourself with the various parts of your LOFOV X13 detector:

Image 4.1: Labeled diagram of the LOFOV X13 detector's components.
- Antena: Extends for RF signal detection.
- Lights (Indicators): Display signal strength and mode status.
- Detekcja magnetyczna: Sensor for detecting magnetic fields (e.g., GPS trackers).
- Signal Detection Sensitivity: LED indicators showing current sensitivity level.
- Lampka ładowania: Wskazuje stan ładowania.
- Przycisk trybu: Cycles through detection modes.
- Signal Strength Adjustment Button: Dostosowuje czułość wykrywania.
- ON/OFF Mode Button: Powers the device on/off and changes modes.
- Port ładowania: USB port for recharging the device.
- Viewznalazca: Used for infrared camera detection.
- Światła LED: Emits red light for infrared camera detection.
- Magnetic Mode Light: Indicates when magnetic detection mode is active.
5. Konfiguracja
5.1 Ładowanie urządzenia
Before first use, fully charge the LOFOV X13 detector. Connect the provided USB charging cable to the device's charging port and to a standard USB power source (e.g., computer, wall adapter). The charging light will indicate the charging status. A full charge typically takes approximately 1 hour.

Image 5.1: Charging the LOFOV X13 detector via USB.
5.2 Włączanie/wyłączanie zasilania
Aby włączyć urządzenie, naciśnij i przytrzymaj ON/OFF Mode Button until the indicator lights illuminate. To power off, press and hold the same button again until the lights turn off.
6. Instrukcja obsługi
The LOFOV X13 offers four primary detection modes. Press the Przycisk trybu aby przełączać się między tymi trybami.
6.1 Wireless Signal Detection (RF)
This mode detects radio frequency signals emitted by wireless cameras, listening devices, and other transmitting bugs. Extend the antenna for optimal performance.
- Activate RF detection mode using the Mode Button.
- Slowly scan the area. The indicator lights will illuminate, and the device may beep or vibrate, with increasing intensity as you approach a signal source.
- Adjust sensitivity using the Signal Strength Adjustment Button to narrow down the detection area. Lower sensitivity helps pinpoint the exact location.
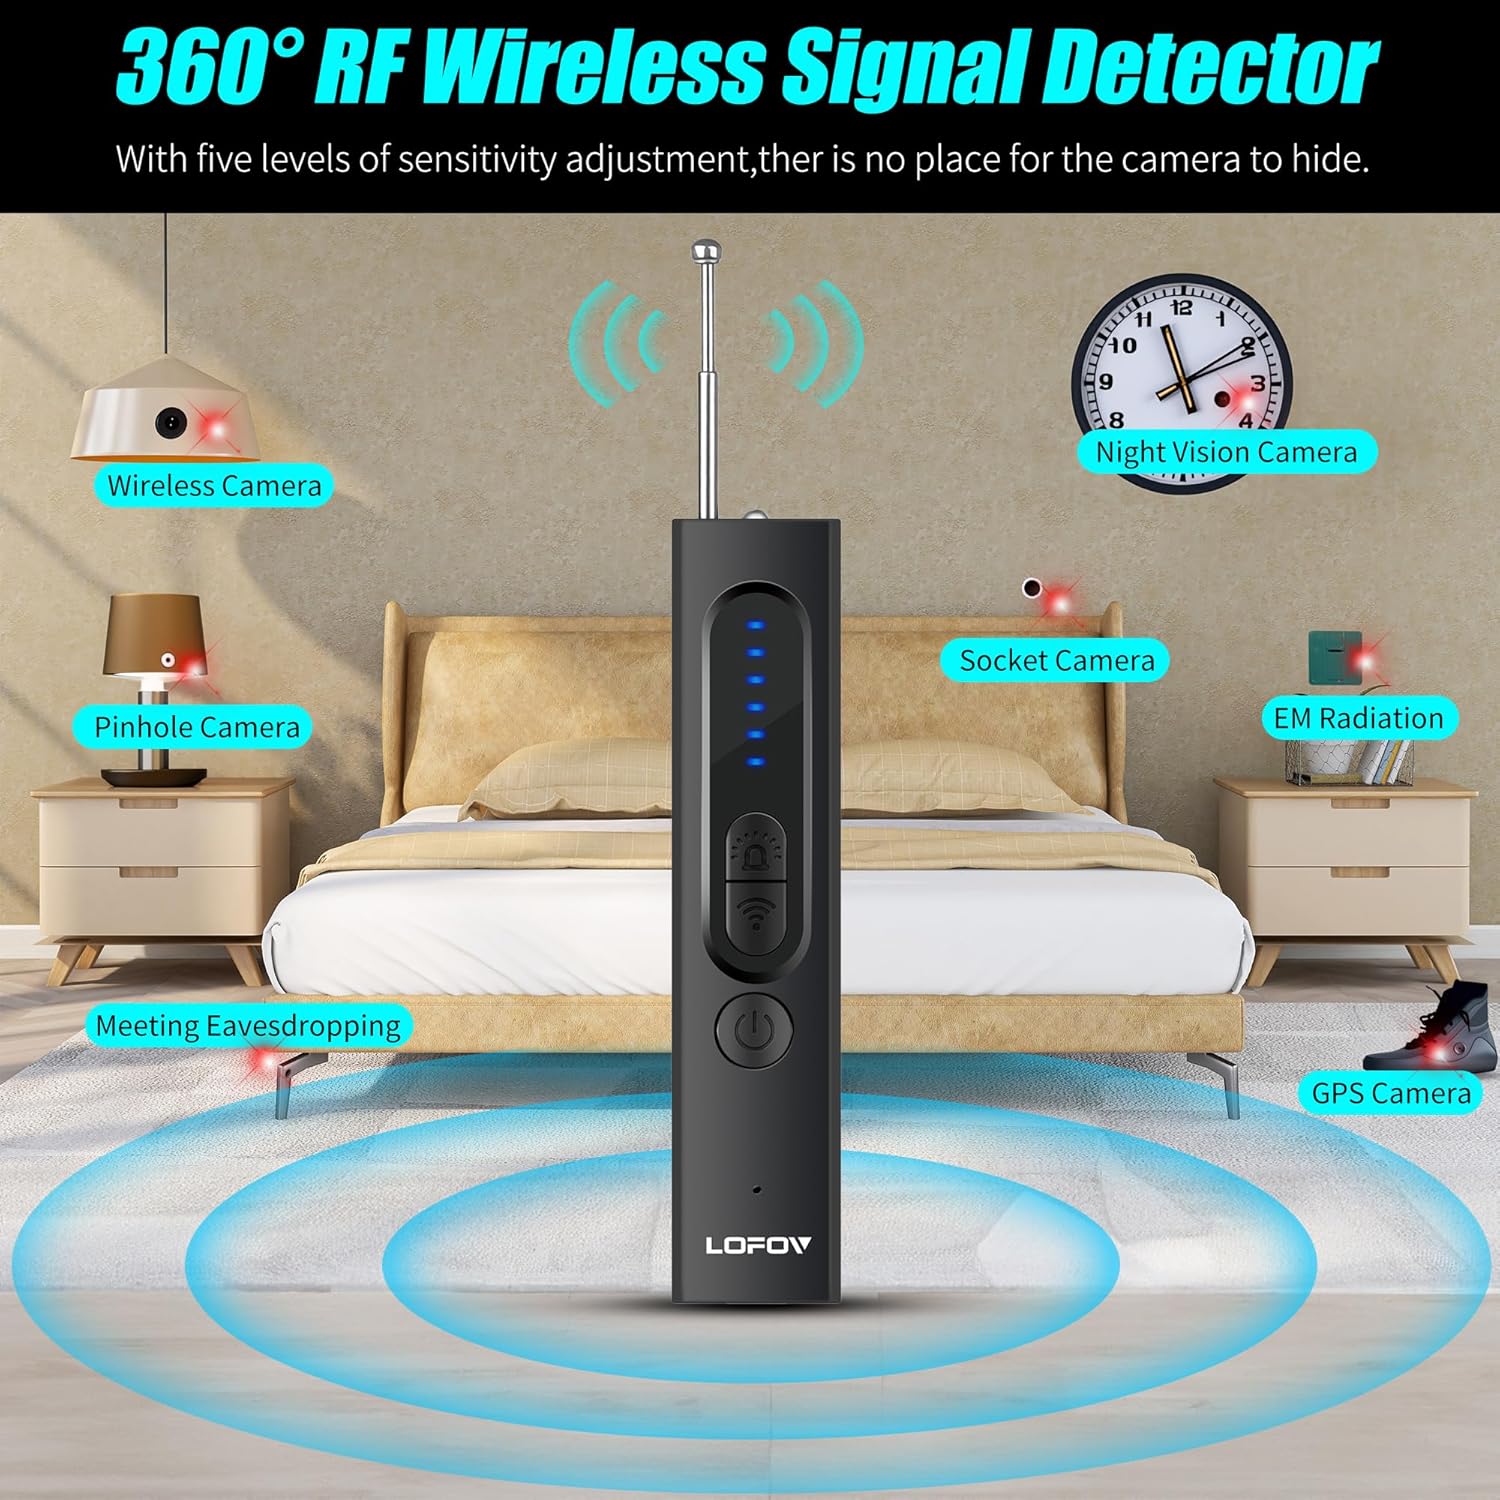
Image 6.1: RF wireless signal detection in a room.
6.2 Magnetic Field Detection (GPS)
This mode is designed to locate magnetic GPS trackers, which are often covertly attached to vehicles or other metallic surfaces.
- Switch to Magnetic Detection mode. The Magnetic Mode Light will activate.
- Scan surfaces, especially under vehicles, around dashboards, and other potential hiding spots.
- The device will alert you with sound and/or vibration when a magnetic field is detected.

Image 6.2: Magnetic field detection for GPS trackers in a car.
6.3 Infrared Camera Detection
This mode helps identify hidden cameras, including pinhole cameras, by detecting their lenses through infrared reflection.
- Select Infrared Light Detection mode. The LED Lights will emit red light.
- Przejrzyj Viewznalazca while slowly scanning the area.
- Hidden camera lenses will appear as bright red dots when illuminated by the device's LED lights and viewed przez viewznalazca.
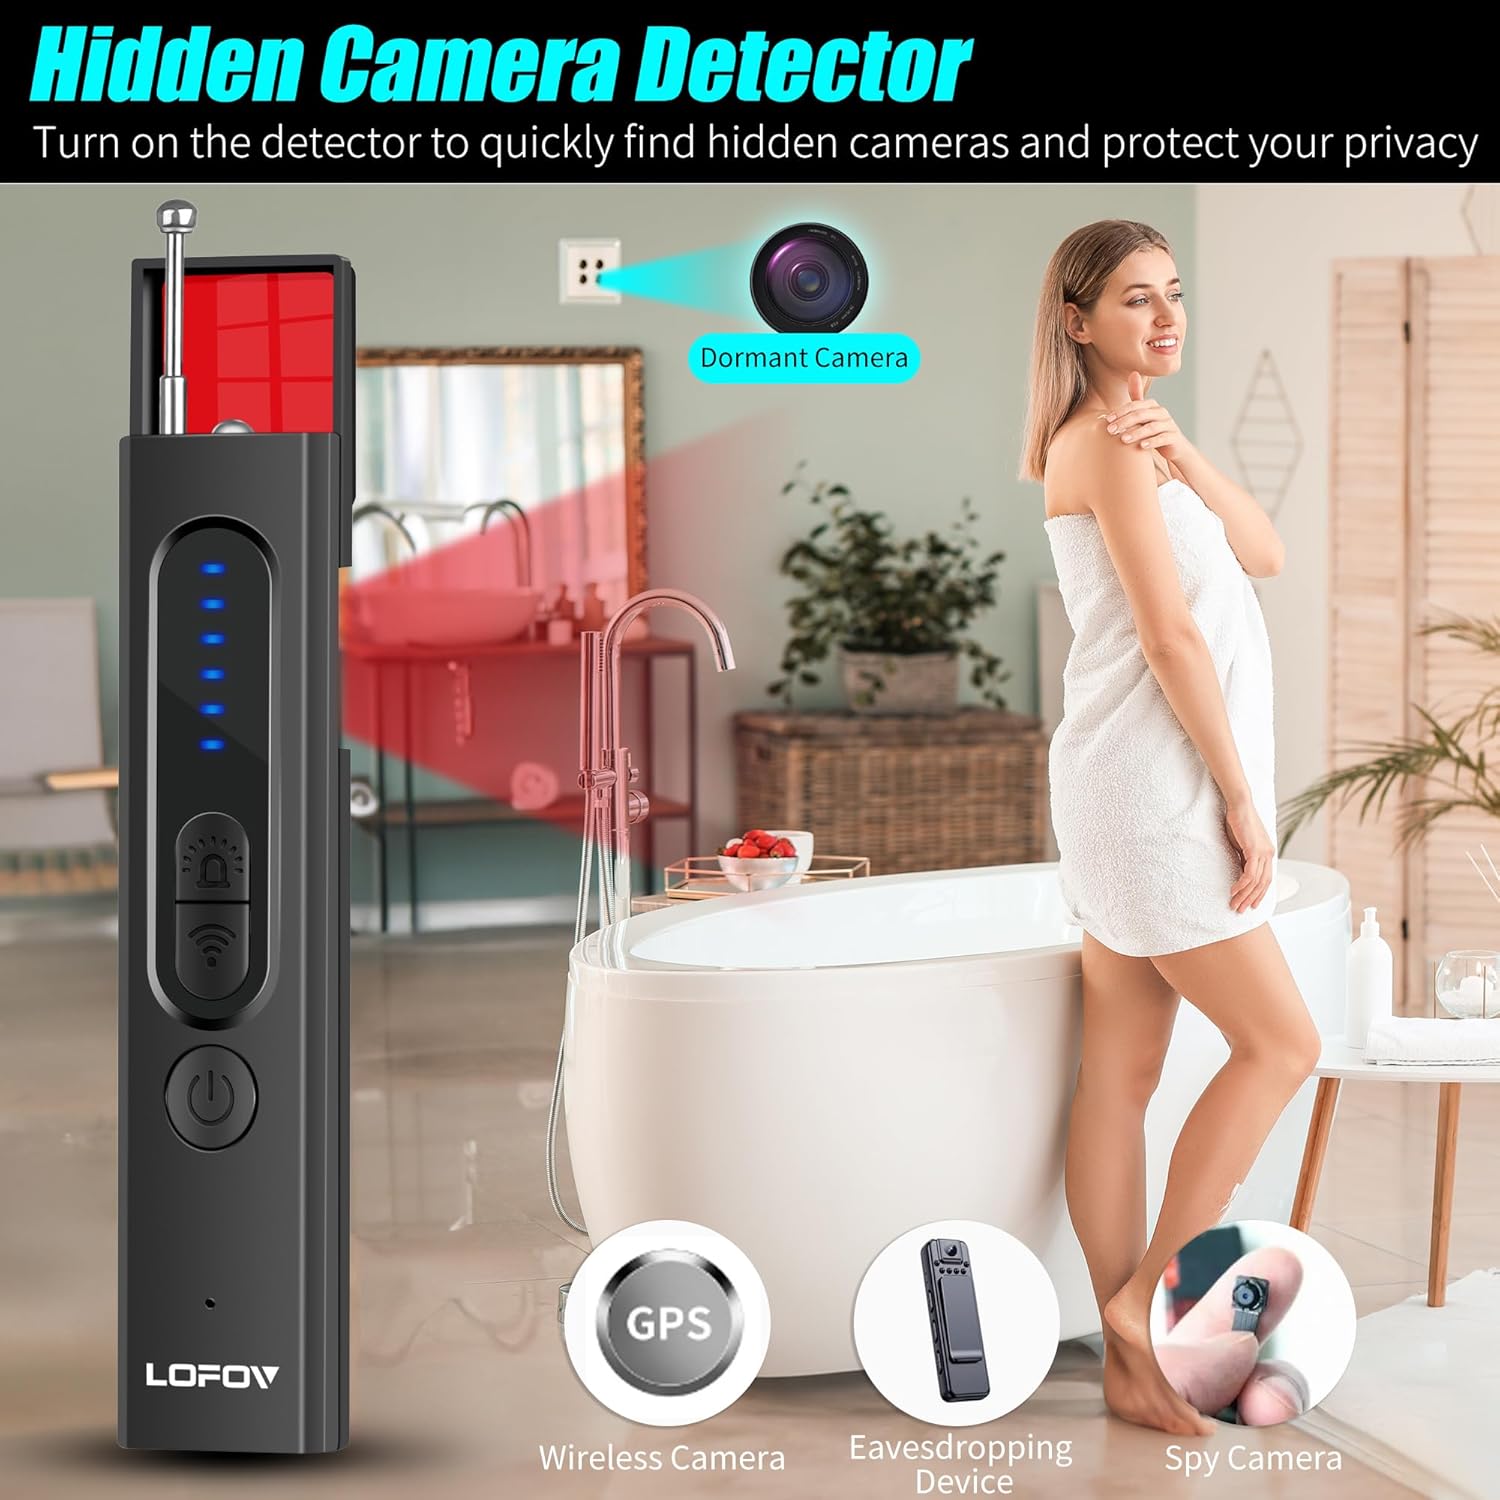
Image 6.3: Infrared camera detection in a bathroom setting.
6.4 Flashlight Mode
The device includes a flashlight function for general illumination, useful in dark environments during inspection.
- Cycle through modes until the flashlight activates.
- Use as needed for visibility.
6.5 Regulacja czułości
Ten Signal Strength Adjustment Button allows you to increase or decrease the detection sensitivity. Higher sensitivity is useful for initial wide-area scans, while lower sensitivity helps pinpoint the exact location of a detected device.
7. Konserwacja
- Keep the device clean and dry. Use a soft, dry cloth to wipe the exterior.
- Unikaj wystawiania urządzenia na działanie ekstremalnych temperatur, bezpośredniego światła słonecznego i wilgoci.
- Przechowuj urządzenie w chłodnym, suchym miejscu, gdy nie jest używane.
- Nie należy podejmować prób samodzielnego demontażu lub naprawy urządzenia, gdyż spowoduje to utratę gwarancji.
8. Rozwiązywanie Problemów
8.1 Urządzenie się nie włącza
- Ensure the device is fully charged. Connect it to a power source and check the charging light.
- Press and hold the ON/OFF Mode Button for a few seconds to ensure it's not just a short press.
8.2 Poor Detection Performance
- Wykrywanie RF: Ensure the antenna is fully extended. Adjust sensitivity levels; start with high sensitivity for a broad scan, then lower it to pinpoint sources.
- Detekcja magnetyczna: Ensure the device is in Magnetic Detection mode. Scan very close to surfaces where trackers might be hidden.
- Detekcja podczerwieni: Ensure the LED lights are active and you are looking through the viewfinder. Scan slowly and thoroughly.
- Environmental interference from Wi-Fi routers, cell towers, or other electronic devices can affect RF detection. Try to minimize these sources if possible.
8.3 Bateria szybko się rozładowuje
- Upewnij się, że urządzenie jest w pełni naładowane przed użyciem.
- Continuous use of high-power modes (e.g., flashlight) can consume battery faster.
- Jeśli problem będzie się powtarzał, skontaktuj się z obsługą klienta.
9. Specyfikacje
| Funkcja | Specyfikacja |
|---|---|
| Nazwa modelu | X13 |
| Marka | LOFOV |
| Detection Frequency Range | 1MHz-6.5GHz |
| Tryby wykrywania | Wireless WiFi Signal, Magnetic GPS, Red Infrared Light, Flashlight |
| Regulacja czułości | 6 poziomów |
| Tryby alarmowe | Beep Sound, Vibration |
| Typ baterii | Akumulator litowo-jonowy |
| Czas ładowania | Około 1 godziny |
| Ciągły czas użytkowania | Do 25 godzin |
| Czas czuwania | Do 30 dni |
| Wymiary | 0.8 x 0.6 x 4.3 cala |
| Waga | 21 g (0.74 uncji) |
| Tworzywo | Advanced PC |
10. Gwarancja i obsługa klienta
LOFOV provides lifetime after-sale service for all products. If you encounter any issues or have questions regarding your LOFOV X13 Hidden Camera Detector, please do not hesitate to contact our customer service team. We are available 24 hours a day and committed to providing satisfactory solutions within 24 hours.
For support, please refer to the contact information provided with your purchase or visit the official LOFOV webstrona.