
ClokoWe T800
ClokoWe Mini Projector T800 User Manual
Model: T800
1. Wprowadzenie
This manual provides detailed instructions for the safe and effective use of your ClokoWe Mini Projector T800. Please read this manual thoroughly before operating the device and retain it for future reference.
Informacje dotyczące bezpieczeństwa
- Nie patrz bezpośrednio w obiektyw projektora, gdyamp jest włączony.
- Zapewnij odpowiednią wentylację wokół projektora, aby zapobiec przegrzaniu.
- Trzymaj projektor z dala od wody i innych płynów.
- Używaj wyłącznie zasilacza dostarczonego z urządzeniem.
- Nie próbuj samodzielnie demontować ani naprawiać projektora. Skontaktuj się z obsługą klienta, aby uzyskać pomoc.
2. Zawartość opakowania
Sprawdź, czy w opakowaniu znajdują się wszystkie elementy:
- ClokoWe Mini Projector T800
- Kabel HDMI
- Zdalne sterowanie
- Przewód zasilający
- Instrukcja obsługi (ten dokument)
3. Koniec produktuview
Zapoznaj się z podzespołami i funkcjami projektora.
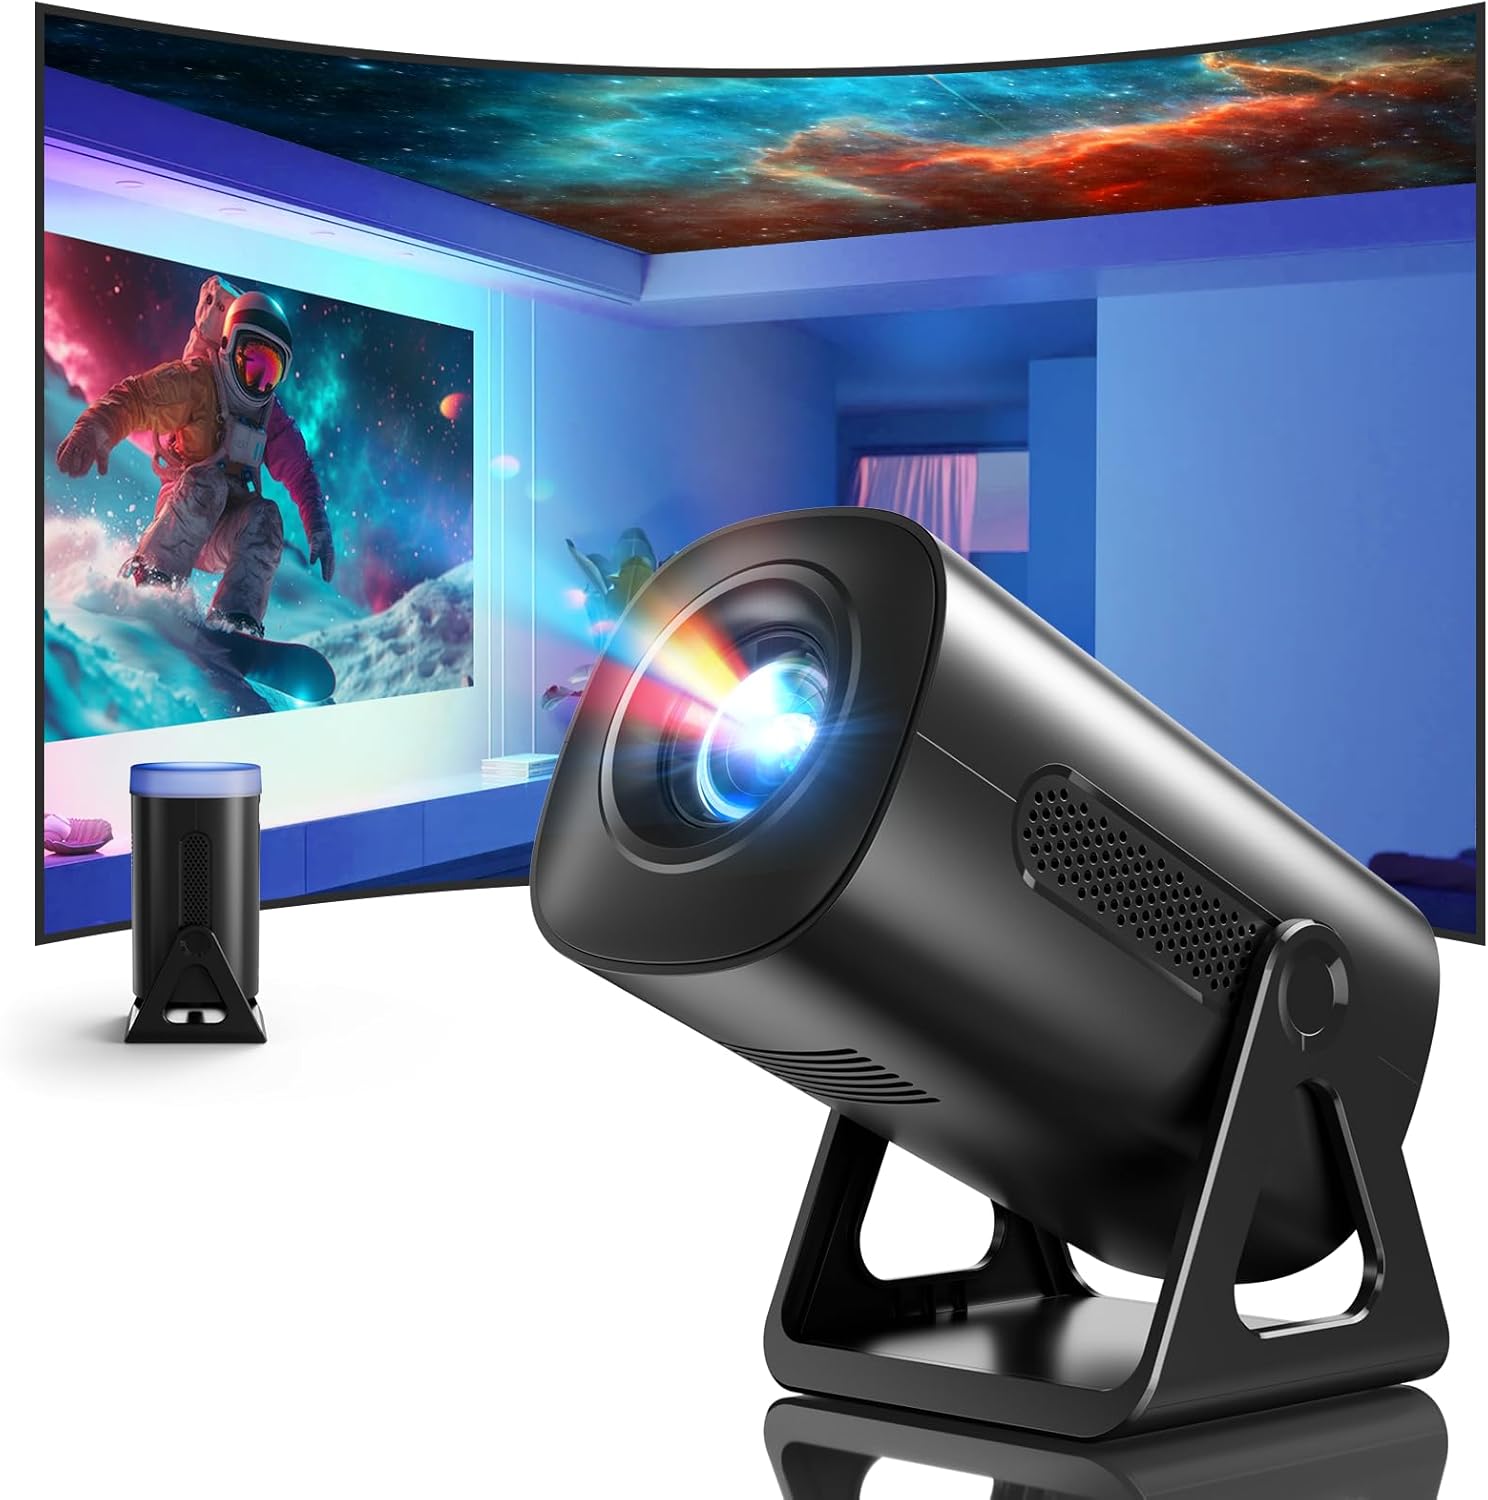
Obraz 3.1: Przód view of the ClokoWe Mini Projector T800, showcasing its compact design and projection capability.
Główne cechy:
- Native 1080p Resolution with 4K Support
- 270° Rotatable Stand for flexible projection angles
- Integrated Star Projector with 6 Galaxy Projection Modes and 7 Ambient Night Light Colors
- Dual Band WiFi 6 (2.4G/5G) for stable wireless connectivity
- Bluetooth 5.2 HiFi Speaker for enhanced audio
- Automatic Keystone Correction and 50%-100% Zoom function
- Multiple connectivity options: USB, HDMI, AV, Audio

Image 3.2: Dimensions and weight of the projector, highlighting the 270-degree rotatable stand.
4. Konfiguracja
4.1 Połączenie zasilania
- Podłącz przewód zasilający do portu wejściowego zasilania projektora.
- Podłącz drugi koniec przewodu zasilającego do standardowego gniazdka elektrycznego.
- Zaświeci się kontrolka zasilania.
4.2 Umiejscowienie i regulacja
The 270° rotatable stand allows for flexible placement and projection.

Image 4.1: The projector's 270-degree rotation feature, enabling projection onto walls, floors, or ceilings.
- Pozycjonowanie: Ustaw projektor na stabilnej, płaskiej powierzchni.
- Regulacja kąta: Rotate the projector body on its stand to achieve the desired projection angle (up to 270 degrees).
- Centrum: Aby wyostrzyć obraz, użyj pierścienia ostrości na obiektywie projektora.
- Korekcja Keystone'a: The projector features automatic keystone correction. If the image appears trapezoidal, the device will automatically adjust it to a rectangular shape. Manual adjustments may also be available in the settings menu.

Image 4.2: Demonstration of automatic keystone correction and image zoom capabilities.
5. Instrukcja obsługi
5.1 Pierwsze włączenie zasilania
- Naciśnij przycisk zasilania na projektorze lub pilocie.
- The projector will start up and display the main interface.
5.2 Łączność
The projector supports various input sources and wireless connections.

Obraz 5.1: Koniecview of supported device connections via HDMI, USB, and Audio interfaces.
5.2.1 WiFi Connection (Dual Band WiFi 6)
- Przejdź do menu „Ustawienia” w projektorze.
- Wybierz „Sieć” lub „Ustawienia Wi-Fi”.
- Wybierz z listy interesującą Cię sieć WiFi 2.4G lub 5G.
- Wprowadź hasło i połącz.

Image 5.2: Demonstrating Dual Band WiFi 6 connectivity and wired screen mirroring with a smartphone.
5.2.2 Bluetooth Connection (Bluetooth 5.2)
- Przejdź do „Ustawień” i wybierz „Bluetooth”.
- Włącz Bluetooth i wyszukaj dostępne urządzenia.
- Wybierz głośnik lub słuchawki Bluetooth z listy, aby je sparować.

Image 5.3: The projector's Bluetooth 5.2 capability for connecting to external audio devices.
5.2.3 HDMI/USB/AV Connection
- Connect your device (e.g., laptop, TV stick, game console) to the corresponding HDMI, USB, or AV port on the projector.
- Select the correct input source from the projector's main menu using the remote control.
5.3 Projection Modes (Star Projector & Night Light)
The projector includes integrated ambient lighting features.

Image 5.4: The projector's ability to display 7 night light colors and 6 galaxy projection modes.
- Projekcja galaktyki: Access the 'Star Projector' or 'Galaxy Modes' option in the menu to select from 6 different galaxy patterns.
- Ambient Night Light: With the lens cover on, select from 7 ambient light colors to use the projector as a night light.
5.4 Regulacja obrazu
- Funkcja powiększania: Adjust the projection size from 50% to 100% via the projector's menu settings.
- Jakość obrazu: The projector supports native 1080p resolution and 4K input. Ensure your source content is of high quality for the best viewzdobywania doświadczenia.
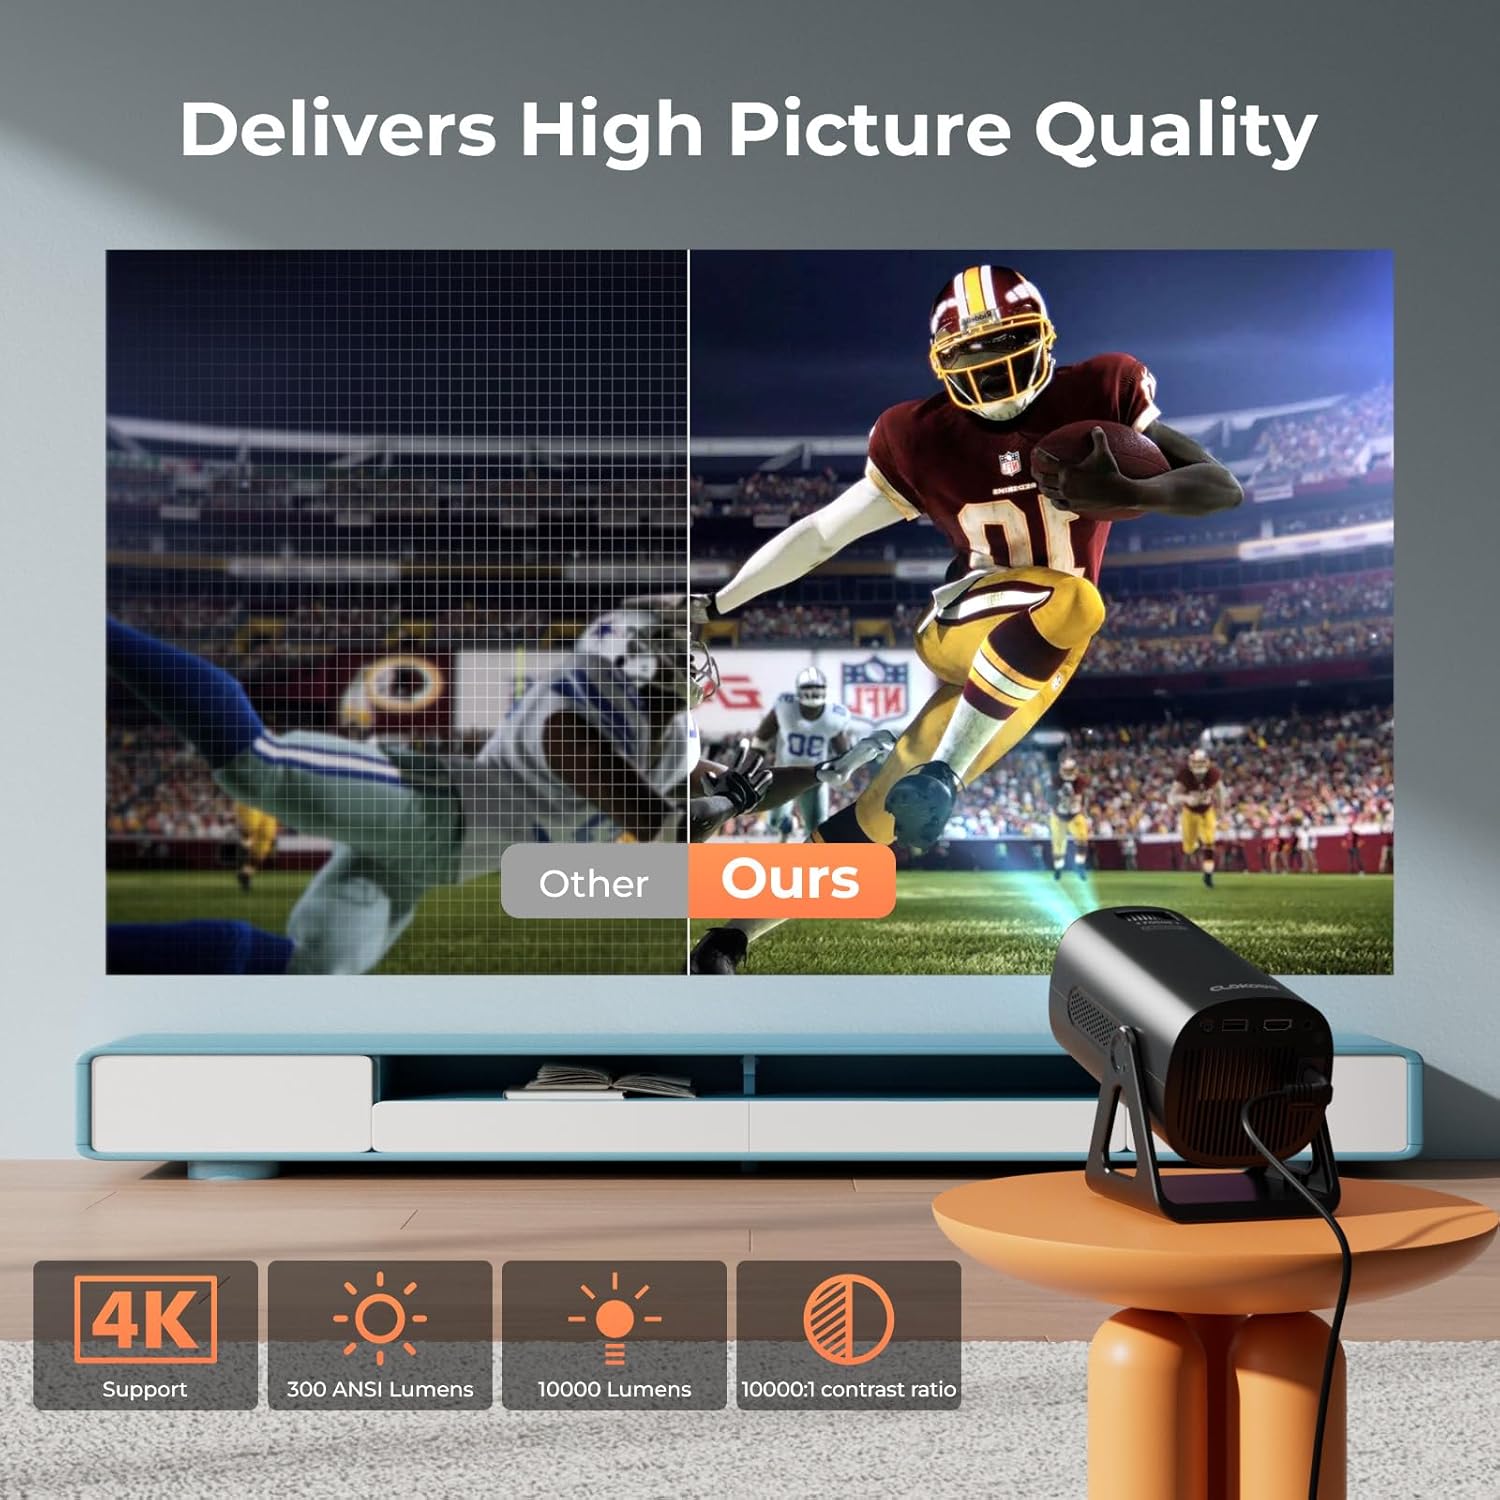
Image 5.5: Visual comparison of picture quality, emphasizing 4K support and brightness specifications.
6. Konserwacja
- Czyszczenie soczewek: Do delikatnego przecierania soczewki projektora użyj miękkiej, niepozostawiającej włókien ściereczki przeznaczonej specjalnie do soczewek optycznych. Nie używaj środków czyszczących o działaniu ściernym.
- Usuwanie kurzu: Regularly clean the projector's vents with a soft brush or compressed air to prevent dust buildup, which can affect performance and lifespan.
- Składowanie: Jeśli projektor nie będzie używany przez dłuższy czas, należy go przechowywać w chłodnym i suchym miejscu, najlepiej w oryginalnym opakowaniu lub futerale ochronnym.
- Wyłączone: Always power off the projector correctly and allow it to cool down before unplugging or moving it.
7. Rozwiązywanie Problemów
Typowe problemy i rozwiązania:
- Brak zasilania:
• Ensure the power cord is securely connected to both the projector and the power outlet.
• Check if the power outlet is functional. - Brak obrazu/sygnału:
• Verify that the correct input source (HDMI, USB, AV) is selected in the projector's menu.
• Check the connection cables between the projector and the source device.
• Ensure the source device is powered on and outputting a signal. - Zamazany obraz:
• Adjust the focus ring on the projector lens.
• Ensure the projection surface is flat and the projector is stable.
• Check if the lens is clean. - Obraz ma kształt trapezu:
• The automatic keystone correction should adjust this. If not, check for manual keystone adjustment options in the settings. - Brak dźwięku:
• Check the volume settings on both the projector and the source device.
• If using Bluetooth, ensure the external speaker/headphones are properly paired and connected.
• If using HDMI, ensure the audio output is correctly configured on the source device. - Problemy z połączeniem WiFi/Bluetooth:
• Ensure the projector is within range of the WiFi router or Bluetooth device.
• Restart the projector and the network device.
• Re-enter WiFi passwords carefully.
8. Specyfikacje
| Funkcja | Specyfikacja |
|---|---|
| Numer modelu | T800 |
| Rozdzielczość wyświetlacza | 1280 x 720 (Native 1080p, 4K Support) |
| Technologia łączności | Gniazdo 3.5 mm, Bluetooth 5.2, HDMI, USB, Wi-Fi 6 (2.4G/5G) |
| Funkcja specjalna | Portable, 270° Rotatable Stand, Star Projector, Ambient Night Light, Auto Keystone Correction, Zoom |
| Zalecane zastosowania | Biznes, Edukacja, Gry, Kino domowe |
| Waga przedmiotu | 2.38 funta |
| Wymiary opakowania | 9.13 x 6.69 x 5.28 cala |
9. Gwarancja i wsparcie
ClokoWe products are designed for reliability and performance. For warranty information, technical support, or service inquiries, please refer to the warranty card included in your package or visit the official ClokoWe website. Please have your model number (T800) and purchase details ready when contacting support.
Ask a question about this manual
Ask about setup, troubleshooting, compatibility, parts, safety, or missing instructions. Manuals+ will review the question and use this page’s manual context to help answer it.