1. Wprowadzenie
Dziękujemy za zakupasing the OLIGHT Warrior Ultra tactical flashlight. This manual provides detailed instructions for the safe and effective use, maintenance, and troubleshooting of your device. Please read this manual thoroughly before operating the flashlight and retain it for future reference.
The Warrior Ultra is a high-performance tactical flashlight featuring a maximum output of 2500 lumens, a dual-switch design for versatile operation, an auto-dimming proximity sensor, and magnetic charging. Its robust O-aluminum construction ensures durability for various applications.

Image 1.1: The OLIGHT Warrior Ultra flashlight showcasing its available colors (Olive Green, Navy Blue, Stealth Grey) and key performance metrics: 2500 maximum lumens and 320 maximum meters beam distance.
2. Koniec produktuview
Główne cechy:
- Najwyższa jakość wykonania: Constructed from O-aluminum for exceptional durability and abrasion resistance, protecting internal components while maintaining a refined appearance.
- Wysoka wydajność: Delivers a powerful 2500-lumen output with a turbo mode, reaching 26,000 candela and illuminating distances up to 320 meters.
- Automatic Dimming Proximity Sensor: Automatically reduces brightness when near objects to prevent potential damage to the LED and surrounding surfaces.
- Działanie podwójnego przełącznika: Features a side switch for five daily use modes and a tail switch for tactical applications. The textured tail switch provides enhanced grip and tactile feedback.
- Ładowanie magnetyczne: Equipped with a customized rechargeable battery and easily charged using the MCC3 magnetic charging cable.
- Wydłużony czas działania: Offers an impressive maximum runtime of 55 days on its lowest setting.
- Real-Time Battery Feedback: Intuitive indicators visible through laser micro-perforations provide real-time brightness and remaining battery level information.
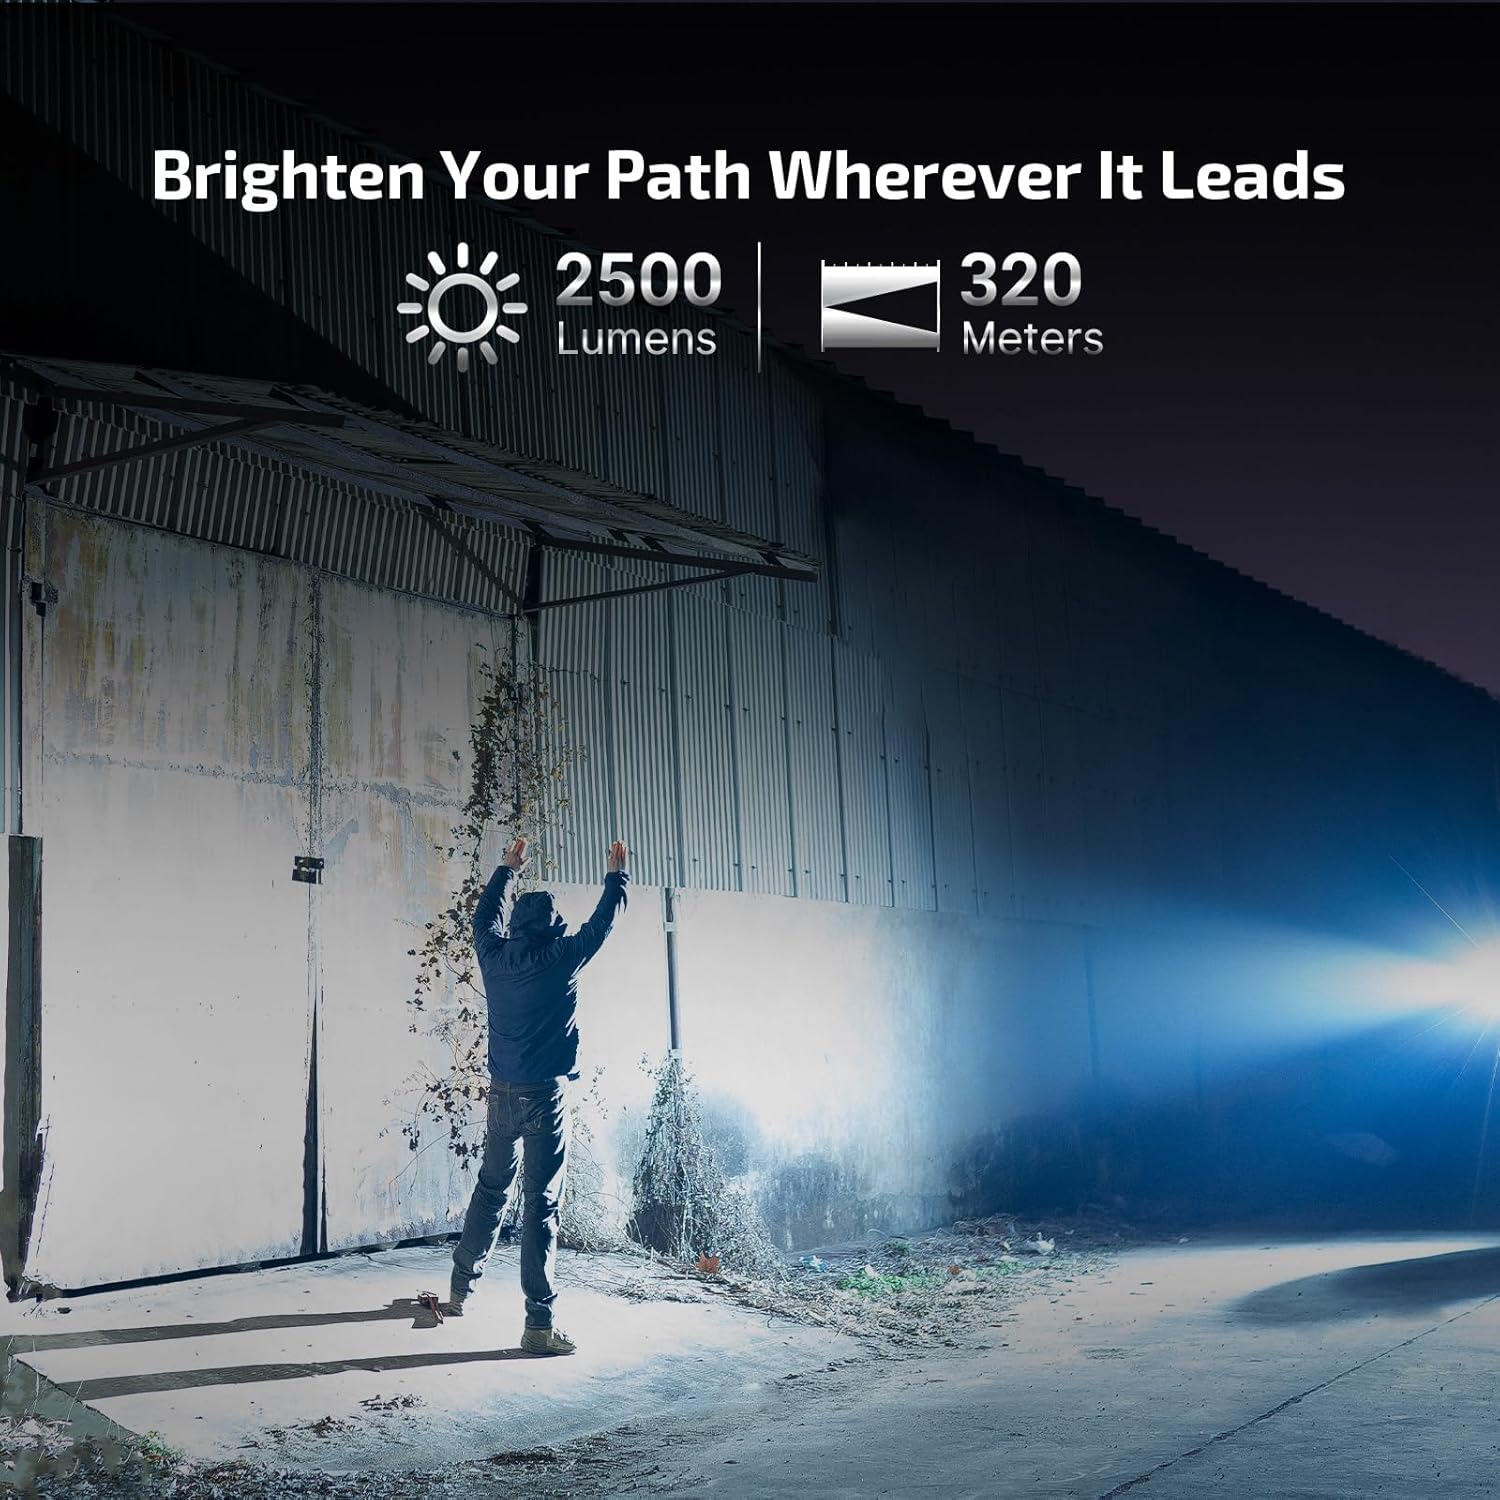
Image 2.1: The OLIGHT Warrior Ultra flashlight demonstrating its powerful 2500-lumen output and 320-meter beam distance in an outdoor setting.
3. Konfiguracja
3.1 Pierwsze ładowanie
Before first use, fully charge the flashlight. The Warrior Ultra uses a customized rechargeable battery and is charged via the included MCC3 magnetic charging cable.
- Connect the USB end of the MCC3 charging cable to a USB power source (e.g., computer, USB wall adapter).
- Podłącz magnetyczną końcówkę do ładowania do tylnej nasadki latarki. Wskaźnik na kablu ładującym będzie świecił na czerwono podczas ładowania i zmieni kolor na zielony po pełnym naładowaniu.
A full charge typically takes approximately 4 hours. Ensure the magnetic contact points are clean and free of debris for optimal charging.

Image 3.1: The OLIGHT Warrior Ultra flashlight showing its intuitive indicators for brightness and remaining battery level, visible through laser micro-perforations.
4. Instrukcja obsługi
4.1 Side Switch Operation (Daily Use)
- Włącz/Wyłącz: Aby włączyć lub wyłączyć latarkę, kliknij raz boczny przełącznik.
- Zmień poziom jasności: Gdy latarka jest włączona, naciśnij i przytrzymaj boczny przełącznik, aby przełączać się między trybami: niskim, średnim i wysokim. Puść przełącznik, aby wybrać żądany tryb.
- Tryb księżyca: Gdy latarka jest wyłączona, naciśnij i przytrzymaj boczny przełącznik przez około jedną sekundę, aby włączyć tryb Moonlight.
- Tryb turbo: Kliknij dwukrotnie przełącznik boczny, aby aktywować tryb Turbo. Kliknij dwukrotnie ponownie, aby powrócić do poprzedniego trybu.
- Tryb stroboskopowy: Trzykrotnie kliknij boczny przełącznik, aby włączyć tryb stroboskopowy. Pojedyncze kliknięcie lub naciśnięcie i przytrzymanie spowoduje wyjście.
4.2 Tail Switch Operation (Tactical Use)
The tail switch offers two distinct settings for tactical operation:
- Setting 1 (Default): Light press for Medium mode, deep press for Turbo mode.
- Ustawienie 2: Light press for Turbo mode, deep press for Strobe mode.
To switch between settings, press and hold the tail switch and then simultaneously press the side switch. Release both switches to confirm the change.

Rysunek 4.1: Szczegółowy view of the OLIGHT Warrior Ultra's side and tail switches, emphasizing the grippy dot-textured button and larger side button with hex bezel thumb rest for secure and reliable operation.
4.3 Czujnik zbliżeniowy
The integrated proximity sensor automatically detects nearby objects. When an object is too close to the lens, the flashlight will automatically reduce its brightness to prevent overheating and potential damage to both the flashlight and the object. The brightness will return to its previous level once the obstruction is removed.

Image 4.2: The OLIGHT Warrior Ultra's auto-dimming proximity sensor. The left shows full brightness, while the right shows reduced brightness when the flashlight is close to an object, preventing damage.
4.4 Weapon Mounted Light (WML) Functionality
With optional accessories such as the sROD-7 remote, sROD remote, and E-WM25 flashlight mount, the Warrior Ultra can be securely mounted and function as a powerful Weapon Mounted Light (WML).

Image 4.3: The OLIGHT Warrior Ultra configured as a WML, illustrating its use with optional accessories like a remote switch for tactical applications.
5. Konserwacja
5.1 Czyszczenie
- Regularly clean the lens with a soft, clean cloth to maintain optimal light output.
- Keep the magnetic charging port and tail cap contact points clean to ensure reliable charging. Use a cotton swab with rubbing alcohol if necessary.
5.2 Przechowywanie
- Przechowuj latarkę w chłodnym, suchym miejscu, z dala od bezpośredniego światła słonecznego i ekstremalnych temperatur.
- W przypadku długoterminowego przechowywania zaleca się ładowanie akumulatora co 3–6 miesięcy w celu zachowania jego sprawności.

Image 5.1: The OLIGHT Warrior Ultra flashlight shown with its matching canvas holster, illustrating a convenient way to carry and store the device.
6. Rozwiązywanie Problemów
- Latarka się nie włącza: Ensure the battery is sufficiently charged. Check if the tail cap is fully tightened.
- Moc światła jest słaba lub migocze: Recharge the battery. Clean the lens and contact points.
- Latarka się nagrzewa: This is normal during high-output modes. The proximity sensor will automatically reduce brightness if it detects excessive heat or close objects. Ensure proper ventilation.
- Ładowanie nie działa: Ensure the MCC3 cable is properly connected to both the USB power source and the flashlight's tail cap. Clean the magnetic contact points. Try a different USB power source.
If you encounter issues not covered here, please contact OLIGHT customer support for assistance.
7. Specyfikacje
| Funkcja | OLIGHT Warrior Ultra |
|---|---|
| Tworzywo | O-aluminium |
| Max Output (lumen) | 2,500 |
| Max Beam Distance (meter) | 320 |
| Max Runtime (day) | 55 |
| Bateria | Customized Rechargeable Battery |
| Wymiary | 29 x 140 mm (1.14 x 5.51 cala) |
| Waga | 178 g (6.28 uncji) |
| Stopień ochrony IP | IPX8 |
| Drop Resistance (meter) | 2 |

Image 7.1: A detailed comparison table outlining the specifications of the OLIGHT Warrior Ultra against the Warrior 3S model.
8. Gwarancja i wsparcie
OLIGHT products are manufactured with high-quality materials and craftsmanship. For information regarding warranty coverage and customer support, please refer to the official OLIGHT webOdwiedź witrynę lub skontaktuj się z lokalnym dealerem. Zachowaj paragon jako dowód zakupu na wypadek reklamacji.
For technical assistance, troubleshooting, or service inquiries, please visit www.olightworld.com or contact OLIGHT customer service directly.